How to make a DIY Brush Cleaner
If you are like me, you are constantly using a paintbrush. Whether I’m using it for a few quick sample brushstrokes to test paint colors or for bigger projects around the home, it feels like I’m forever washing paintbrushes. This means I am constantly having to wash those paintbrushes. No fun! I made my own DIY brush cleaner that has made the process so much simpler though.
Now, if you are like me and you are feeling less than excited when it comes to cleaning those brushes, you will want to check out this cheap and easy DIY paint brush cleaner idea.
This little hack has saved me so much time and saved my hands from being in water and painting when I am done with my paintbrush.
Keep scrolling to find out how to make your own!
DIY Paint Brush Cleaner Jar:
Time needed: 5 minutes
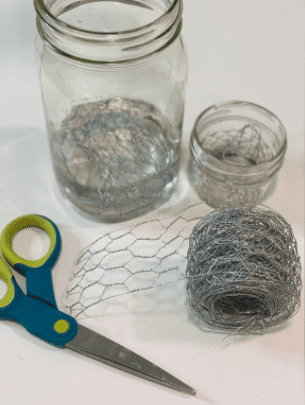
Supplies: Glass Mason Jar / Plastic Container, Metal Chicken Wire Ribbon, and Scissors
- I prefer a glass mason jar or see through plastic container
You can also use an old pickle jar or recycled glass jar from your pantry.
- Get some metal chicken wire ribbon
Fold a few layers accordion style about one or two inches longer than the width of your jar, and cut straight across.
- Put your metal chicken wire ribbon in the jar
I form the accordion into a rainbow shape downward to get it into the jar
Once it’s in the bottom of your jar still in the rainbow form, press down in the center to form a “nest” shape
This also pushes the ends of the wire out and secures them into the sides of the jar so it won’t roll when you are cleaning your brush - Fill with water
You can also use your preferred brush cleaning agent
- Clean your brushes
Stick your brush in the water and scrape it against the wire to clean the paint off of your brush.
Dry with a paper towel and voila! - Change your water/cleaning agent as needed
I leave mine for a while, especially if I am using it for craft paint
Be sure to follow us on our Facebook page for more tips and tricks!
-
The 5 Non-Negotiable Rules for a Professional Paint Finish (At Home)
You’ve found the perfect piece. You spent the weekend painting it just the right shade of creamy white. But within months, the edges are chipping, the surface feels tacky, and that “professional” look you dreamed of has faded along with your enthusiasm. I know that feeling. Through painting countless dressers, tables, and cabinets, I’ve discovered…

-
Come In, and Be Merry: A Holiday Home Designed With the Thrifter In Mind
This holiday season, I’m embracing the art of the thrifted holiday—an approach to decorating that is as much about the joyful hunt as it is about the beautiful result. I want to show you how to use your collections and secondhand finds to create a home that doesn’t just look festive, but feels festive, engaging all five…
-
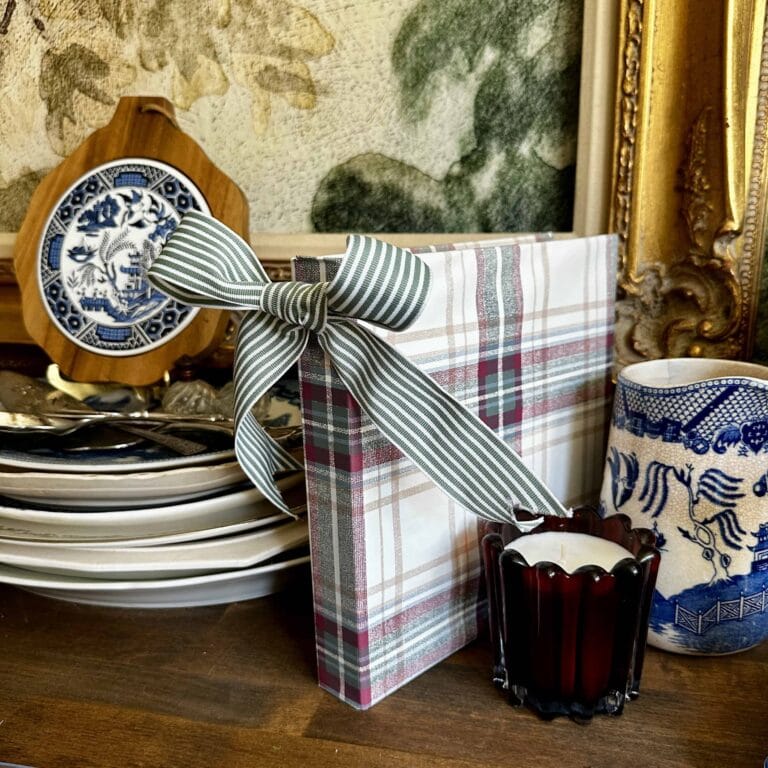
Covering Christmas Cookbooks With Vintage Wallpaper
I love collecting ’90s cookbooks and crafting books, and I actually use them. I don’t like how they look out on my countertop sometimes. So I found a solution to keep my Christmas books out for the season and not be an eyesore. Wrapping books with brown paper has been a thing for a very…
-
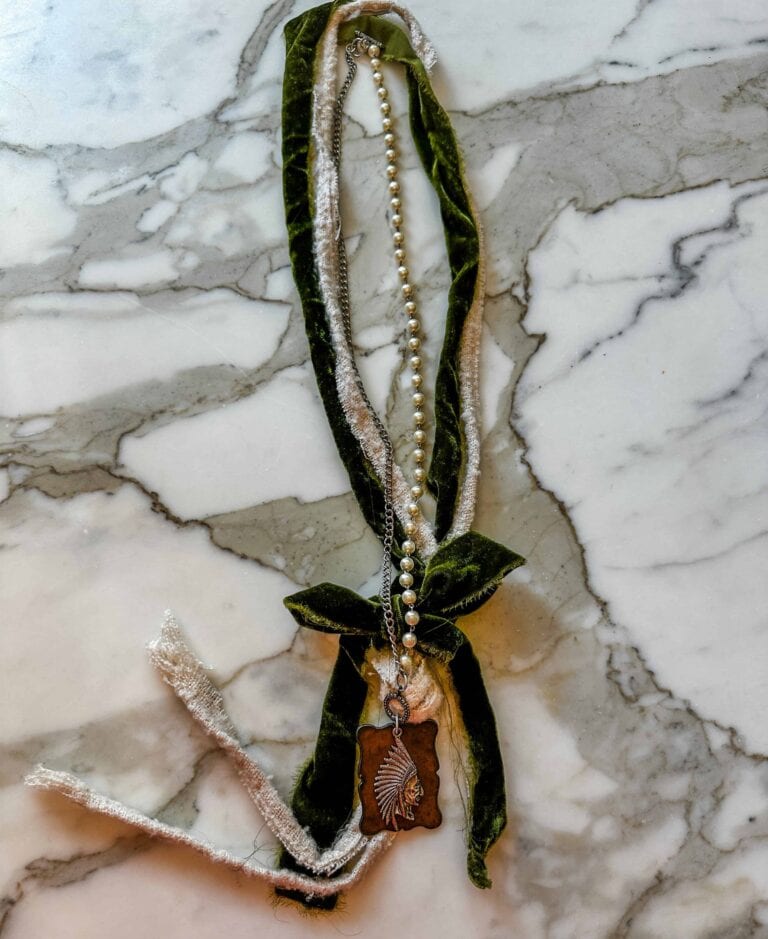
Step-by-Step Tutorial: Creating a Unique Necklace from an Old Sweater
Lately, I’ve been so inspired to elevate my everyday style with pieces that feel truly unique and personal. I wanted something custom, something that no one else would have, that would add a textural, interesting touch to my favorite basics. And then it hit me—what if I could wear this sweater as jewelry? The Transformation:…
-
How to Turn a Plastic Flower Pot into a Trash Can
Okay, can I just rant for a second about how expensive nice-looking trash cans are? Like, why does something that holds garbage need to cost a small fortune? I had this basic black plastic one in my kitchen for ages, and it was fine… but it definitely wasn’t cute. You know how it is—it gets…