The Secret to Making Your Thrifted Lamp Look Expensive: A Quick Rub ‘n Buff Guide
When I first picked up a vintage lamp from the thrift store, it had character but certainly didn’t look high-end. The original metal finish looked cheap and it lacked that wow factor. Enter Rub ‘n Buff – its formula is designed to cling to surfaces and provide a durable finish that mimics the look of metal. By applying it to my thrifted lamp, I was able to give it an entirely new life, one that screams expensive taste.
Thrift shopping is a treasure hunt for creative minds and there’s nothing quite like the thrill of transforming a second-hand find into a luxurious piece for your home. I stumbled upon this game-changer called Rub ‘n Buff, an inexpensive waxy finish that can work miracles on an old lamp or any other décor. With a wide range of metallic colors, this little tube can give any drab item a dash of sophistication without breaking the bank.
Thrifting the Perfect Lamp
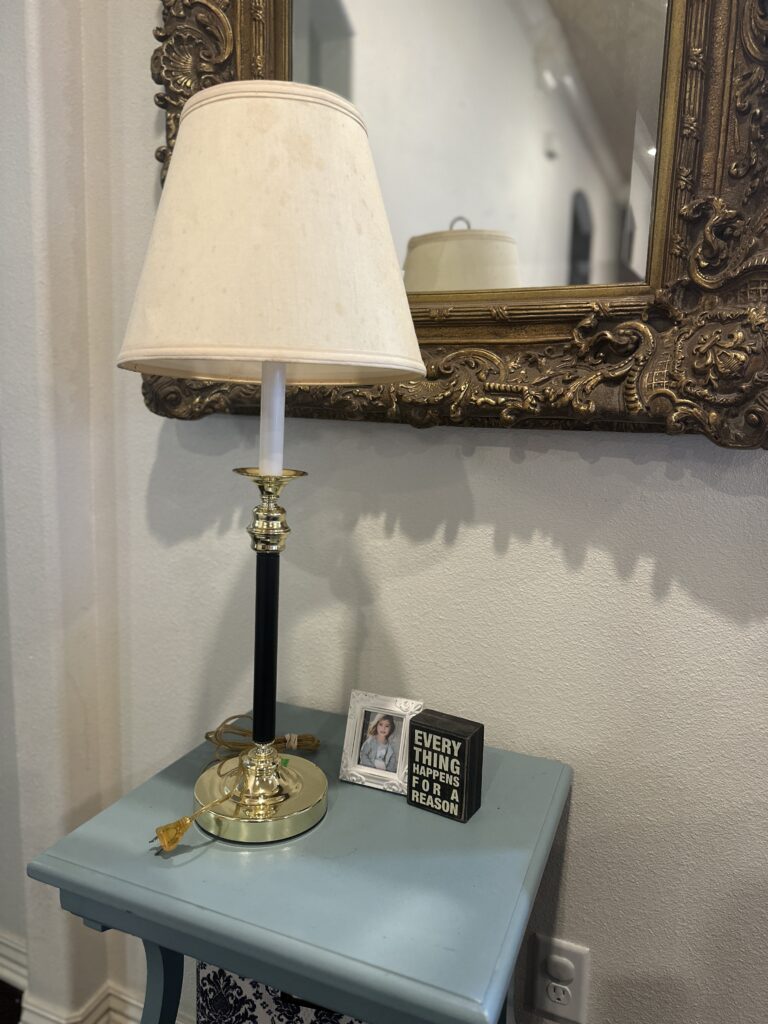
When I’m on the hunt for budget-friendly decor, thrift stores like Salvation Army are treasure troves. Just the other day, I stumbled upon a lamp that stood out immediately – a black candlestick lamp with hints of gold. It was only $2 (half off) and its silhouette was spot-on, elegant, and timeless; however, the gold detailing looked a bit, cheap, and the lampshade was stained but fixable.
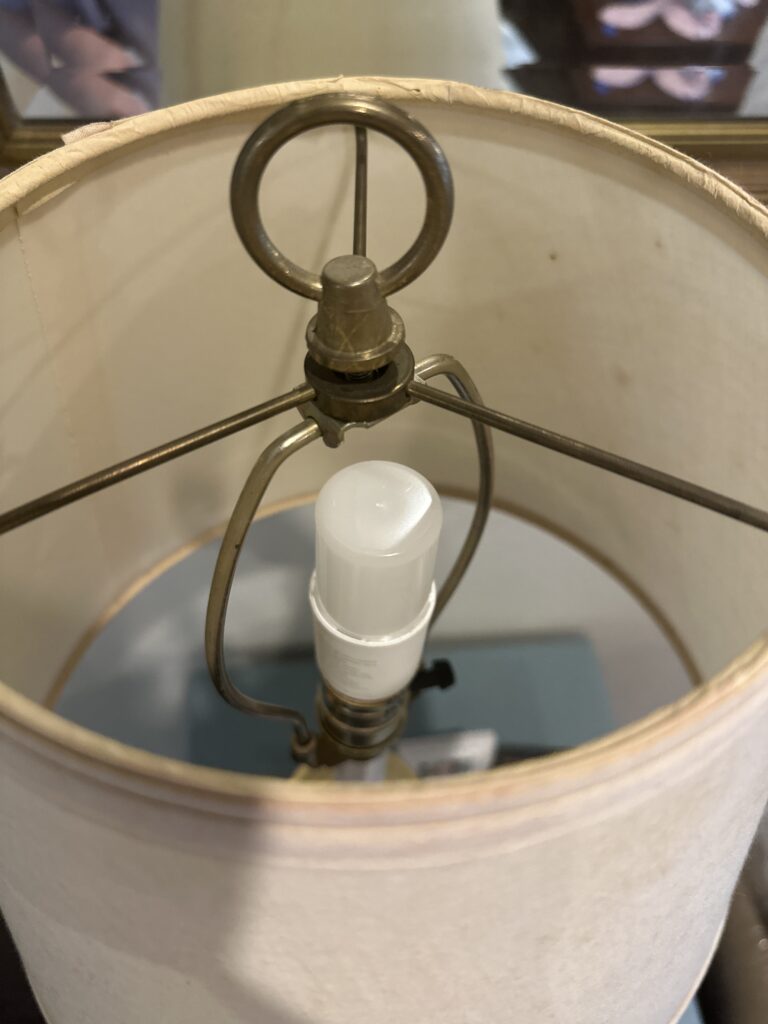
It still had an LED lightbulb in it that cost more than I paid for the lamp so I was already ahead. LOL

It’s surprisingly simple to find decent lamps while thrifting, but the key is to look beyond the surface. Imagine what a little TLC could do. In this case, I knew that a product like Rub ‘n Buff could transform this lamp.

Here’s a quick rundown of what I consider when picking out a lamp:
- Shape: The shape of the lamp should be a primary concern. Think classic lines and forms that have stood the test of time.
- Condition: Minor superficial flaws? No problem. As long as the structure is sound, it’s a go.
- Potential: I always ask myself, “Can a bit of elbow grease make this look upscale?”
And here’s what I try to avoid:
- Irreparable Damage: If it’s more than skin-deep, I pass.
- Outdated Styles: Some things are better left in the past.
Remember, the goal is to elevate a find. It’s less about what it looks like when you find it and more about what you envision it could become. With the right approach, even the most unassuming lamp can look like it cost a pretty penny.
Rub ‘n Buff Essential Supplies
To get started with Rub ‘n Buff, you’ll need the following:
- Rub ‘n Buff: This comes in various colors, so select one that complements your lamp and desired look. My go-to shades are Gold Leaf and European Gold
Beyond Rub ‘n Buff itself, these tools will assist in the application:
- Clean Cloths: For buffing the product into the lamp. I prefer using lint-free cloths.
- Painters Tape: To protect any areas where you don’t want the Rub ‘n Buff to be applied.
- Foam Brushes: If you have intricate details to cover, and a set of artist brushes can be very useful.
- Q-tips: For those hard-to-reach places or small touch-ups if you need them.
Cleaning the Lamp
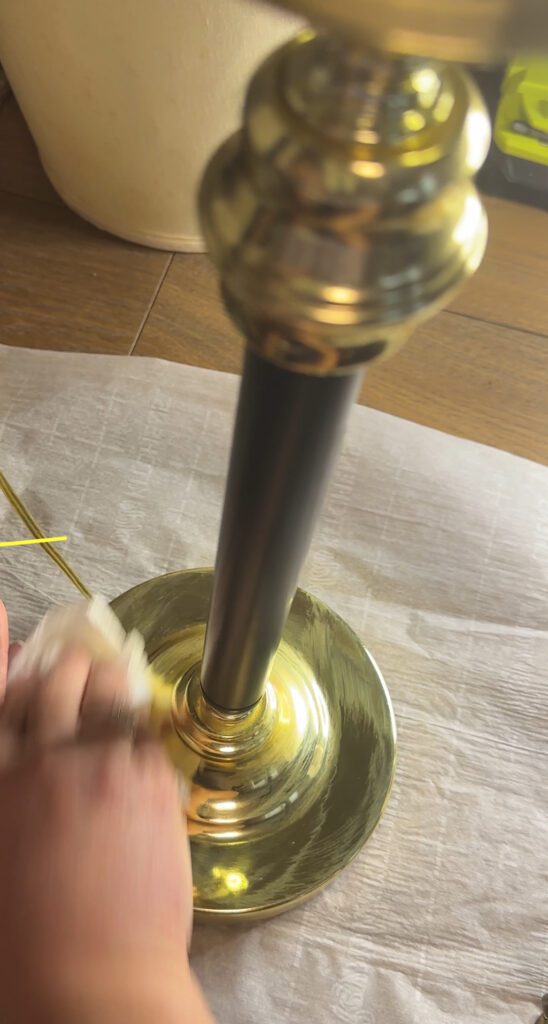
First off, I clean the lamp thoroughly. A mix of warm water and mild dish soap works wonders to cut through any grime. I use a soft cloth to avoid scratching the surface, and a toothbrush does the trick for crevices. Once cleaned, I ensure the lamp is completely dry before proceeding.
Applying Rub ‘n Buff
To elevate a thrifted lamp, I’ll show you how to apply Rub ‘n Buff for a high-end finish.
Technique Basics
Now that I’ve got a clean surface, wiping the lamp with a damp cloth and ensuring it’s dry before I start. Then, squeezing out a small amount of Rub ‘n Buff onto my soft cloth, I gently apply a thin layer onto the lamp in a circular motion with a soft cloth. It’s vital to use just a little of the product—it’s powerful stuff and a bit goes a long way. If necessary, I use a soft cloth or brush for hard-to-reach areas.
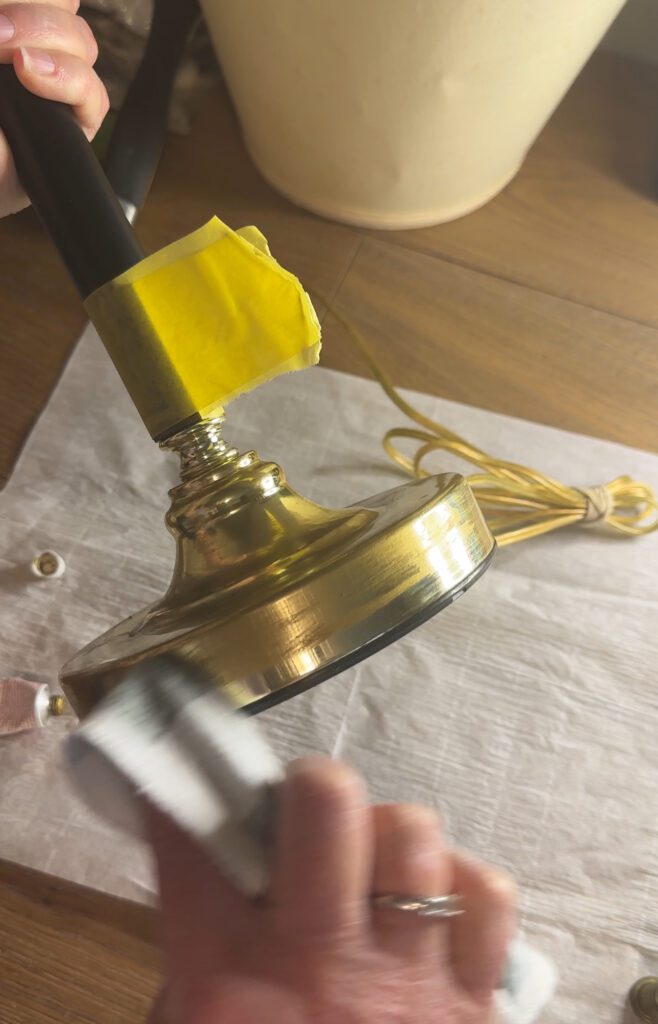
Adding Multiple Layers for Depth
After the base layer is dry, which usually takes about 15 minutes, I assess the finish. If the coverage is uneven or I want a more solid look, I apply a second thin layer. This technique also helps in achieving a more nuanced, antique finish if that’s the desired effect. Allowing each layer to dry thoroughly ensures that the finish comes out smooth and professional.
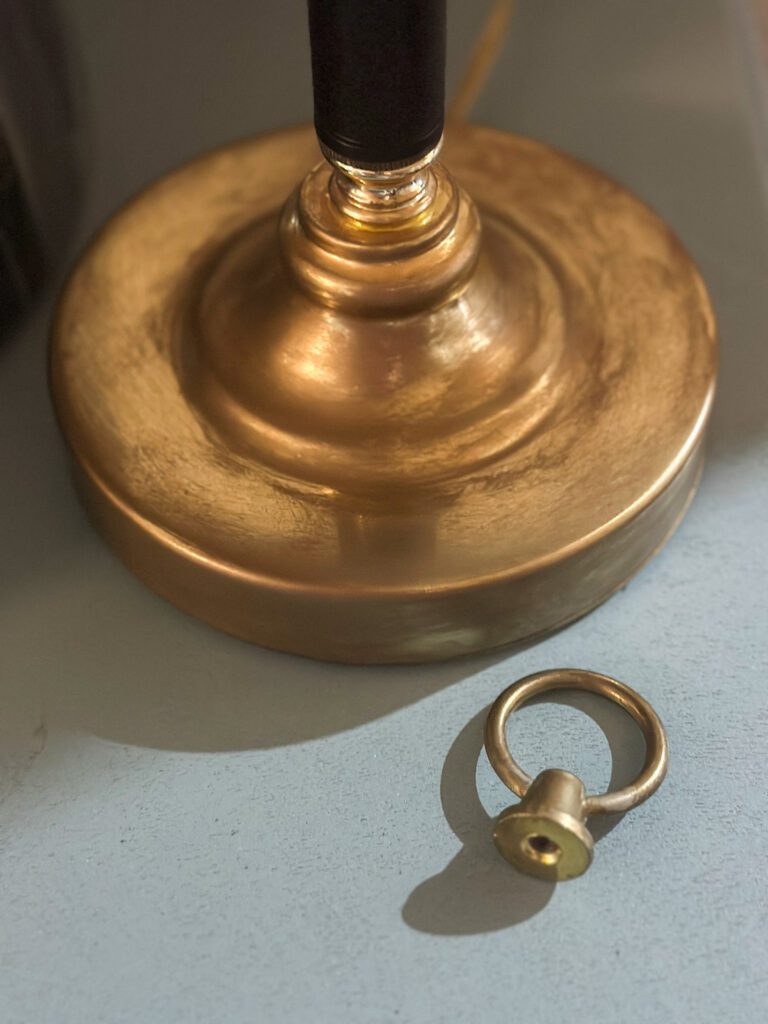
For the second coat, I use my foam brush to get a uniform “stria” look. It gives the look of brushed metal. Just add the tiniest amount and go in a straight line and not in circles and not back and forth. You can use an artist brush for this as well but I prefer the inexpensive foam as Rub n Buff is very hard to clean out of my brushes.

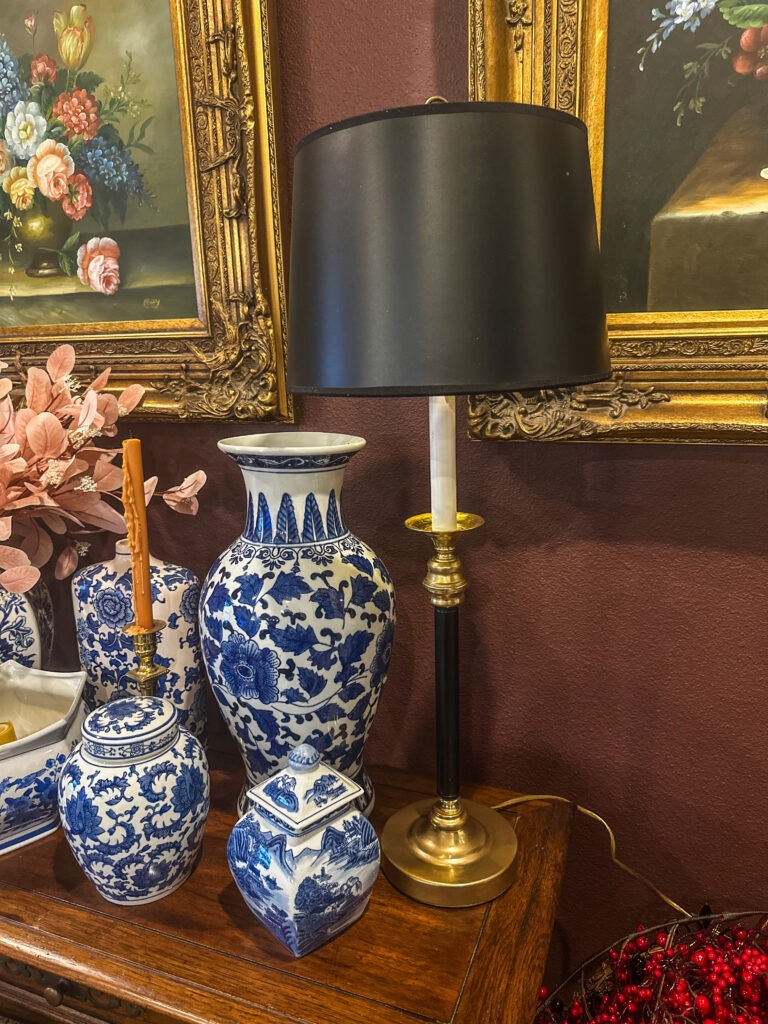
The After with the real vintage brass finial. I love how it turned out! It looks like a real vintage brass patina!

My Latest Favorites
Finishing Touches
After adding Rub ‘n Buff to my thrifted lamp, it’s crucial to choose the right lampshade to elevate its look.

Choosing the Right Lampshade
When I’m on the hunt for the perfect lampshade, my priority is finding one that complements the lamp’s new finish. Here’s my go-to checklist:
- Size Matters: The shade should be two-thirds the height of my lamp base. The width? Ideally the same as the lamp’s height for a balanced look.
- Shape and Style: The Rub ‘n Buff gives a rich texture, so I look for shades that enhance this. A sleek drum shade can be very modern, while a bell shape exudes classic vibes.
- Color and Fabric: I aim for colors that highlight the revamped base. A crisp white can make gold tones pop, whereas a black shade might add drama. Linen and silk catch the light beautifully and can add to the lamp’s luxurious feel.
Rather than try to do something to the stained lampshade it came with, I thought this was perfect for the new and improved lamp.I often buy lampshades when I am thrifting or at estate sales. I had this one in my stash and I did get it half off of $20 so this lamp is under $15 total thrifted cost.

Styling Your Upgraded Lamp
After giving your thrifted lamp a luxe makeover with Rub ‘n Buff, the key is to style it in a way that truly shows off its new elegance. It’s all about placing and pairing it effectively within your space.

It’s easy to save this post to your Pinterest board right here from the image below by either hovering over it on your computer or touch the red Pinterest Logo on the image with your phone and it will automatically open your Pinterest app to save! That way you’ll have it when you are ready for it!
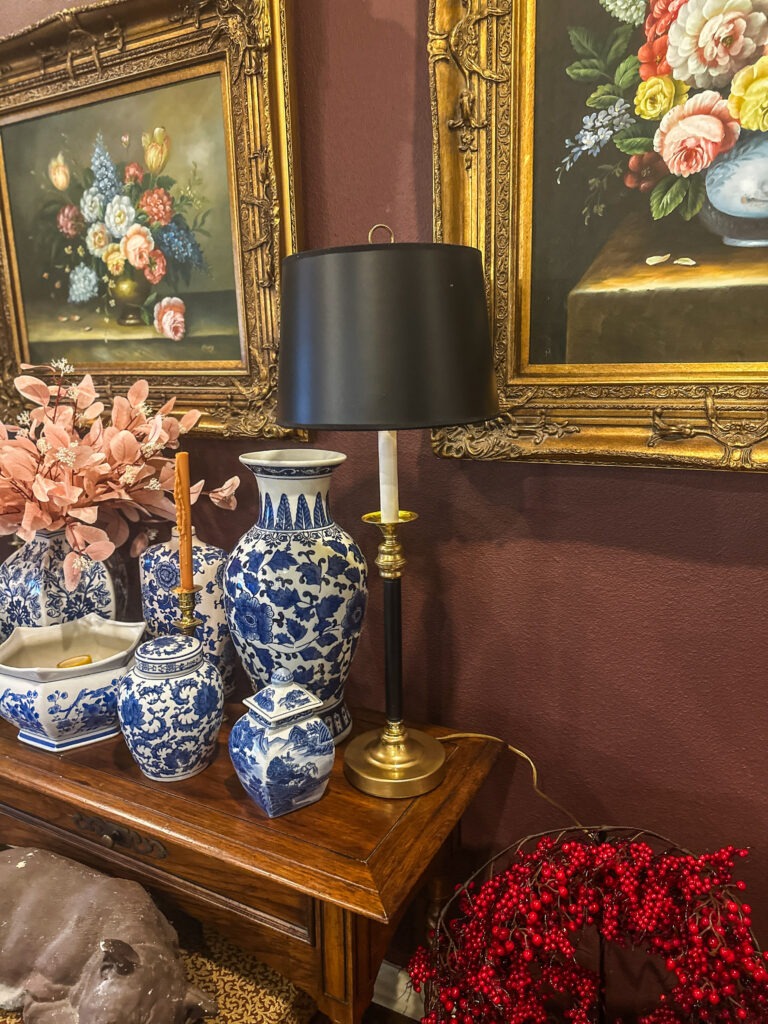
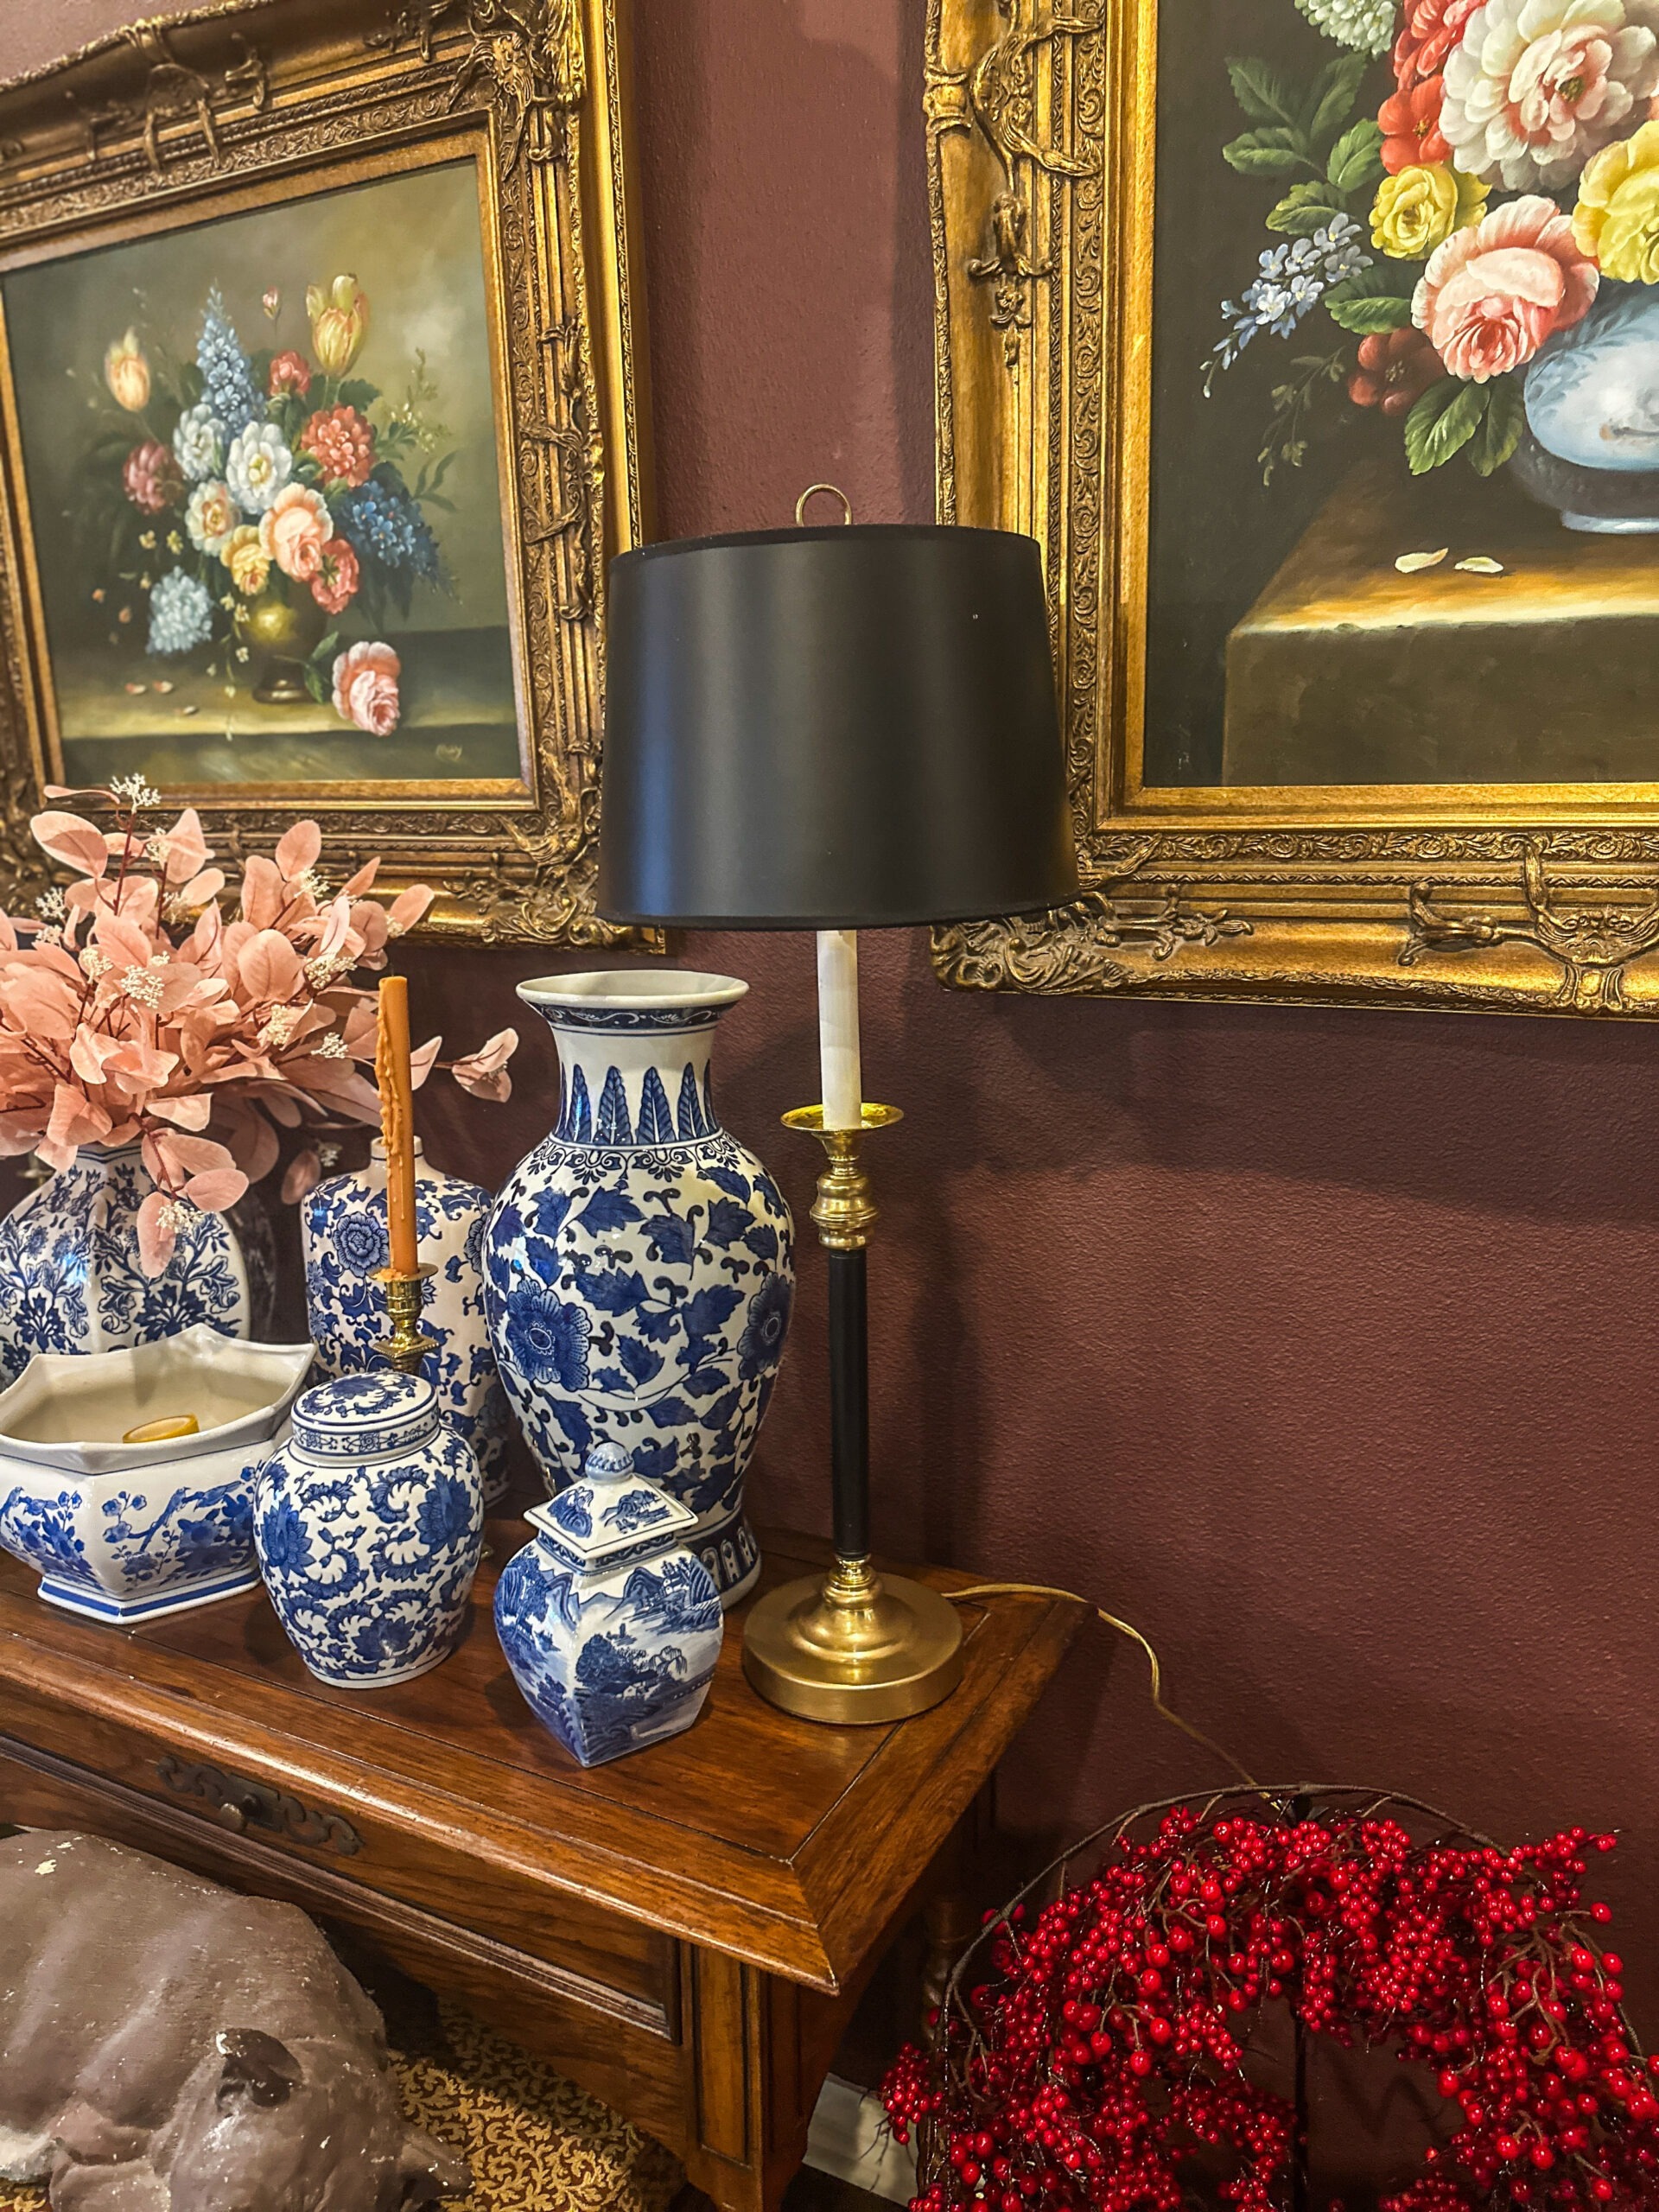


A little creativity goes a long way. The before-and-after pictures speak volumes, and it’s inspiring to see how a little creativity and the right tools can turn a budget find into a chic and expensive-looking piece. I’m curious to know if you’ve tried this technique on other types of decor items, and if so, what were your results?