Using Lace as a Stencil for a Painted Finish
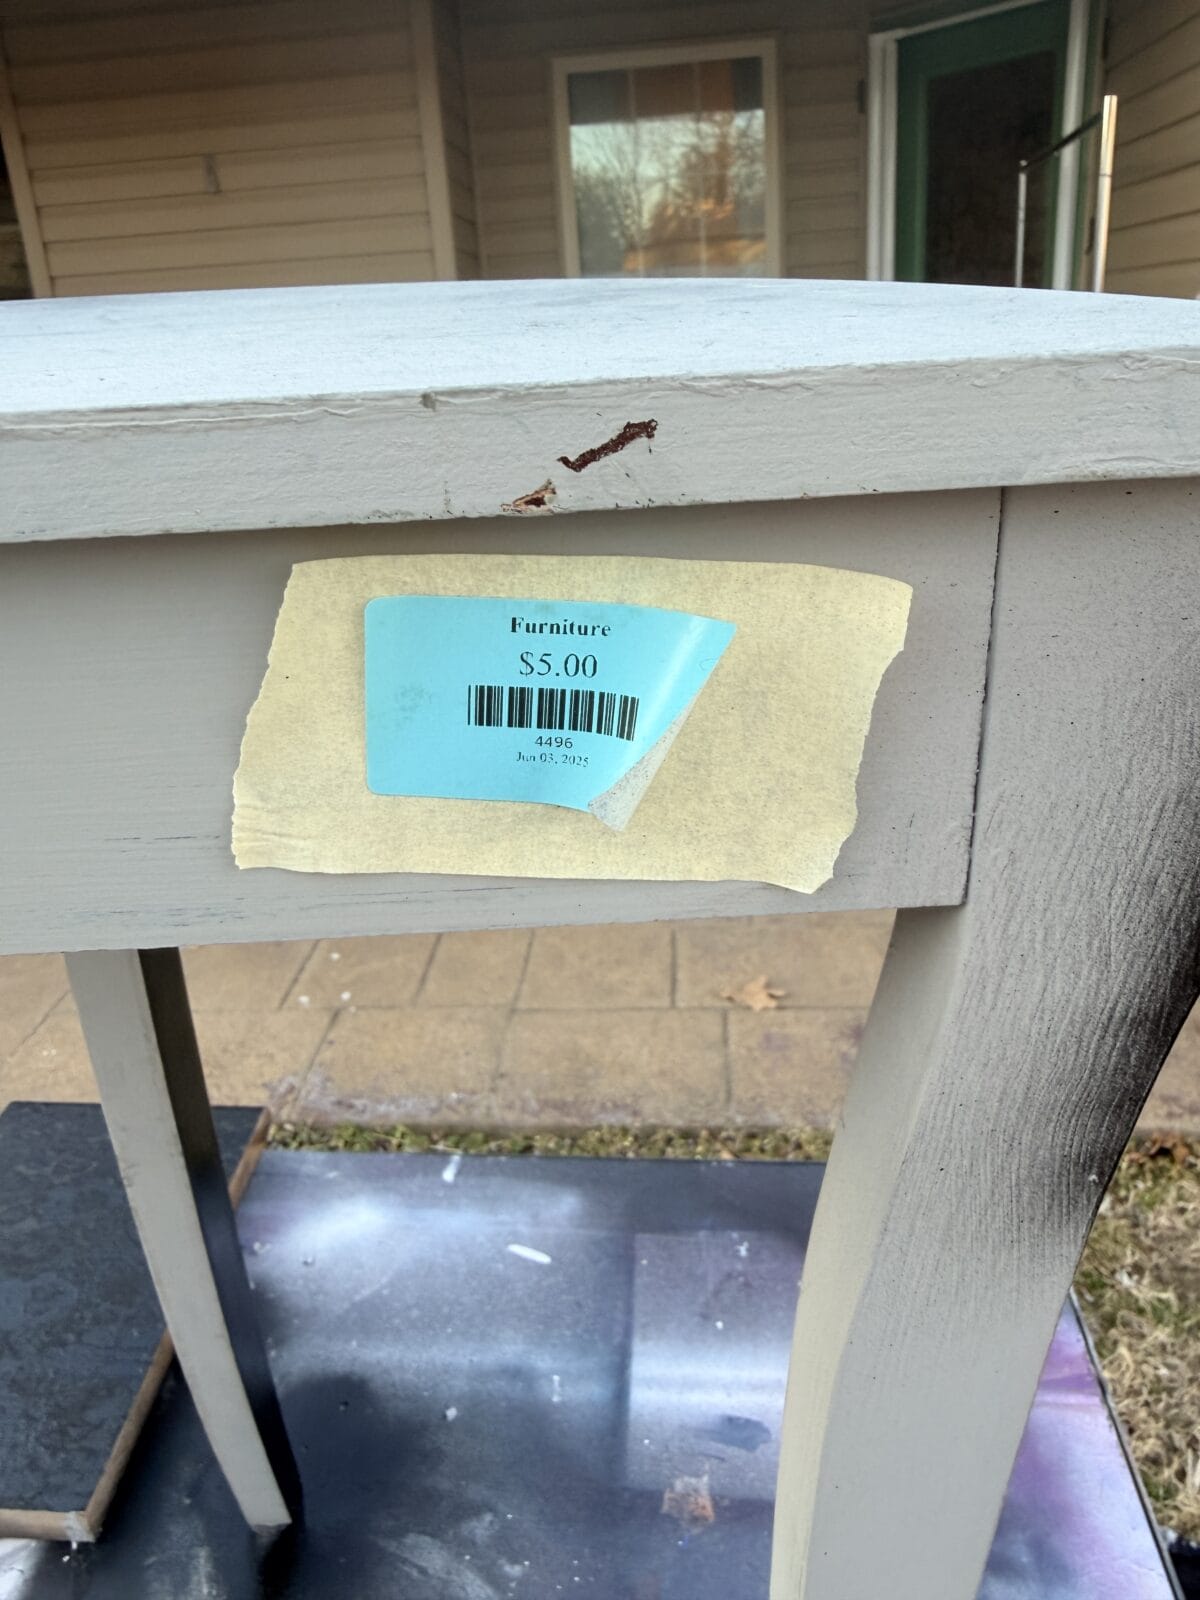
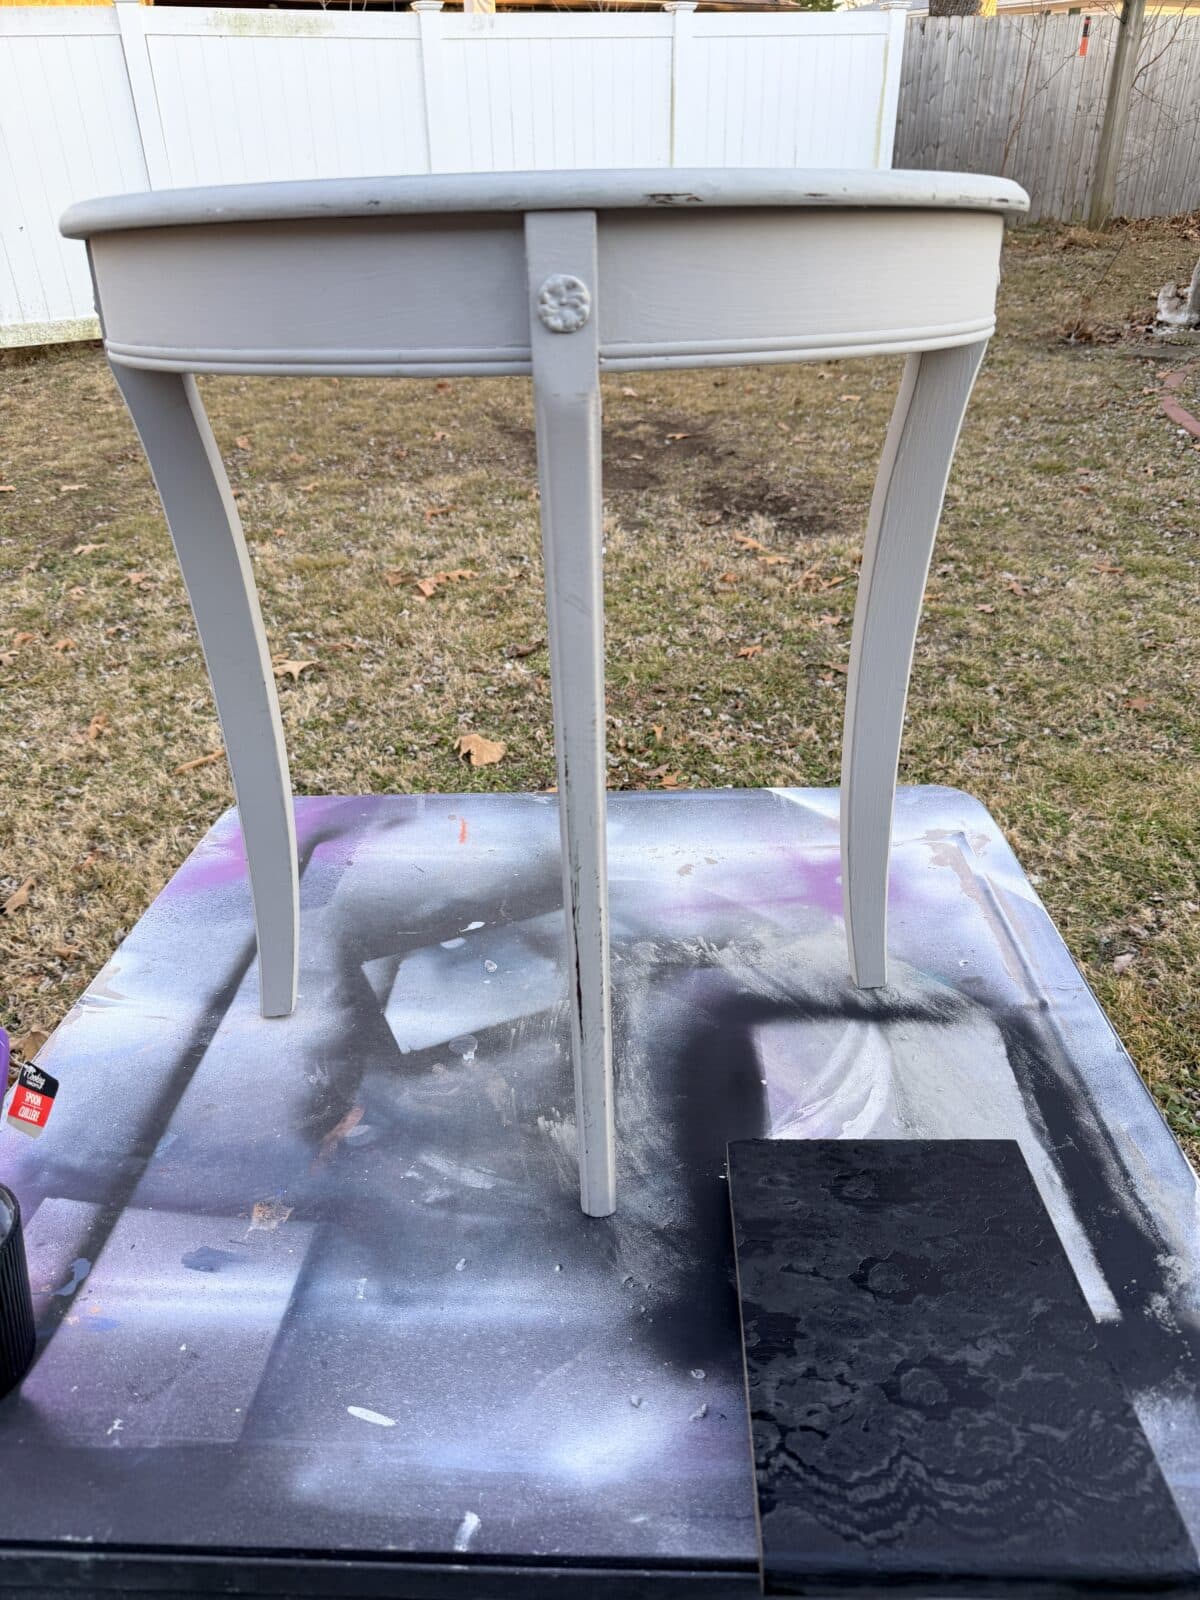
You know that feeling when you spot a solid piece with good bones, just begging for a second chance? That was this sad, laminate-top table I found for five dollars at the ReStore. It was sturdy but completely forgettable. I wanted to give it real character—soft texture, depth, and a look that felt collected, not crafted.
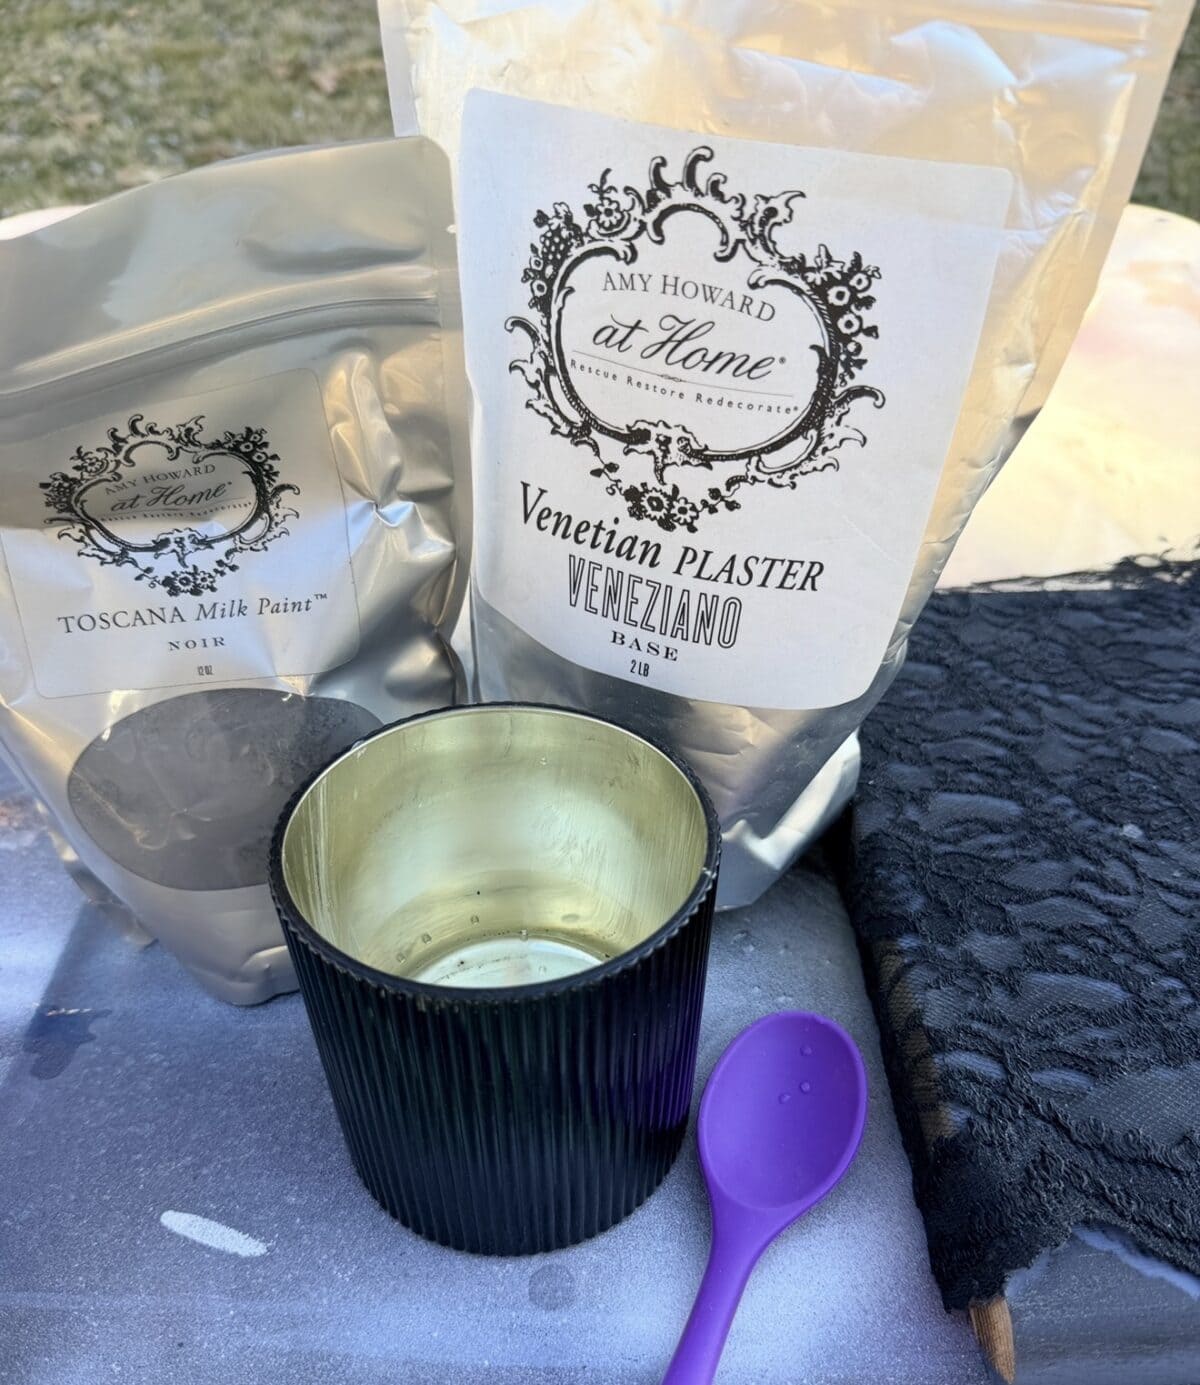
I’ve seen lace stencils before, but they often look flat. I wanted the pattern to have real dimension, like it was part of the piece’s history. So, I reached for some black lace from Hobby Lobby and my trusty black spray paint, but the key was my favorite texturing secret: Venetian plaster, tinted with my own milk paint.
This is a process of building layers for a finish that lasts. And let me tell you, that first moment you peel back the lace? It never gets old.
This post may include affiliate links; you can read my disclosure policy here.
My #1 Rule: Test It On a Sample First
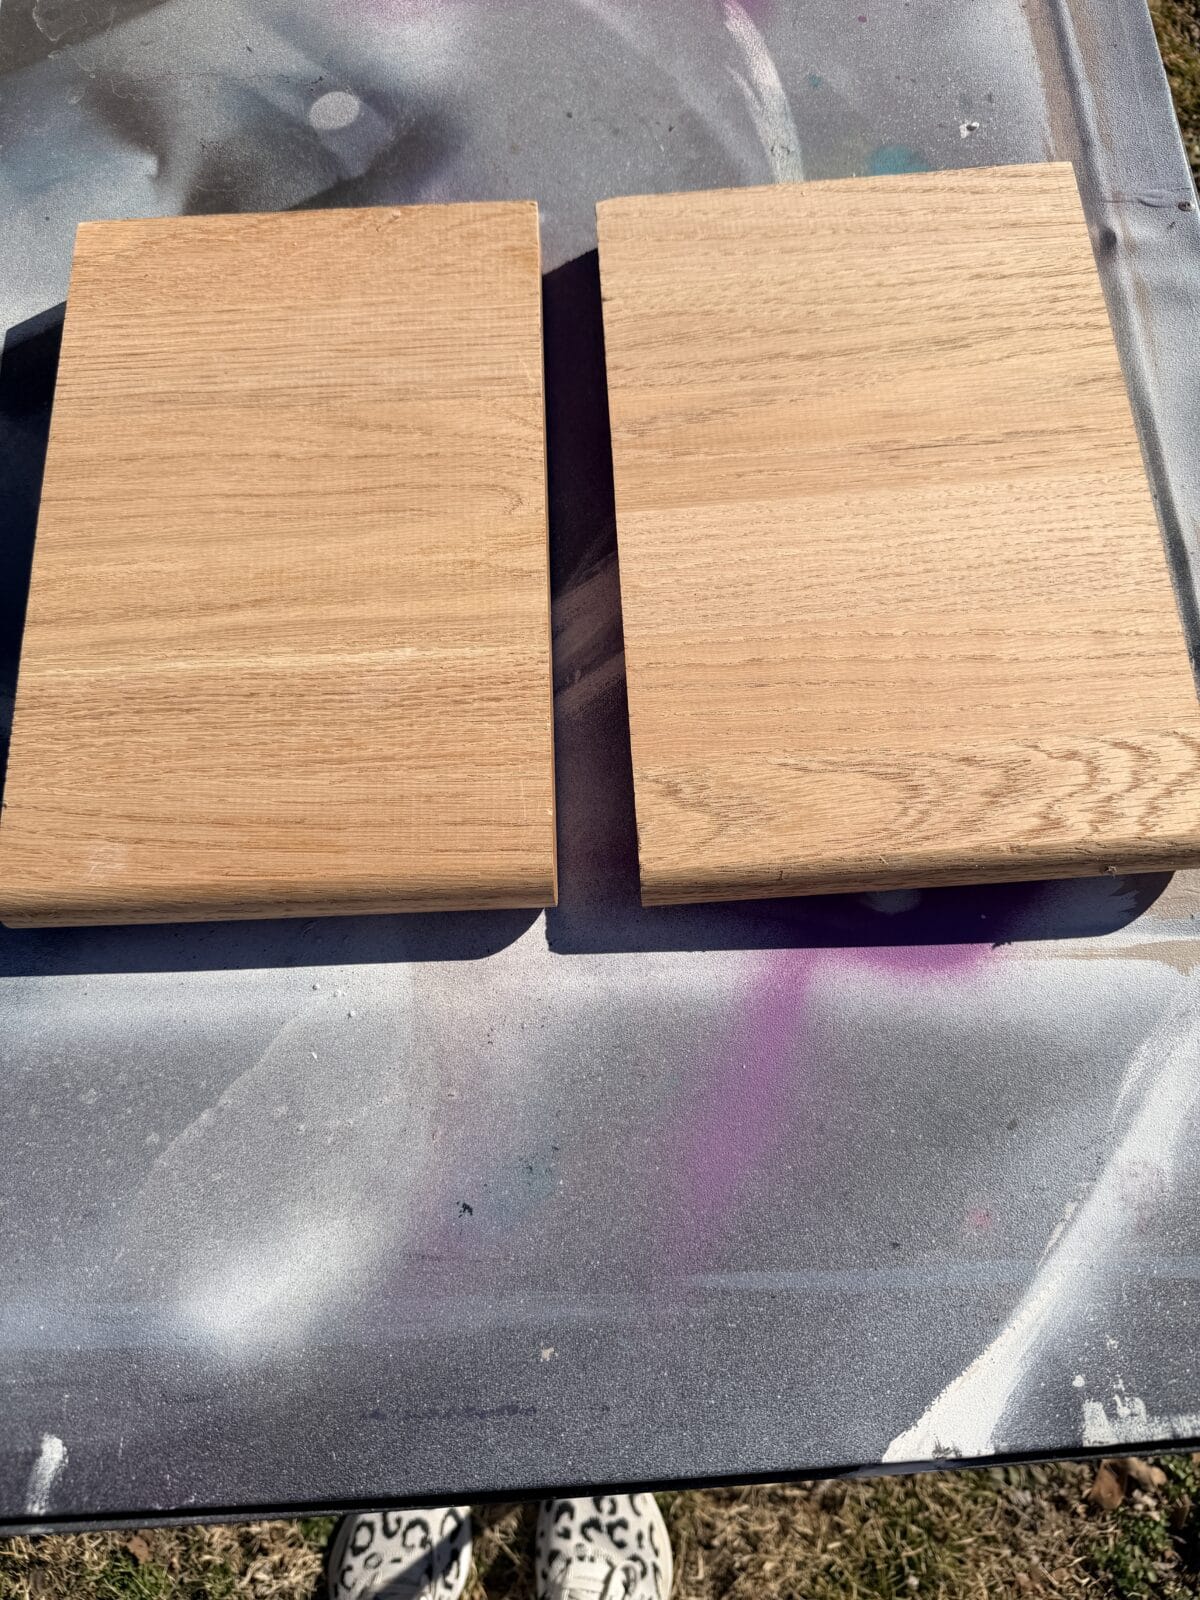
Before I even looked at my table, I grabbed an old wooden stair tread from the garage. This is my biggest piece of advice for you: always make a sample first. It’s not a waste of time. It’s how you test your plaster mix, see the true color, and get the technique down without any pressure. It builds the confidence to tackle the real piece.

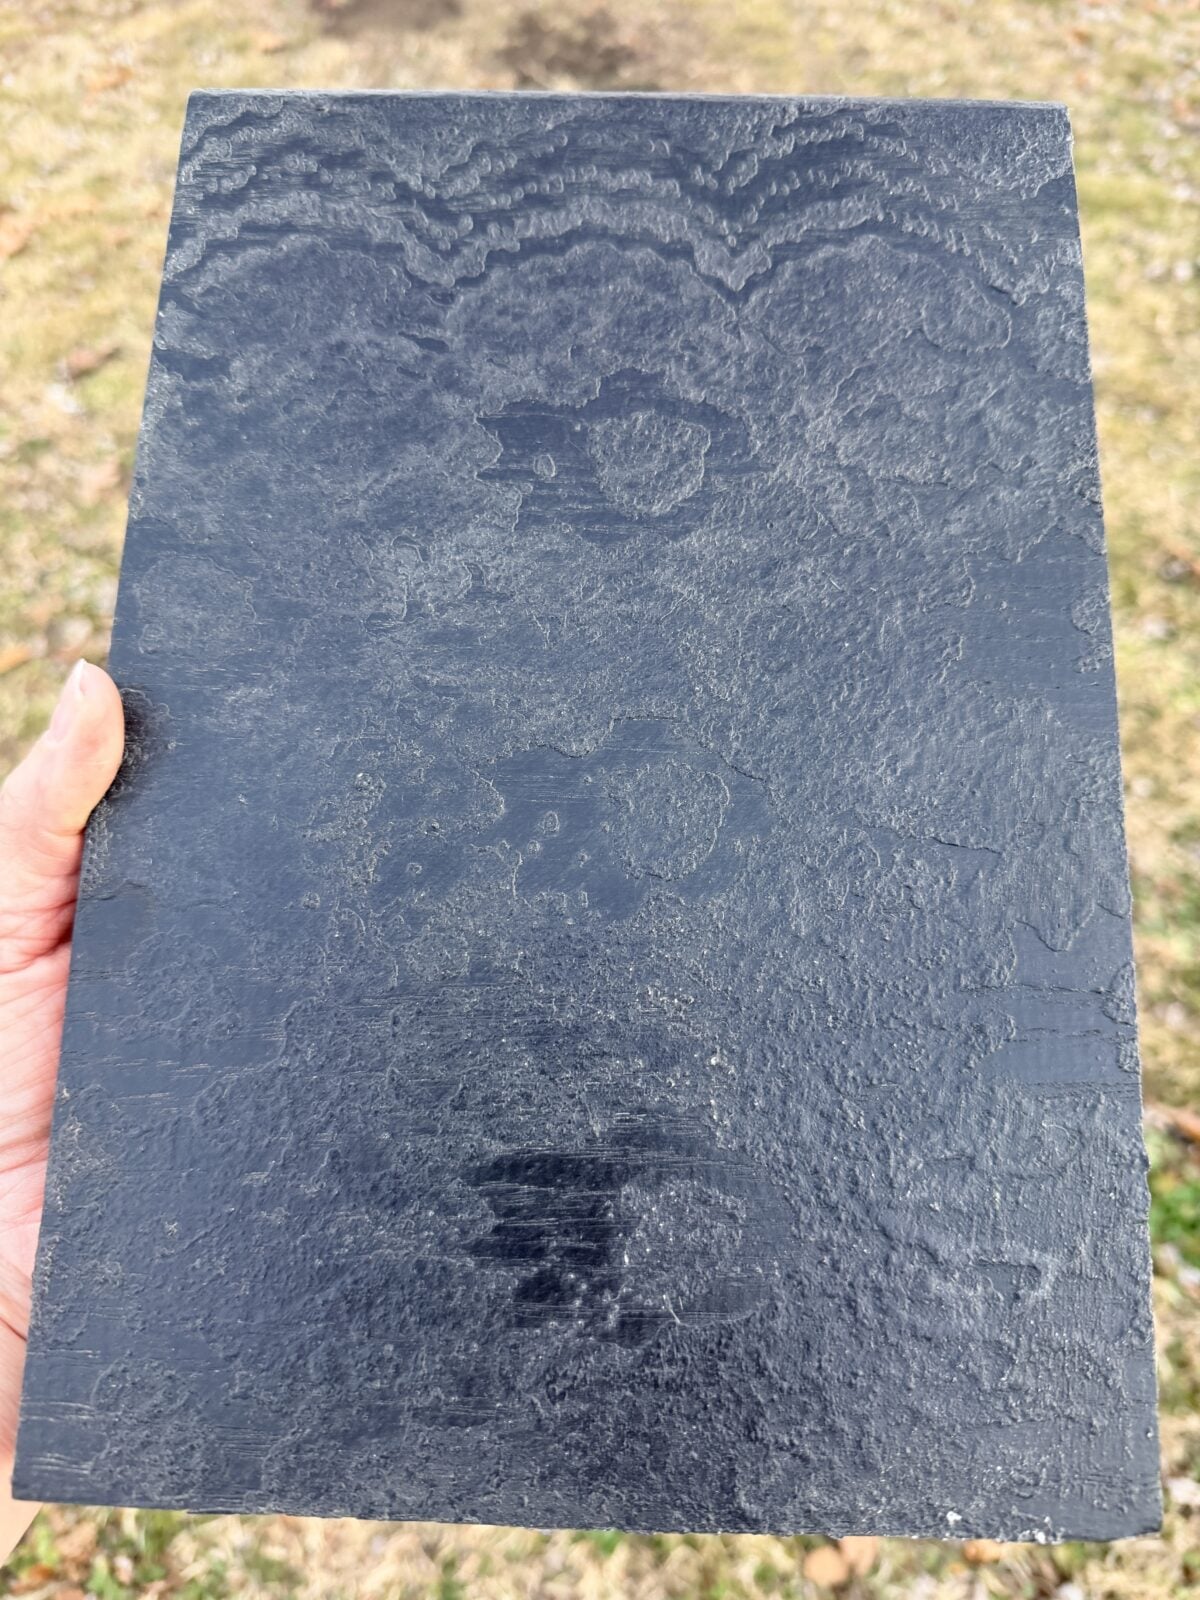

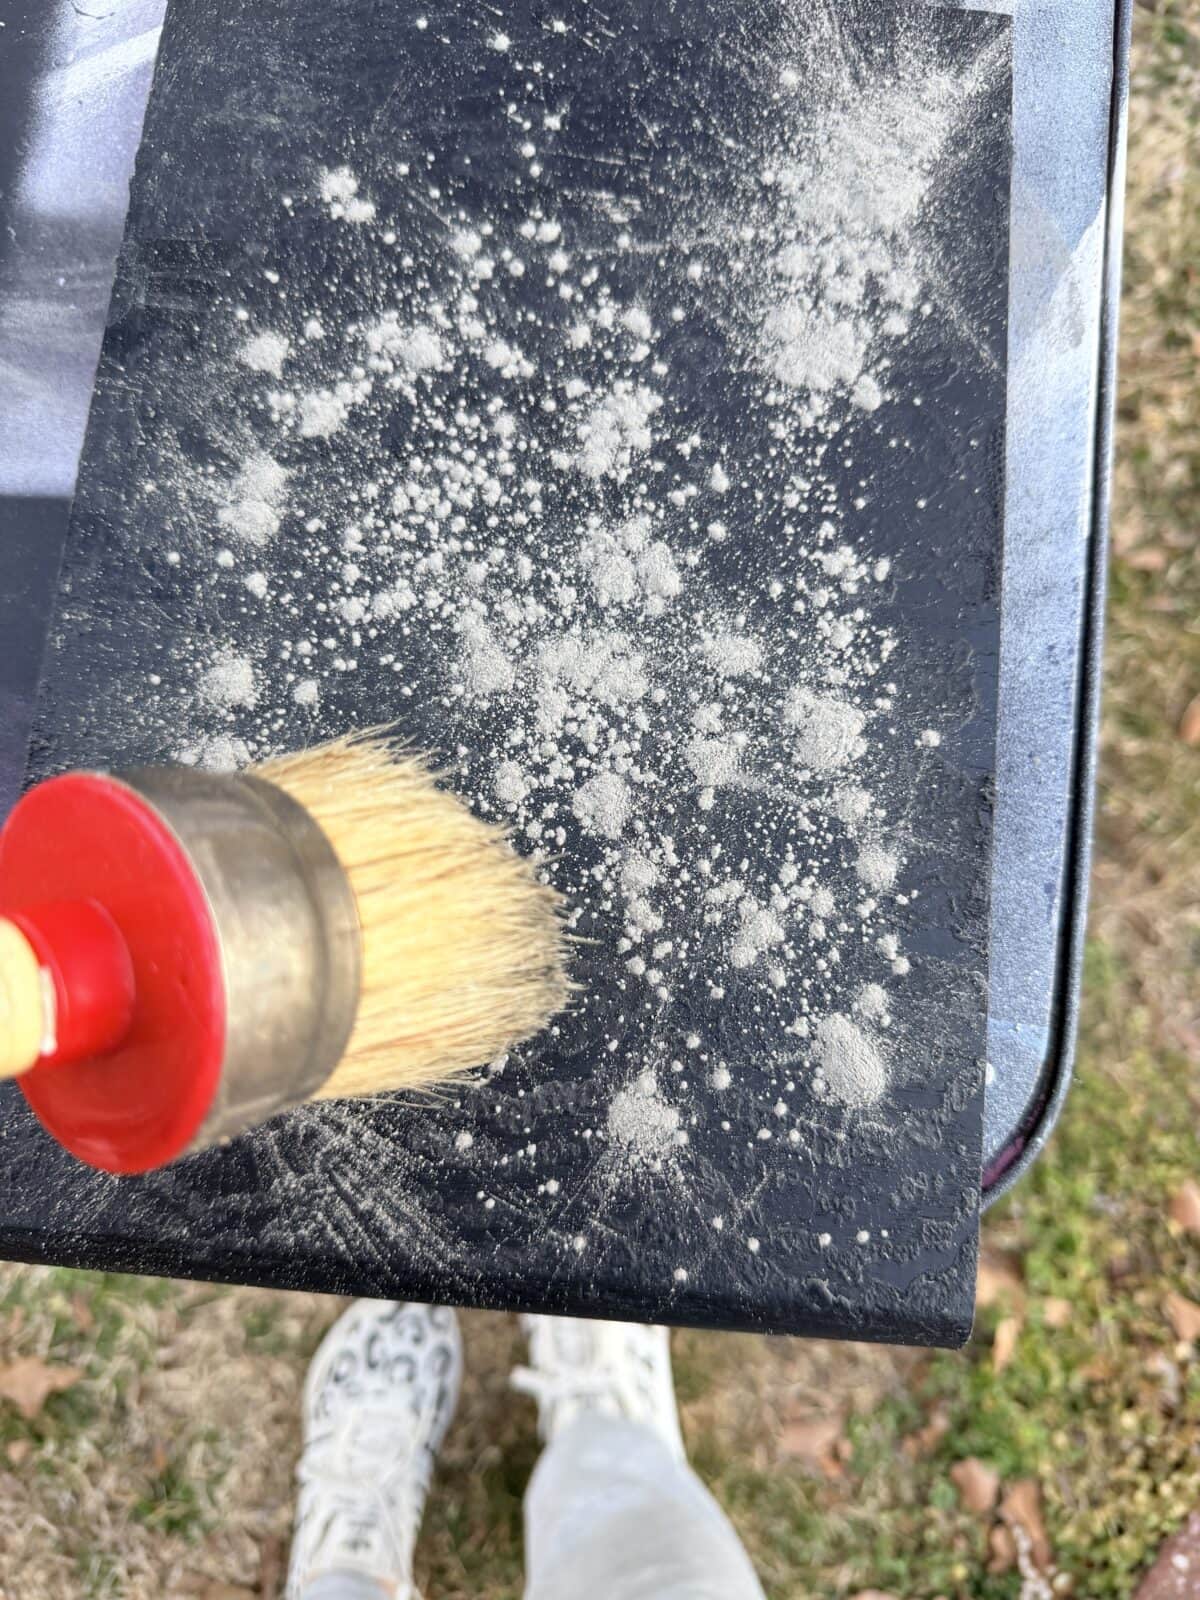
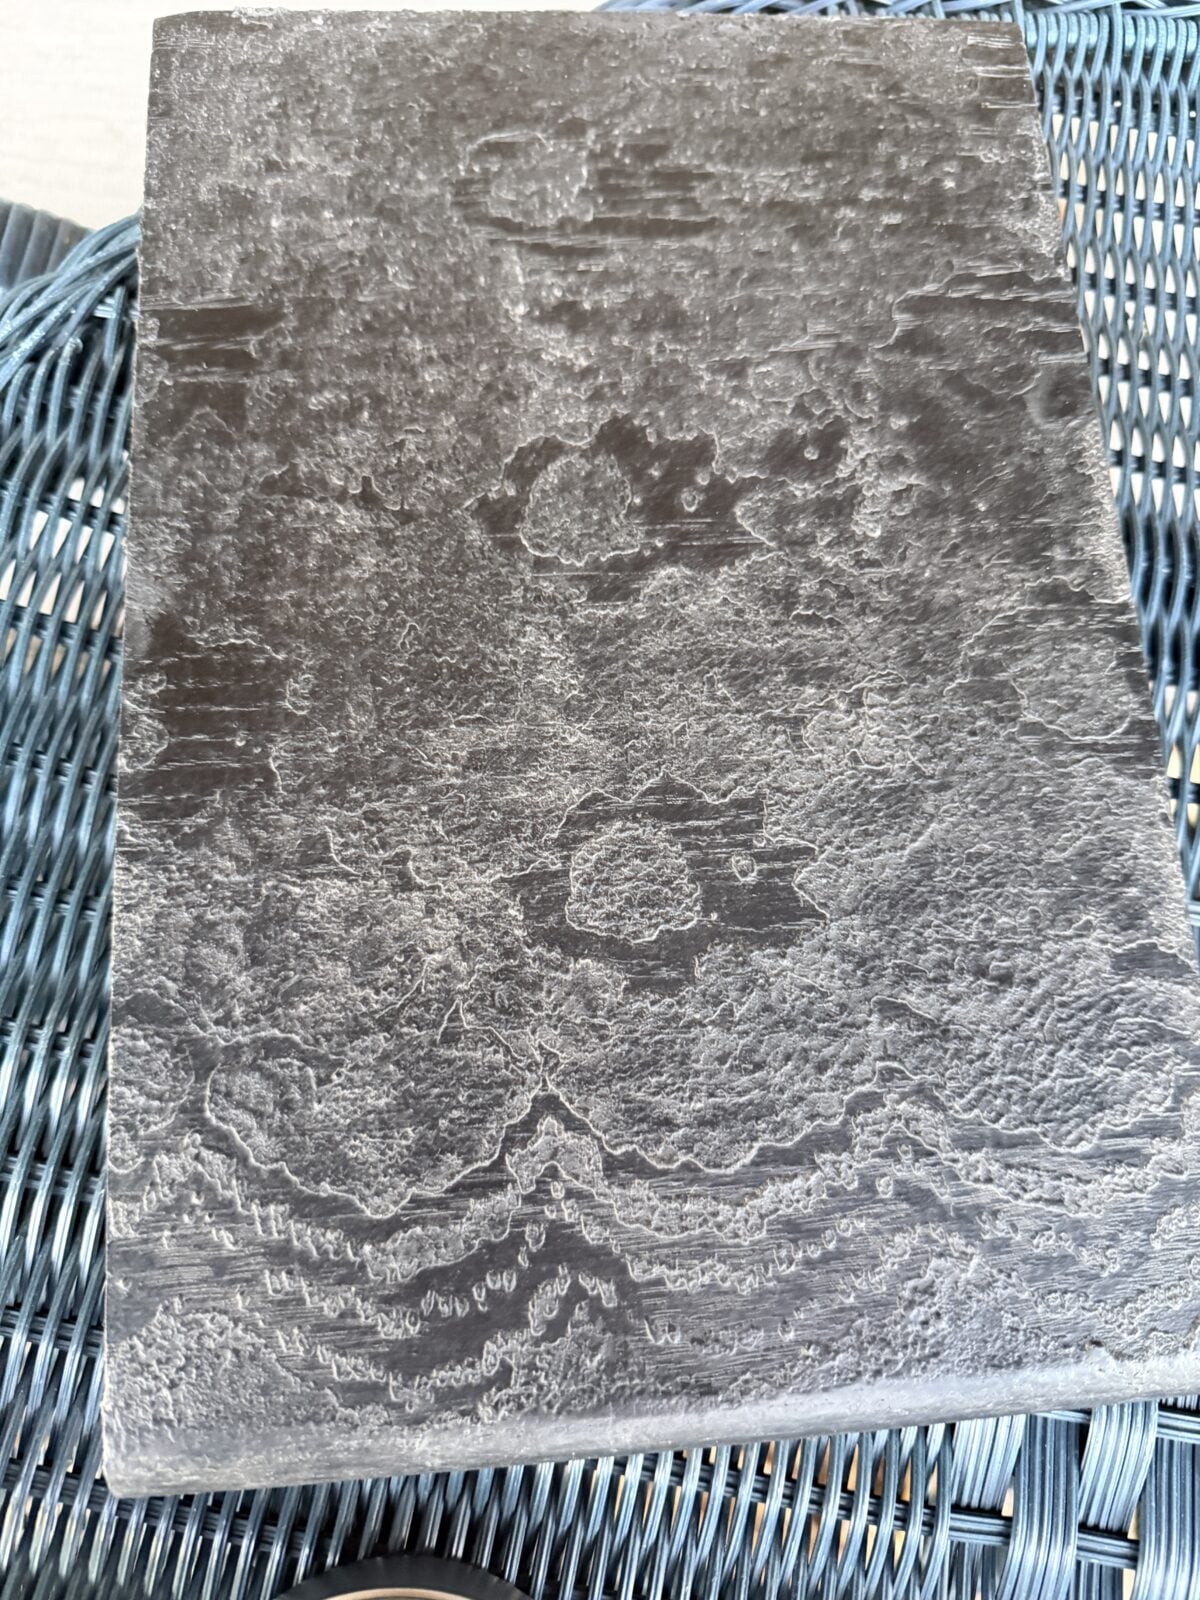
I did not like the dust of ages look, and I really thought I would so I am so thankful that I made a sample first.
I also thought that just a coat of spray paint throught the lace would be a good idea, but it was just flat and boring so I got out my venetion plaster.
Painterly Notes
I’m Amy, and I’ve transformed hundreds of thrifted pieces with paint. These rules are the foundation of my system for creating finishes that last and look beautifully worn, not just worn out.
– amy sadler –

Let’s Build the Finish: A Step-by-Step Guide
1. Start with a Solid Foundation
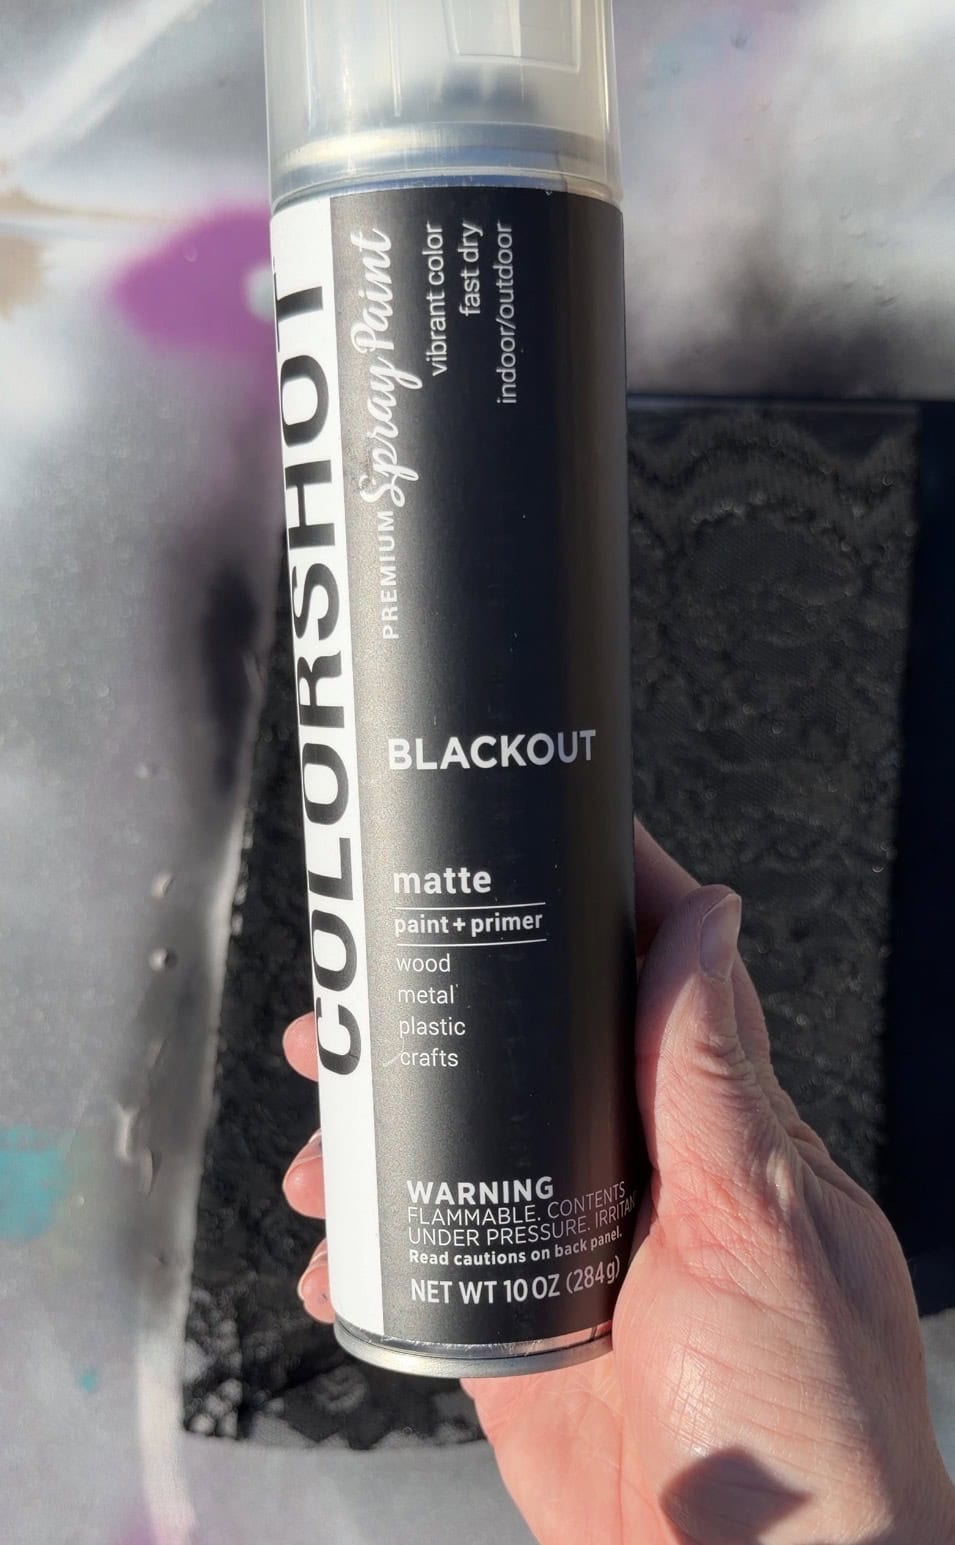
My table had a dirty grey chalk paint finish with no protective coat. A quick sanding gave the paint something to grip. I wiped it clean and then applied two light, even coats of a matte black spray paint, letting it dry completely between coats. This creates a uniform, sealed surface.
You can read my post about How Long Does Spray Paint Take To Dry

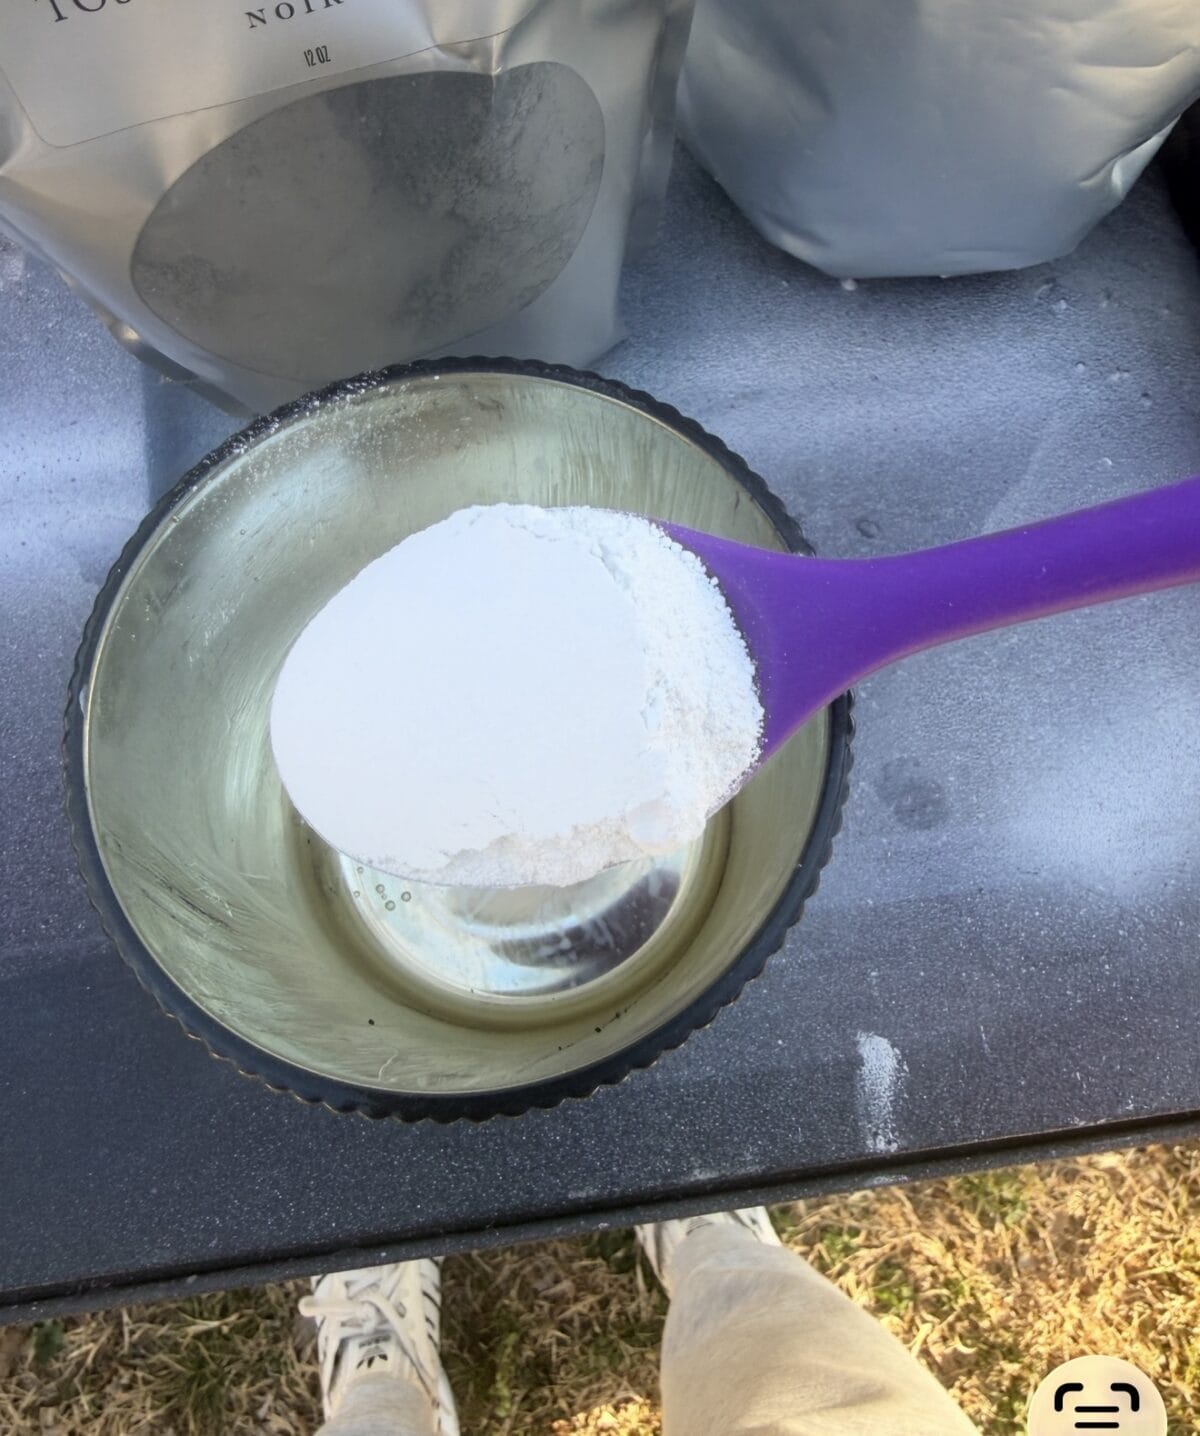
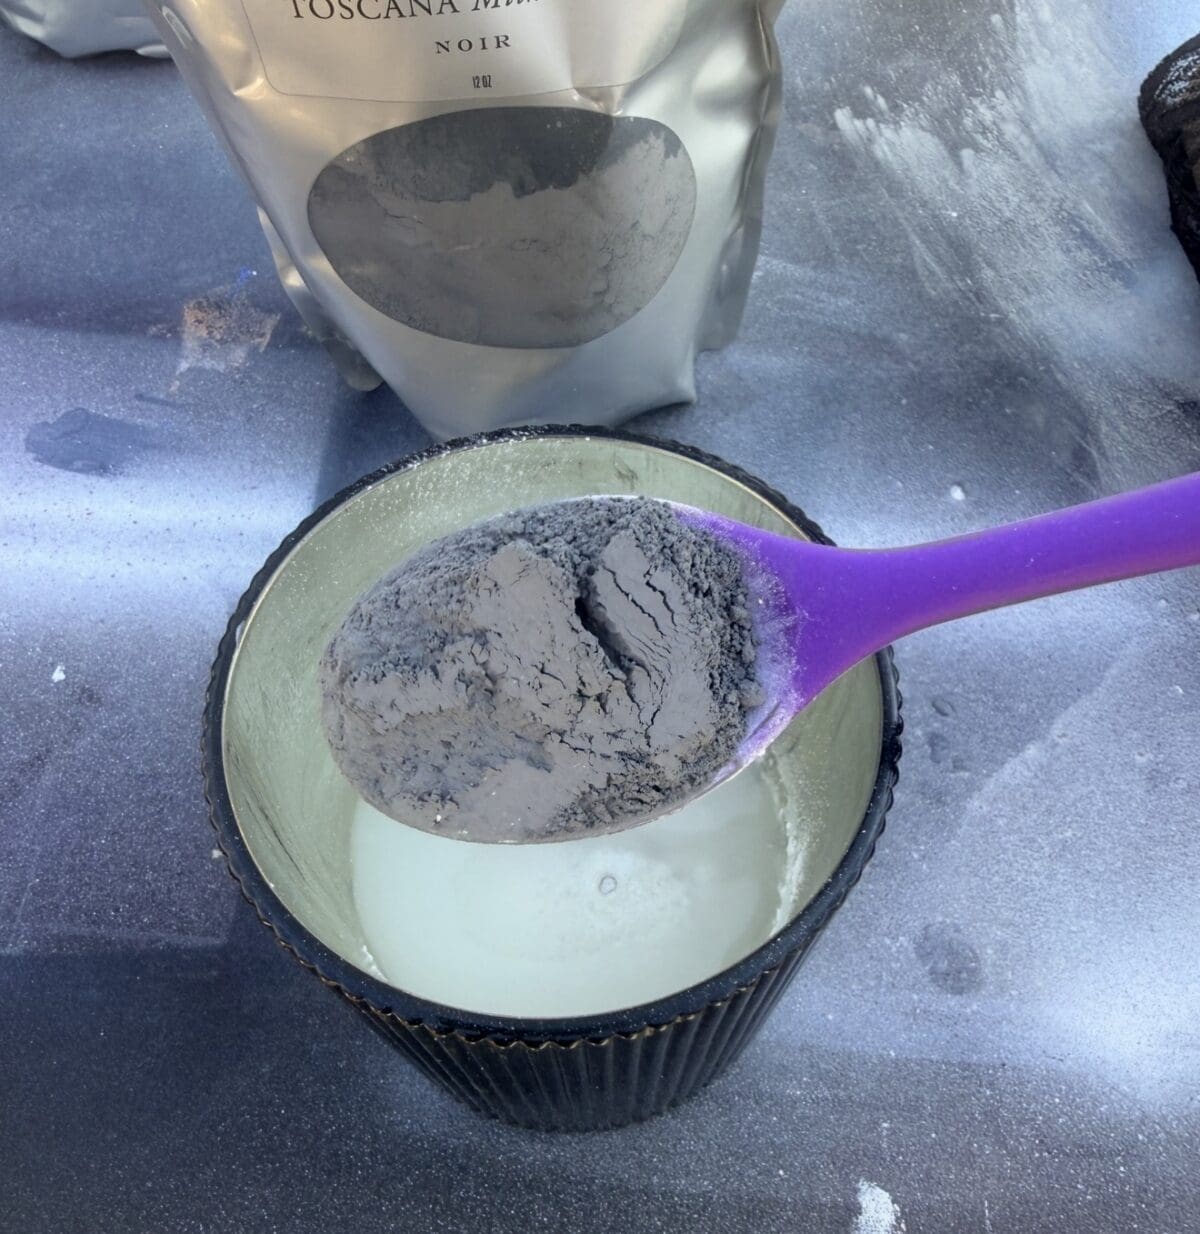
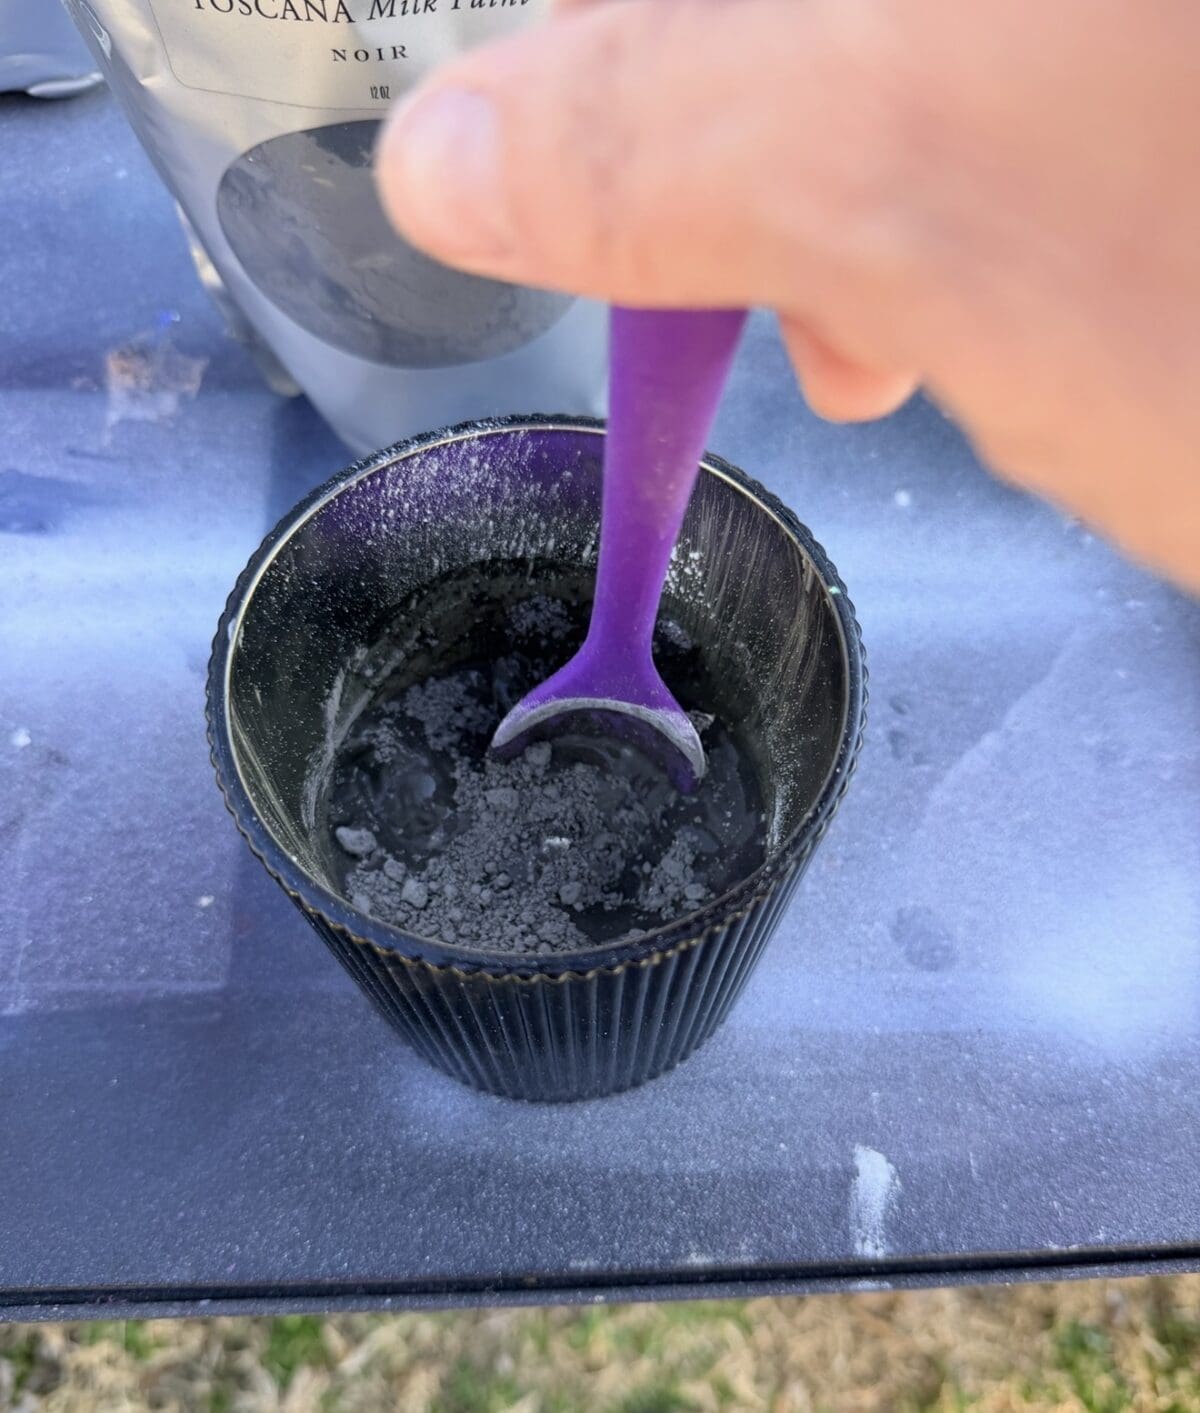
2. Mix Your Tinted Plaster
In a small container, I mixed clear Venetian plaster with black milk paint powder. I stirred until it was the consistency of whipped honey—smooth and spreadable, but not dripping off the knife. The milk paint creates a beautiful, complex charcoal color. Even though I ended up covering it. I could sand back and reveal it if I choose to.
3. Create the Textured Pattern
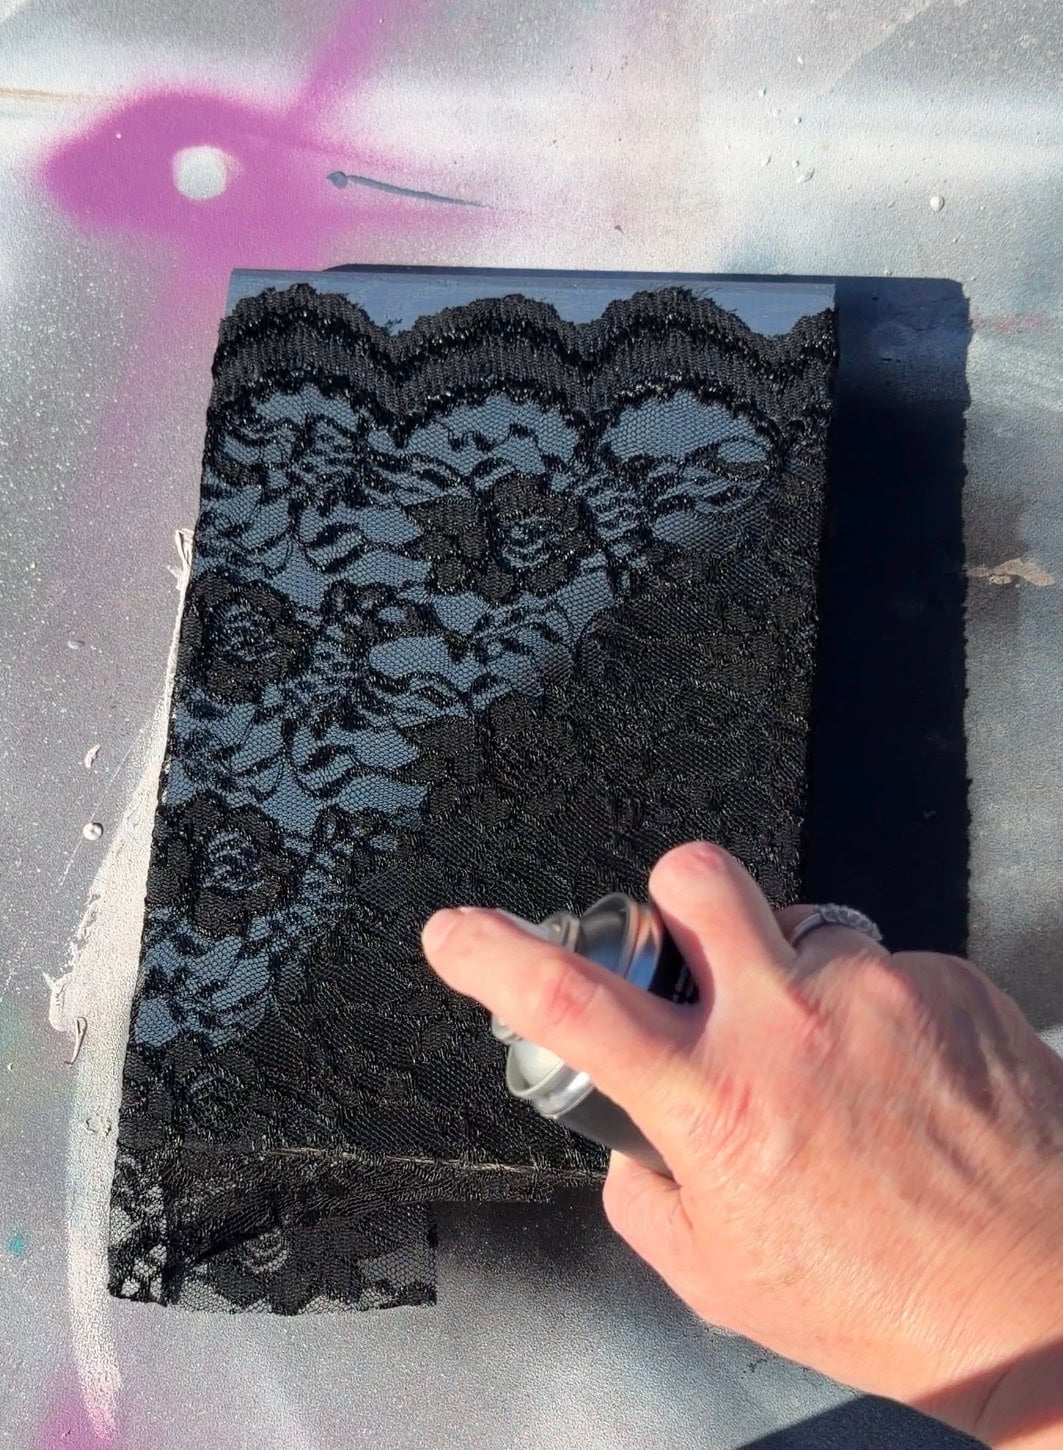
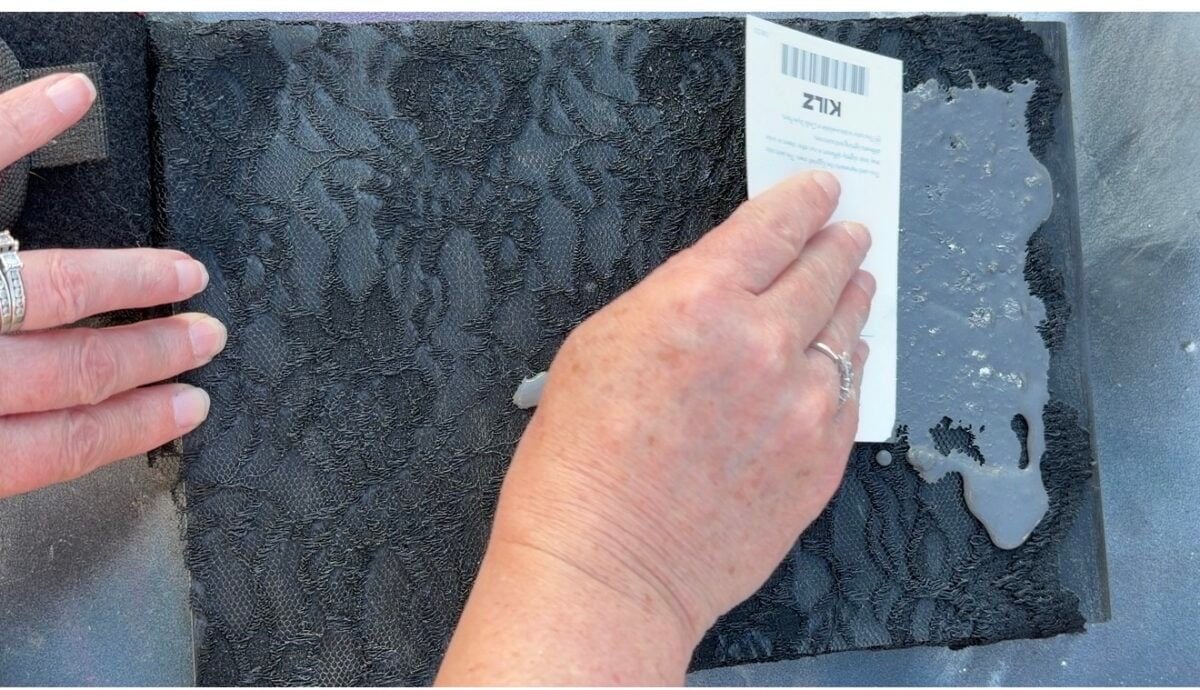
- Secure the Lace: I laid my piece of lace flat over the tabletop and taped down the edges with painter’s tape so it wouldn’t budge.
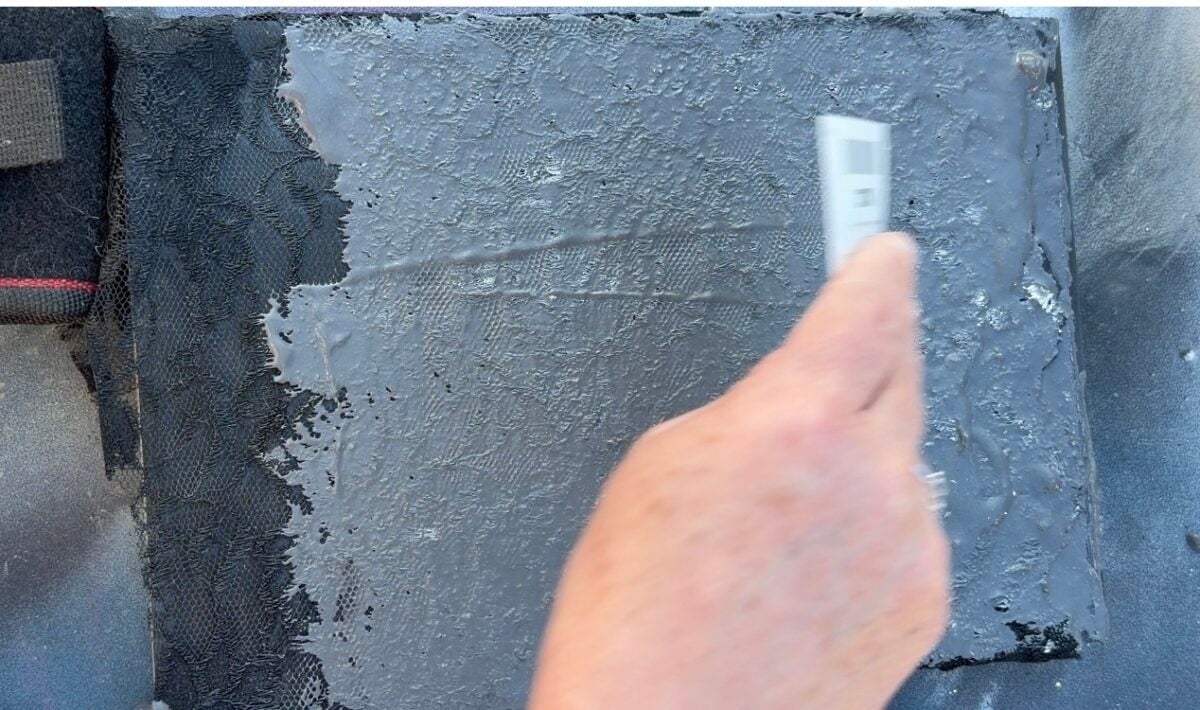
- Apply the Plaster: Using a flat paint card, I spread a thin, even layer of the tinted plaster over the lace, pressing it gently into all the openings.
- I let this sit and start to set up for about 20 minutes before moving on.
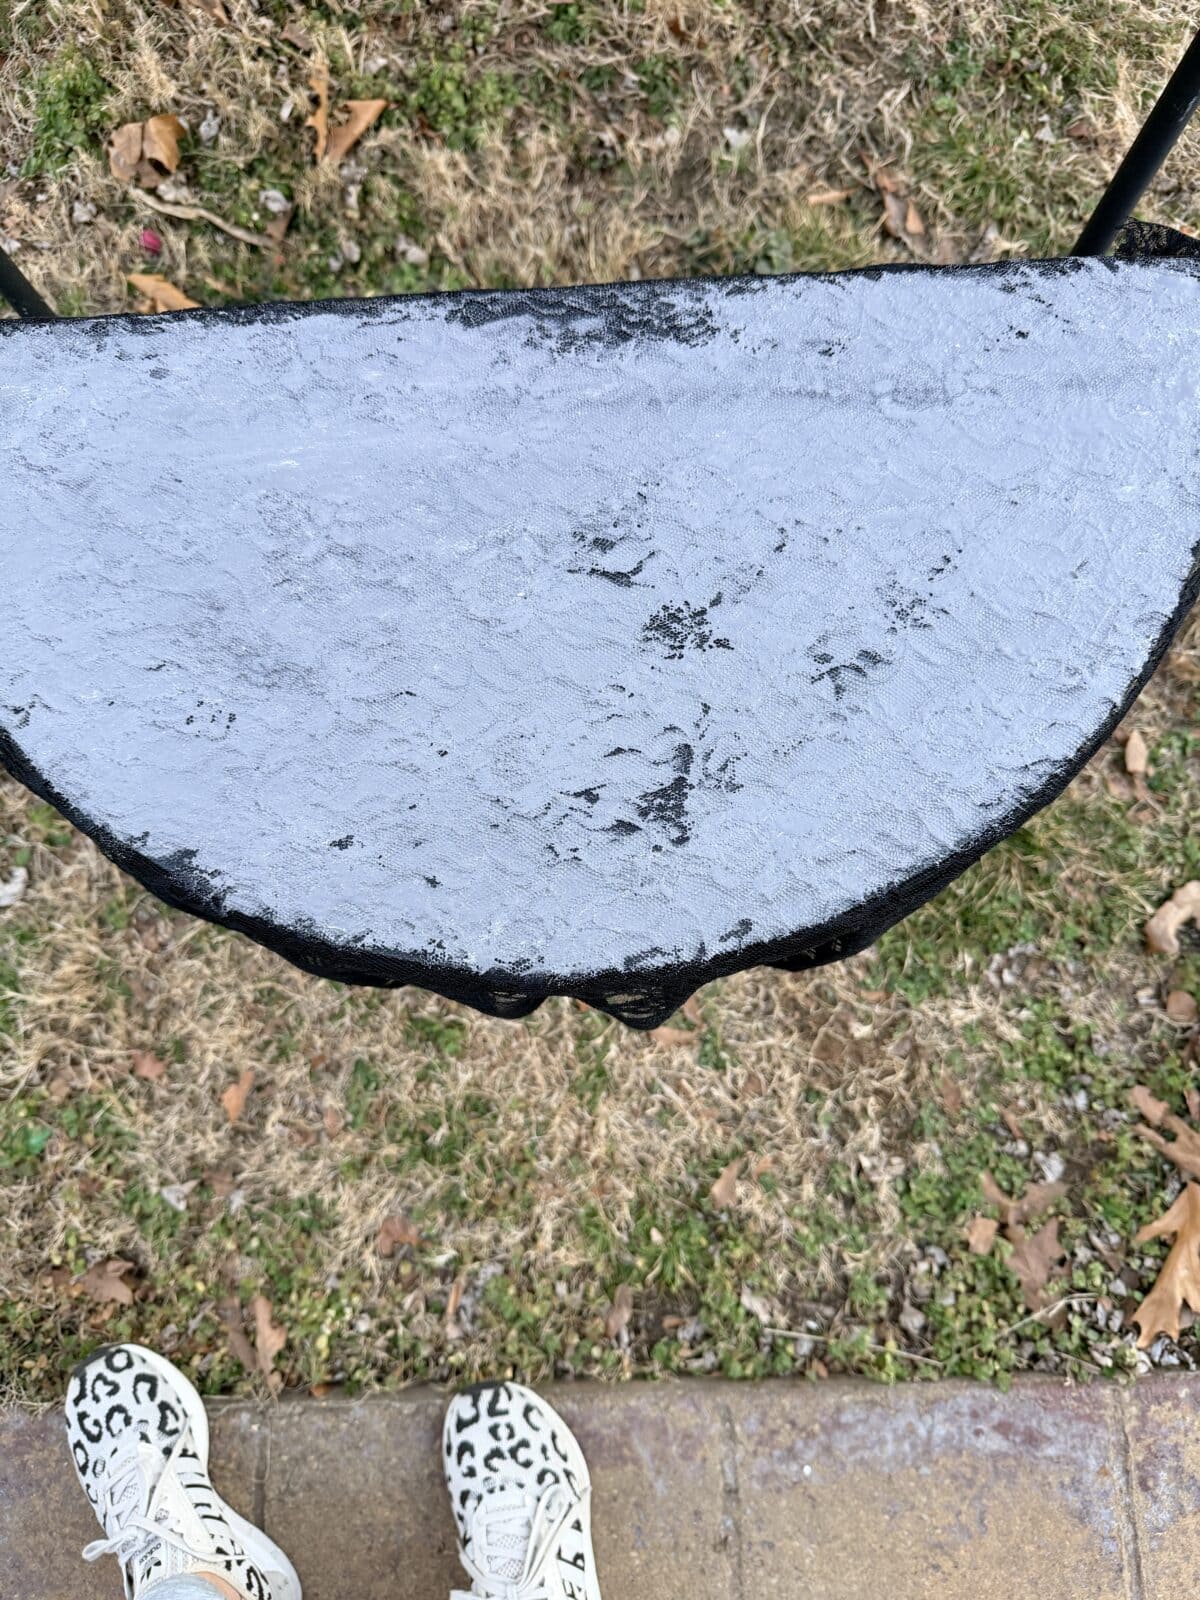
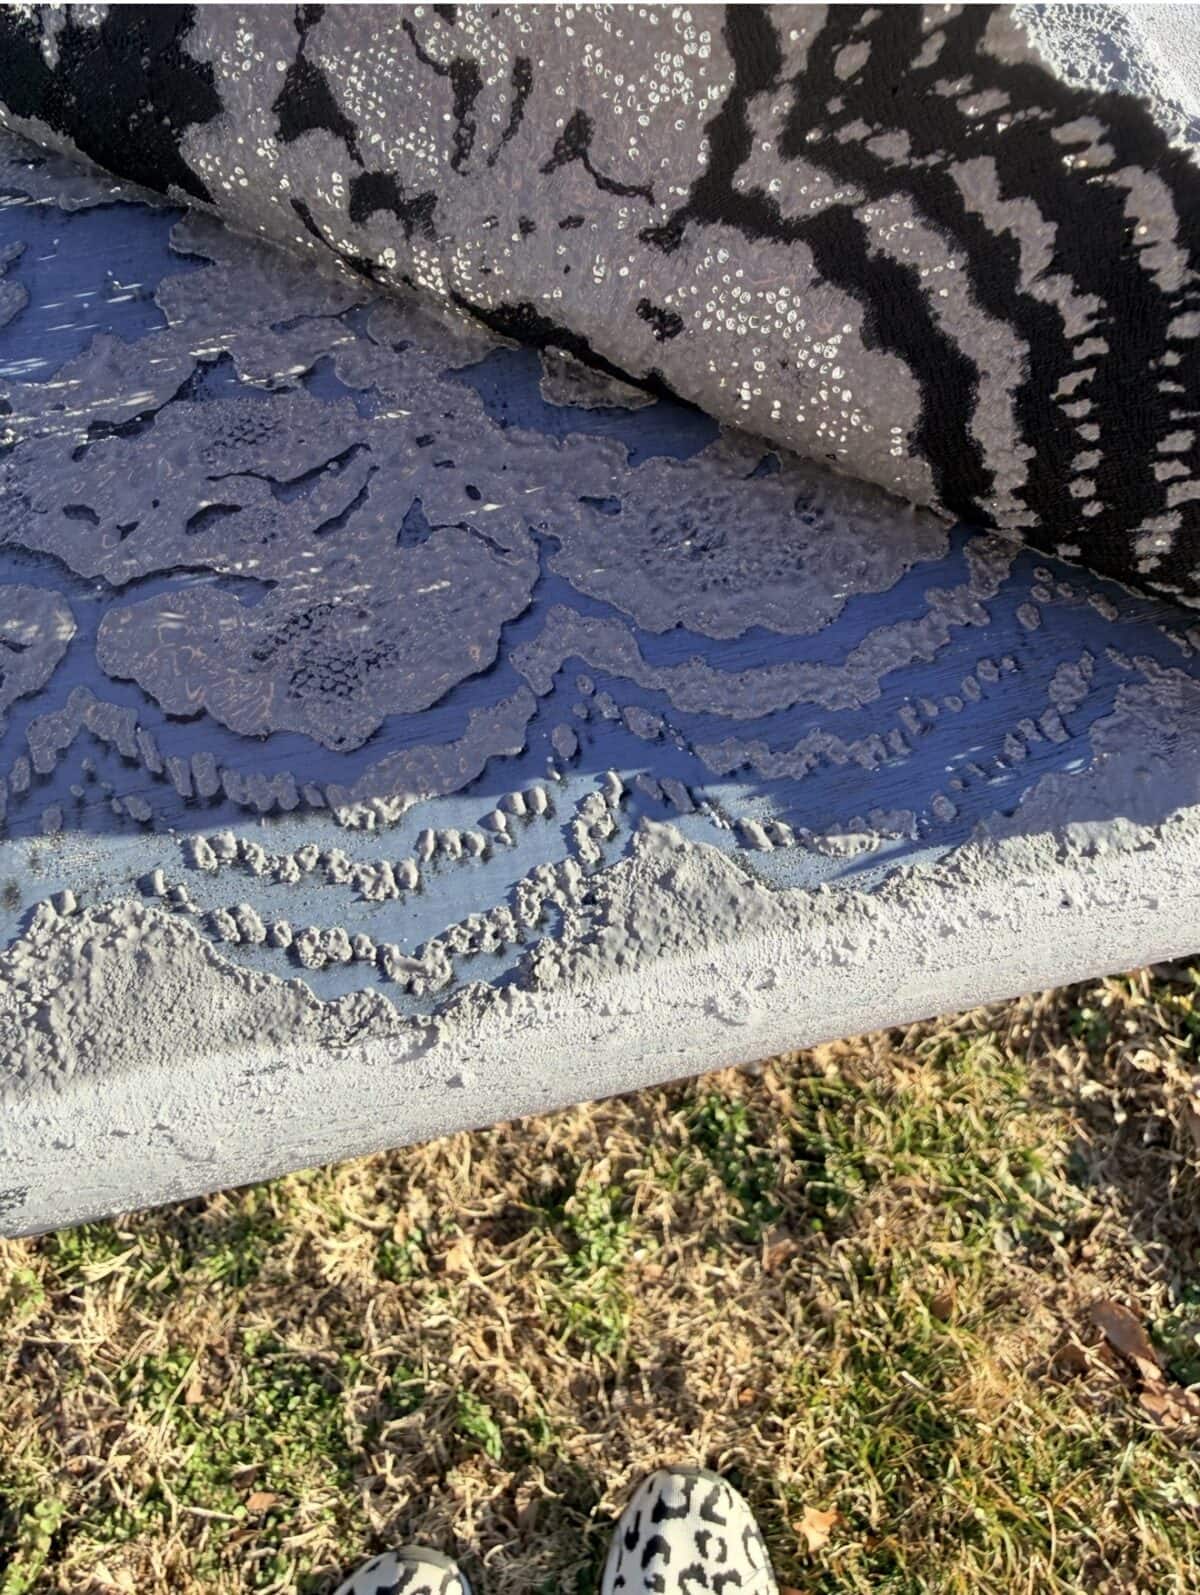
- The Big Reveal: Here’s the best part… slowly and carefully peel the lace straight up. There it is—a perfect, textured pattern. Let this dry completely, for at least 48 hours, until it’s hard to the touch.
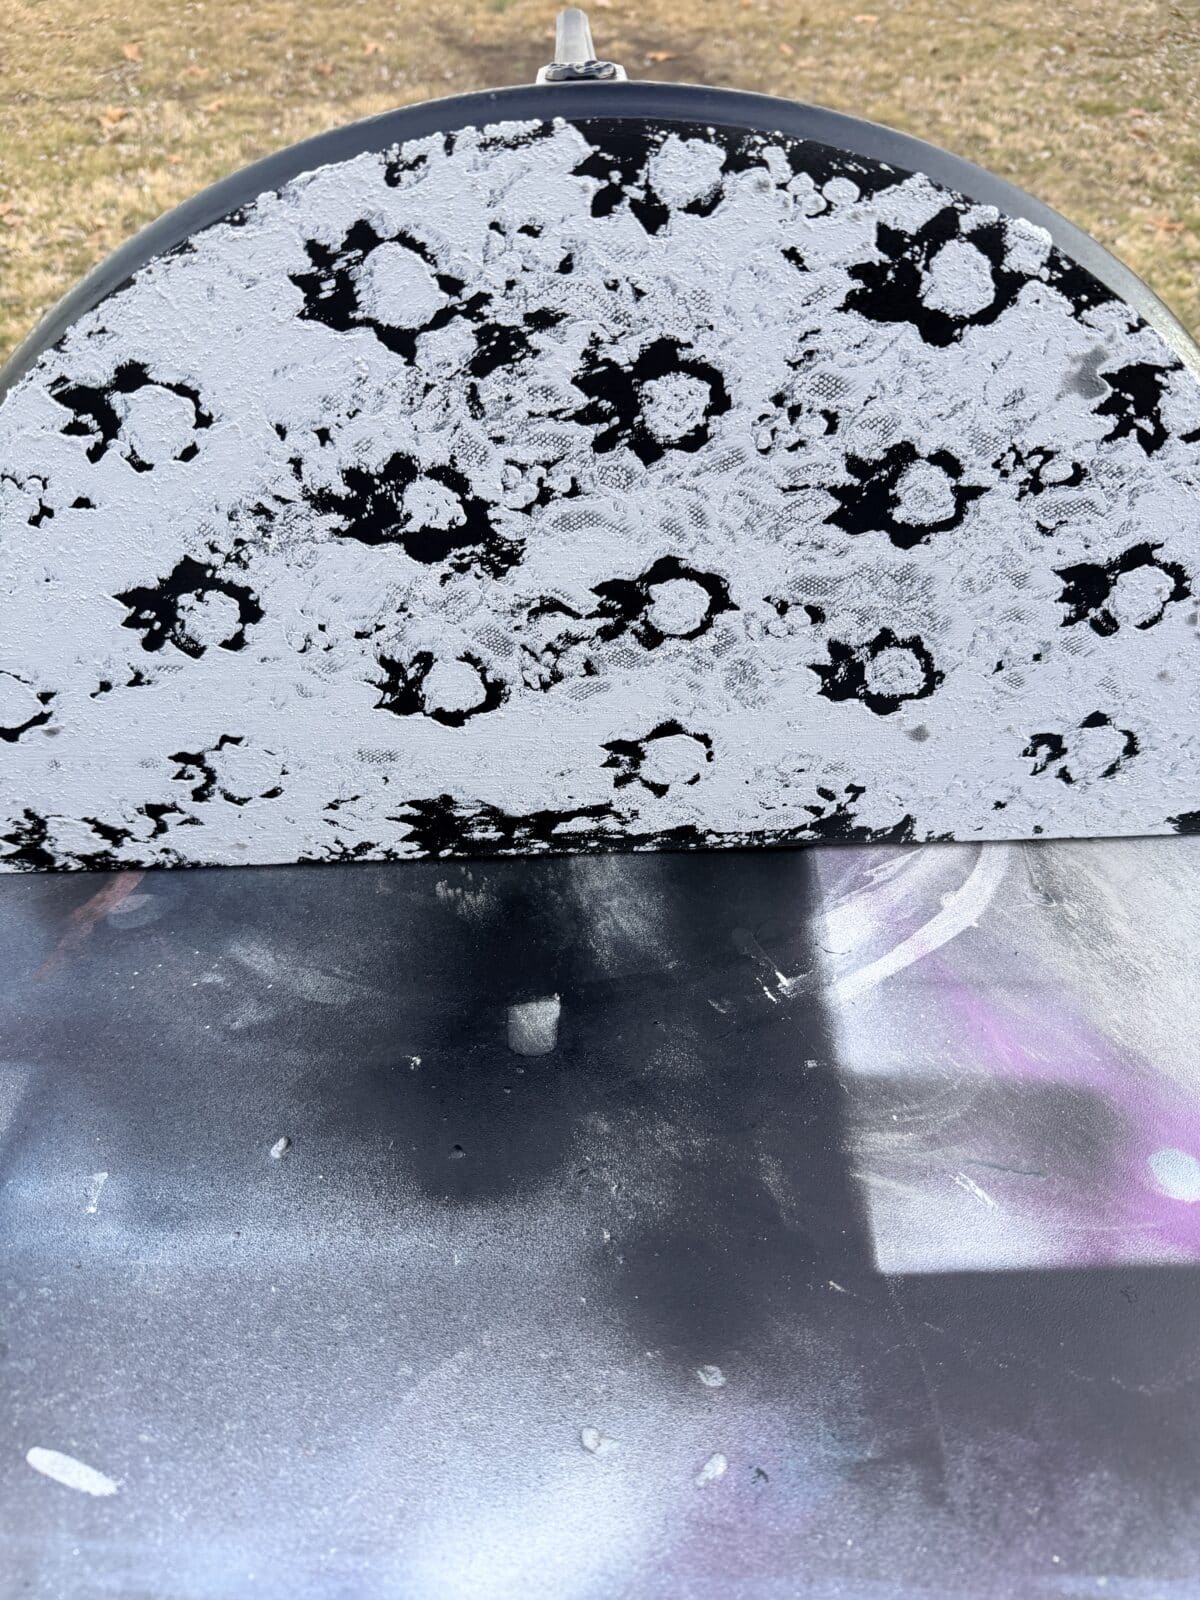
4. Paint over your plaster
Paint over your plaster with the black spray paint.
Pro advice: Try new things!
Here is where I thought about using chalk paint and I probably should have. I used spray paint because I wanted it to be shiny, but I should have chalk painted it black and used beeswax top coat. So do what you want. Make samples and try all your ideas.
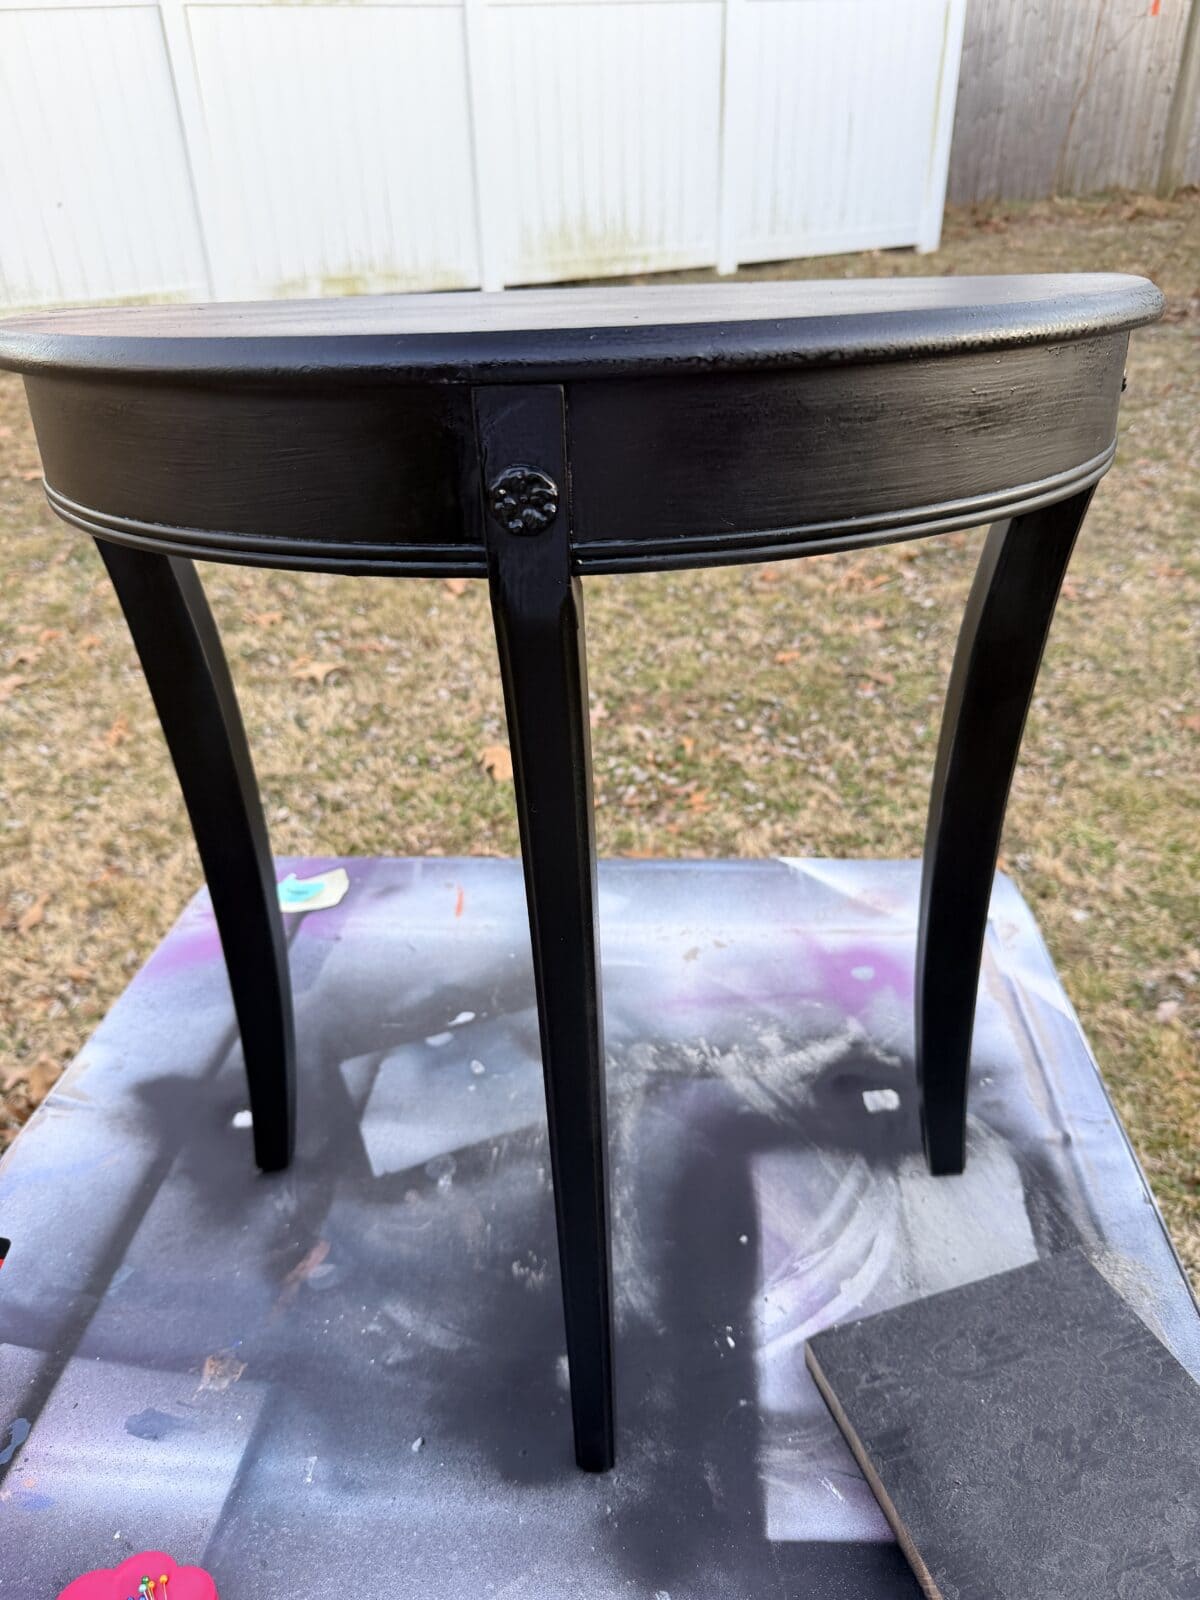
5. Seal and Protect Your Work
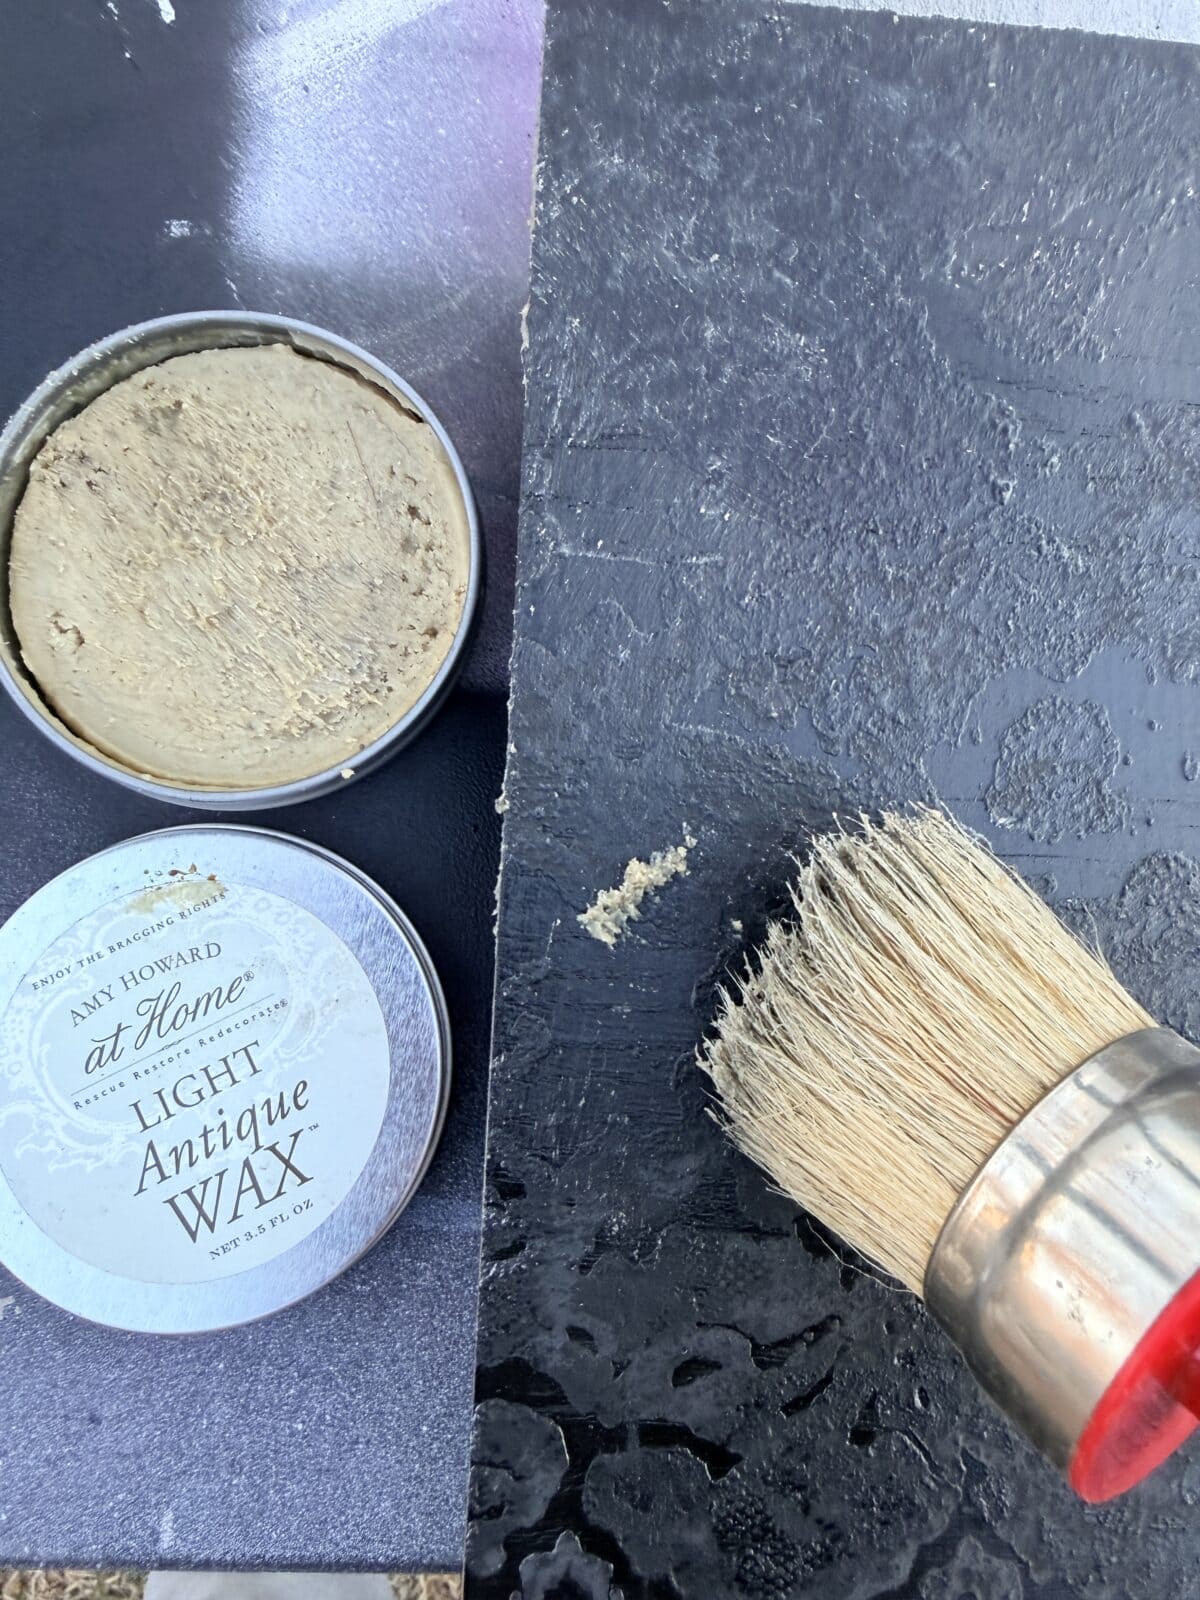
Once the plaster was fully cured and hard, I sealed it with two more light coats of my matte black spray paint. This protects the texture and unifies the color. After that cured, I added a bit of pure beeswax with my wax brush and rubbed it over the entire surface, buffing with a soft cloth. This gives it that final silky feel and a gentle, soft glow.
Helpful Tips from My Workbench
- If the pattern looks fuzzy: Your plaster might have been too thick, or the lace might have lifted. A thinner spread and well-taped edges fix this.
- Embrace the character: Any slight imperfection isn’t a mistake; it’s what makes the finish look real and hand-done.
Here are some other lace projects from my friends that I think you’ll like!


Giving the Piece a New Purpose
This table didn’t need to shout. Now, it has a quiet confidence. I’ve placed it beside a chair as a steady spot for my tea cup, where the texture is a nice, quiet detail. It would work just as well as a plant stand or a simple nightstand.
This project is a perfect example of how beauty in furniture is built in layers. It’s about taking the time with good materials to turn a forgettable find into a favorite piece.
Happy Painting,
Amy
What a fun way to add texture and give old pieces new life, Amy. I love your advice about making a sample piece too. It’s such a smart time saver! Hugs, CoCo
Thank you Amy, for the fun idea of using lace as a stencil! I can’t wait to try this, but will follow your advice and make a sample first! Hugs!
This is so cool, Amy! Clever, unique, and a great way to incorporate lace! I also appreciate the reminder to always try a sample first. (sometimes I don’t…and then regret it!) Thanks, Amy!
What a creative idea to use lace as a stencil. Thanks for the tip to make a sample first, it’s so helpful, especially if it’s your first time trying a new technique!
Hi Amy – I have never used plaster on a piece of furniture! What a cool idea! Your advice of testing out the lace pattern and paint on a piece of wood first is so smart. Can I tell you how many pieces of furniture I inadvertently messed up because I didn’t do a test first? Thank you for all the tips!
What a creative idea Amy! Leave it to you to come up with this clever idea.