
How To Make Terra Cotta Pots Look Vintage Using Crayola Air Dry Clay
In this step-by-step guide, I will show you how to use Crayola Air Dry Clay to create unique terra cotta pots by adding fun butterflies and knobs and white wax and make them look vintage!
Every month my friends and I in the Handcrafted Society share a fun project and this month we all made something with air dry clay.
If you want to see all the creative ways you can use air dry clay to make beautiful things, they are all linked at the bottom of this post!
Supplies
- Terra Cotta Crayola air dry clay
- Terra cotta pots of all sizes
- Iron Orchid Designs Butterfly Mold
- Scenery Products blended turf, fine green powder from the model section at Hobby Lobby
- Amy Howard at Home Liming wax
How to use Crayola air dry clay to make vintage pots
- I used Crayola air dry clay in the color terra cotta
Rather than using white and painting everything to match, Crayola has this terra cotta color and it is so good.
I used such a tiny amount to make this entire project, but I suggest you only do one small scoop at a time rather than getting a big scoop out and working fast to get it into the molds.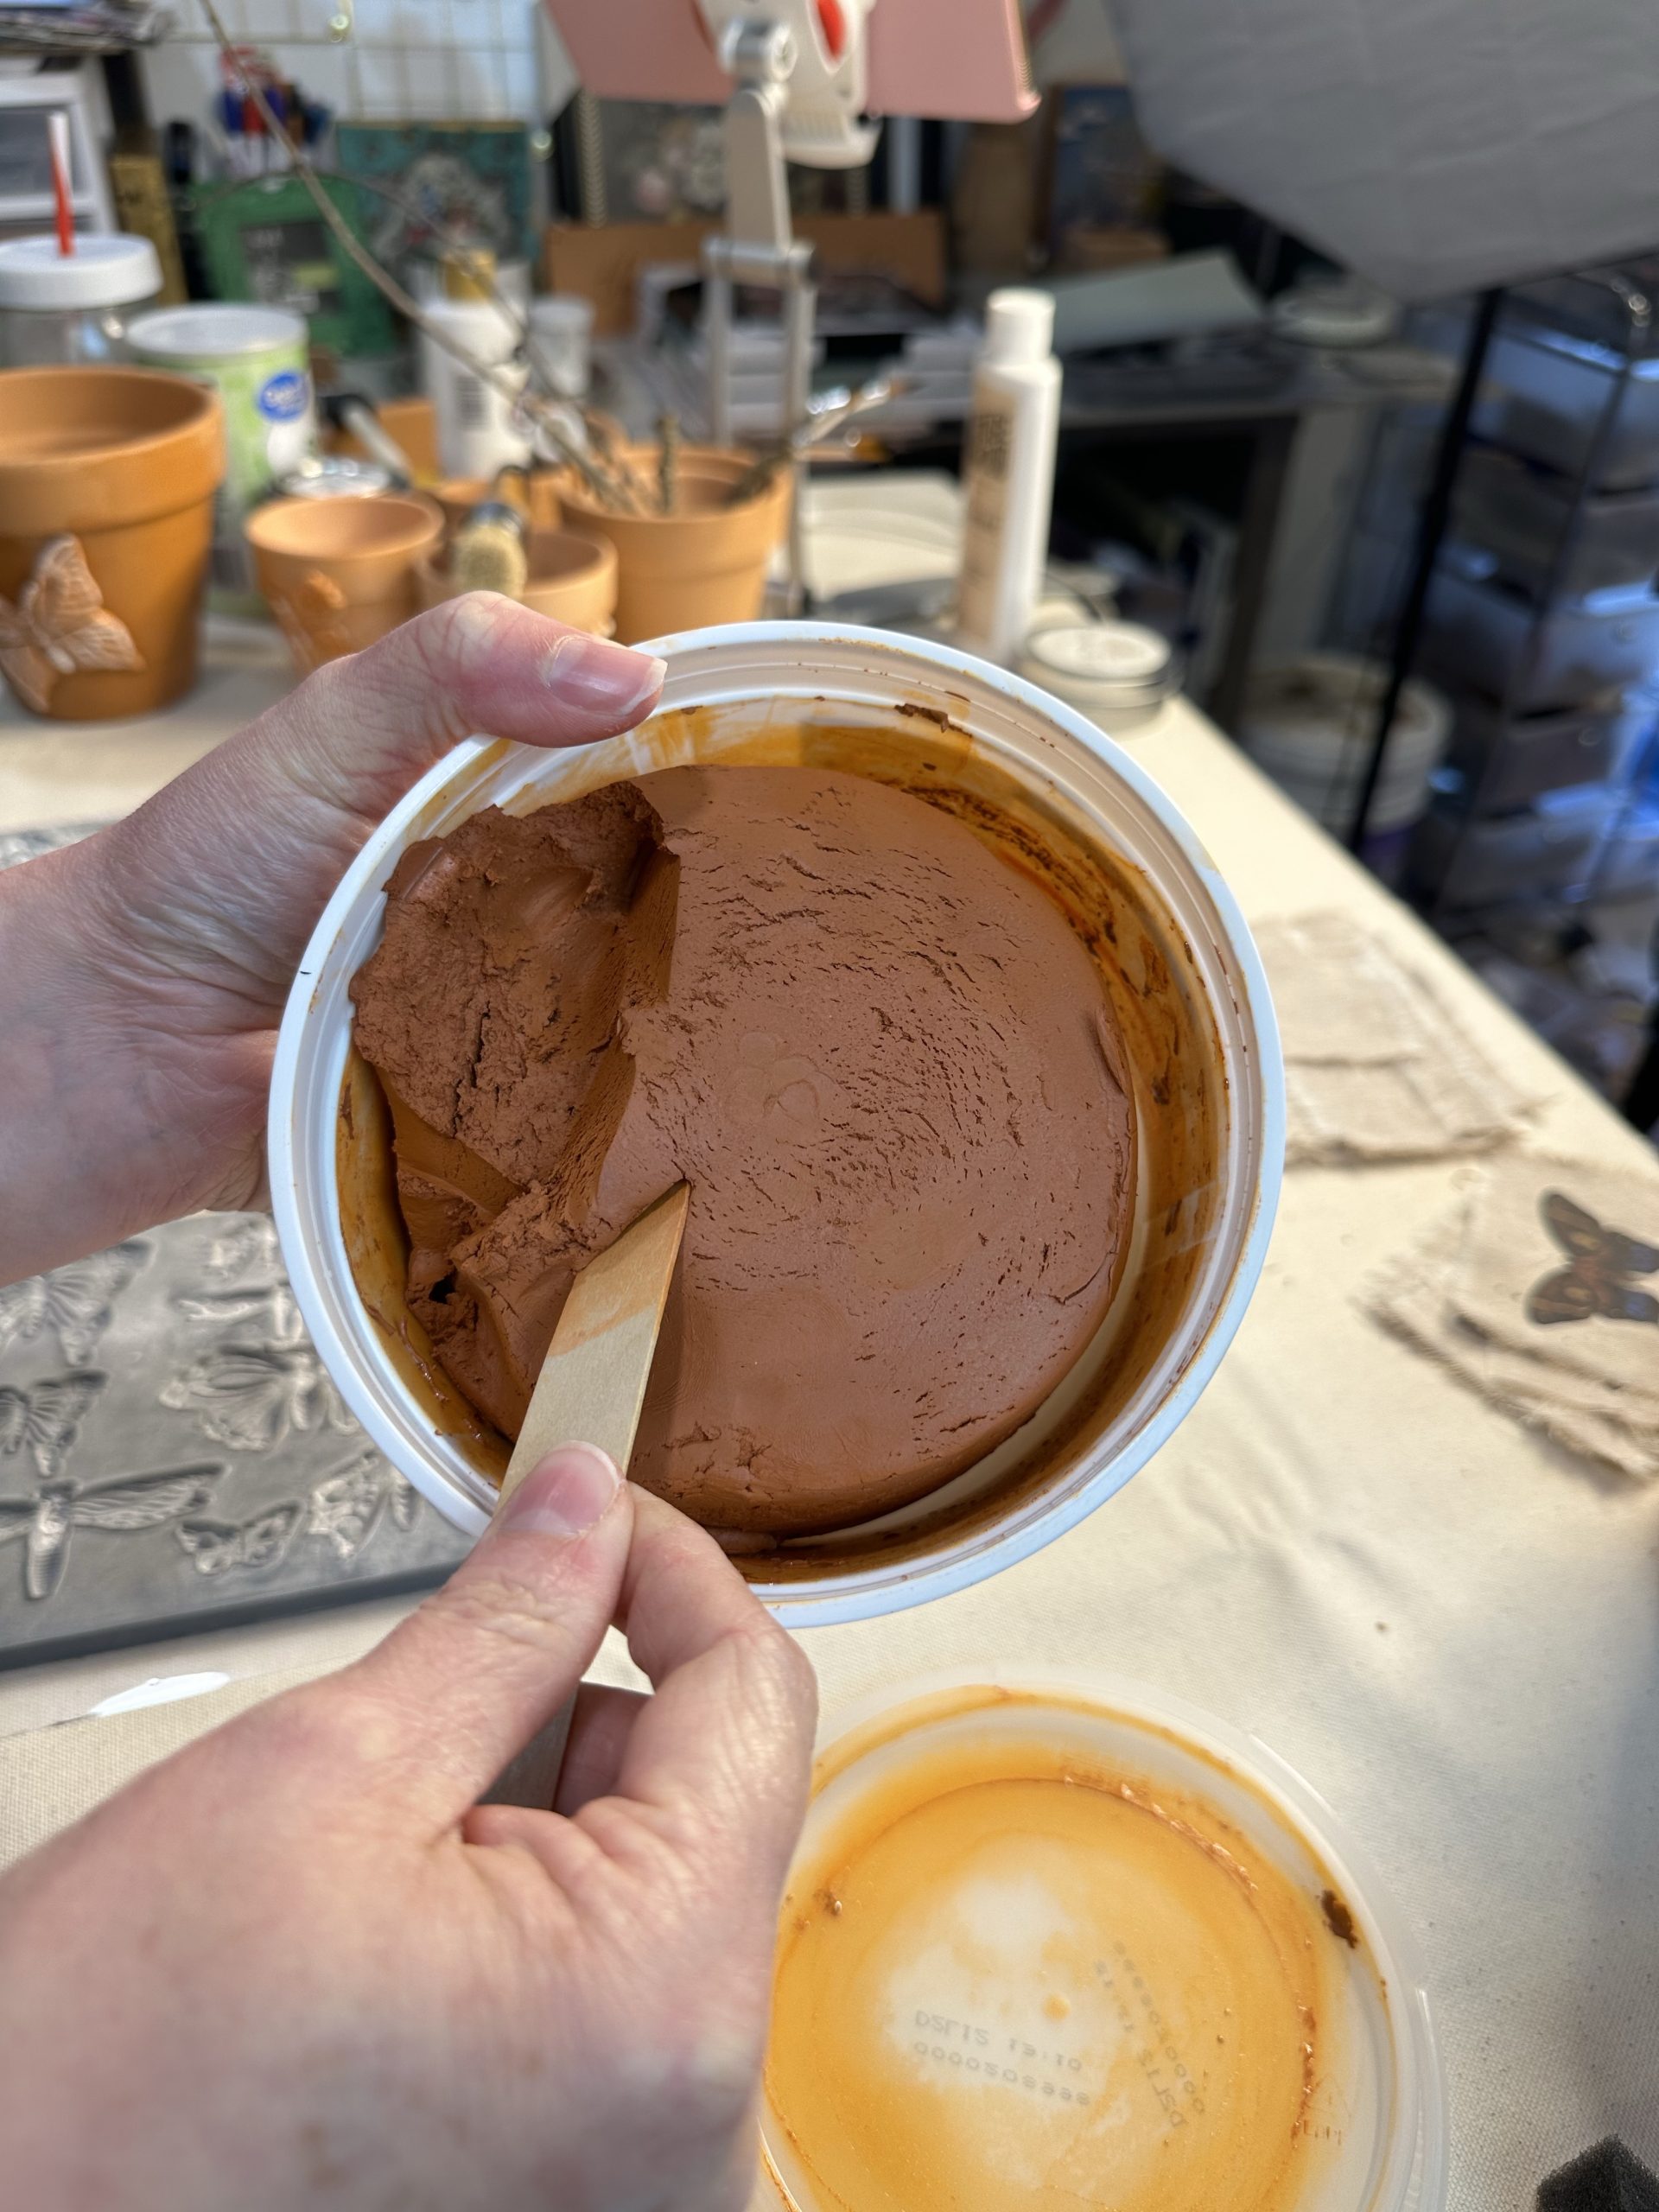
- Work the clay
Work the clay around in your hands to warm it up and make it pliable.
It will get your hands orange but it washes right off and didn’t stain my hands.
I worked the clay into a shape that would fit along the lines or size of the spot in the mold where it was going.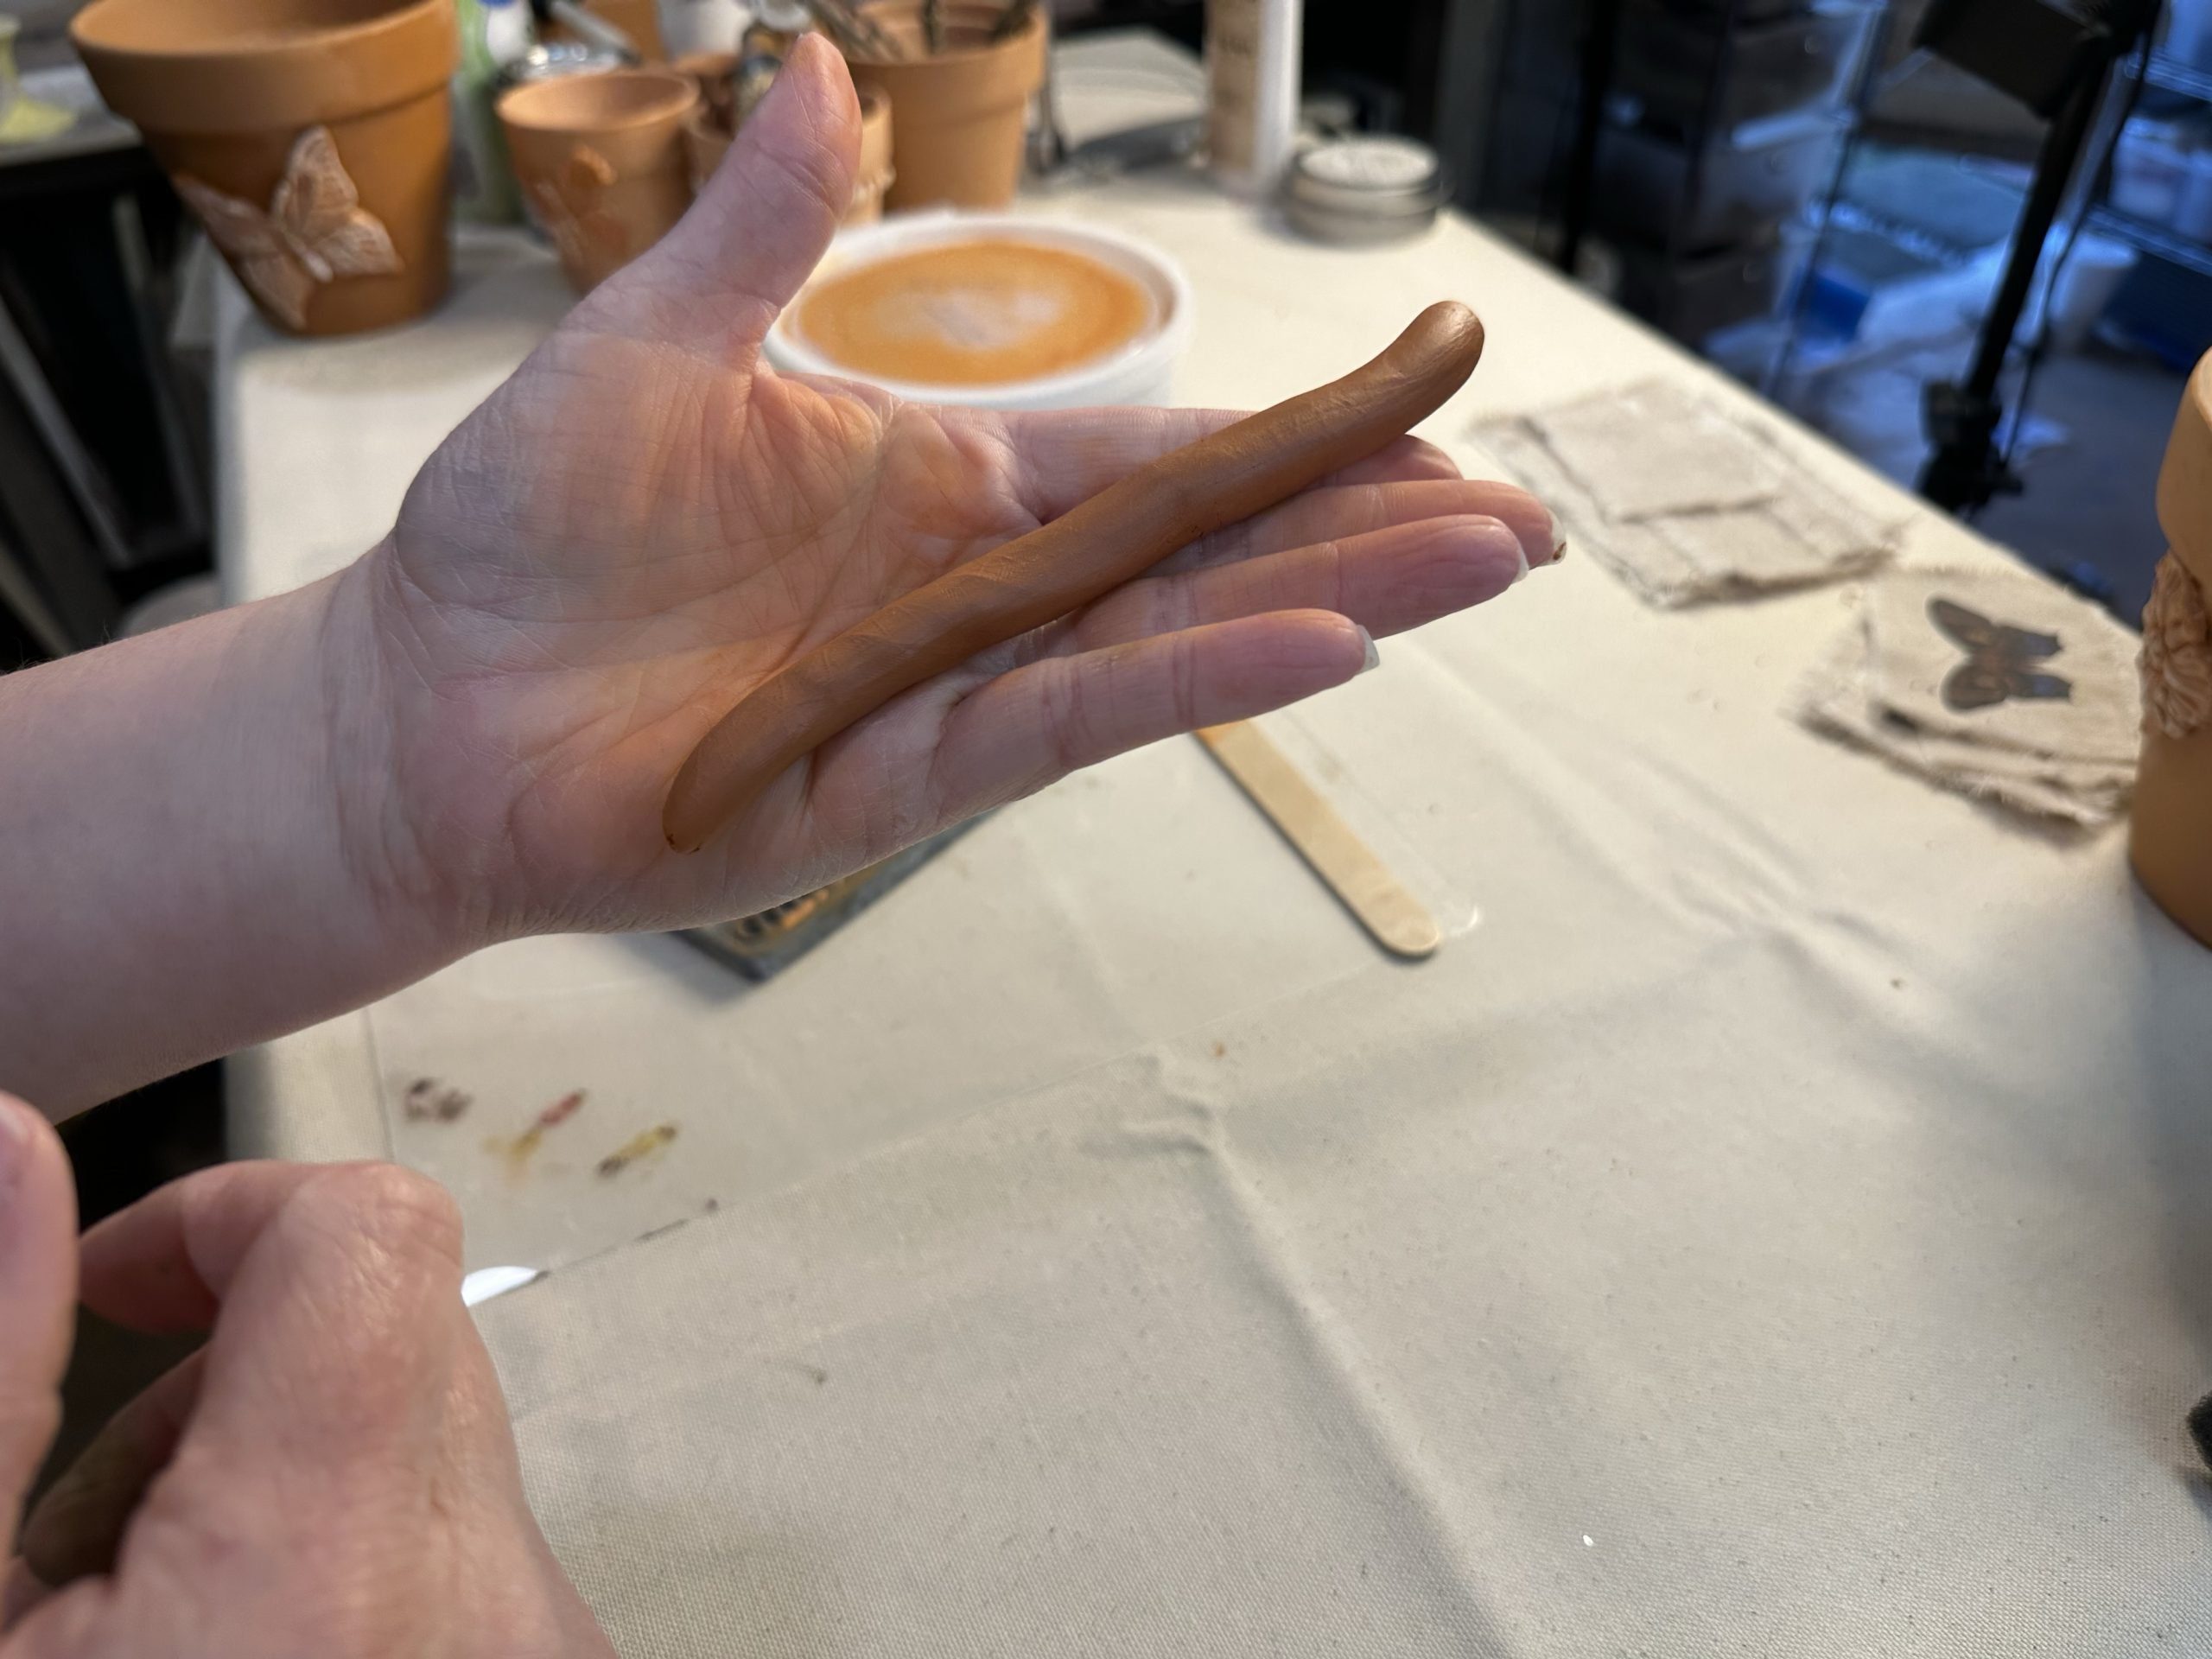
- Work the clay into your mold
Press the pliable clay into the mold and push firmly to make sure your air dry clay is going to get all the details.

- Lift the air dry clay out of the mold
I make my molded design and immediately remove it.
Do this by lifting the mold and gently working the clay out
Then I laid it over the terra cotta pot so that, as it started to dry but before I was done making molds, that it would be drying in the right shape of the terra cotta pot.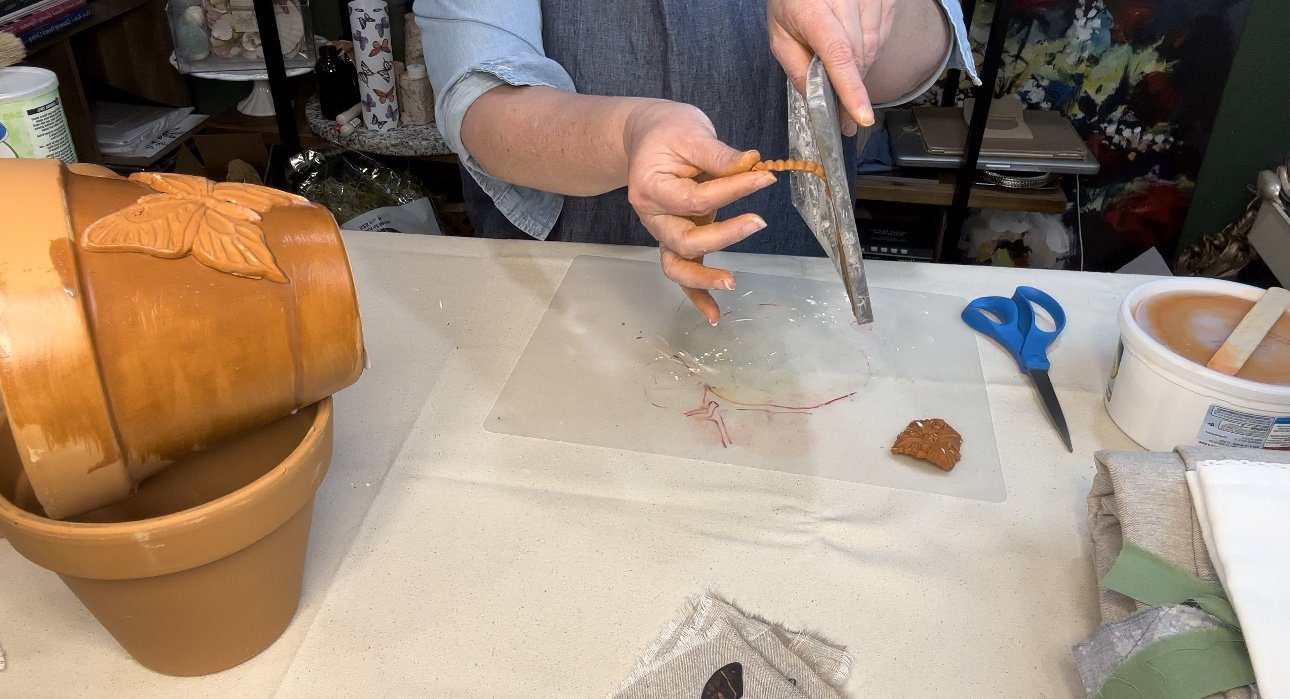
- Use polyacrylic to adhere the molds to the pots
I used polyacrylic to “glue” my molds onto the pots. It worked great! I went in after it dried and sealed the entire pot and the air dry clay mold with the polyacrylic because they are going to be outside.
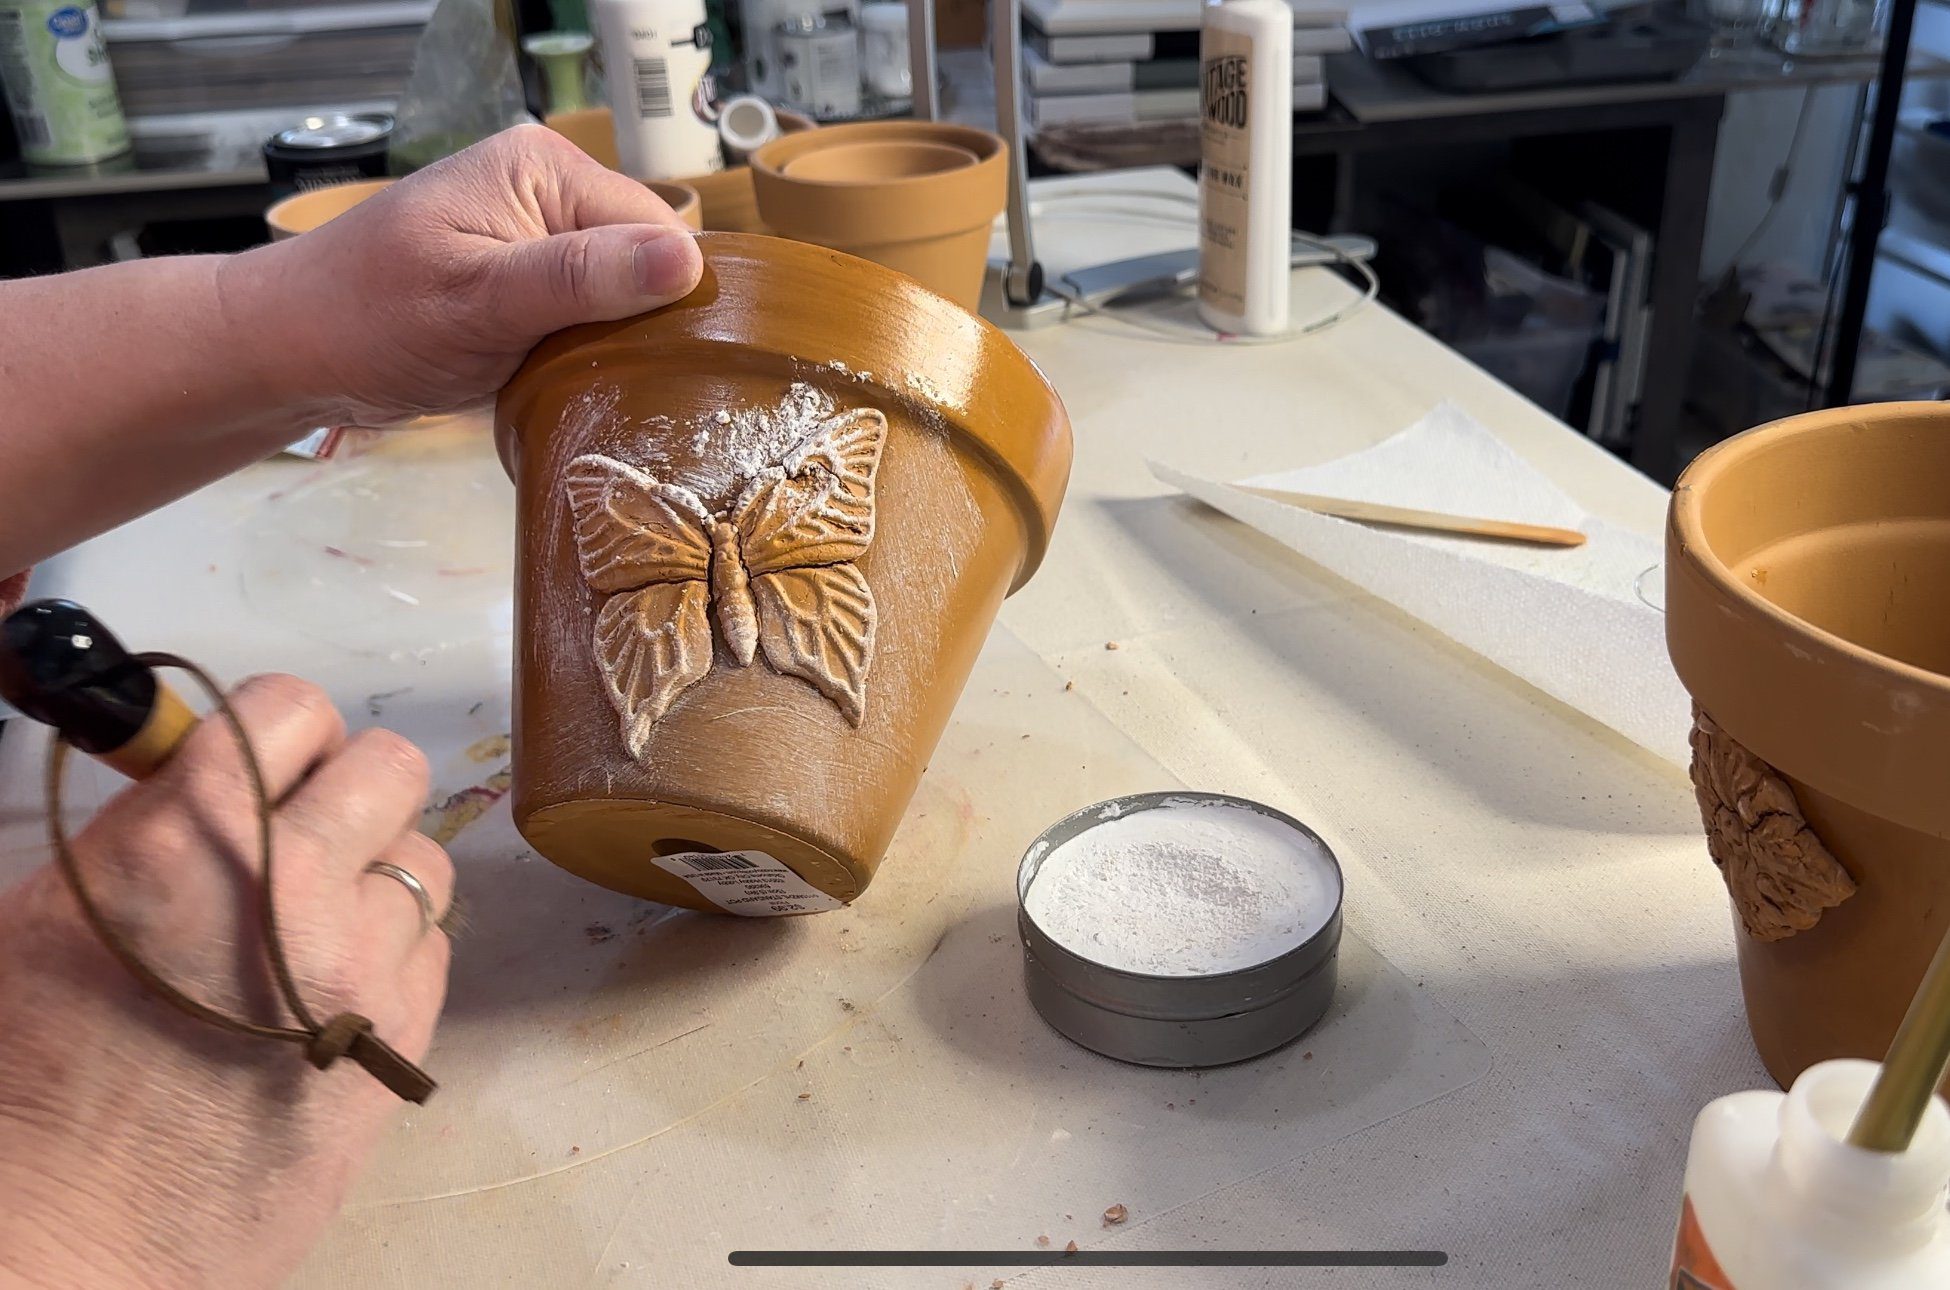
- White Wax
After my sealer dried, I went in with Amy Howard at Home Liming wax to “age” the pots and molded clay to make it look aged and vintage.
I added a generous amount all over and used a cross-hatch pattern (verticle strokes and then horizontal) and I wiped any excess back with a lint-free cloth.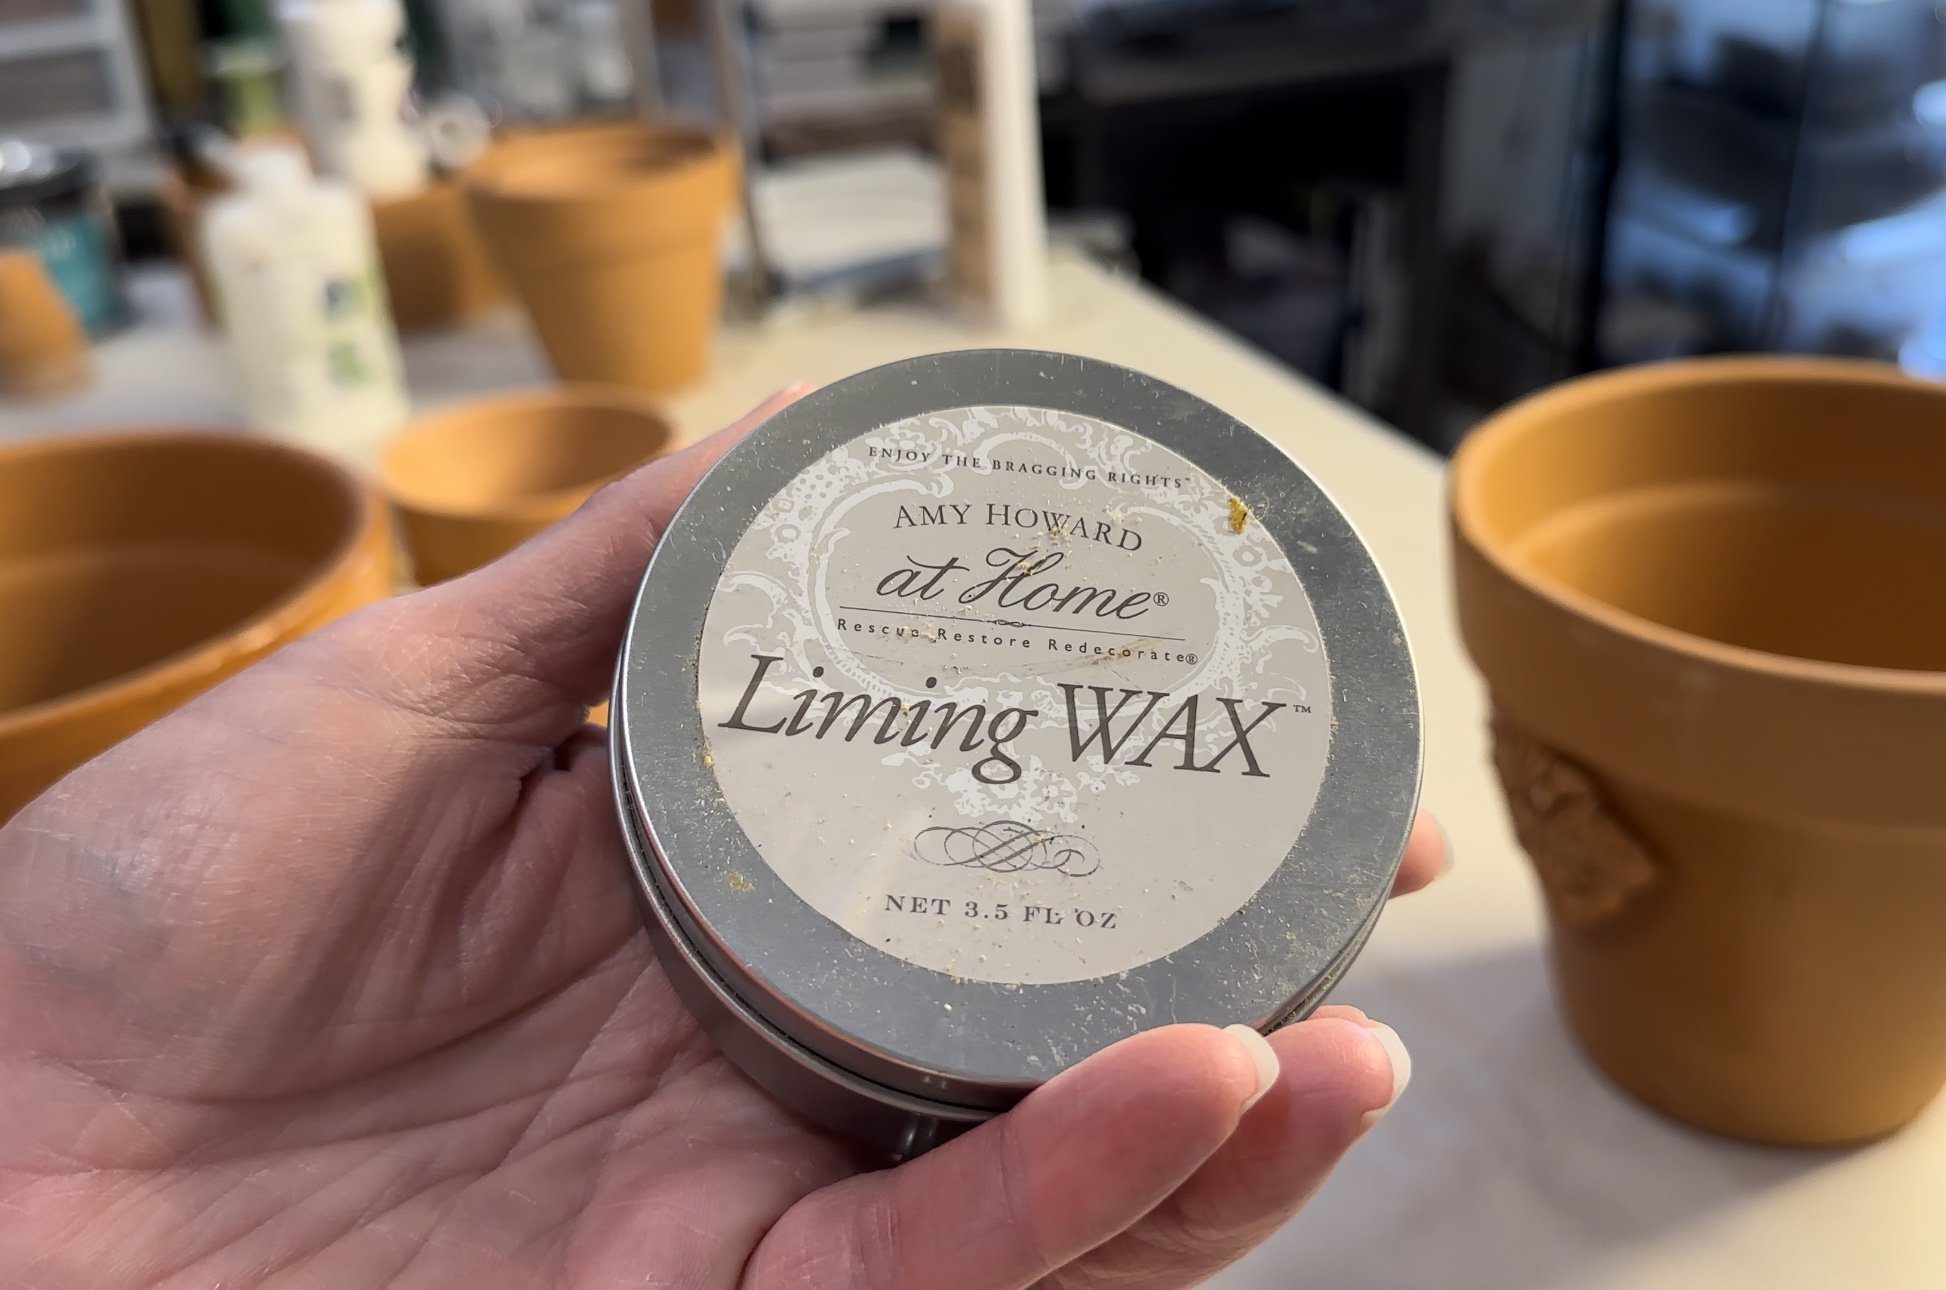
-
- Green Turf
I found this green turf when I was looking for flocking and I wanted to see how it would work as “moss”. It turned out so good!
I got it in the model section at Hobby Lobby where the War Scenes, airplane and car model things are.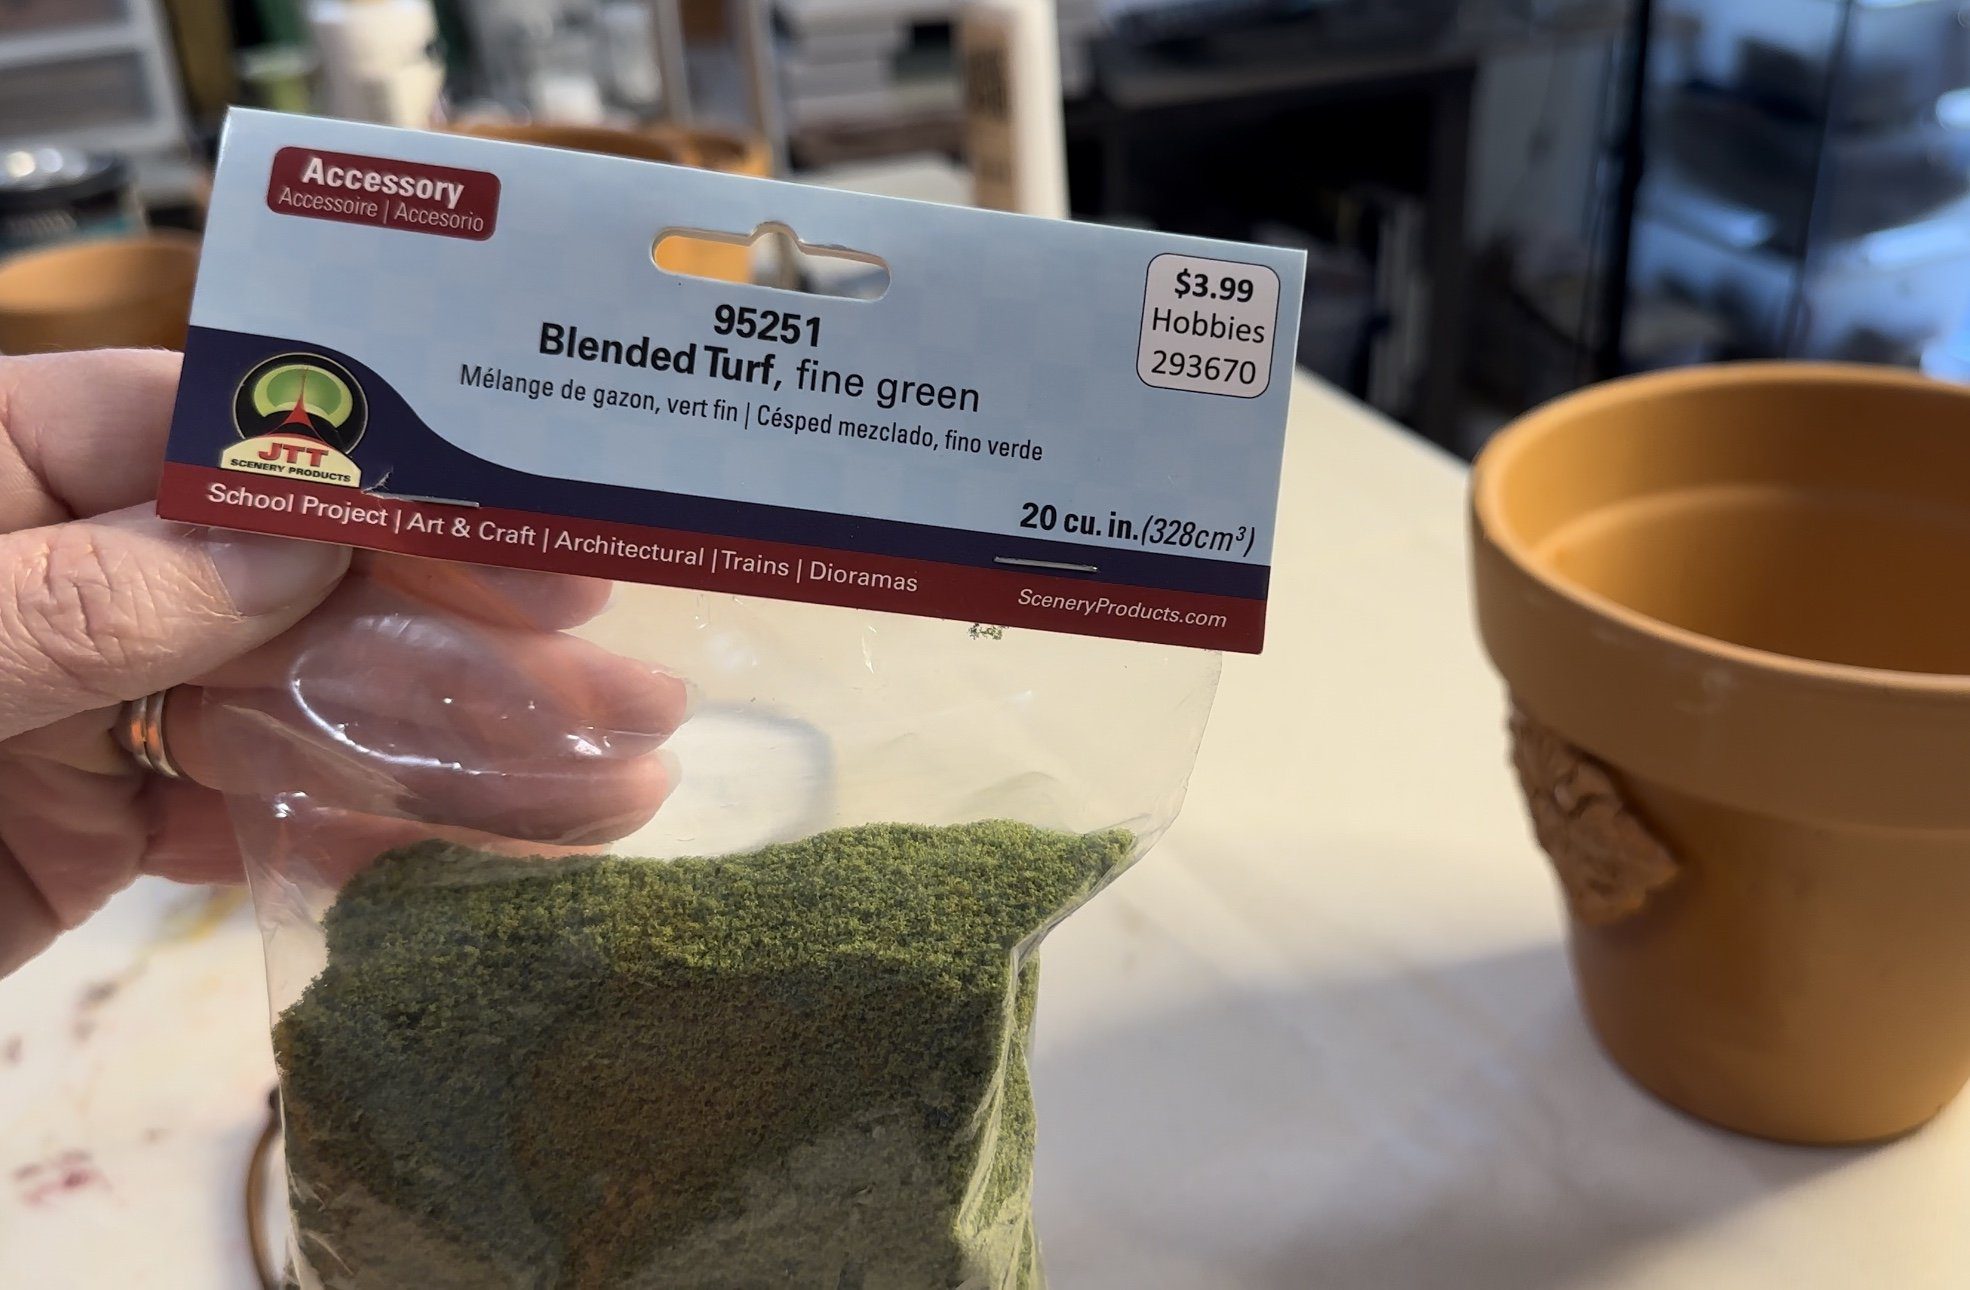
- Use Polycrylic or glue to adhere the “moss” as well
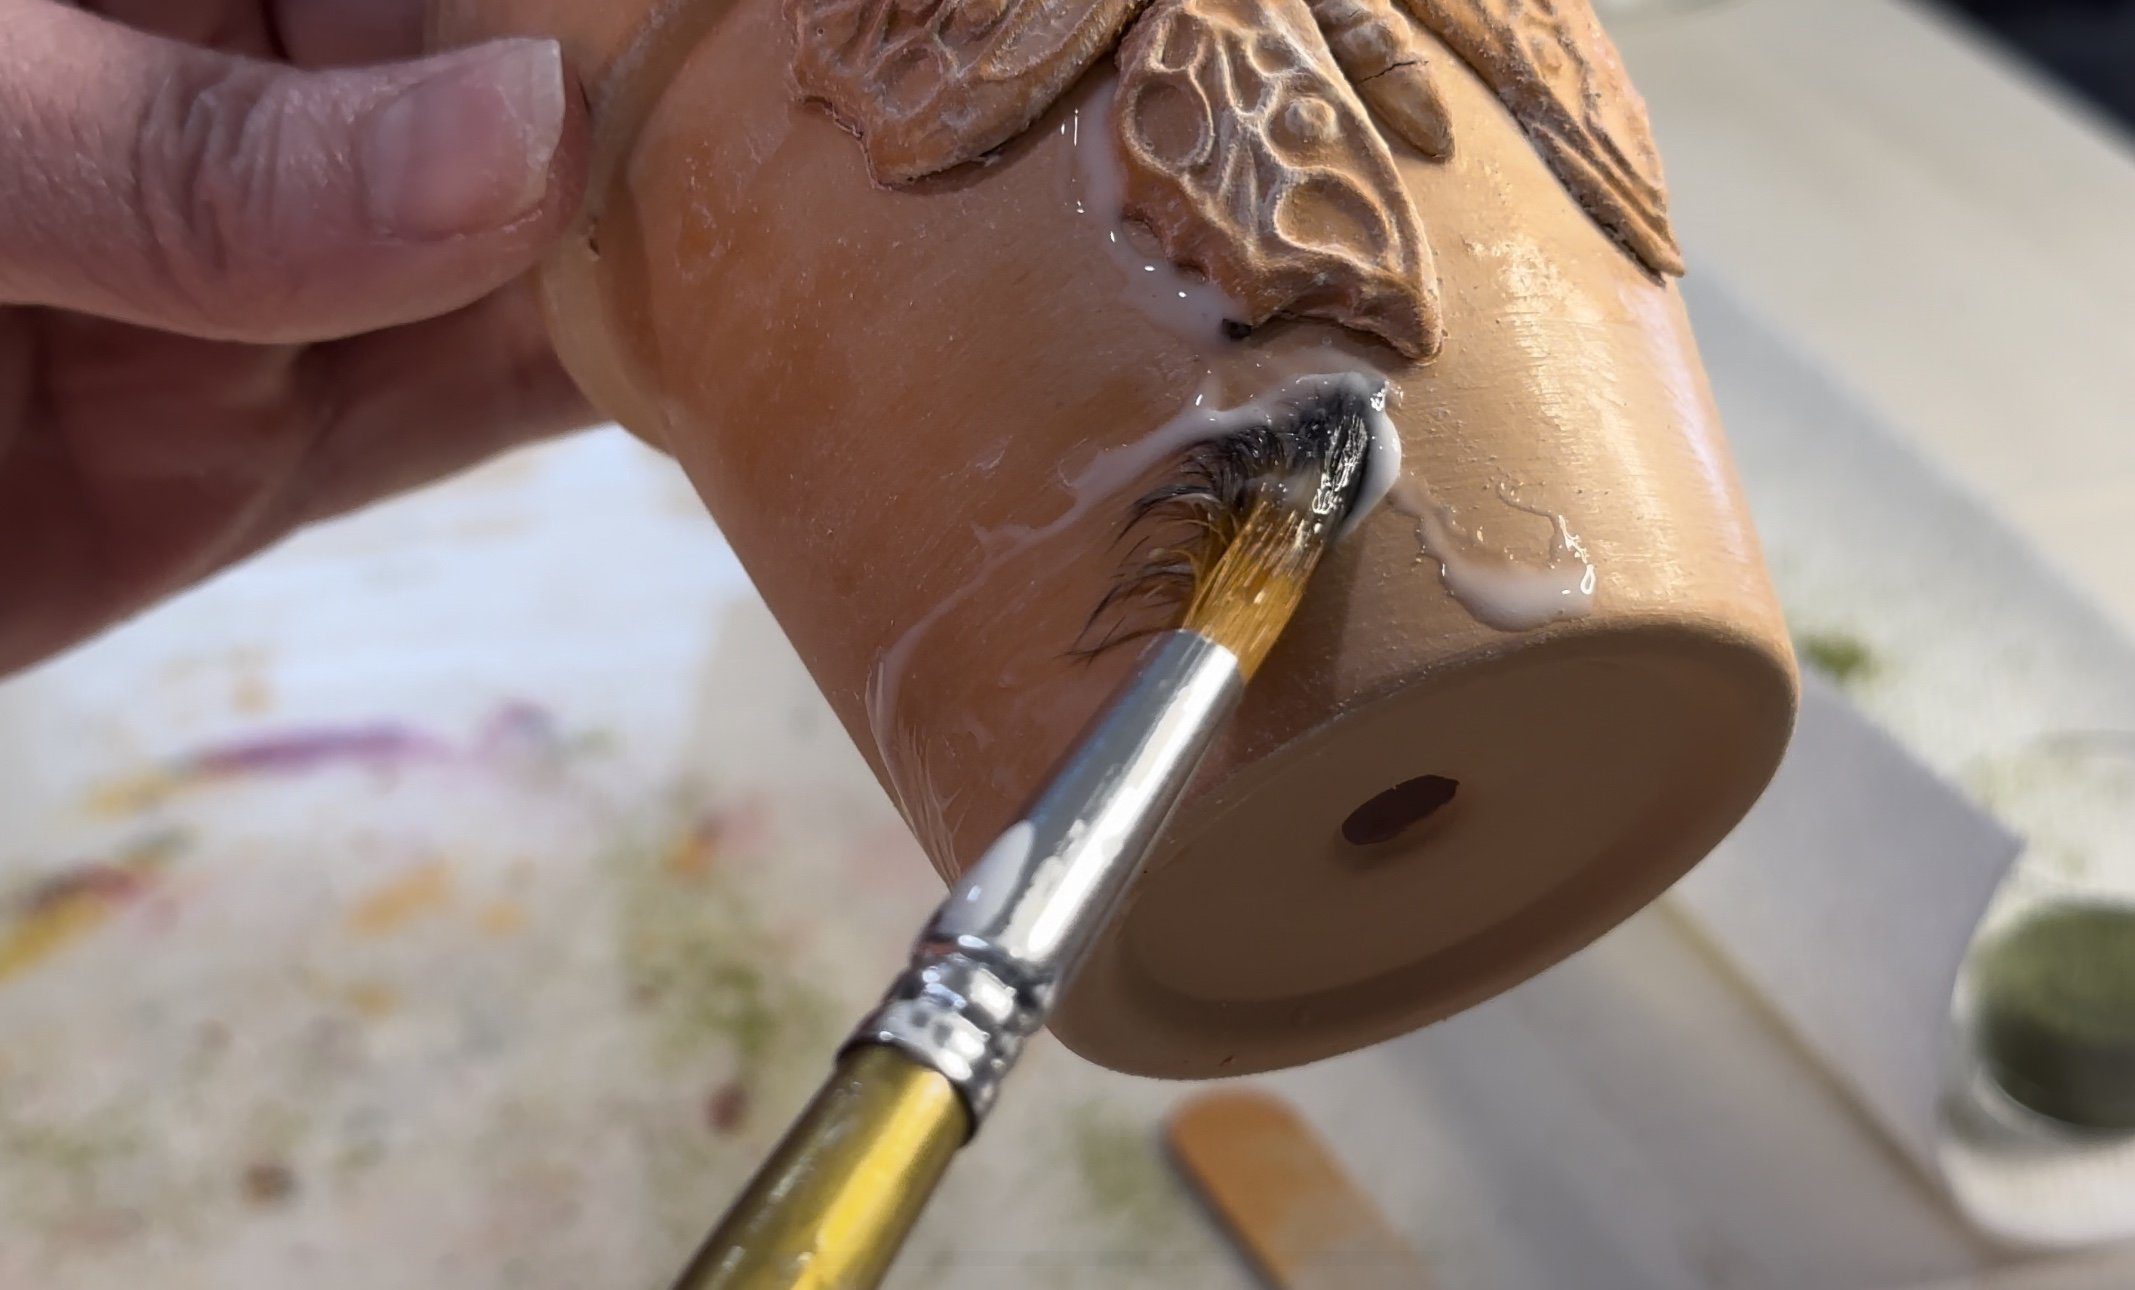
-
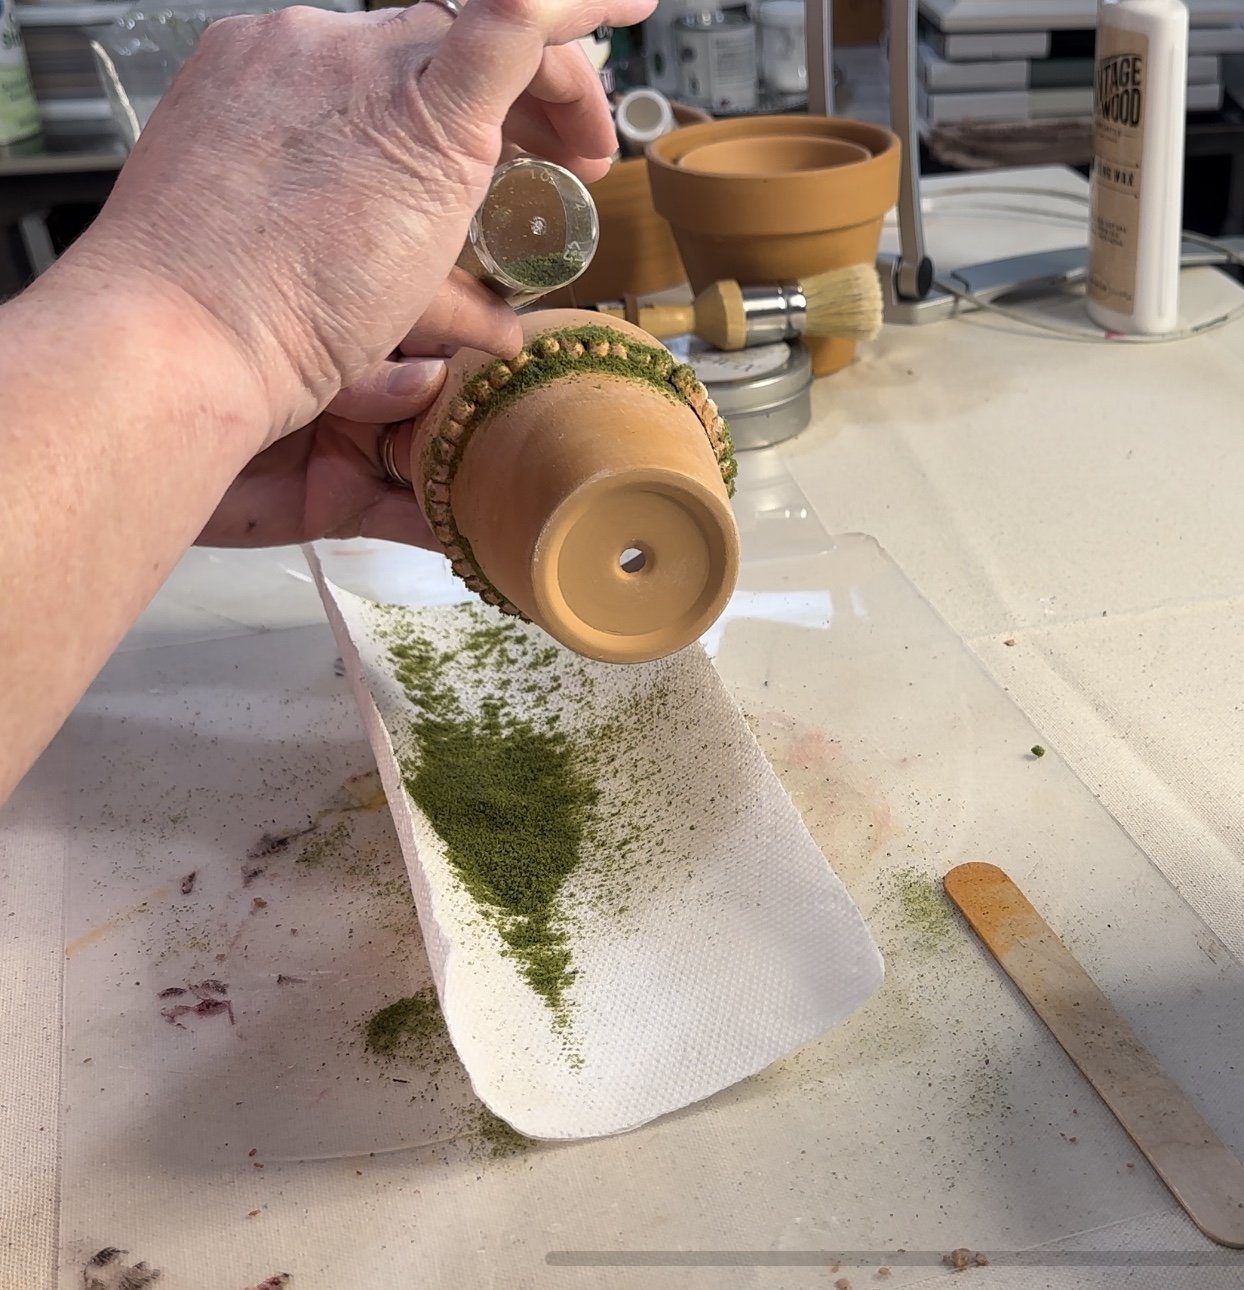
I poured it into a small cup and then added polyacrylic exactly where I wanted it to be. Sprinkle it on over a paper towel to make it easy to put back into your package when you’re done.
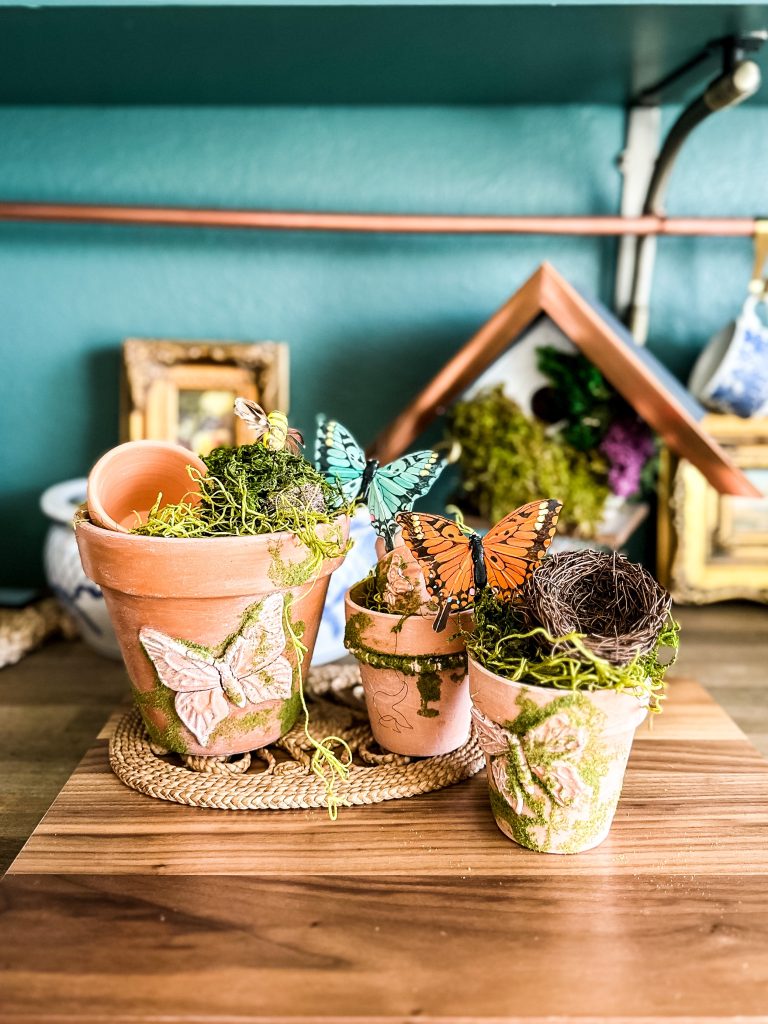
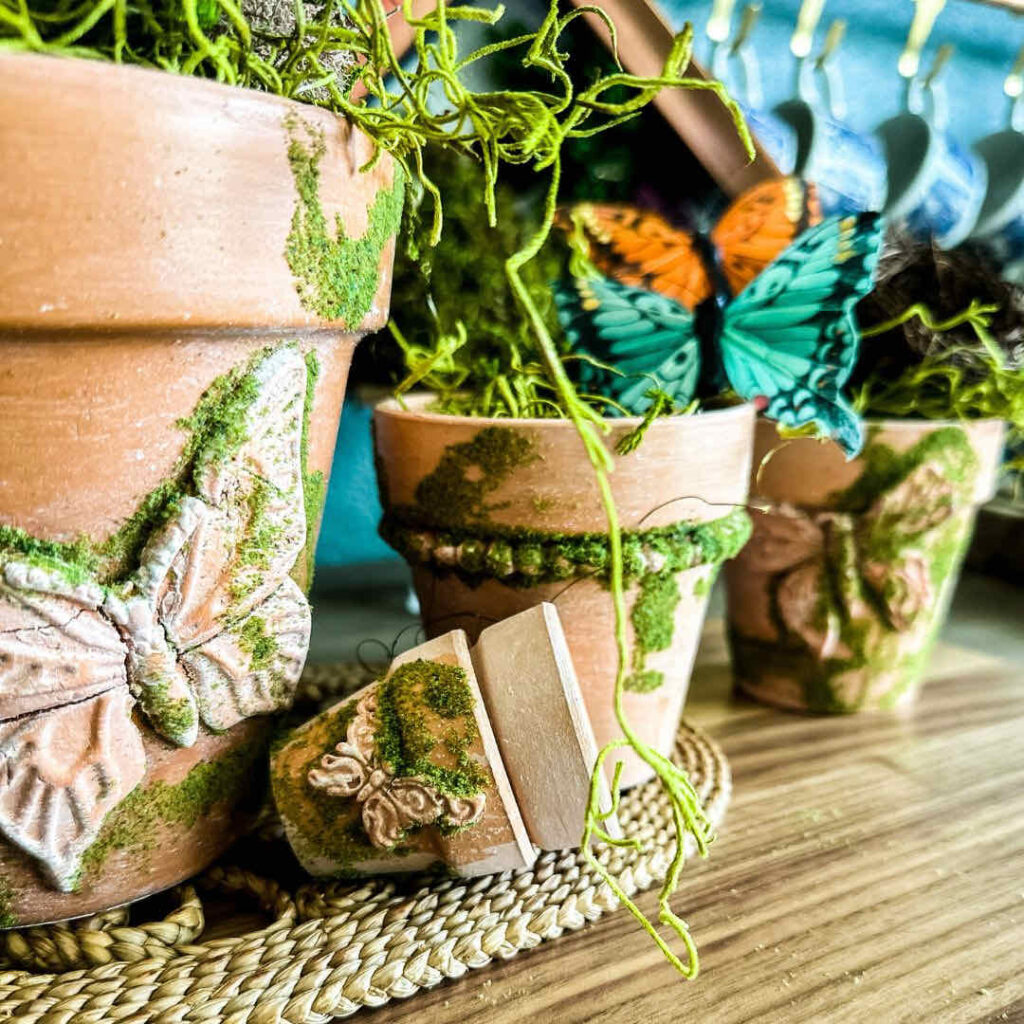
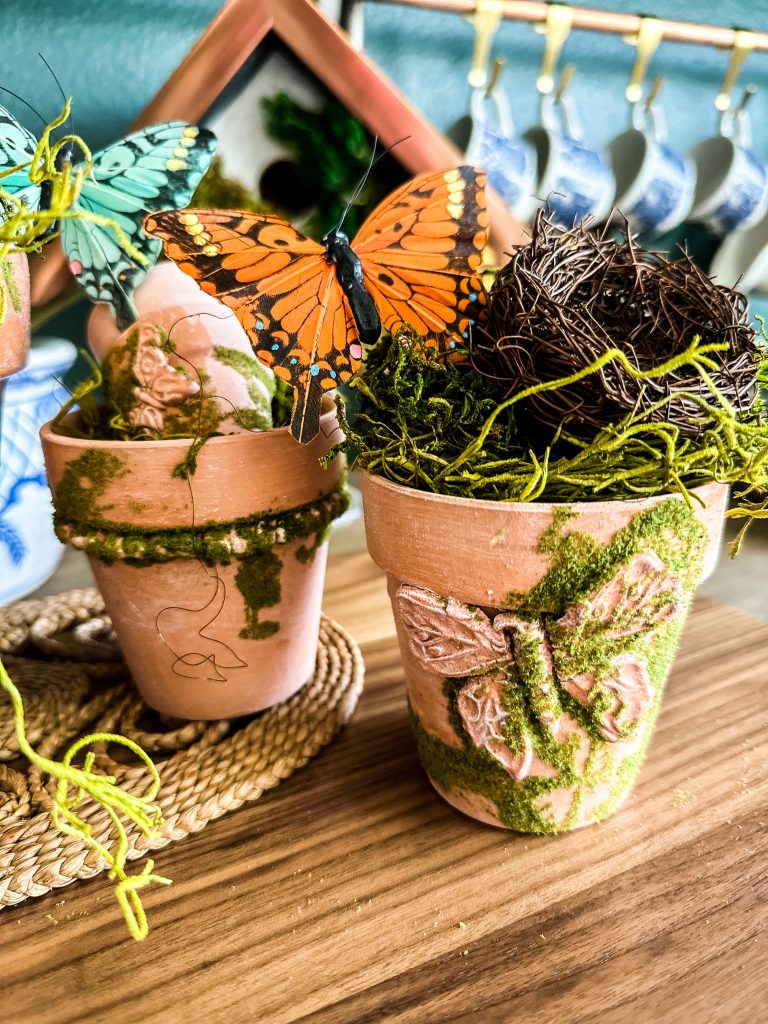
- Voila!
Aren’t these pots precious?
They turned out so adorable!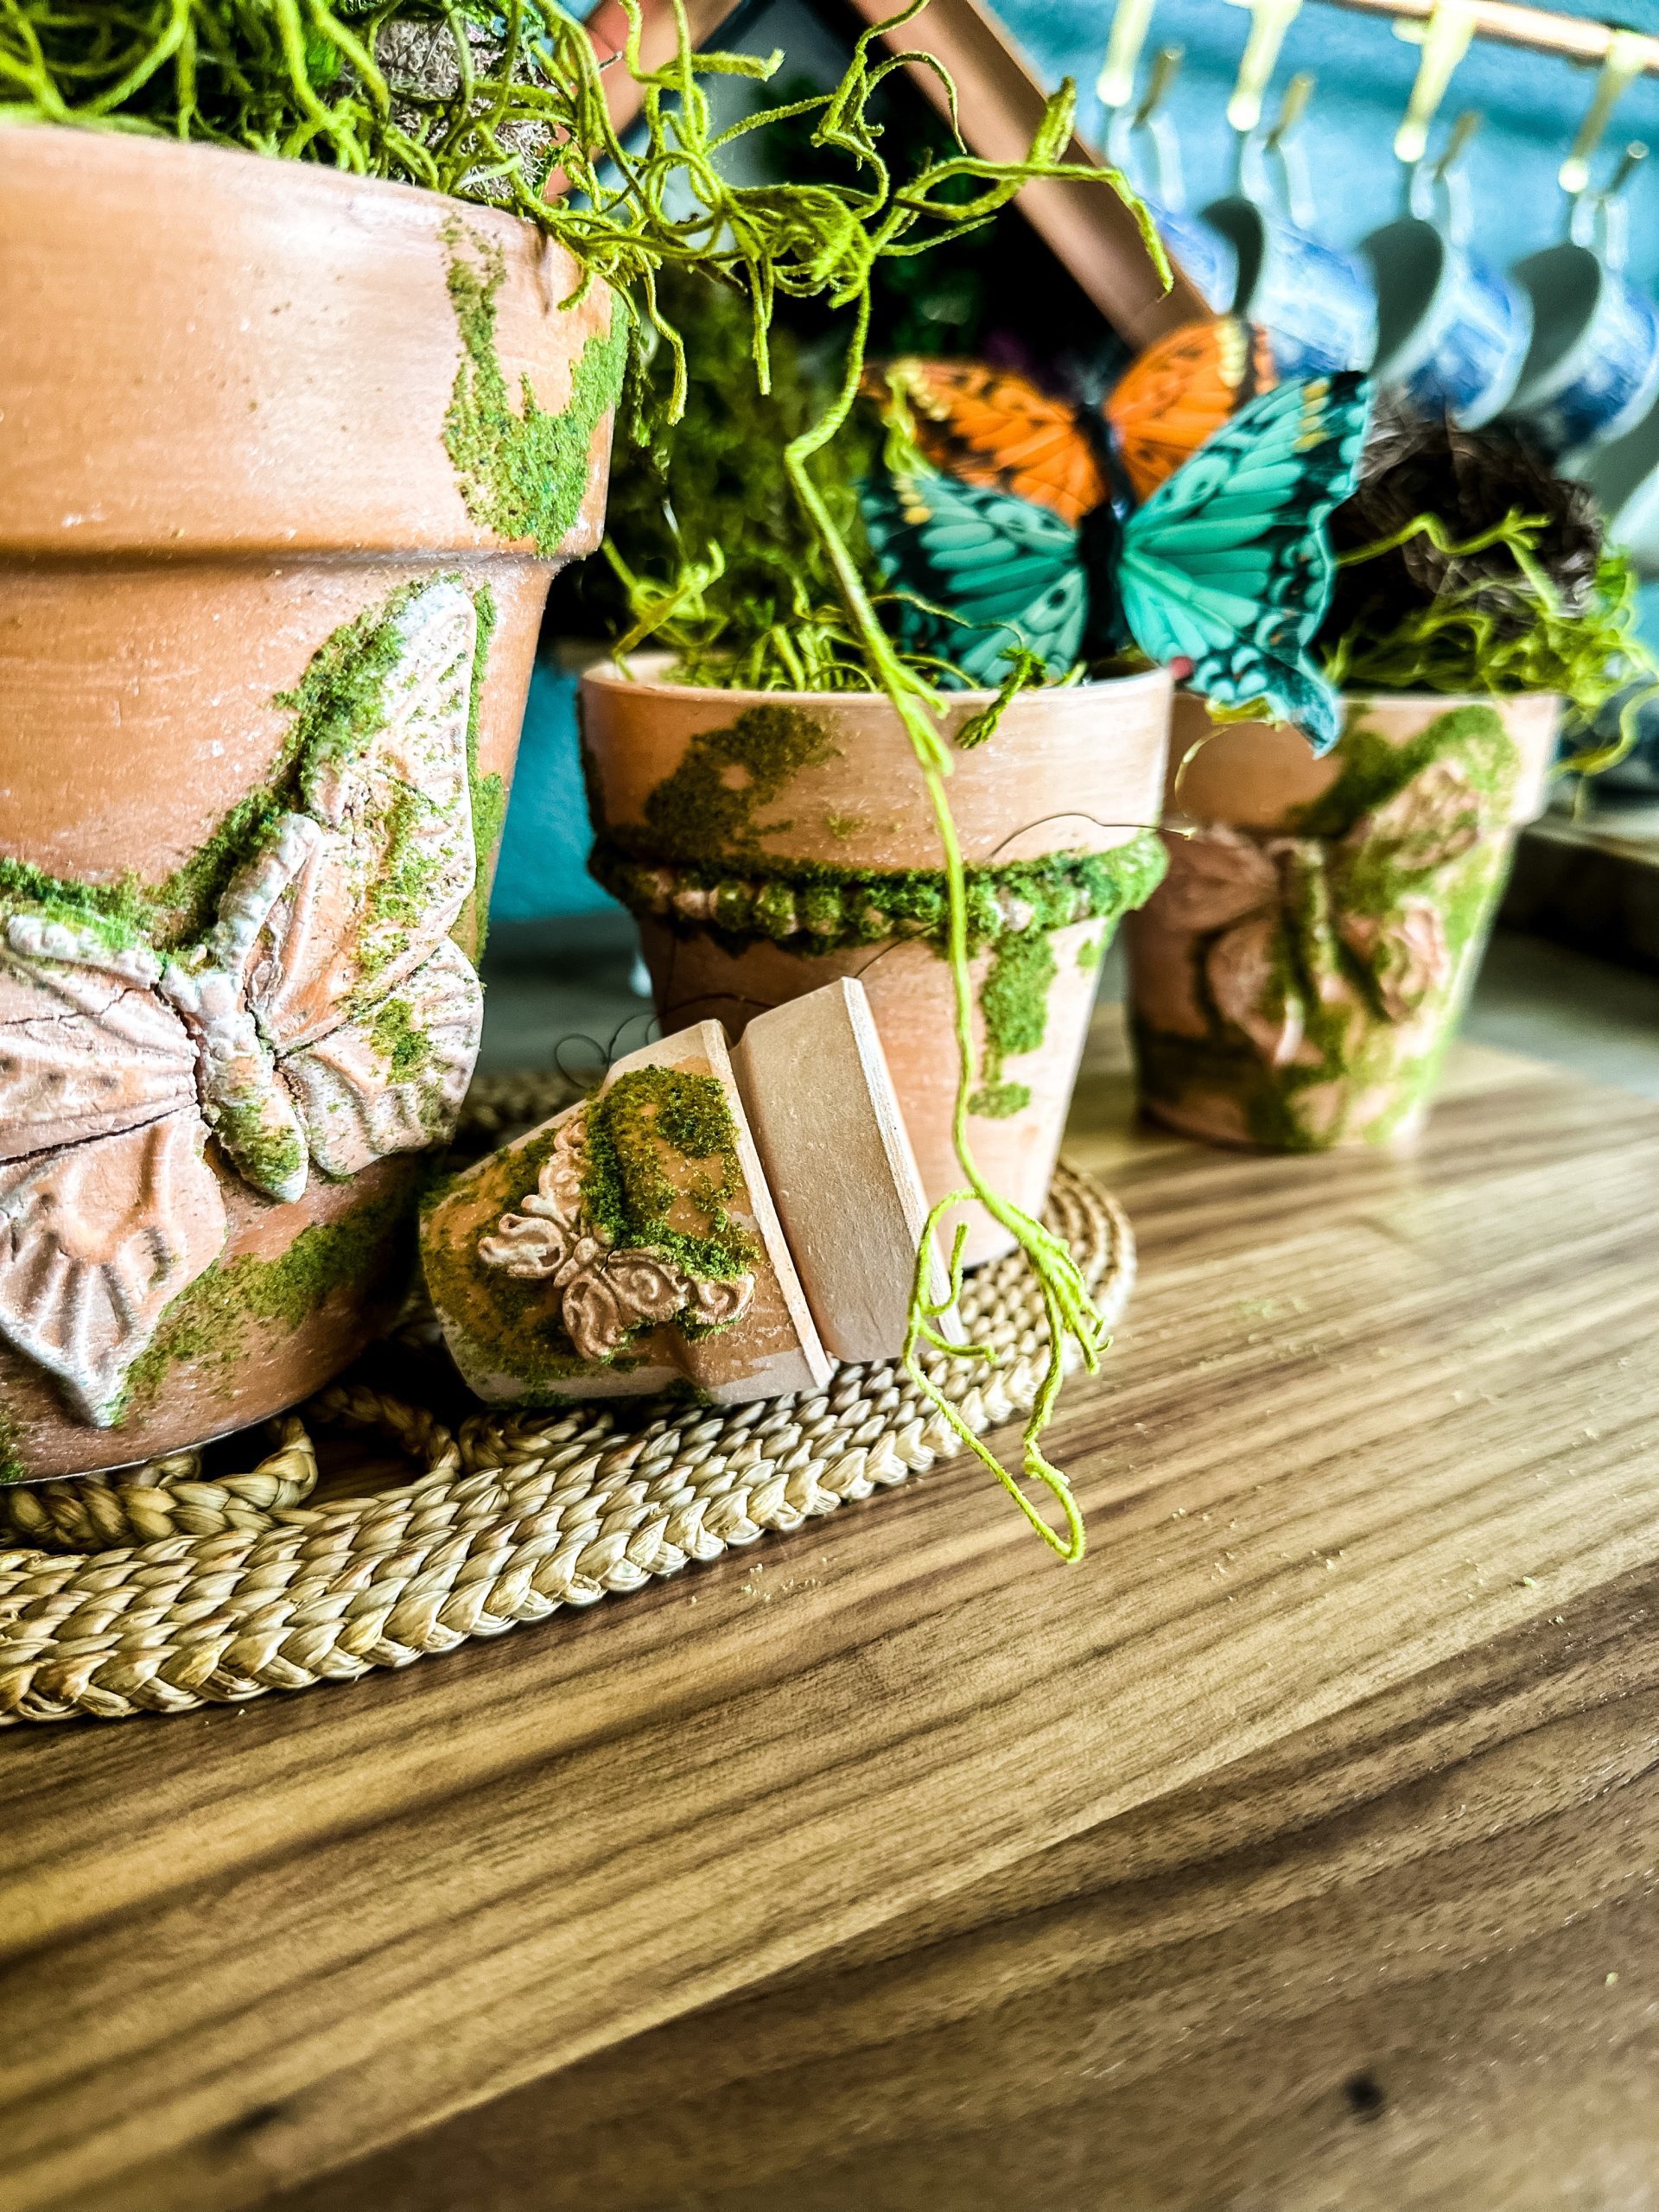
What can you do with Crayola air dry clay?
I have used lots of brands of air dry clay and Crayola is my favorite. Just like their crayons, they just have the formula perfected. It dries hard and the color choices are really great.
I love terra-cotta so I have several more projects to make with this tub.
You can check out all of the projects my friends did to get some great ideas for what to make!
Really the sky and your imagination are the limit!
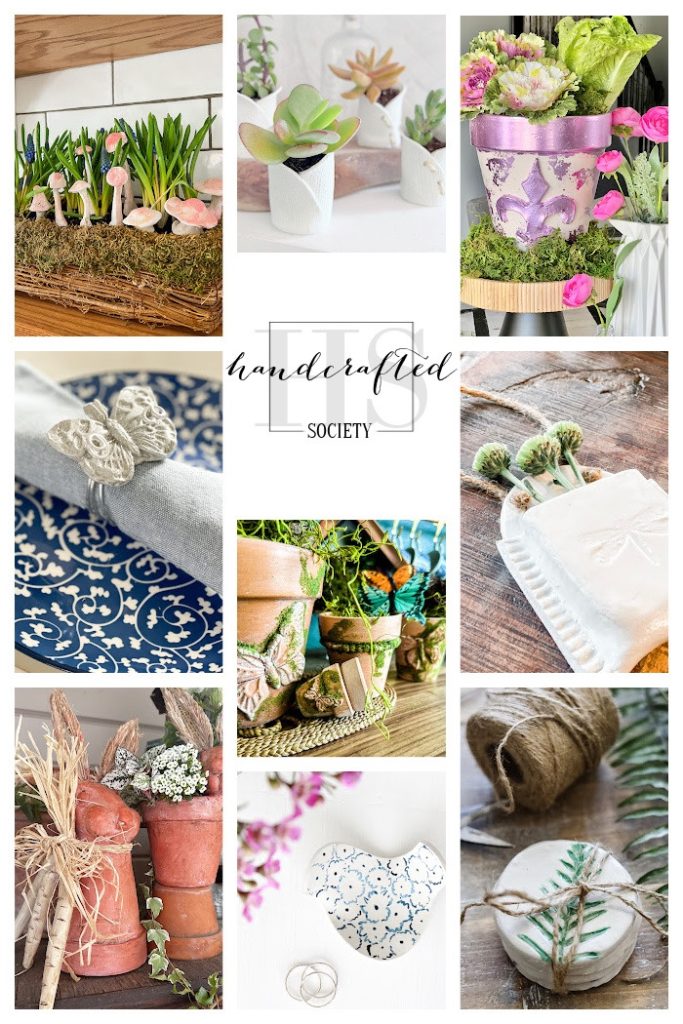
Handcrafted Society Projects


It’s easy to save this post to your Pinterest board right here from the image below by either hovering over it on your computer or touch the red Pinterest Logo on the image with your phone and it will automatically open your Pinterest app to save! That way you’ll have it when you are ready for it!
Shop My Amazon Storefront
-
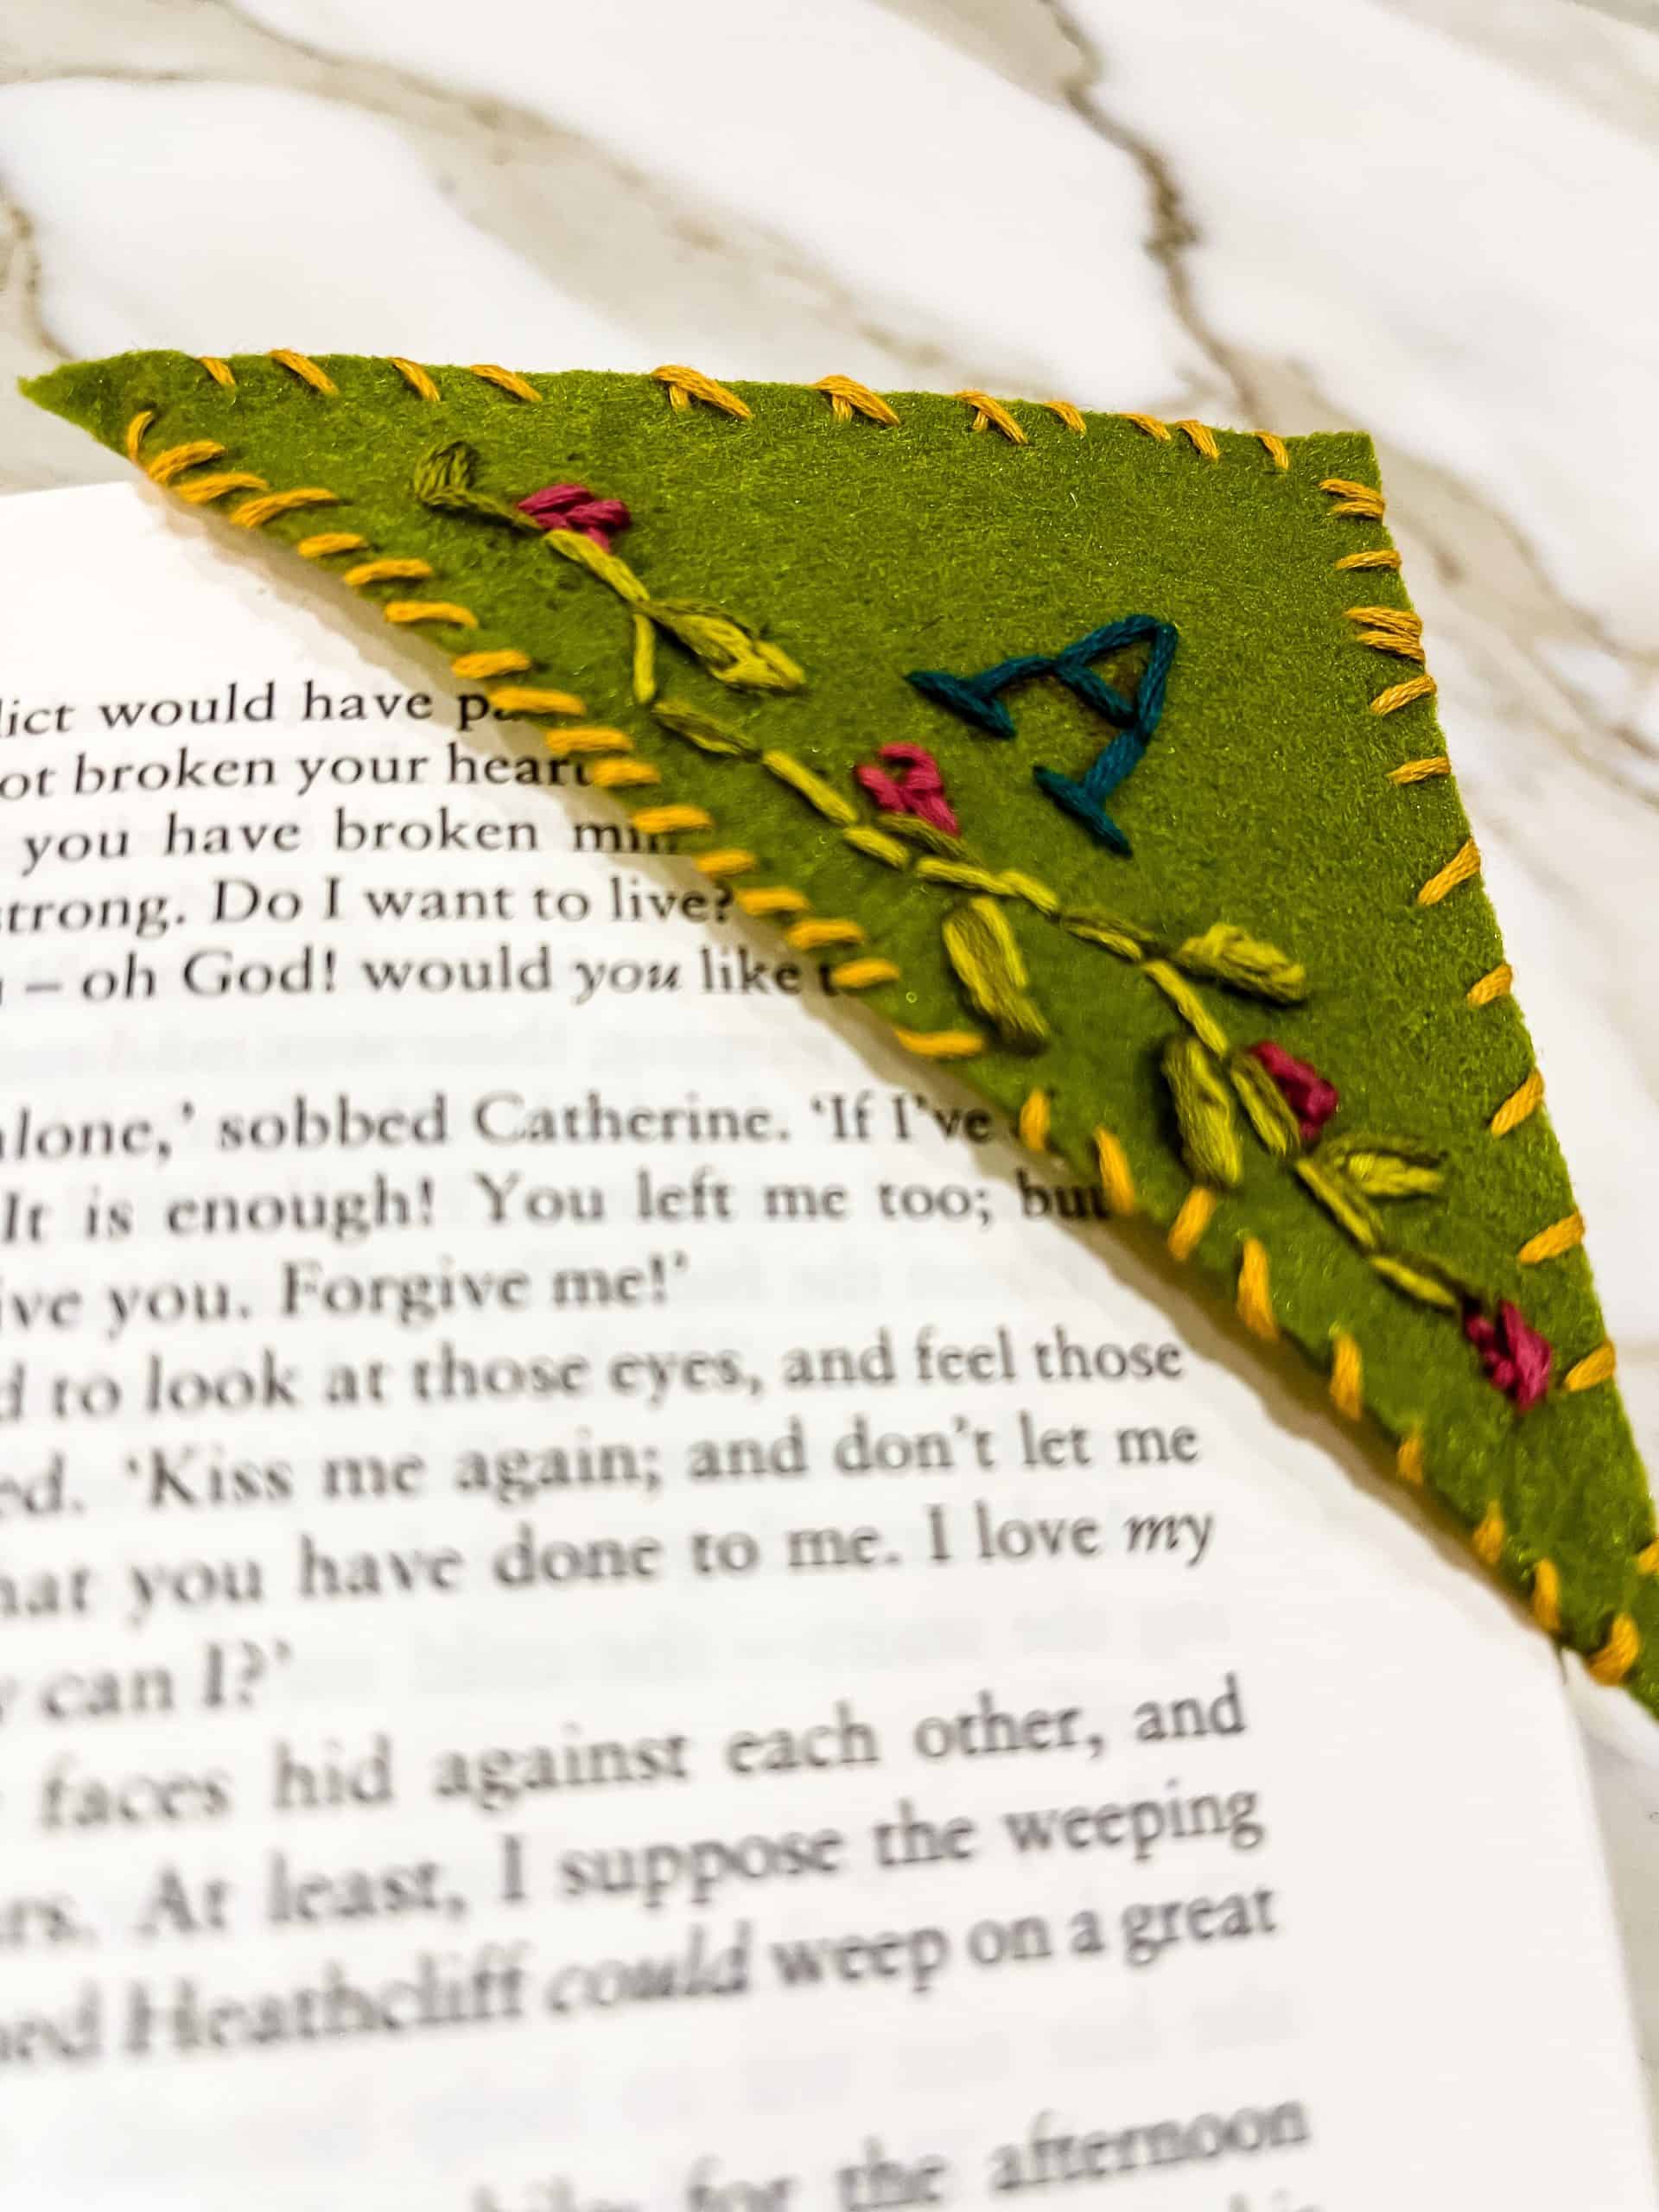
How to Make a Felt Bookmark With Embroidered Initial
Today I want to talk about how to make a felt bookmark with embroidered initial. This was my first attempt at embroidery since high school so when I say I have done embroidery before just know that it has been a minute! LOL, I am reviving my old skillset to make handmade Christmas gifts this…
-
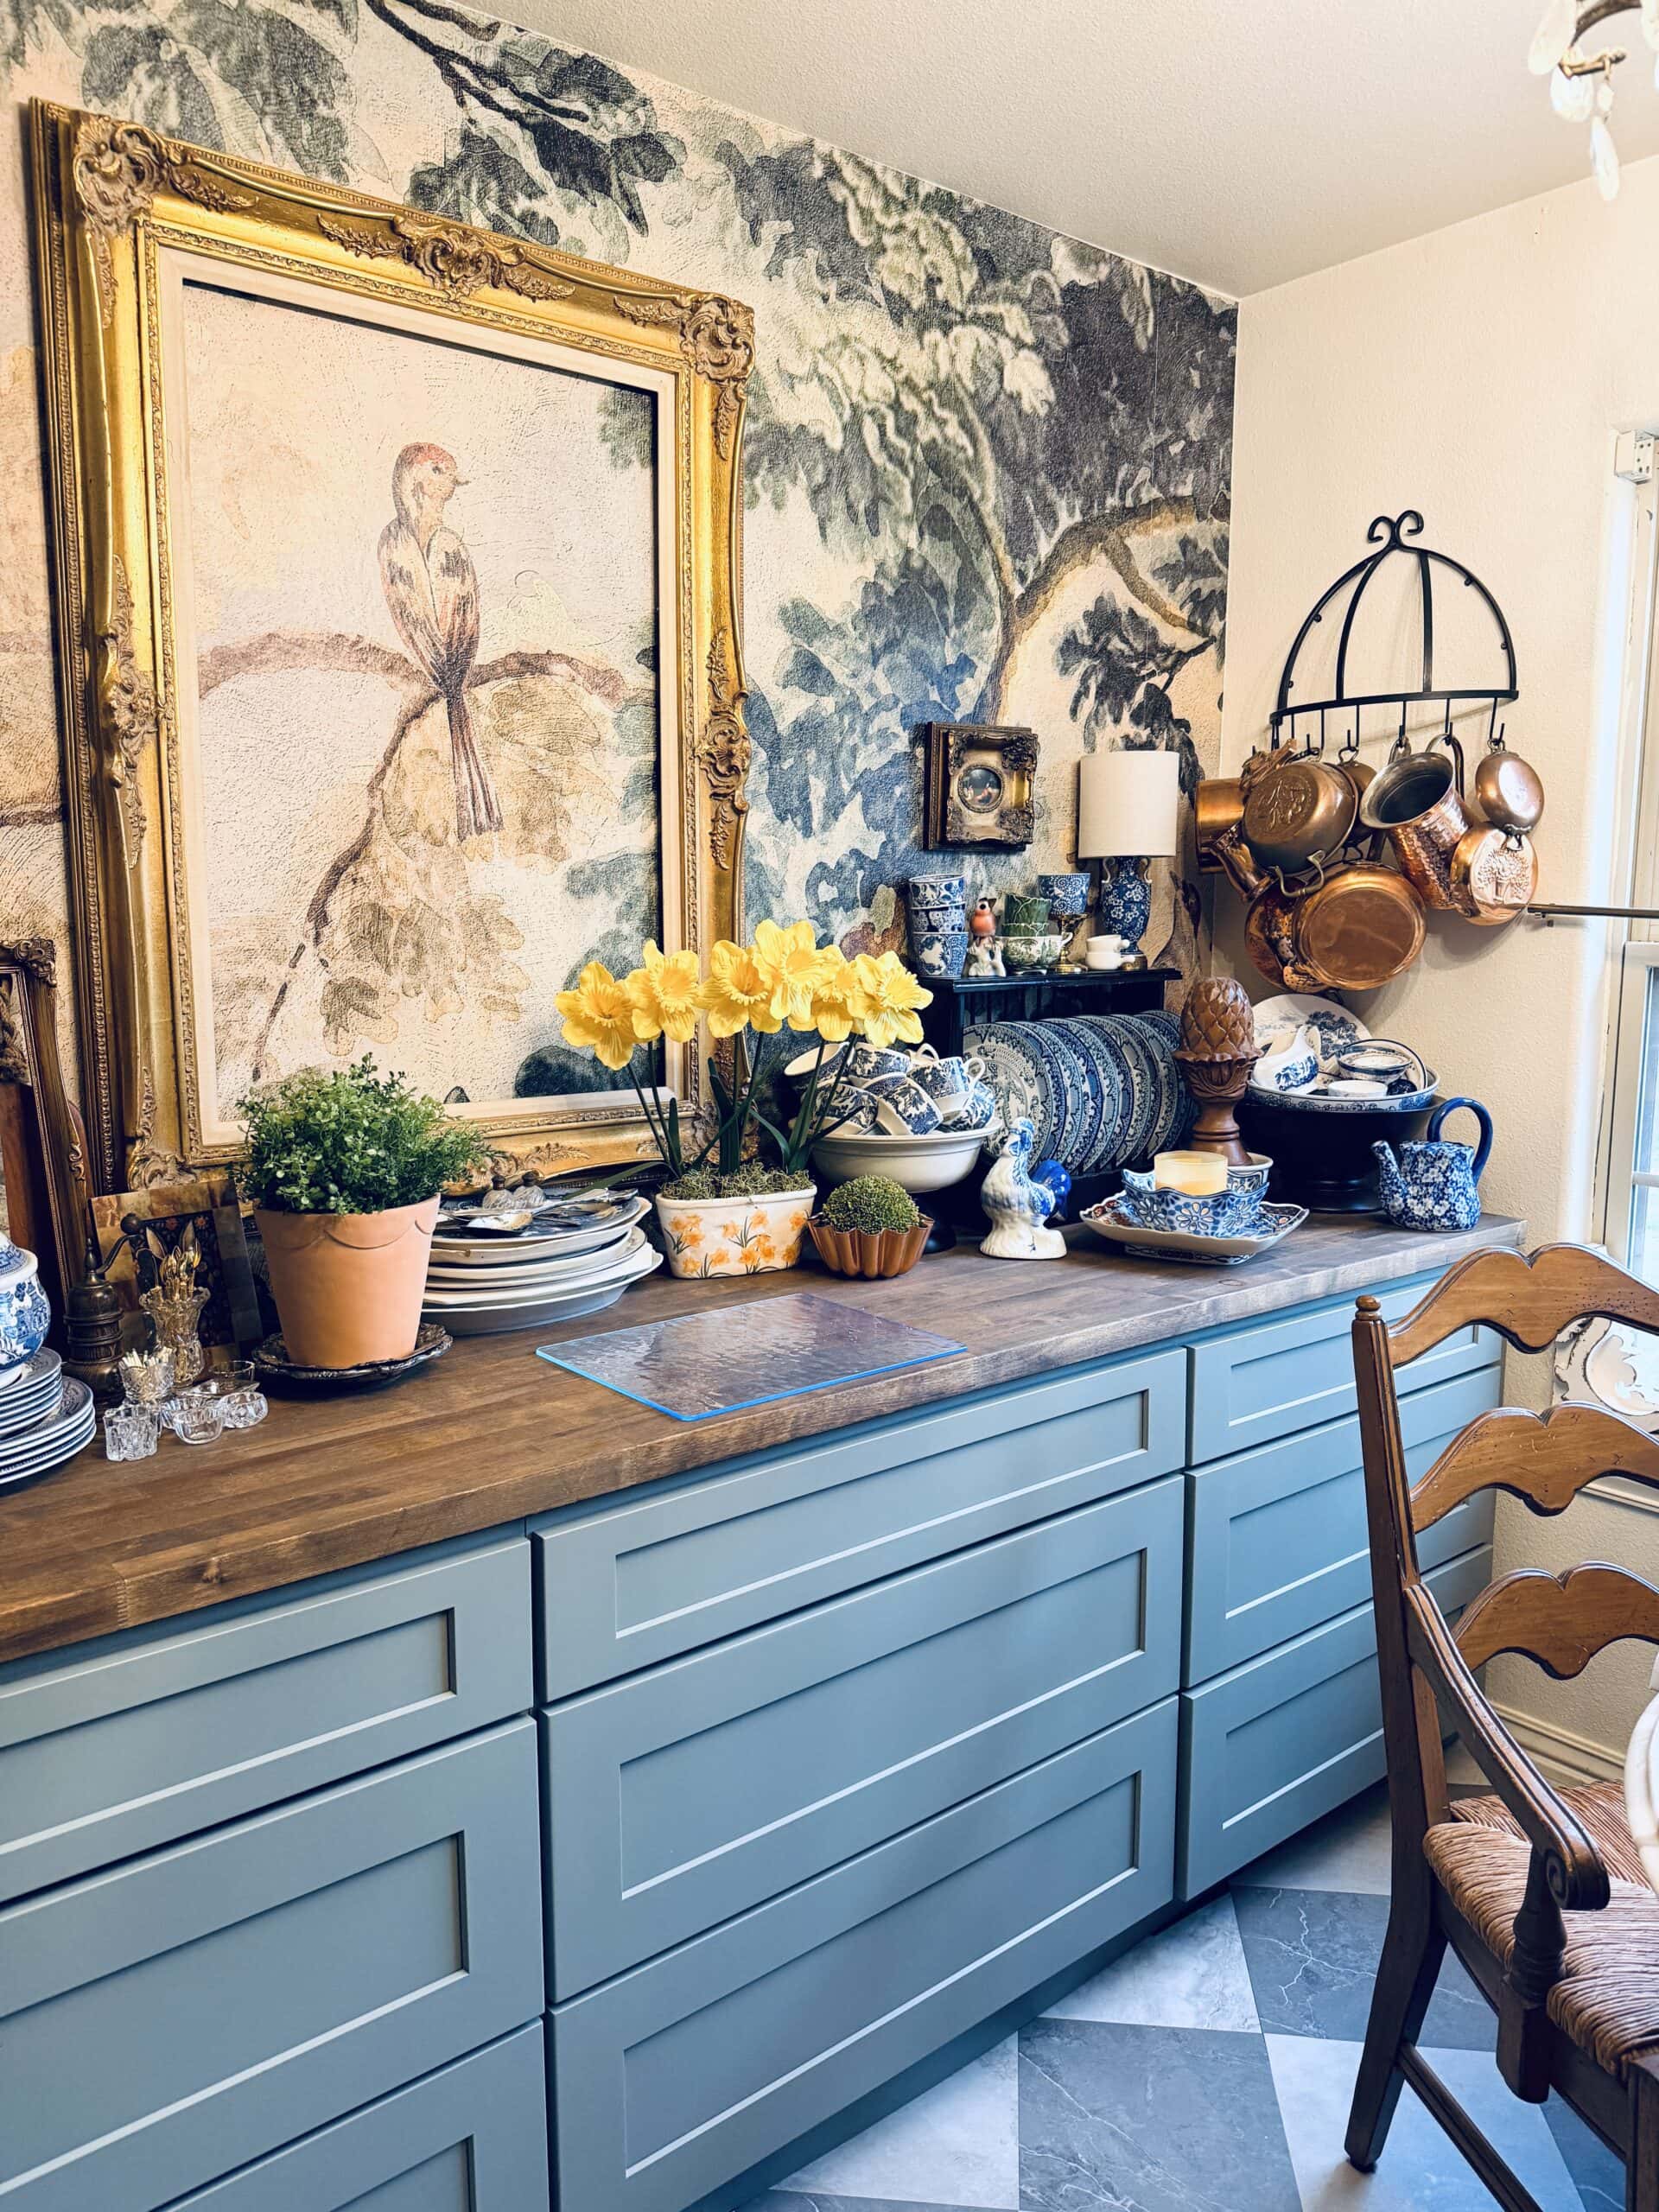
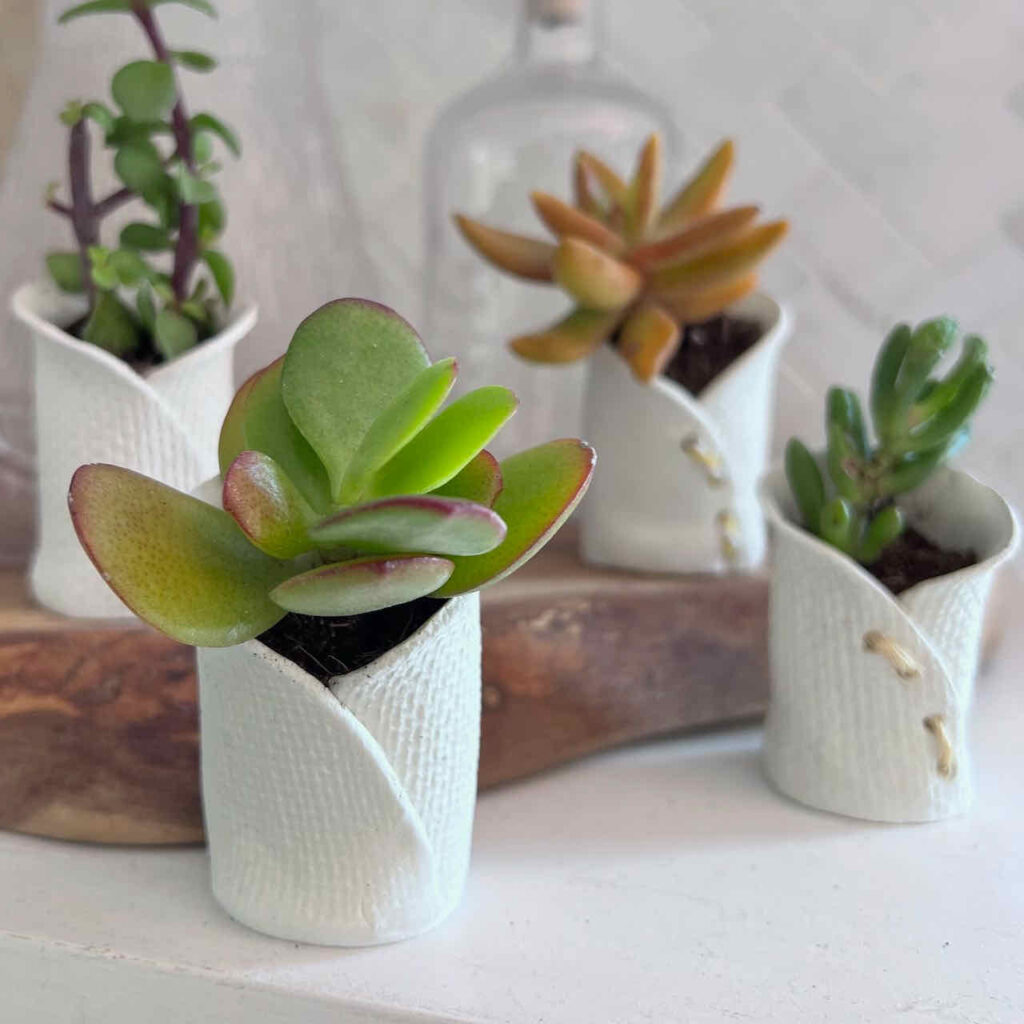
The Sweetest Season: A Spring Home Tour
It’s actually snowing here as I write this. But that’s okay. The pops of yellow I’ve sprinkled through the kitchen and living room, the fresh green of my fern wreath on the door, and my little tea station all remind me that spring is coming, whether the weather agrees or not. I hope this tour…
-
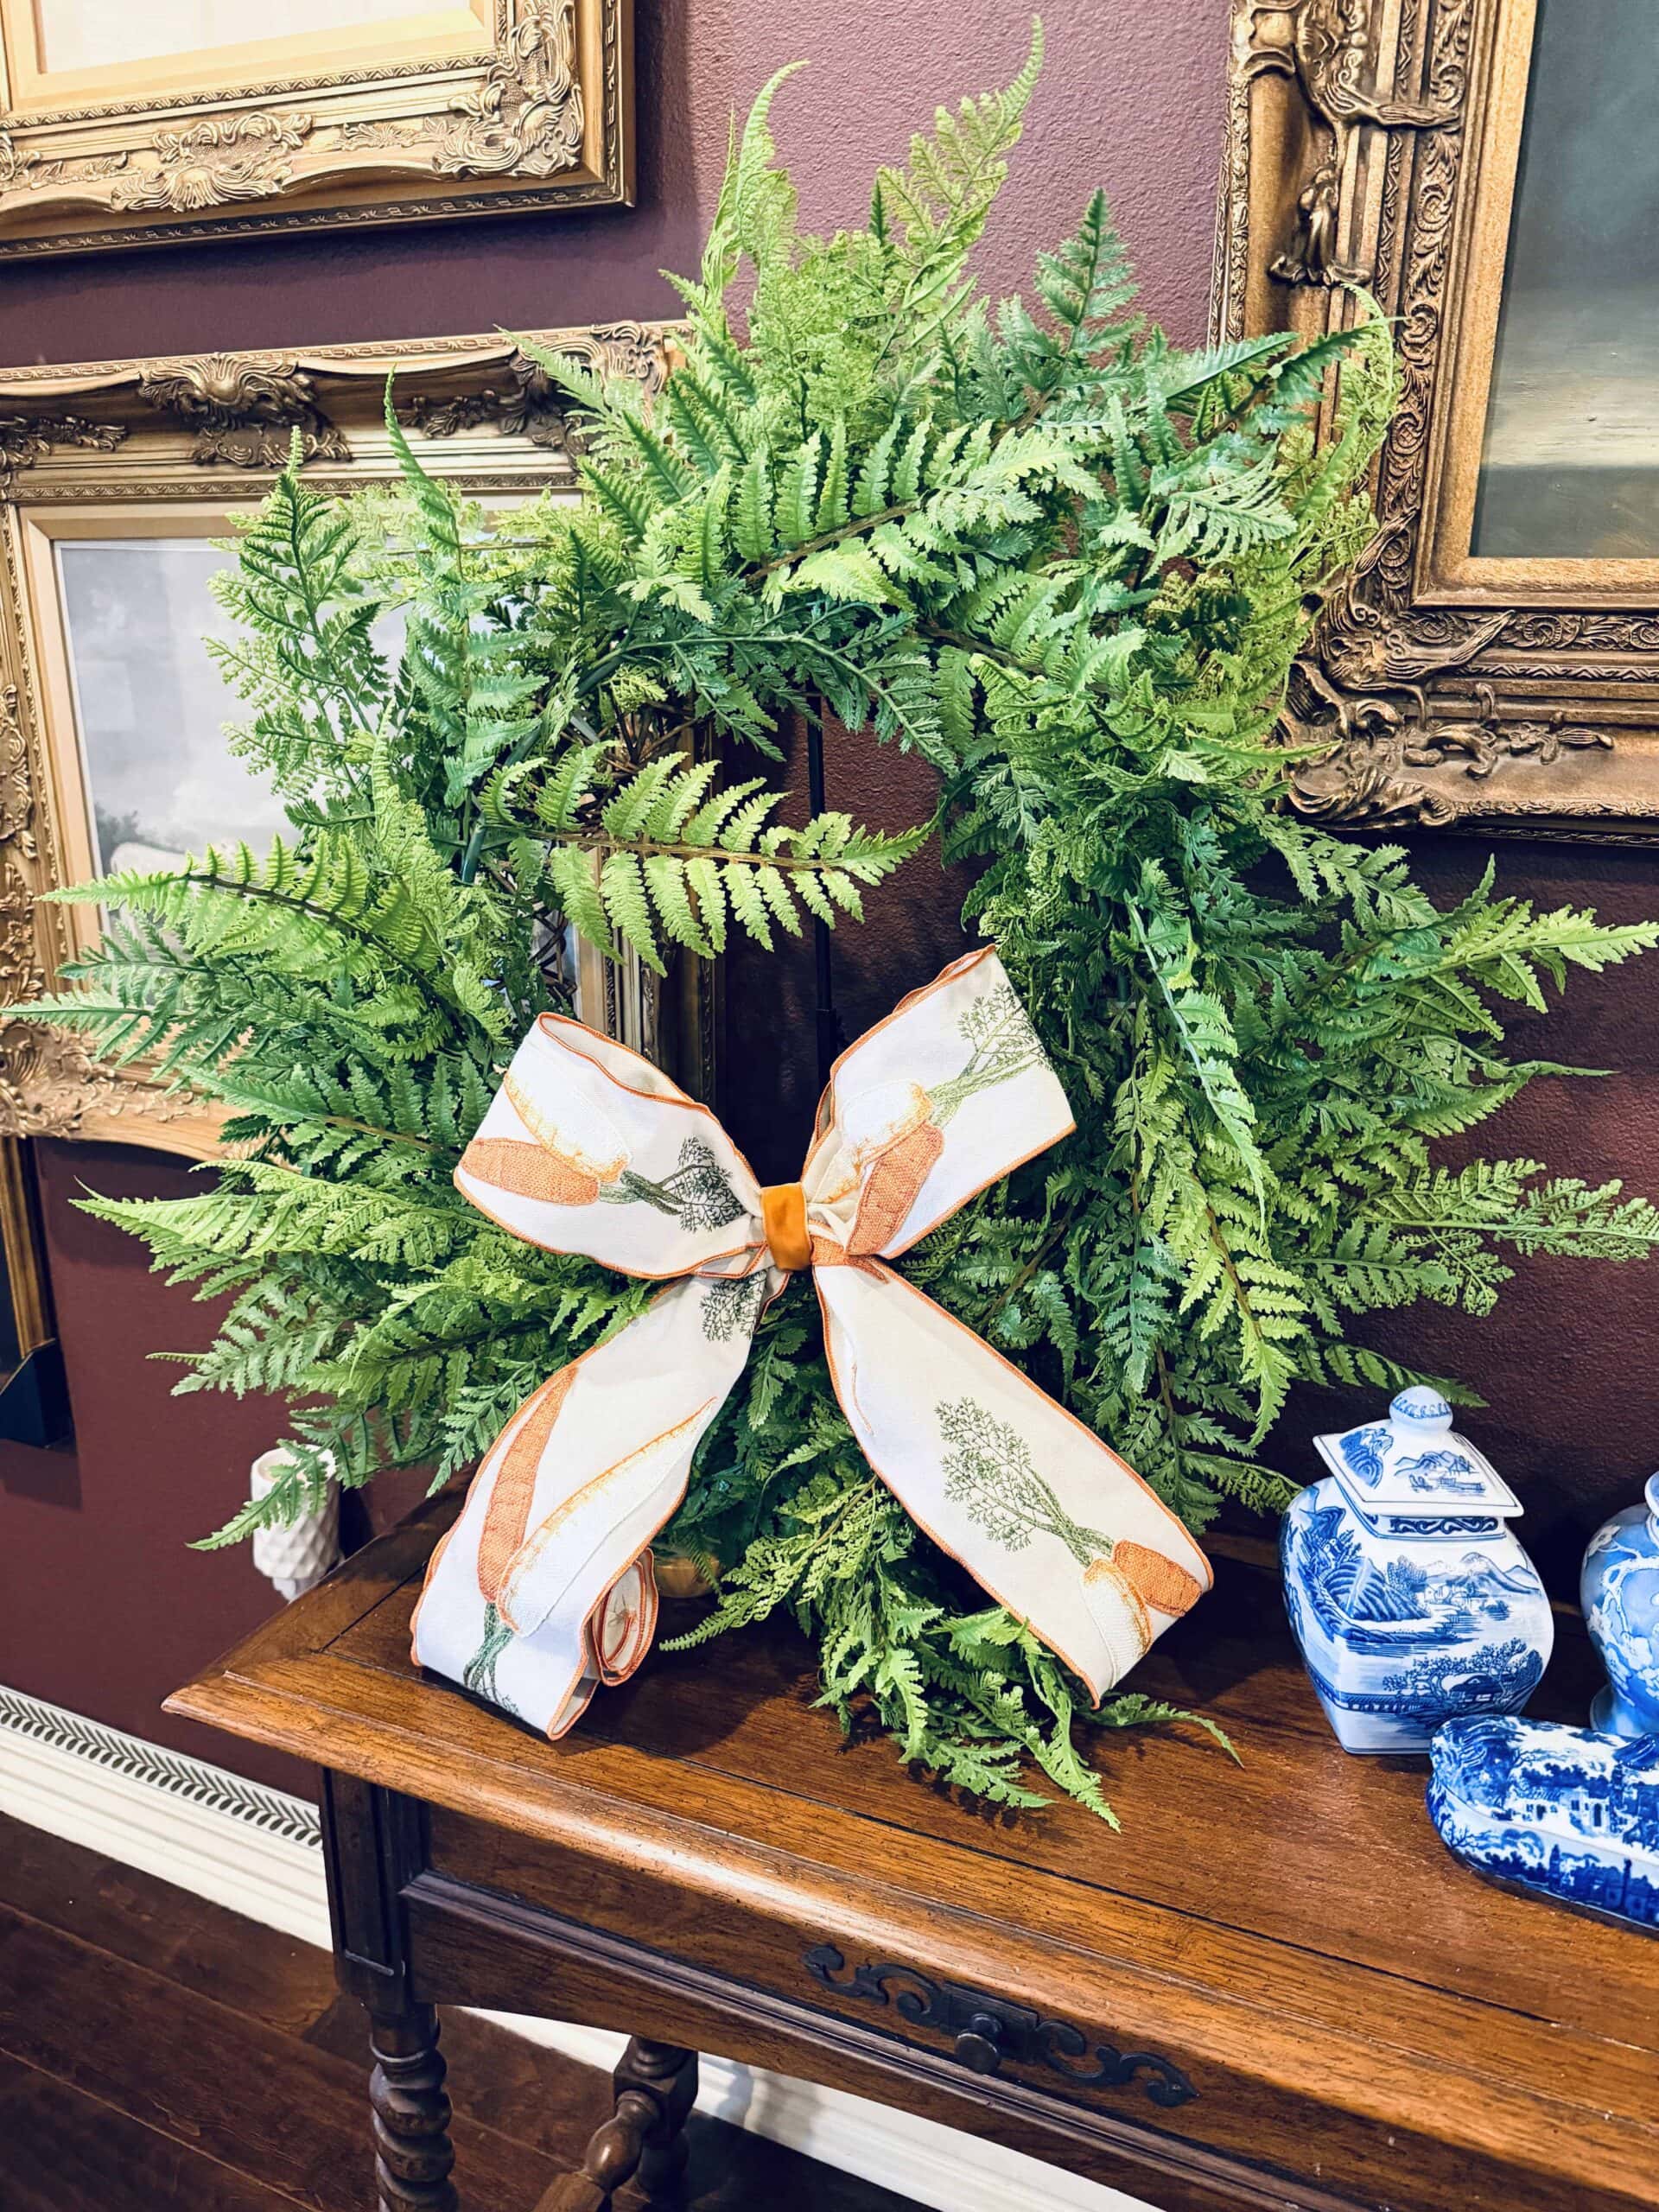
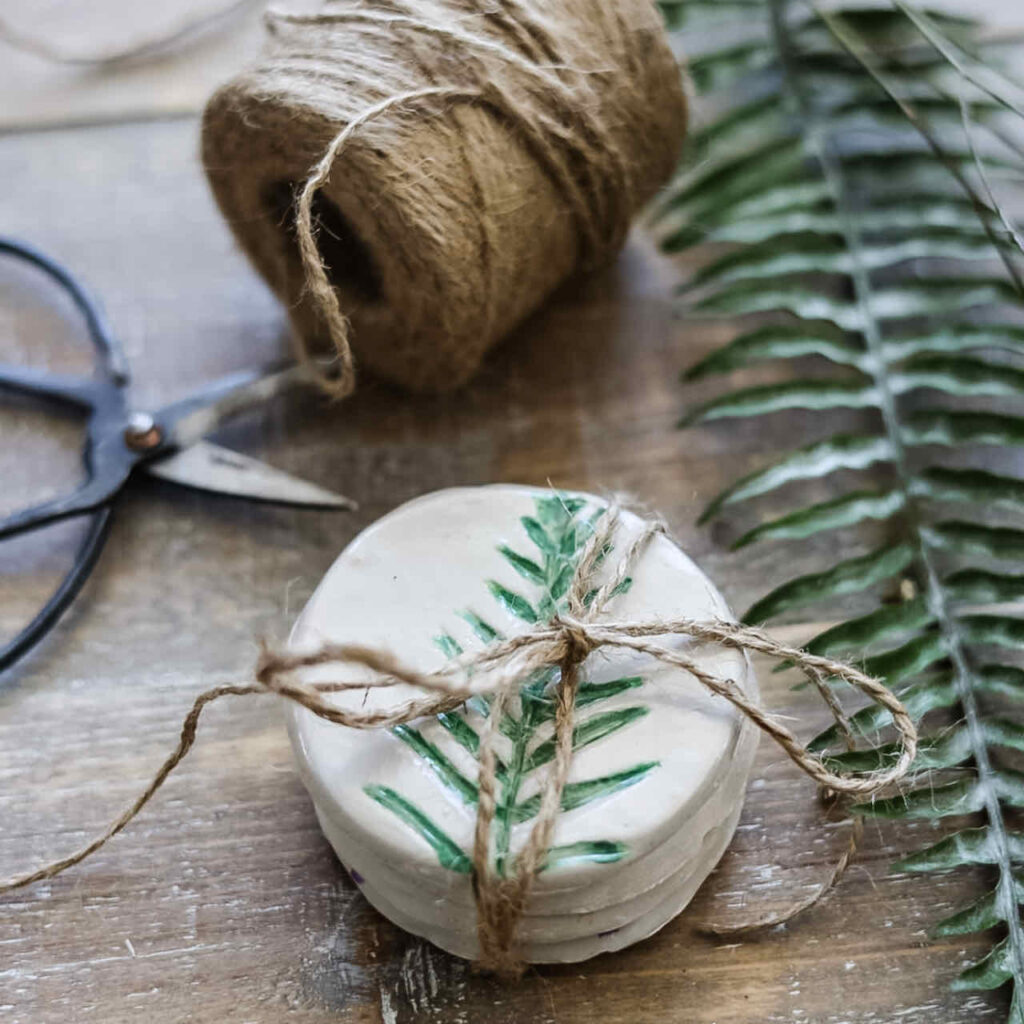
The Easiest Spring Wreath You’ll Make This Year
You know when you walk into Michaels for one thing and leave with an armful of “I’ll figure it out later”? That was me a few weeks ago. I spotted these beautiful Ashland fern garlands — they looked so real and full — and grabbed two. Then a cane-wrapped twig wreath form jumped in my cart. Next thing I…
-
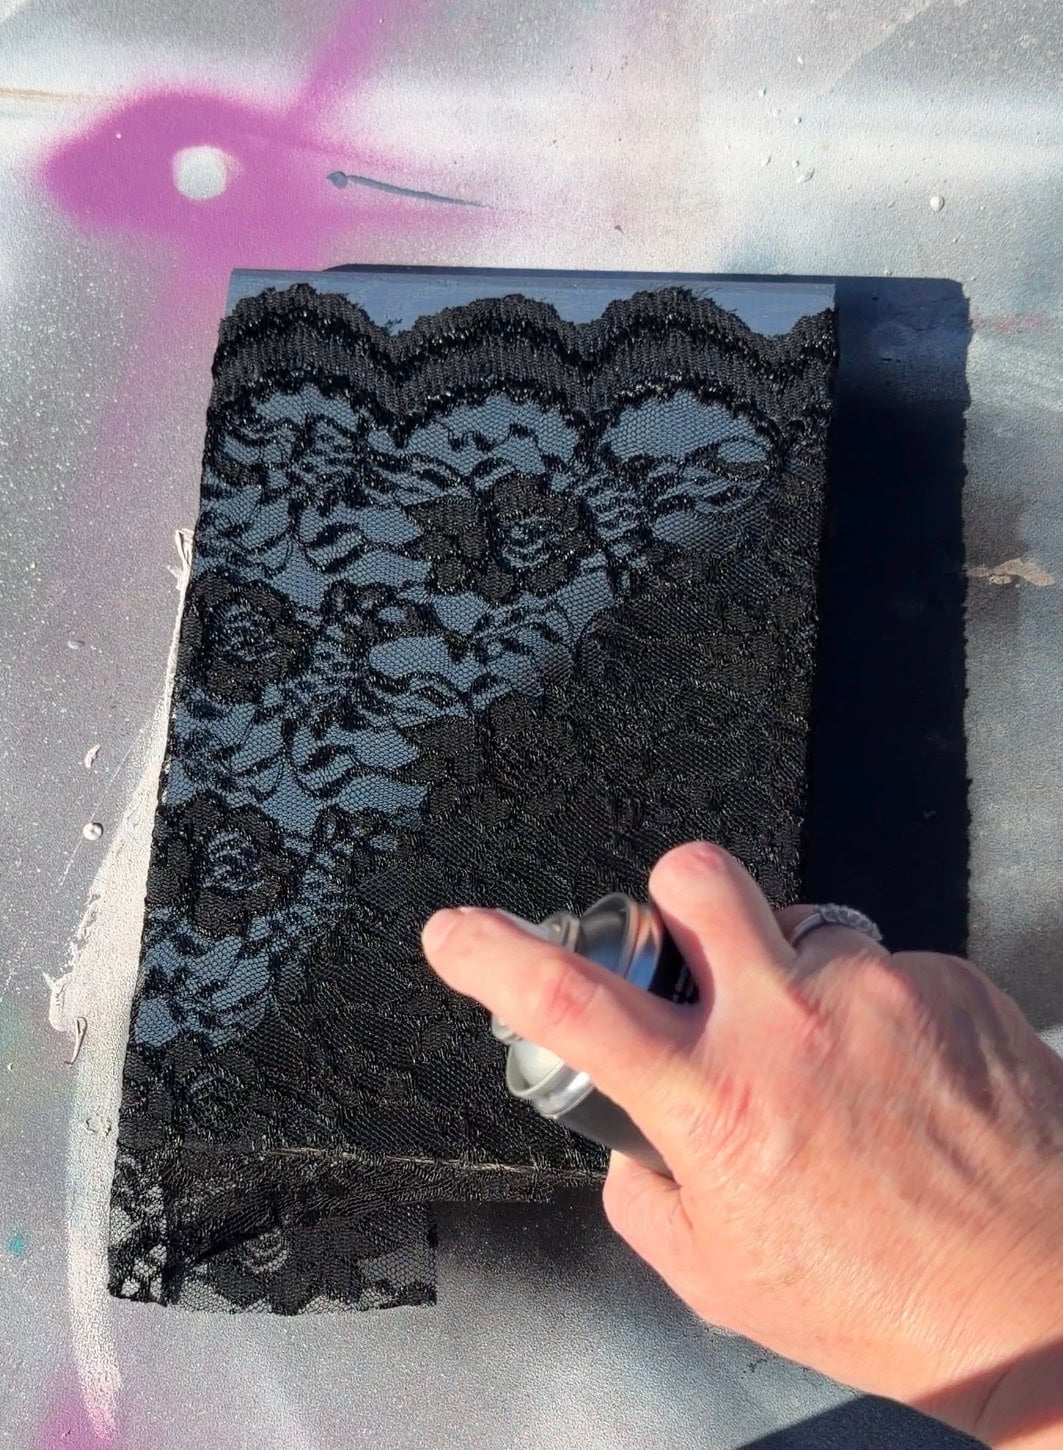
Using Lace as a Stencil for a Painted Finish
You know that feeling when you spot a solid piece with good bones, just begging for a second chance? That was this sad, laminate-top table I found for five dollars at the ReStore. It was sturdy but completely forgettable. I wanted to give it real character—soft texture, depth, and a look that felt collected, not crafted. I’ve seen lace…
I love your pots, Amy! The butterflies are so pretty. You are so creative, my friend!❤️
I love how beautiful the butterflies and delicate trim turned out on your pots Amy! Great tip on using the blended turf to create a mossy texture too! Now you have a gorgeous collection to use for years to come!
Oh, I LOVE these!! That flocking stuff looks cool. Nice work.
Your pots turned out so beautiful. I love the butterflies with the green turf. I have never heard of green turf before.
These are stunning, Amy! I love the terra cotta clay and how you artfully created the aged look! Truly beautiful! Pinned!
Thank you Missy!
Totally brilliant, Amy! But I’ve known that about you for quite a while! The turf product is a great find. I’m going to have to add that to my craft arsenal. It was such fun hopping together again.
I was looking for flocking and that was a product I thought might work!
Thnak you so much Wendy! I love how they turned out!
Such a beautiful idea. I love the butterflies. Perfect for spring. Pinned!
xox