Easy and Elegant: How to Make Chic Velvet Sequin Christmas Ornaments
As I unpack the Christmas ornaments every year, a wave of nostalgia washes over me. I’m transported back to childhood Christmases spent in my grandma’s cozy living room. The aroma of pine needles filled the air, and the twinkling lights cast an enchanting glow on the tree, adorned with ornaments and many of them handcrafted by Grandma herself. It was more than just a Christmas tree; it was a testament to her love, creativity, and the magic of the holiday season.
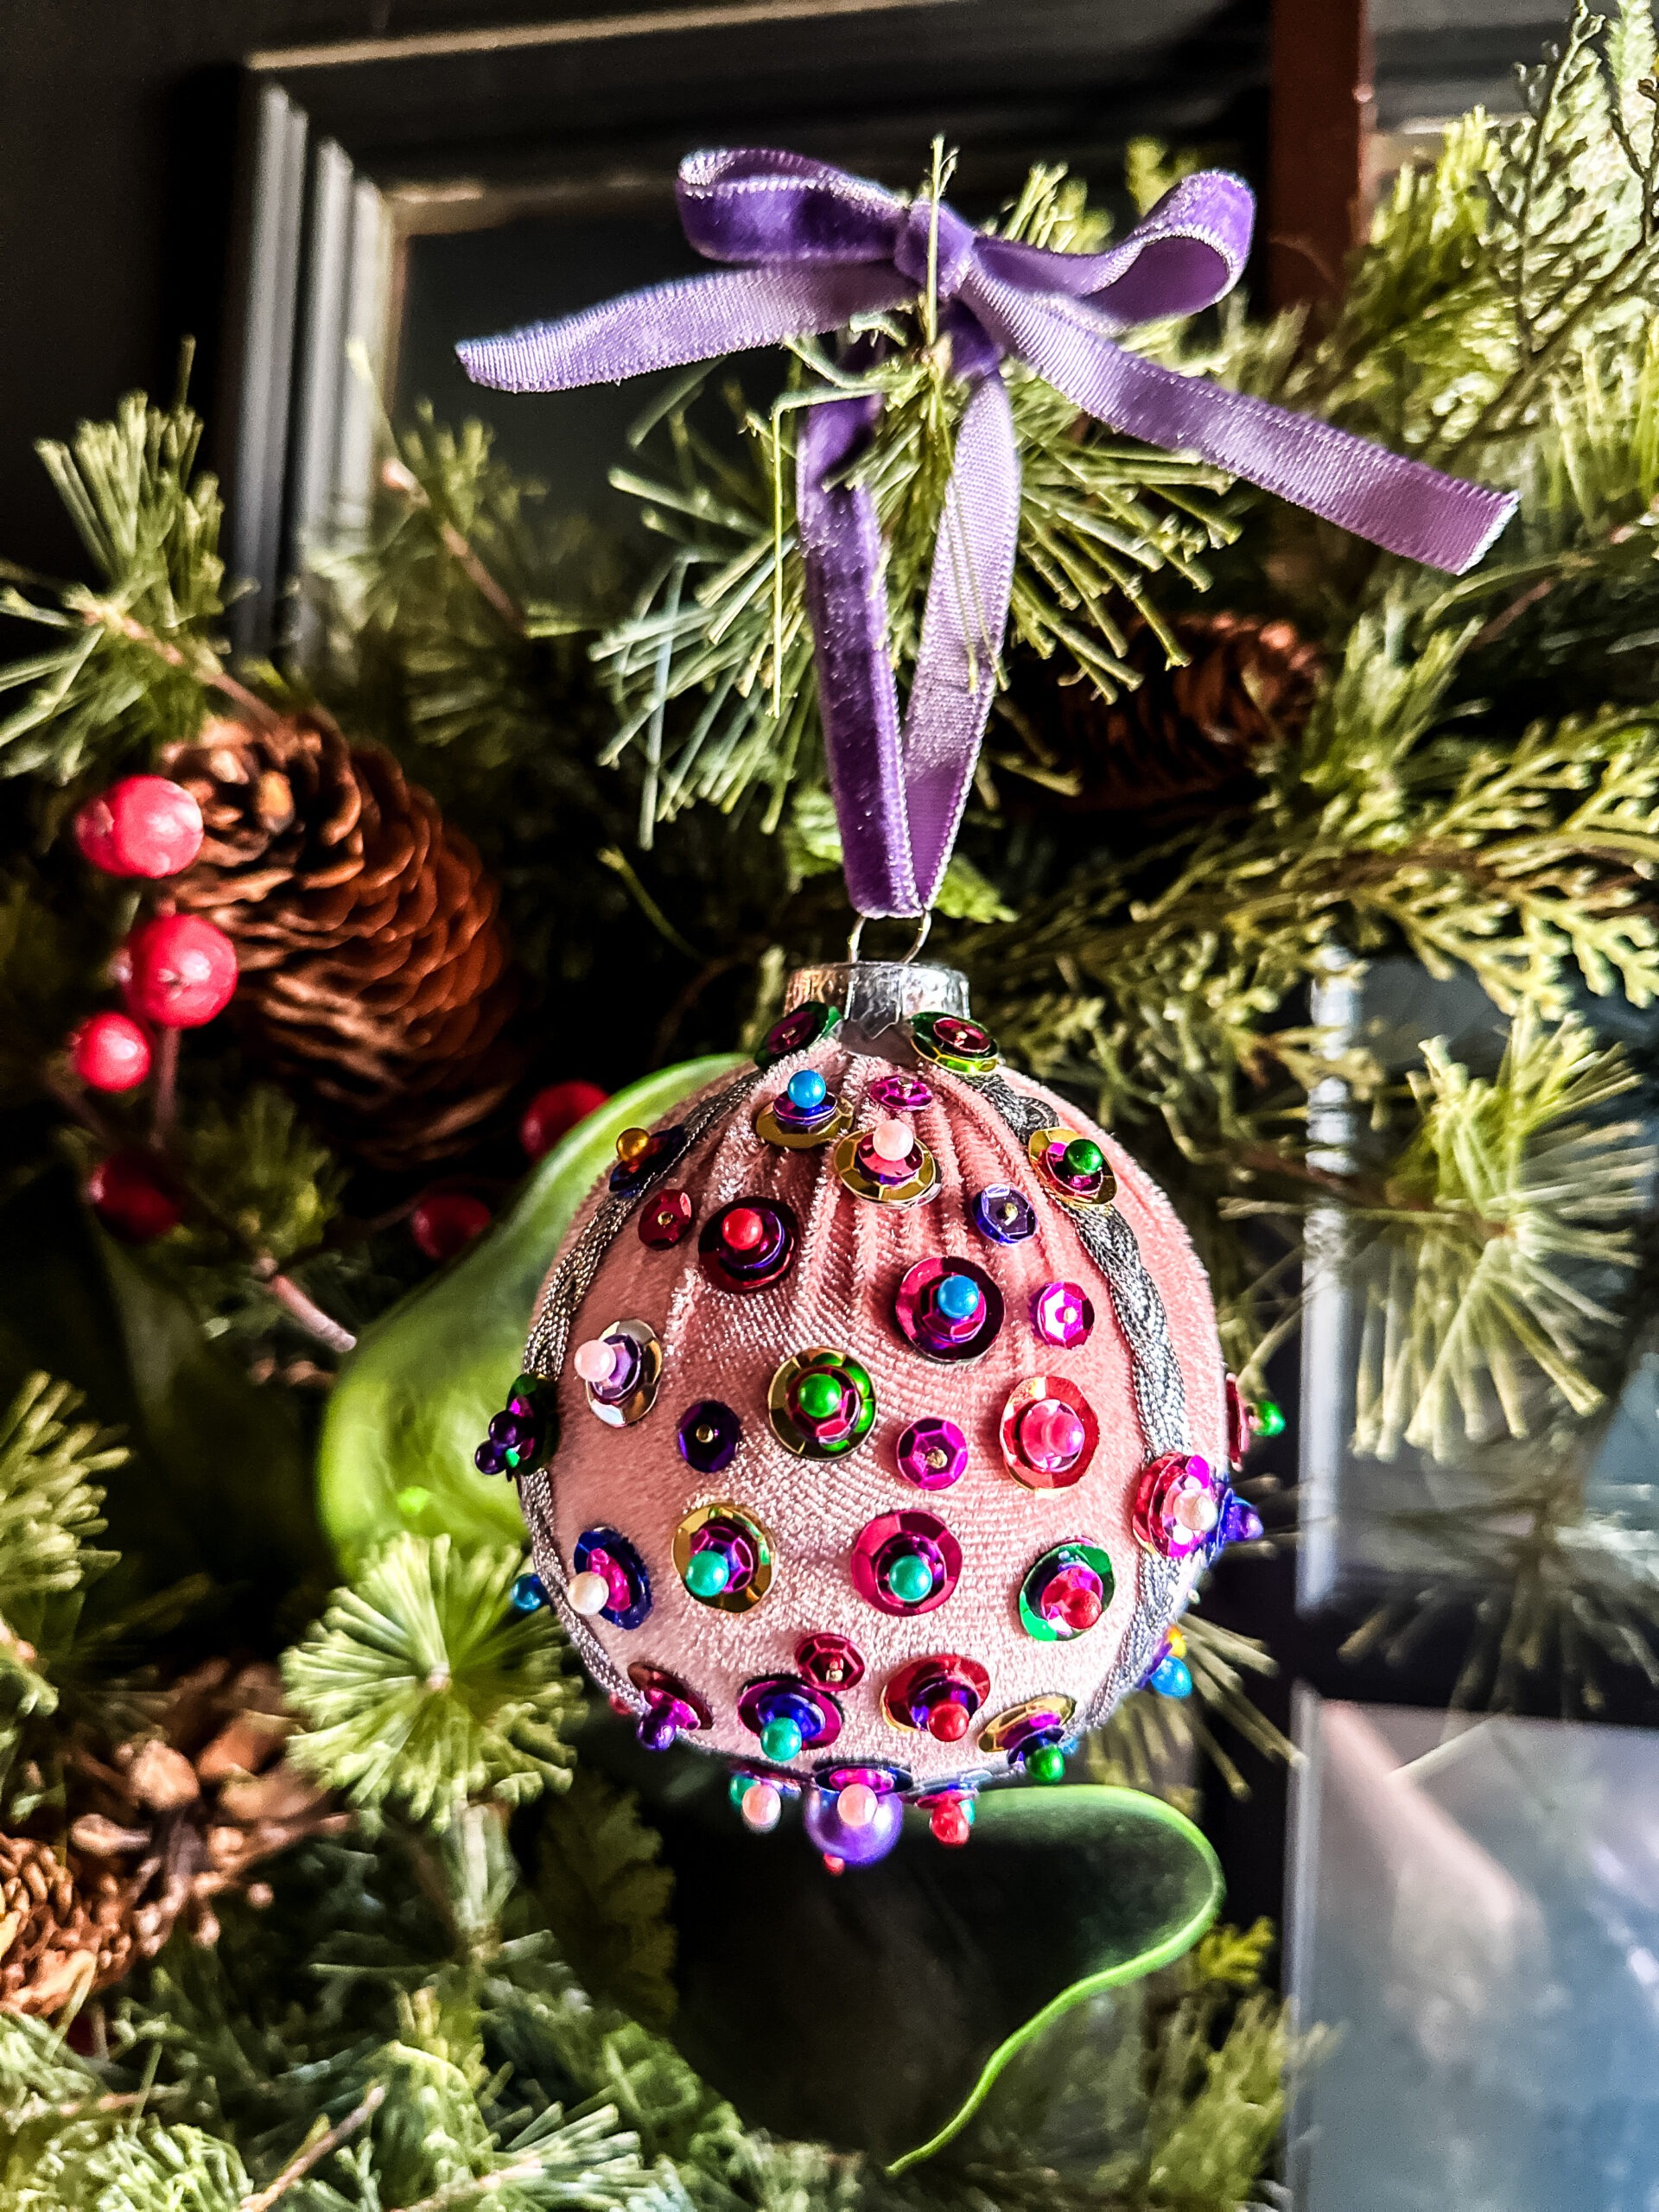
Inspired by those treasured memories, I invite you to create your own vintage-inspired ornaments using satin and velvet ornaments with beads and sequins. Let’s capture the timeless elegance and heartfelt spirit that makes Christmas so special.
These vintage sequin ornaments are for Gigi’s pink Nutcracker tree in her room and as I write this post I am still waiting on a few key things to come and then I will update with more after photos, so I apologize!
Vintage Ornament Supplies
- Velvet Styrofoam Balls (Mine are from Hobby Lobby)
- Sequins in lots of colors
- Sewing pins with colorful ends
- Silver and Gold Trimmings (found by the ribbon and trim)
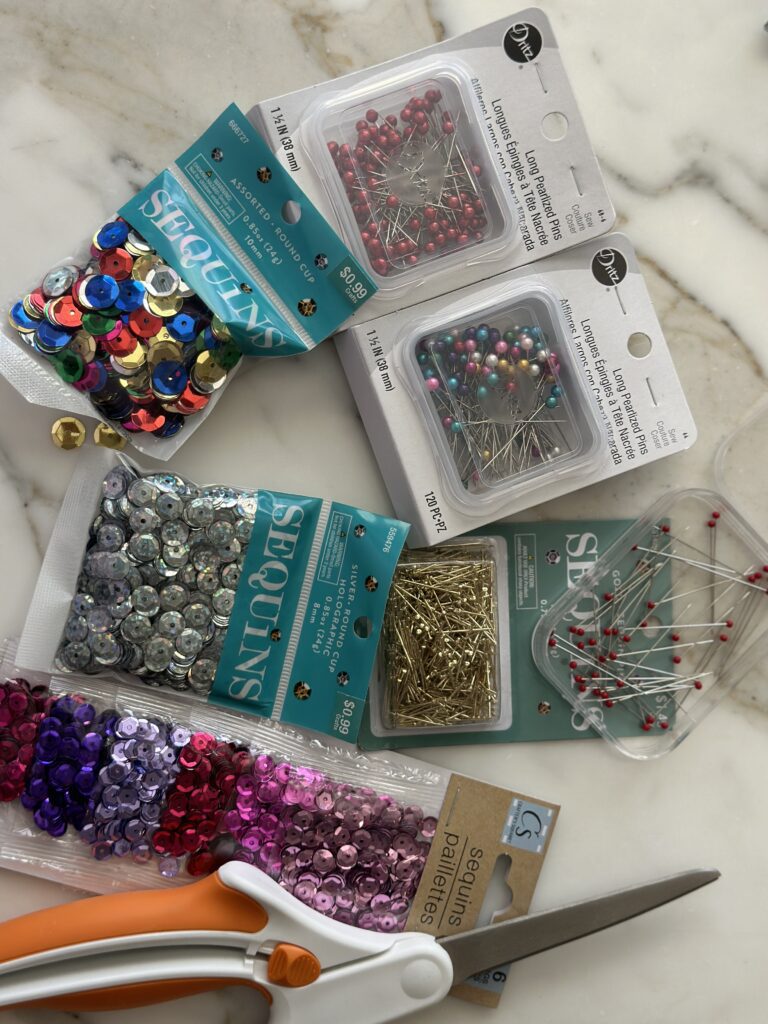
How To Make Vintage Christmas Ornaments
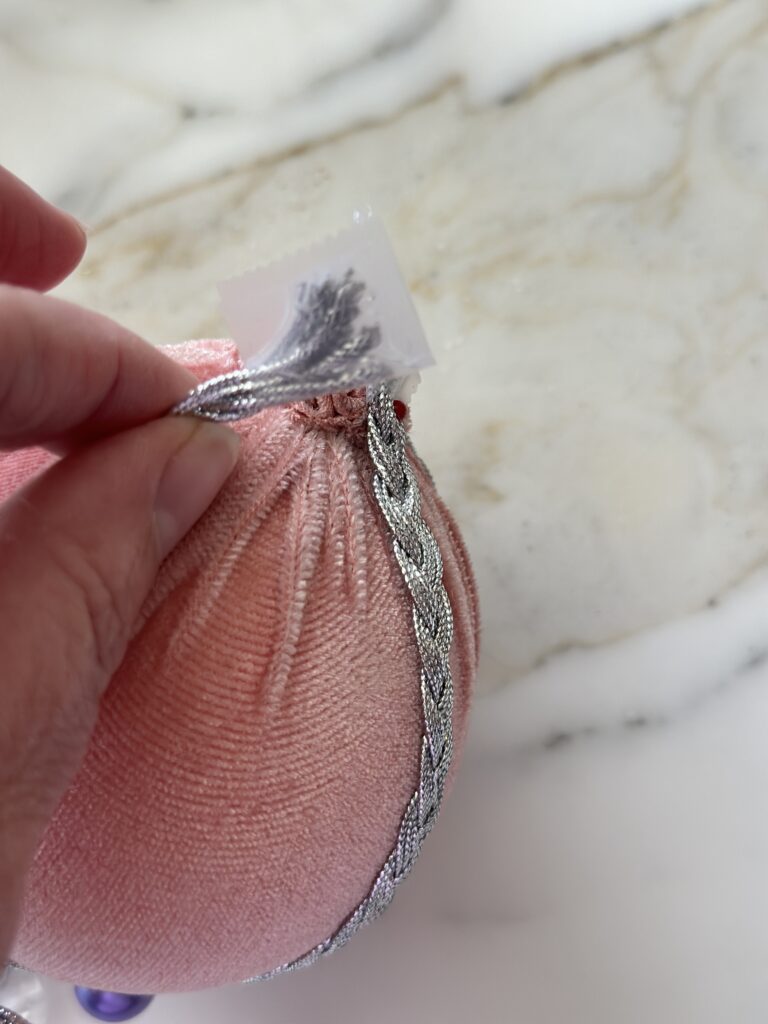
- Start by removing the cap to your velvet ornament. This makes pinning the trim on so much easier.

- If you use a trim that will unravel I suggest using scotch tape around and then cutting it, and keep the tape in place so that the trim won’t unravel in the future.
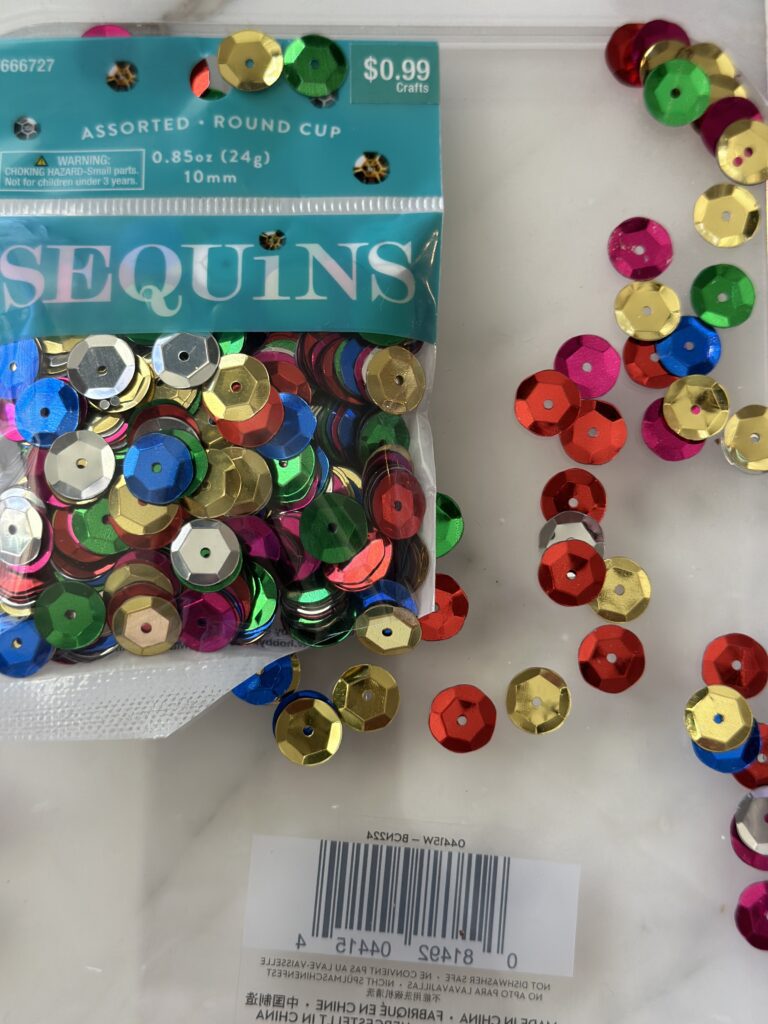
- This little .99 cent bag of sequins was perfect for this project because it has such great shape and brilliant shine, not to mention the beautiful colors!
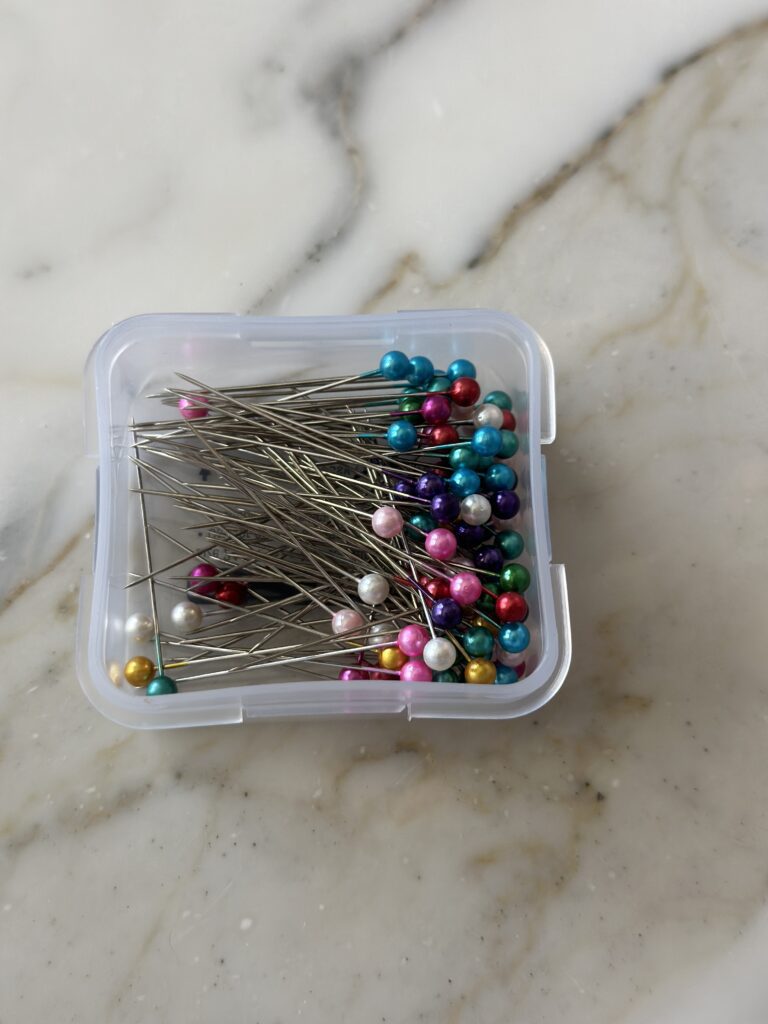
- These colorful pins were also just perfect for the sequin ornaments. Beautiful colors and the size of the ends look like beads.
- Try to put the sequins onto the pin so that their each facing each other. This gives them more width ultimately than if they were stacked in the same direction.
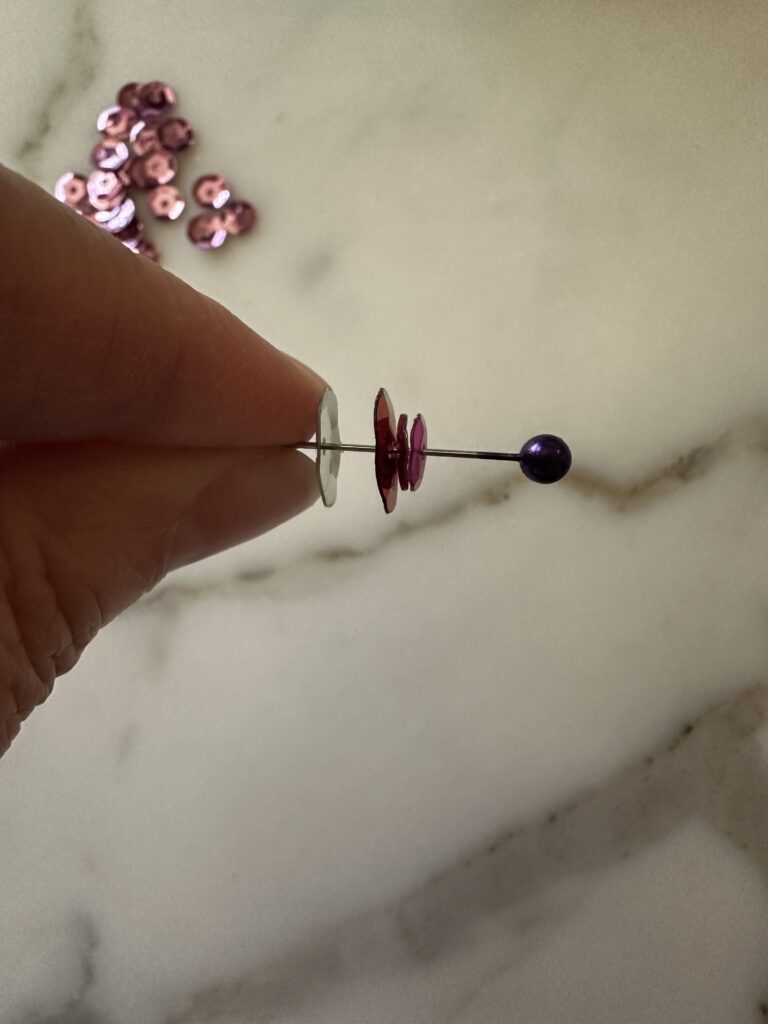
- Use your stacked sequins first to pin the trim down at the top of the ornament and midway and again at the bottom to hold the trim securely.
- Next fill in the quarters of the velvet ornament with a little space in between but not much.
- If there was a space that I felt was too big, but too small for the larger sequins, I filled it with the smaller sequins and a gold sequin pin.
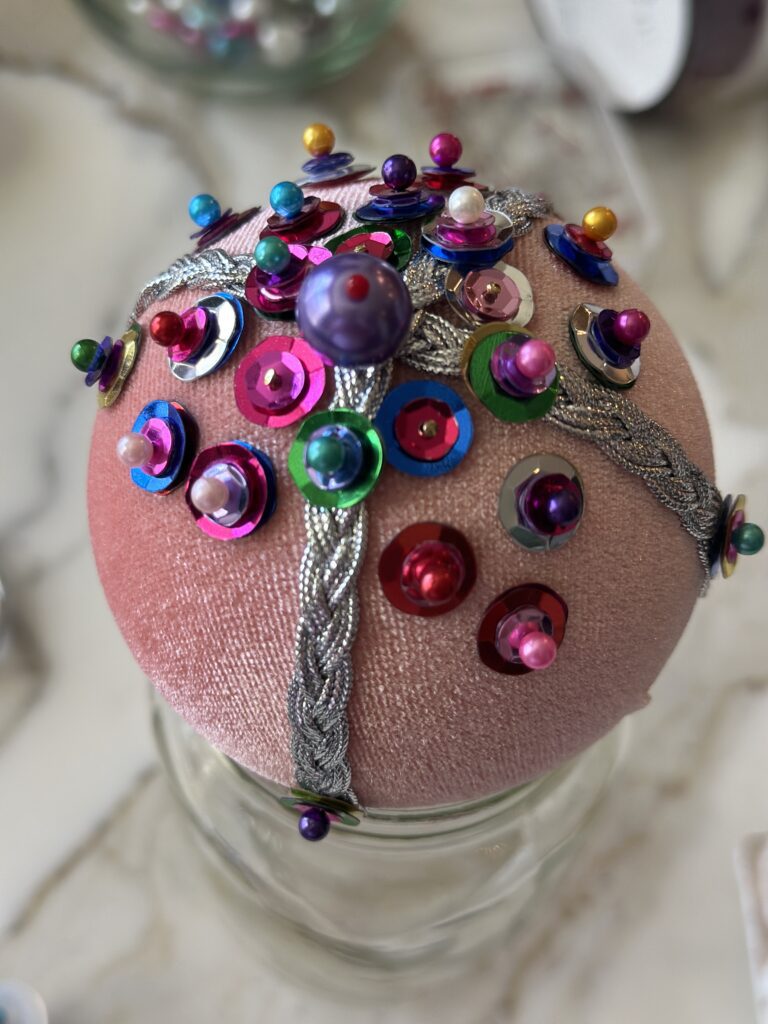
- I love how this turned out and I plan on making six of them, but they do take a little time so I will do this while watching the Gilded age on Sunday! LOL These are perfect with the free Nutcracker printables I made!
- Lastly, tie a velvet ribbon in a beautiful color and enjoy!
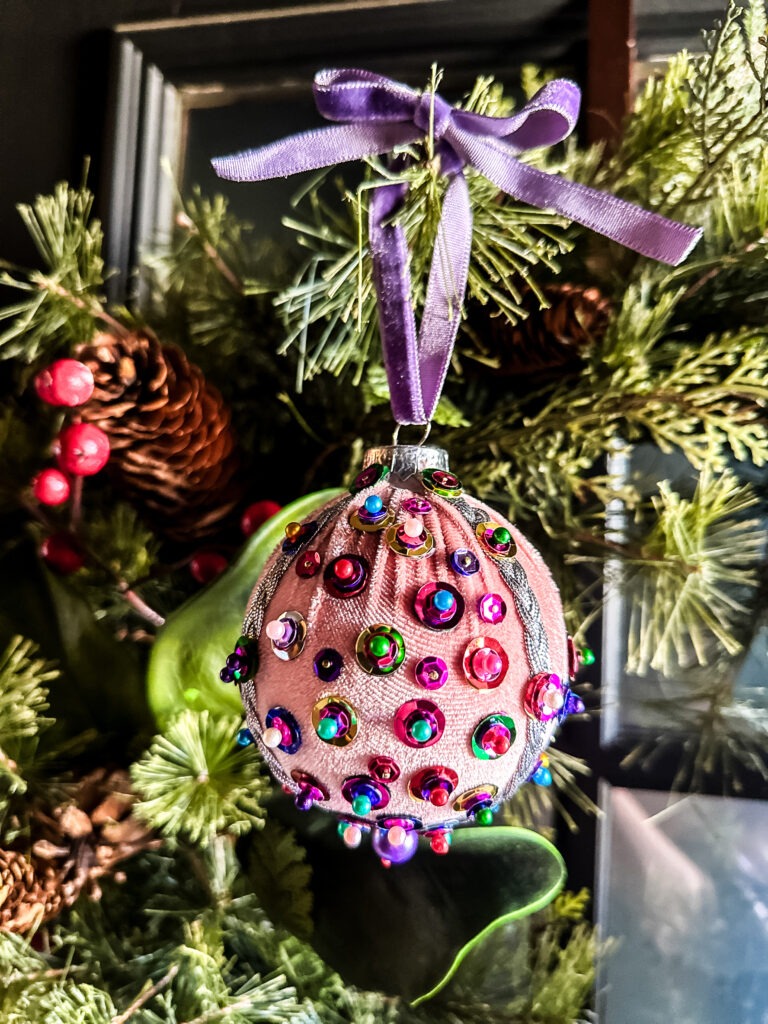
These ornaments, crafted with love and patience, are more than decorations; they are tangible reminders of your warmth, creativity, and the magic of Christmas. This year, I was inspired to recreate those ornaments, not just to capture their beauty, but to rekindle the spirit of my grandmother’s Christmas and share its sparkle with my own family.
You Might Also Like
How to Make Felt Christmas Coasters with Felt Balls
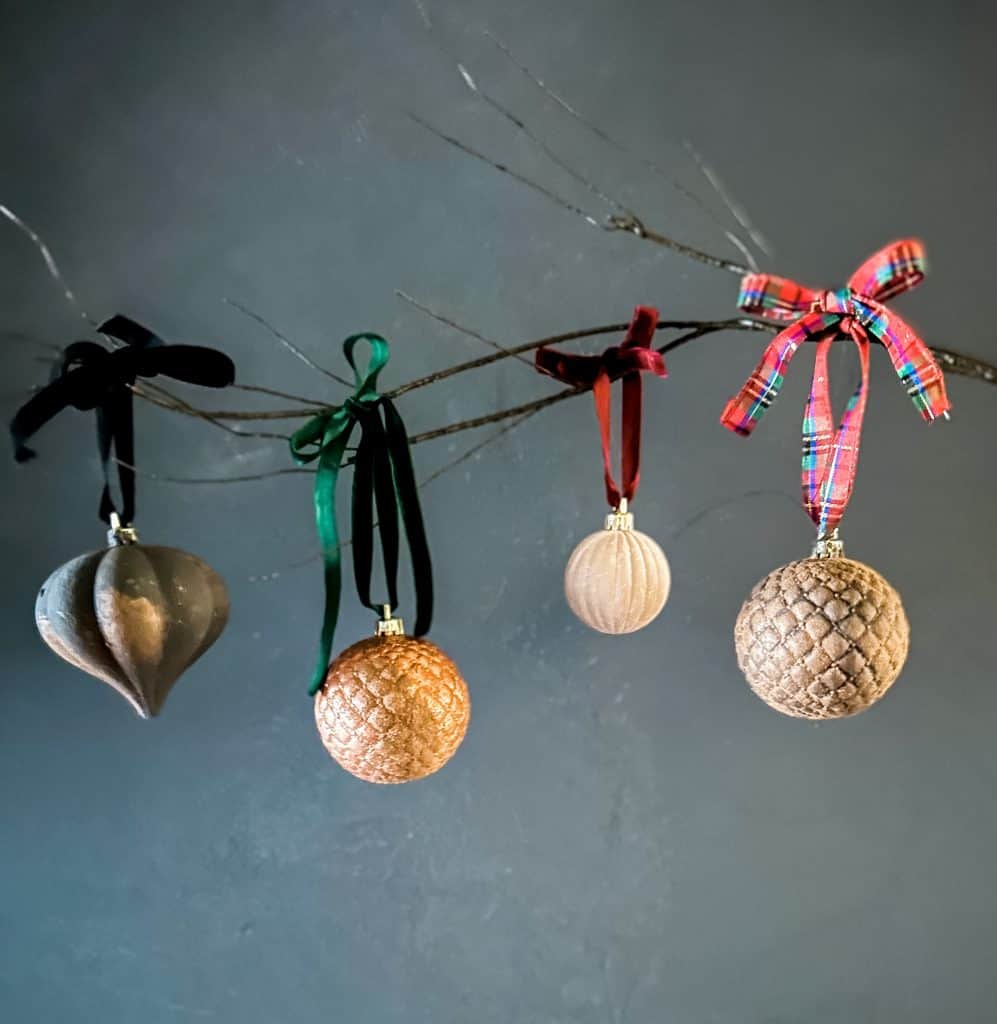
How to Make Textured Christmas Ornaments High-End Dupes
Oh Amy, these transport me right back to the Christmas stockings my mother made for everyone cut from felt with lots of little details featuring sequins and beads.
I’m sure Gigi will love these and remember them for decades to come!
Good job, Ames!! Hope you had fun with your sisters yesterday…never got a pic of your lunch though!!
Ooh! I want to make these! This really takes me back, Amy! I love the colors that you used. These would be such aa nice gift…to give away or to keep!
Hey Amy, I fell is love with these all over again. Such a great memory of my mom’s tree and decorations. I would love to make a few of these as hostess gifts or just for my tree! haha Great job!
Amy your ornaments are just adorable! My great aunt made ornaments like these when I was a kid, and I remember how beautiful they looked on our tree!