How to Make Easy Homemade Bath Bombs – Step-by-Step Tutorial
I want to show you how to make easy homemade bath bombs with this step-by-step tutorial so that you can have a soothing, relaxing bath and have soft smooth skin too!
Jump to Recipe Print RecipeGigi (my four-year-old daughter) loves bath bombs. I mean, I know where she gets it though. Bath time is our favorite time of the day!
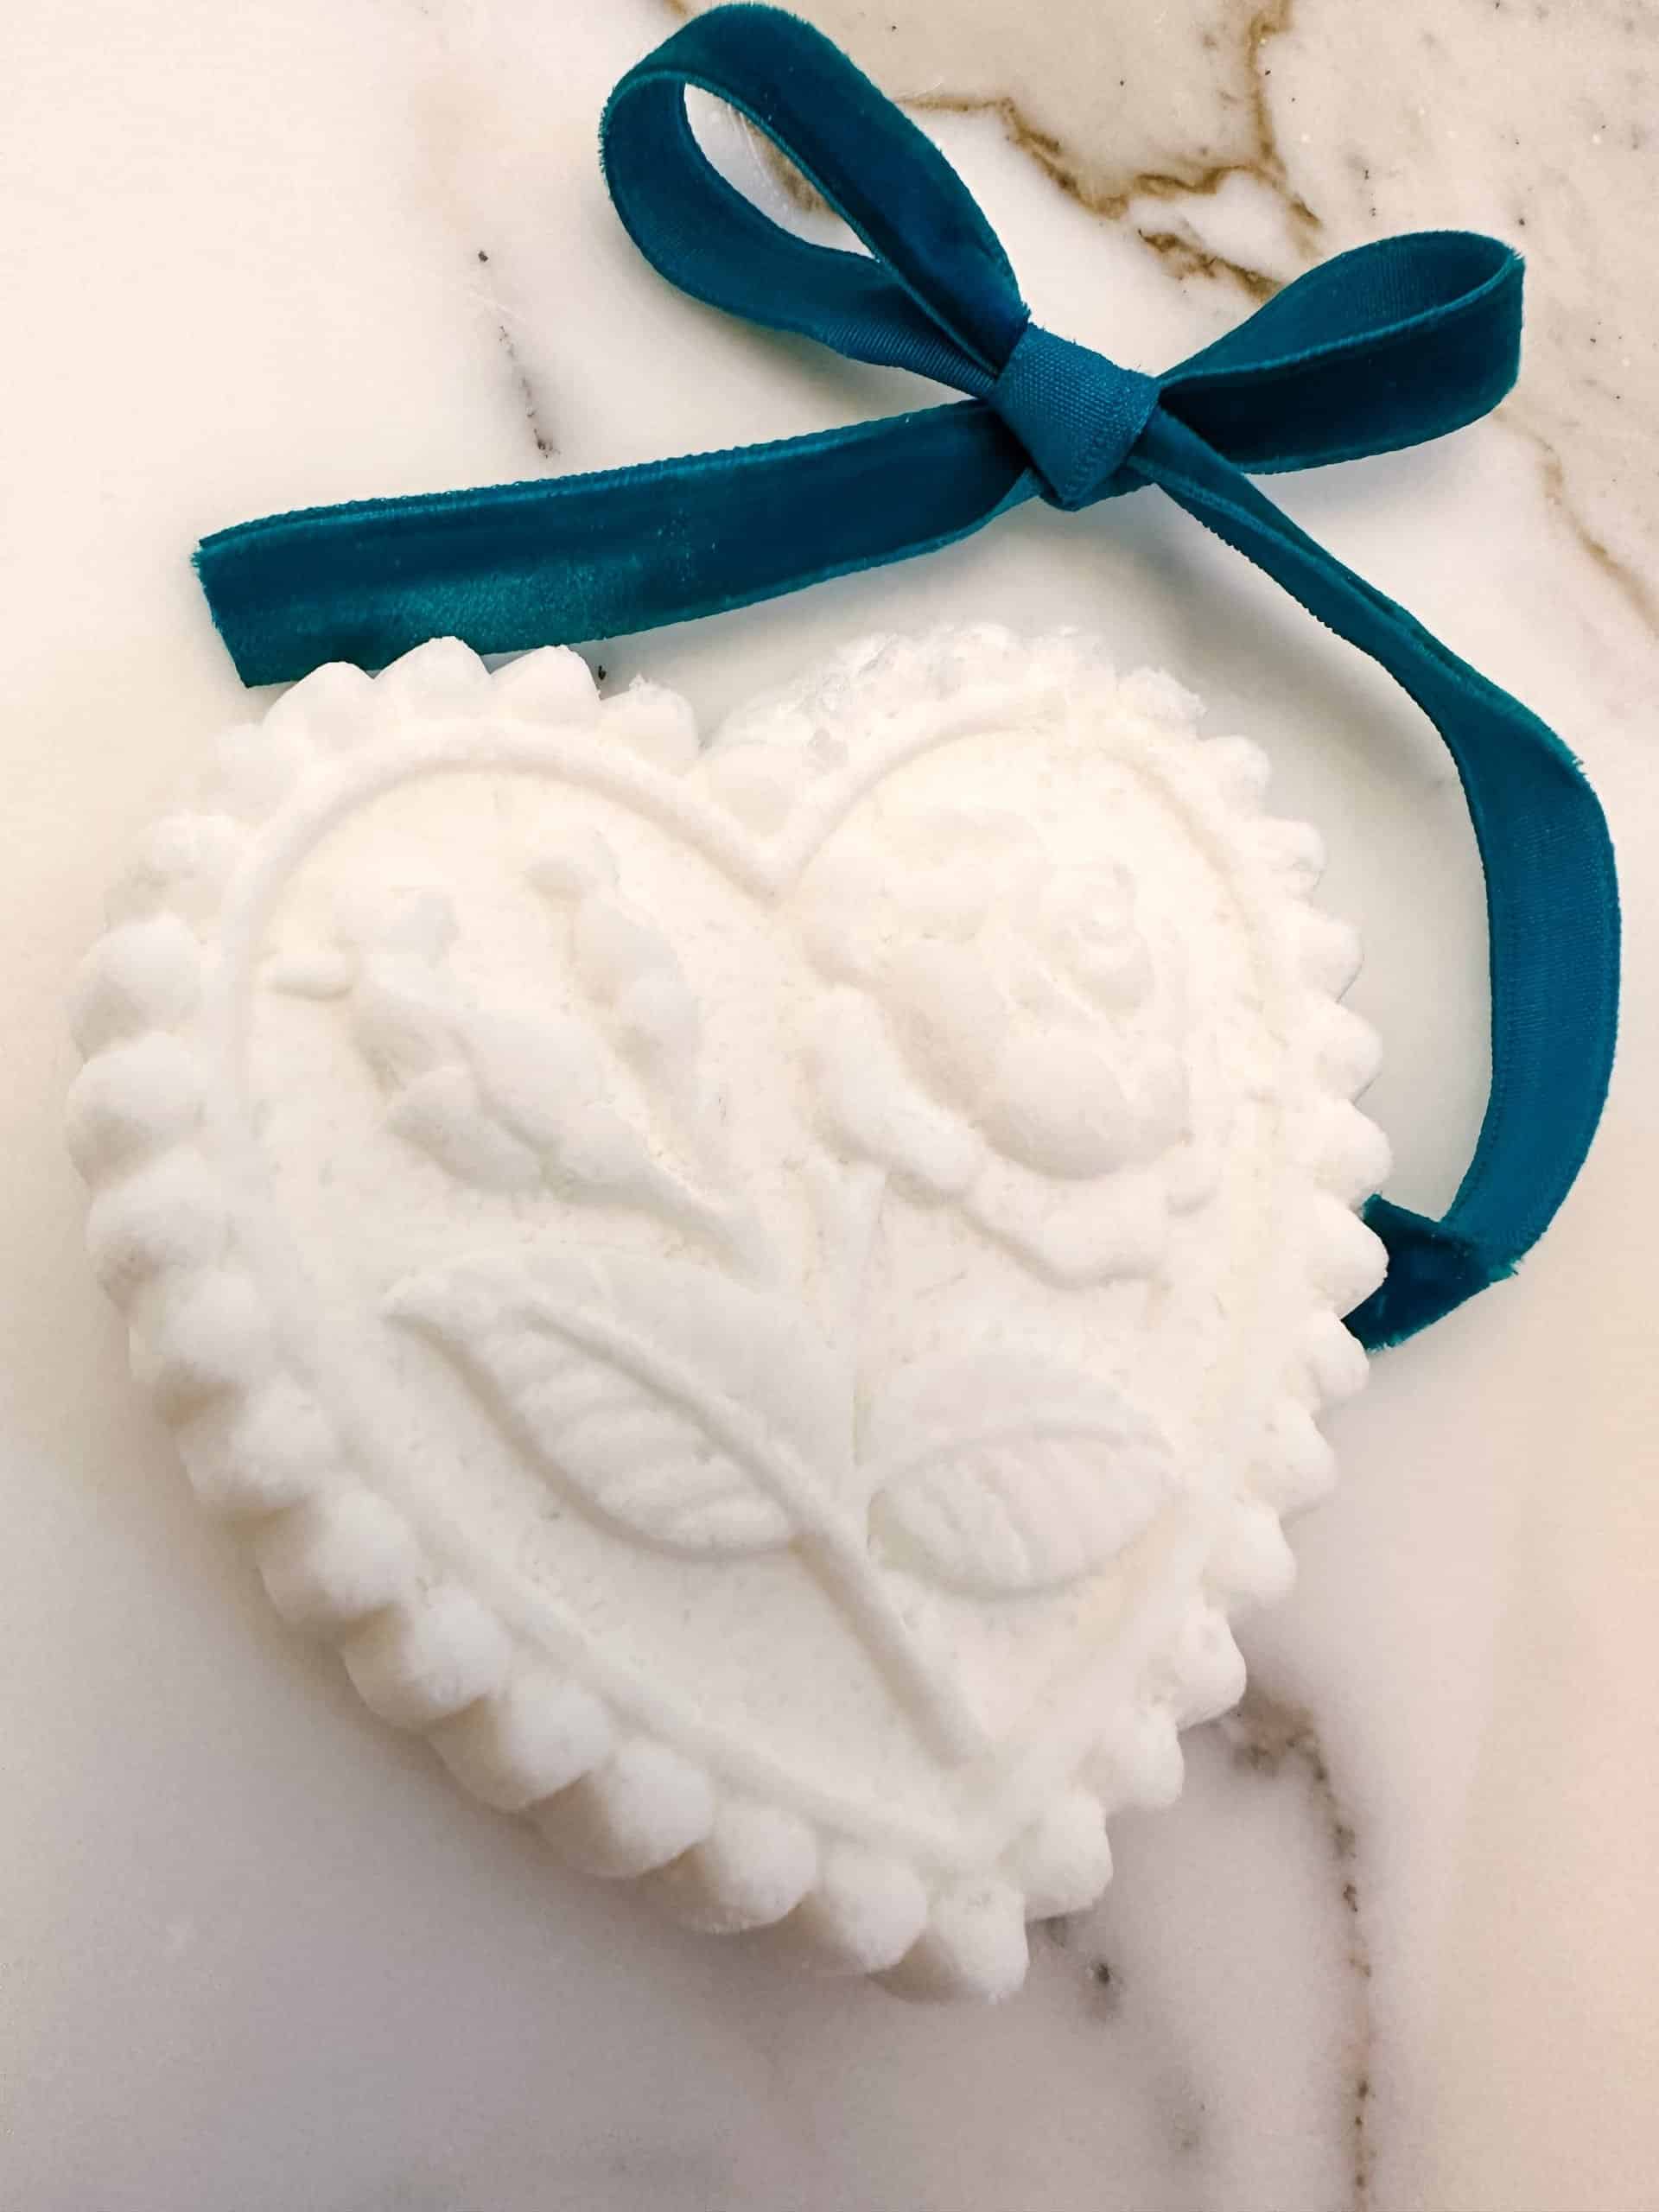
This homemade bath bomb recipe is natural and I have a fun few ways to make it extra special as a gift or for yourself!
It’s quick and easy to make and you can find the ingredients easily.
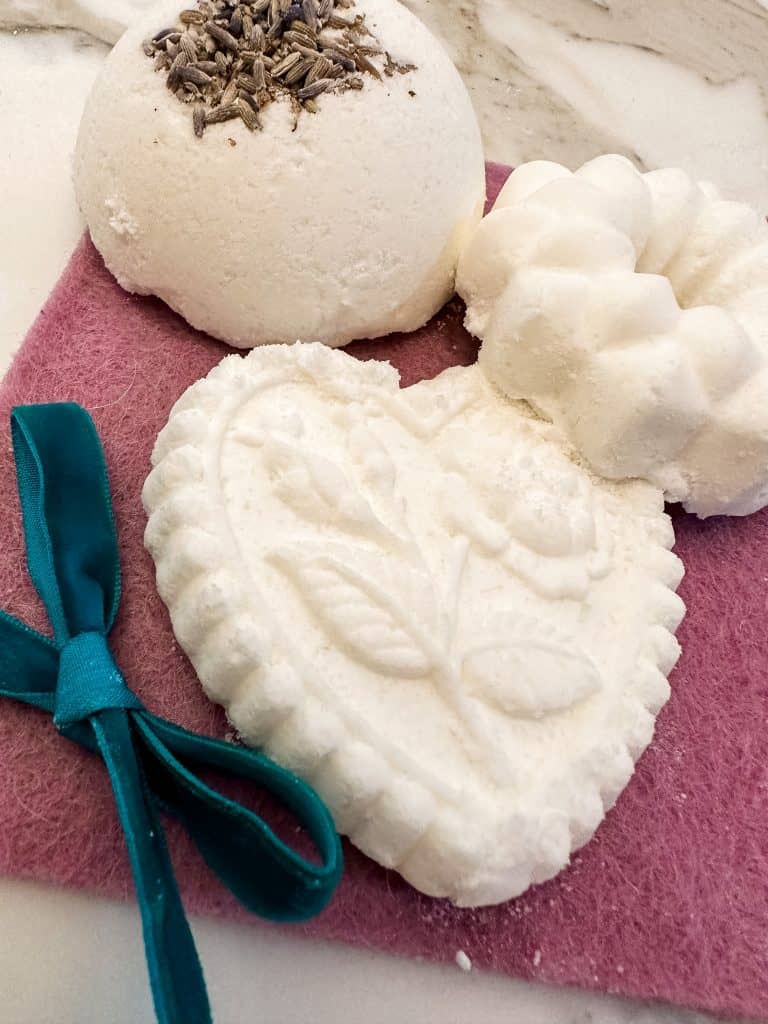
This all natural bath bomb tutorial is a part of my heartfelt handmade gift series with my friends, so if you are looking for gifts to make for your family and friends I have linked their amazing ideas for you at the bottom of this post!
Bath Bomb Supply List
- Bath bomb molds
- Whisk
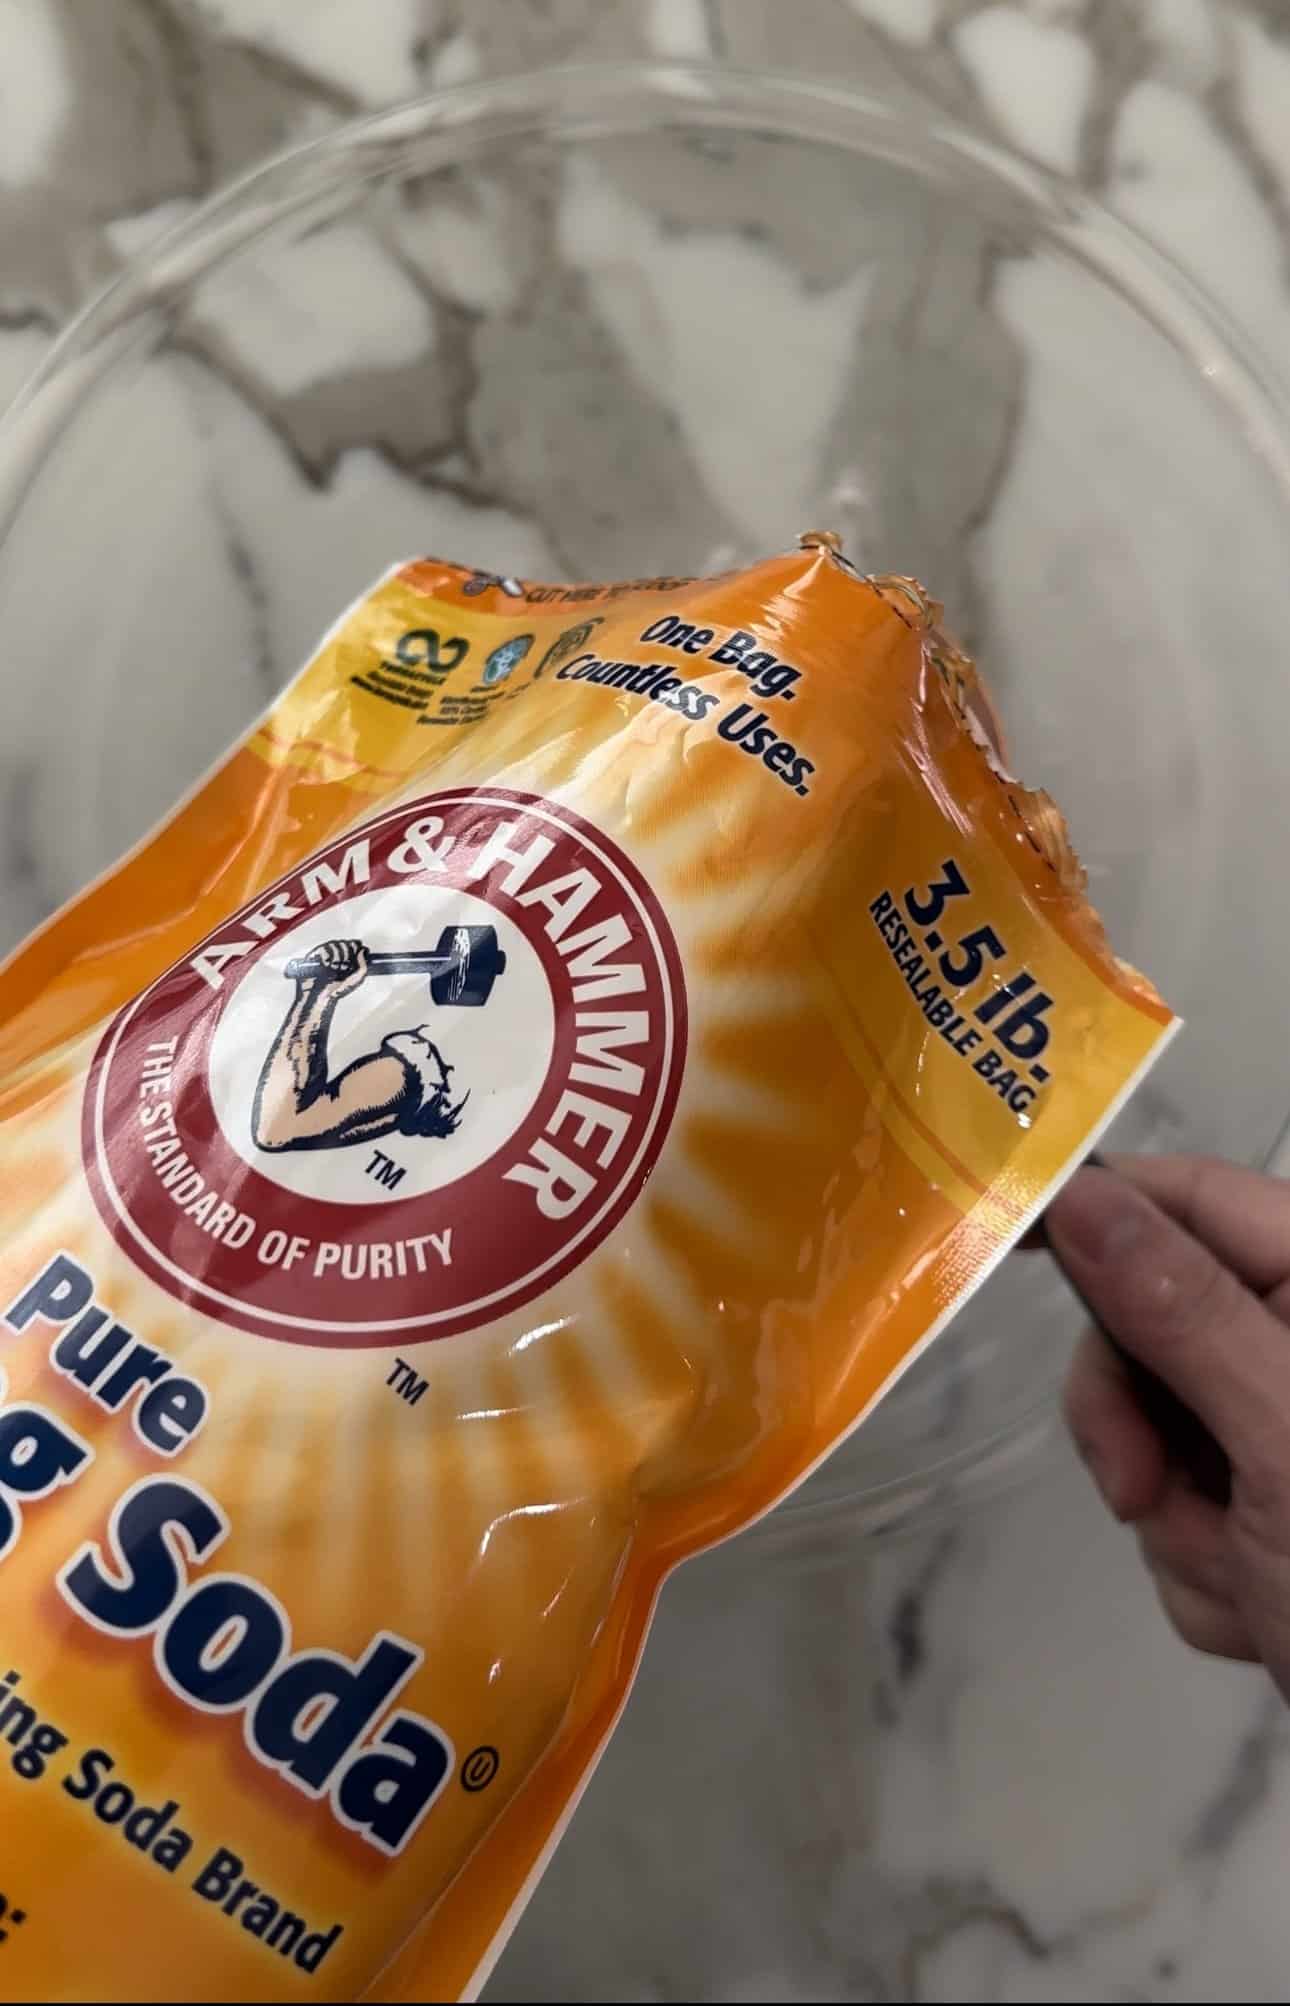
- Baking Soda (NOT BAKING POWDER)
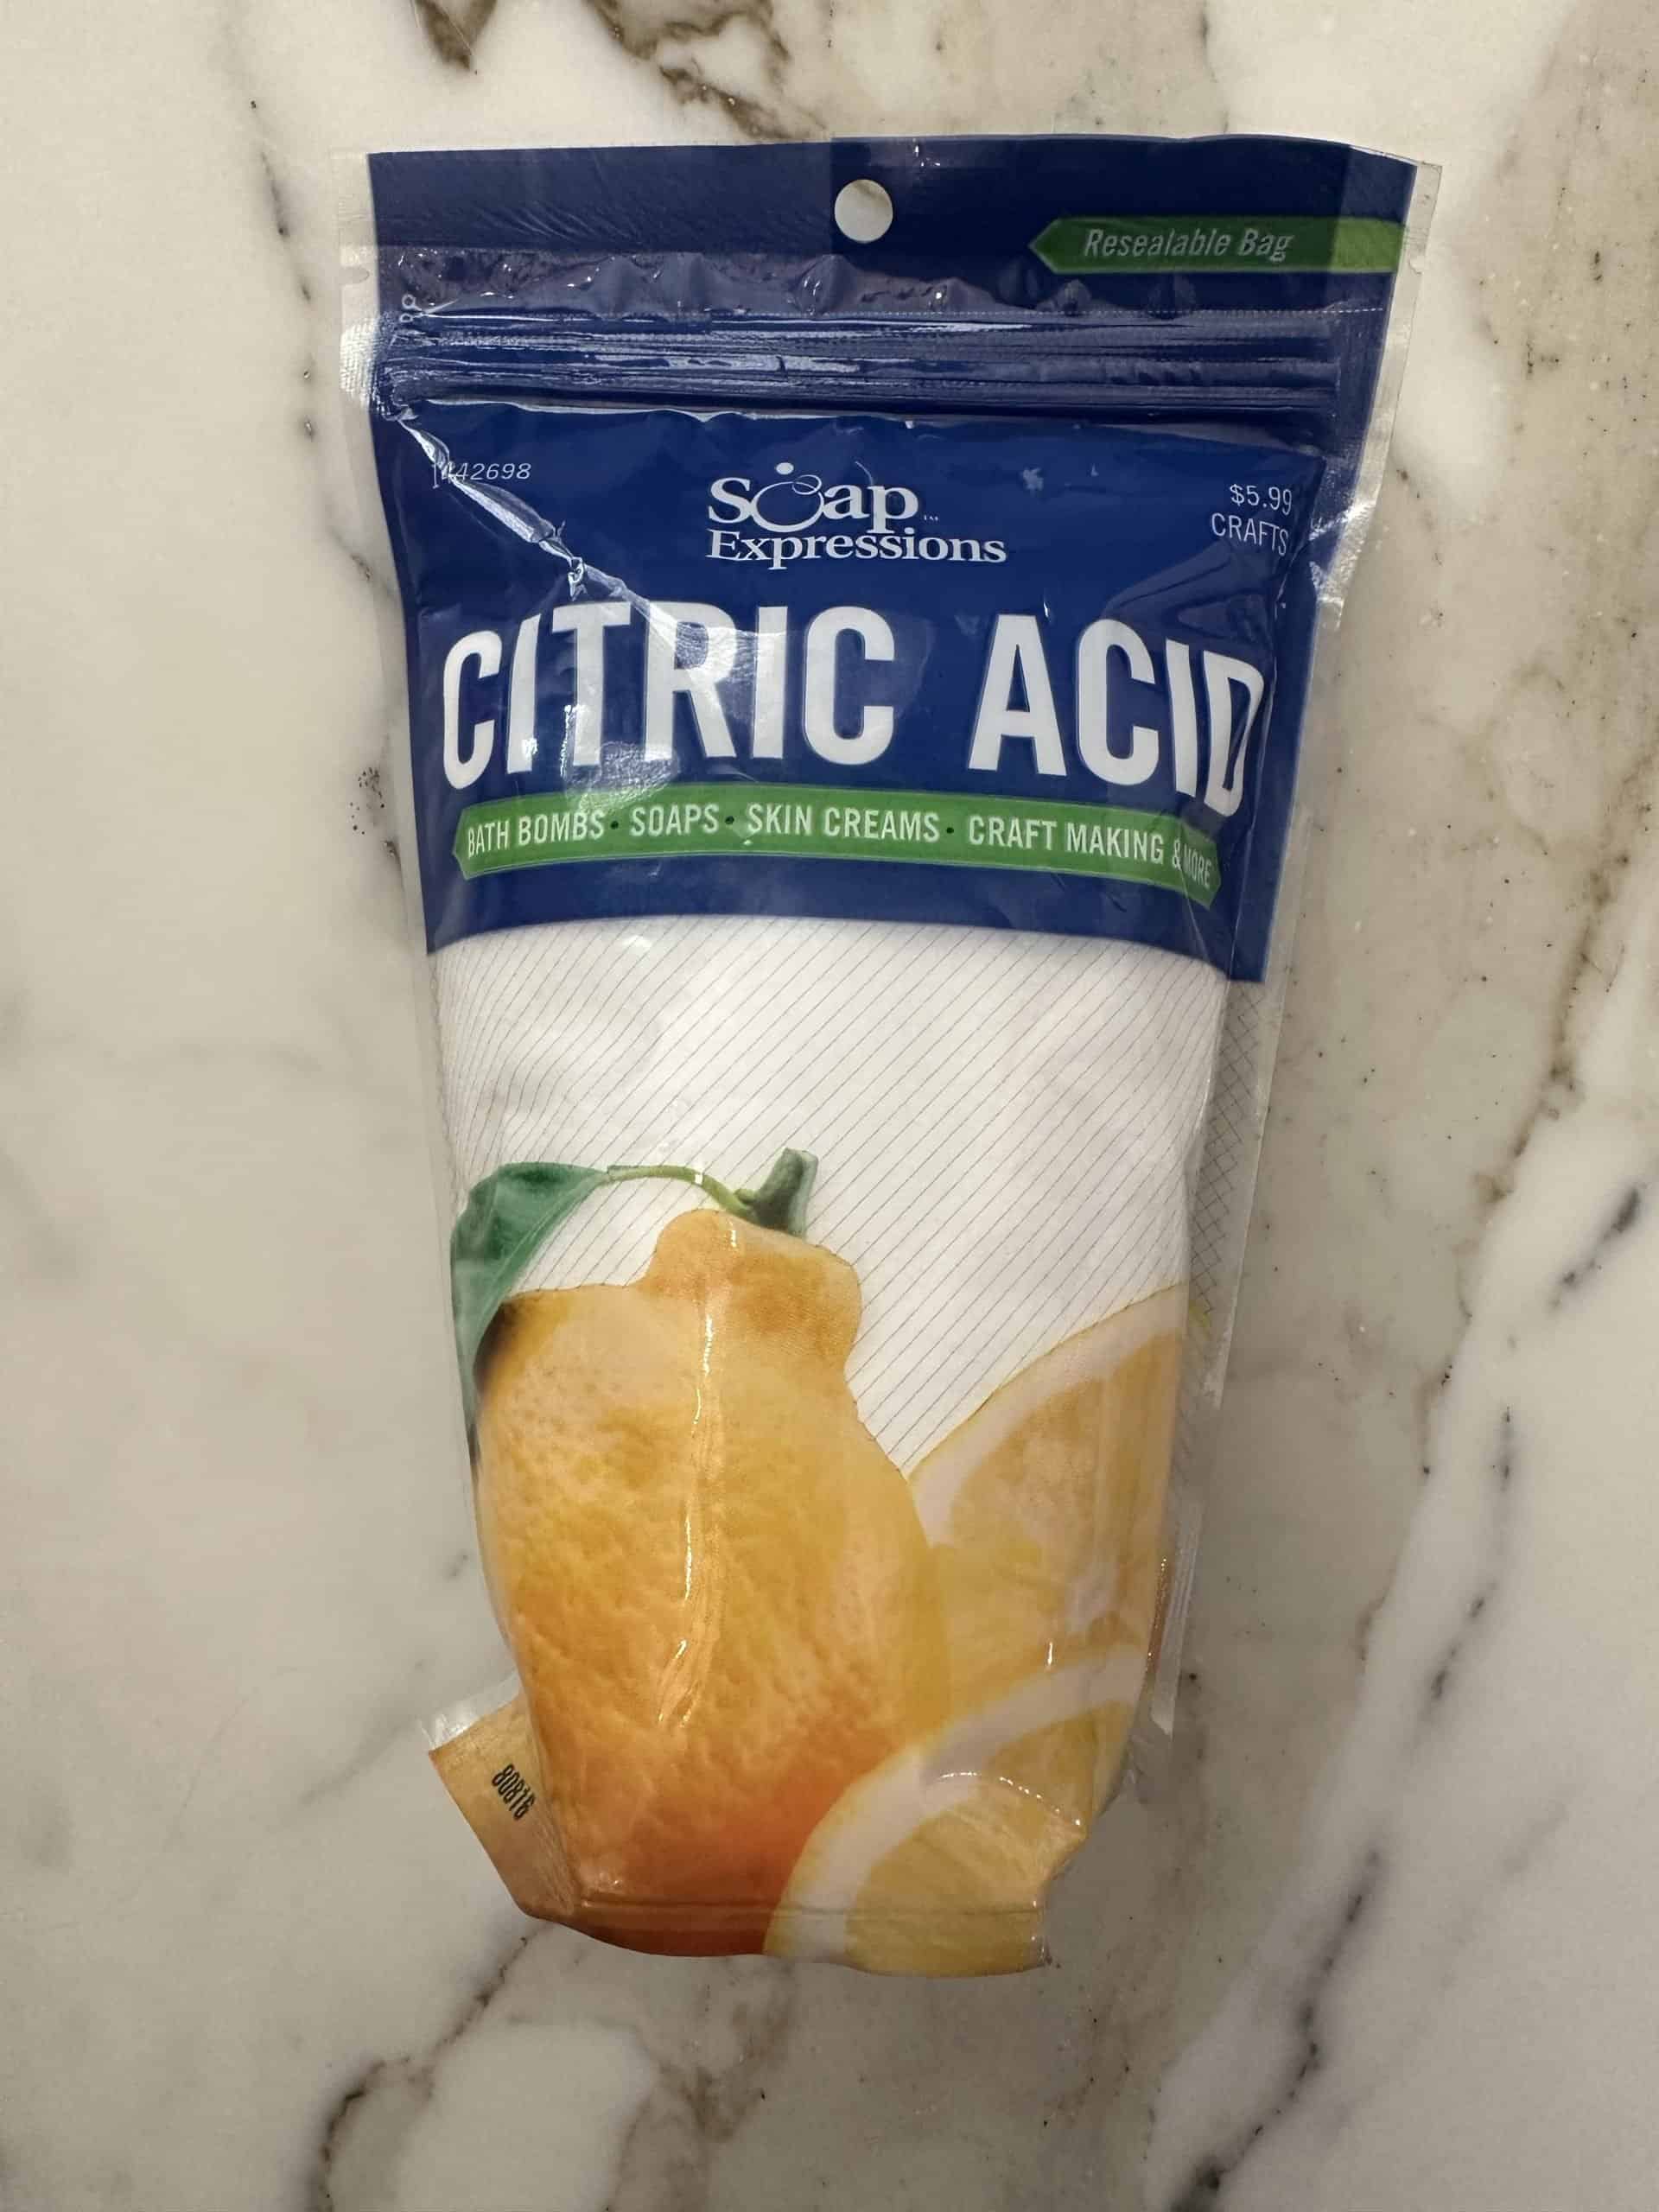
- Citric Acid
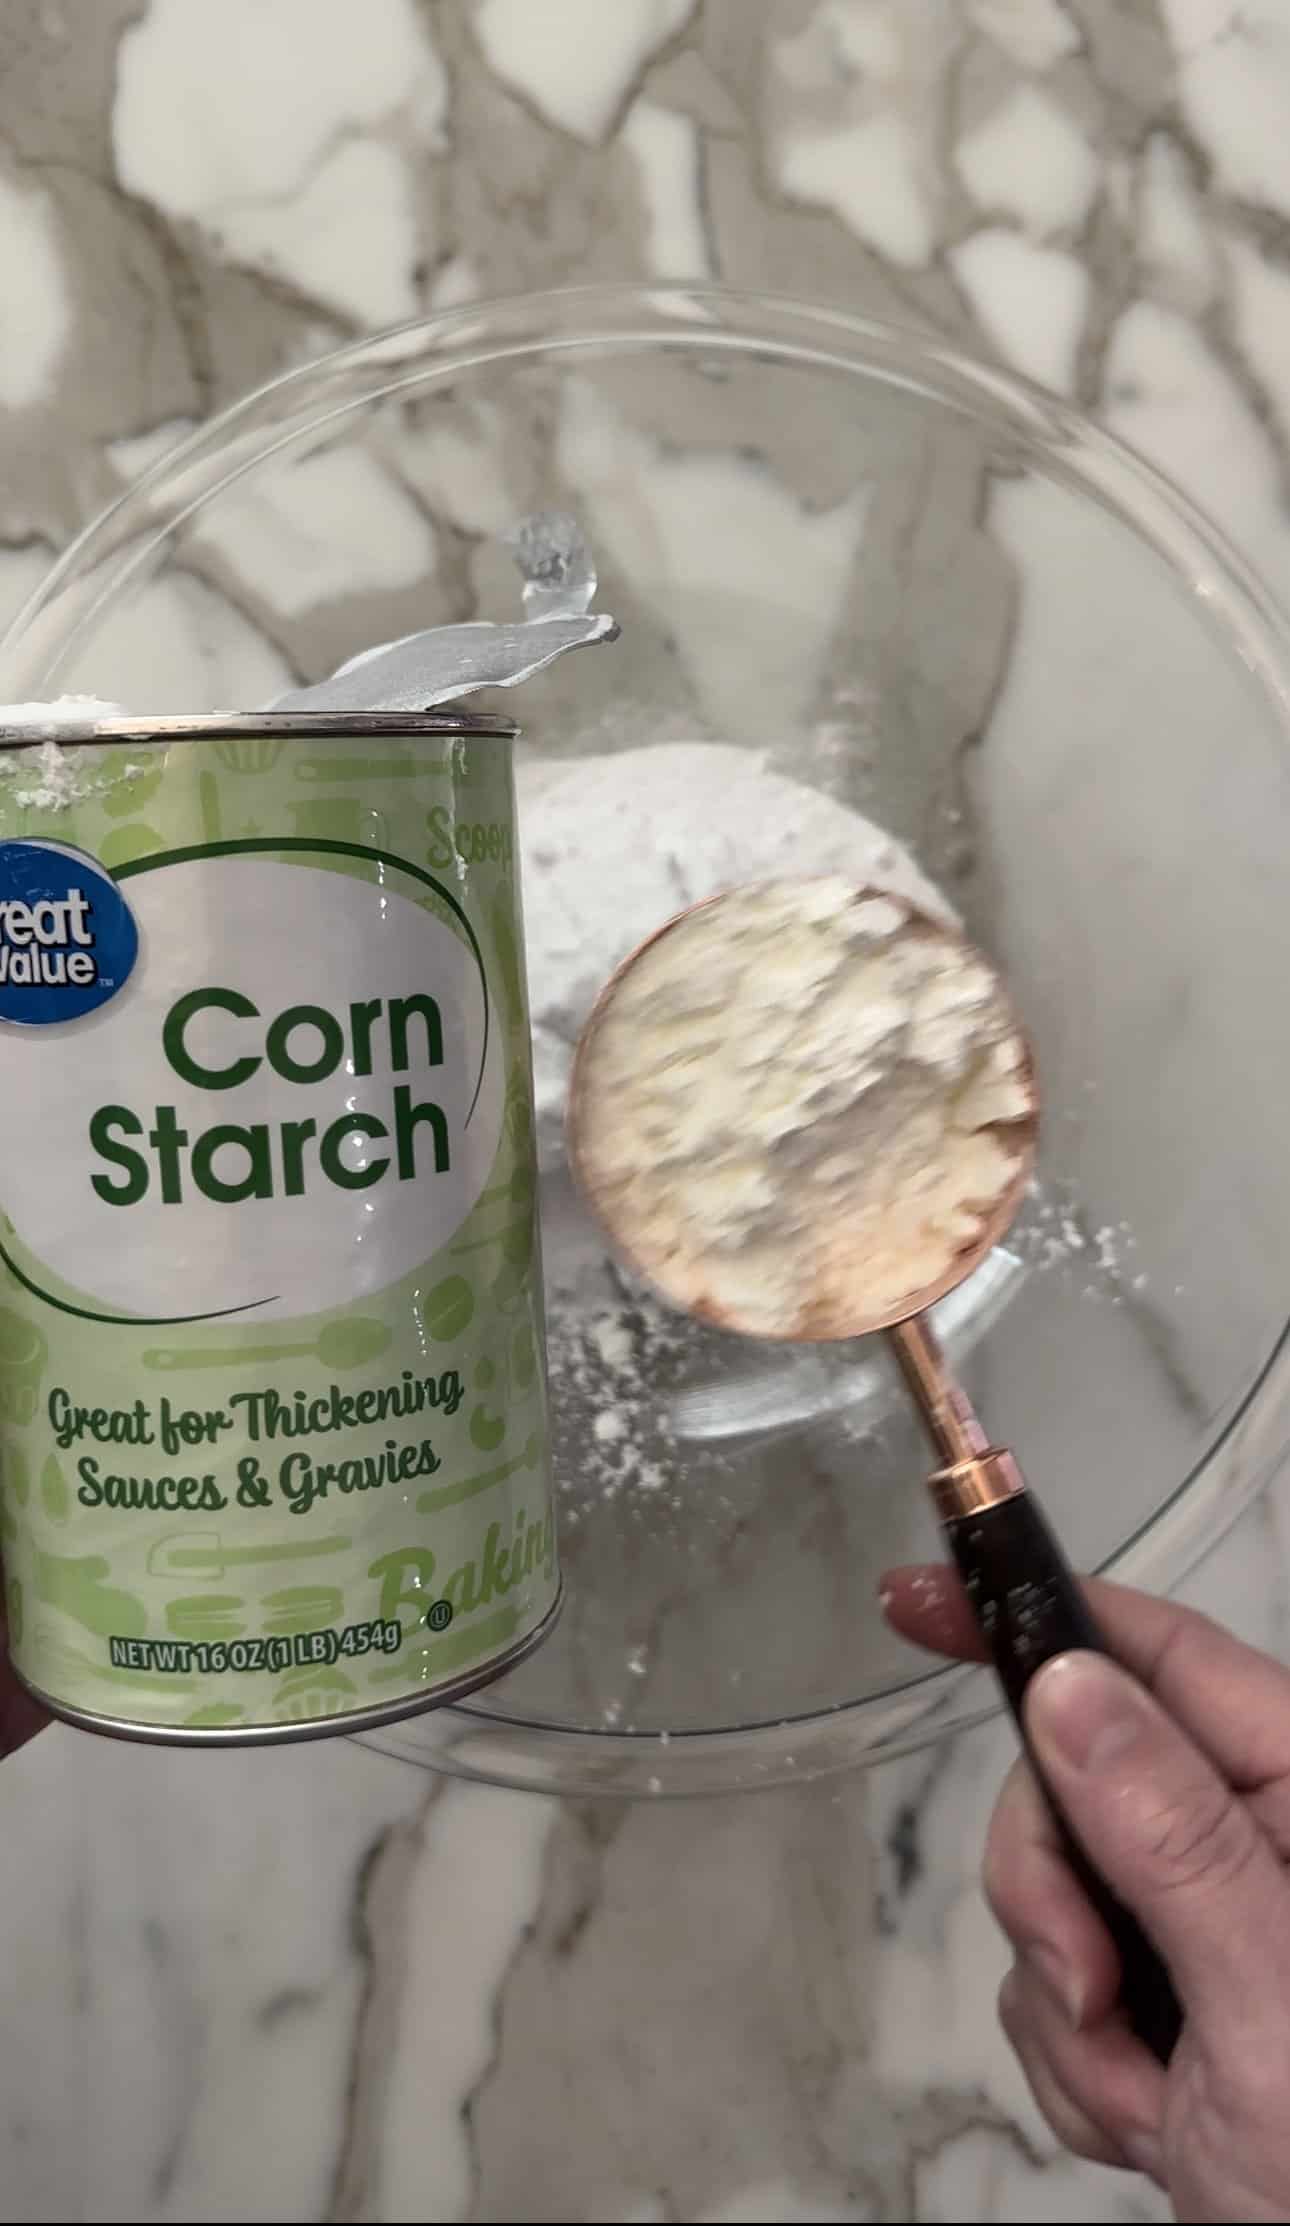
- Cornstarch
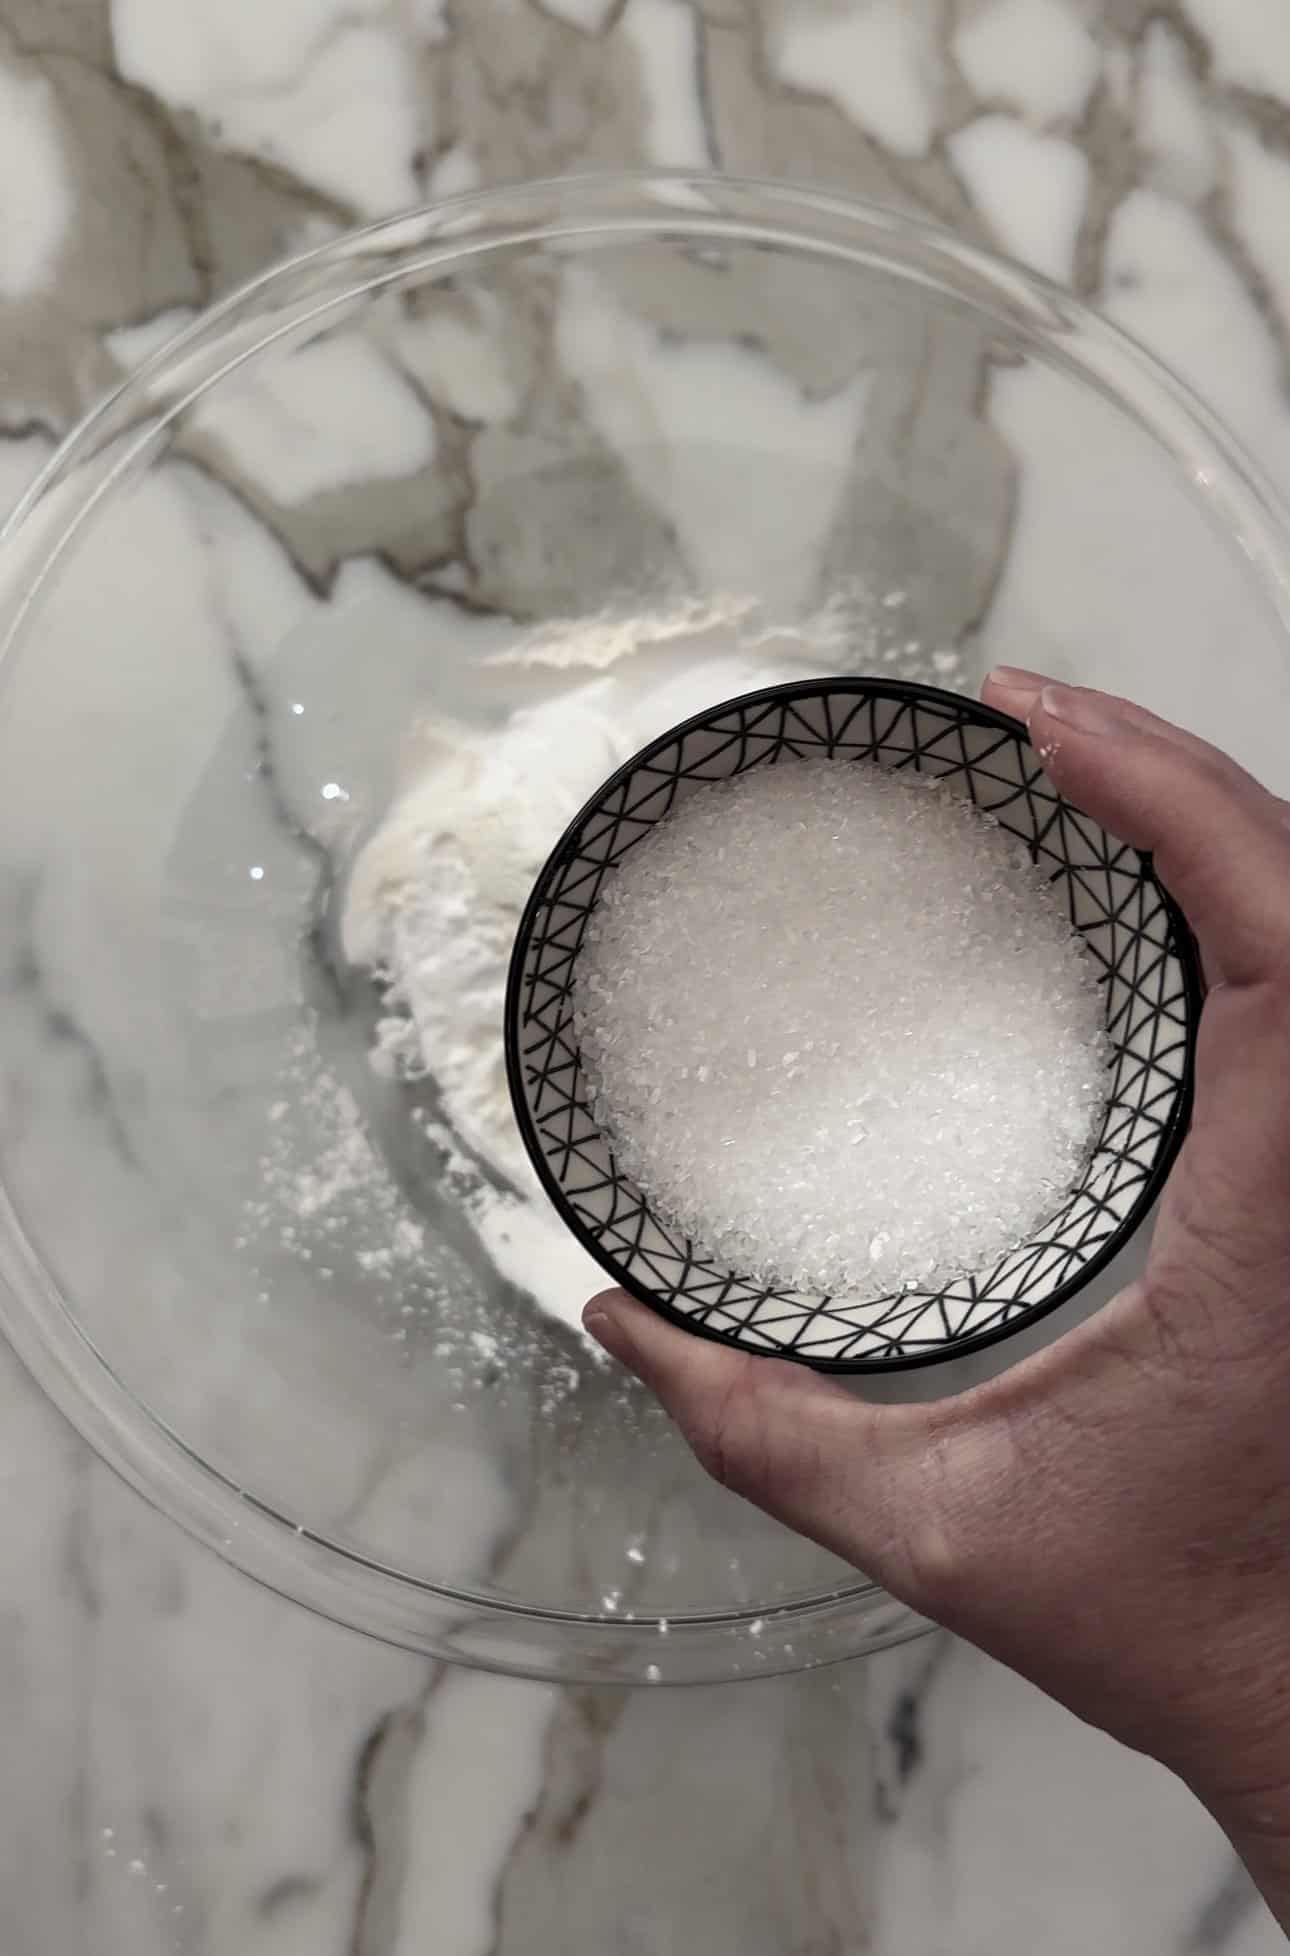
- Epsom Salt
- Coconut Oil
- Essential Oil
Other fun additives for Bath Bombs
- Instant Espresso
- Pure Vanilla Extract
- Lavender Flowers for lavender bath bombs
- Orange Zest for citrus bath bombs
- Dry Ingredients
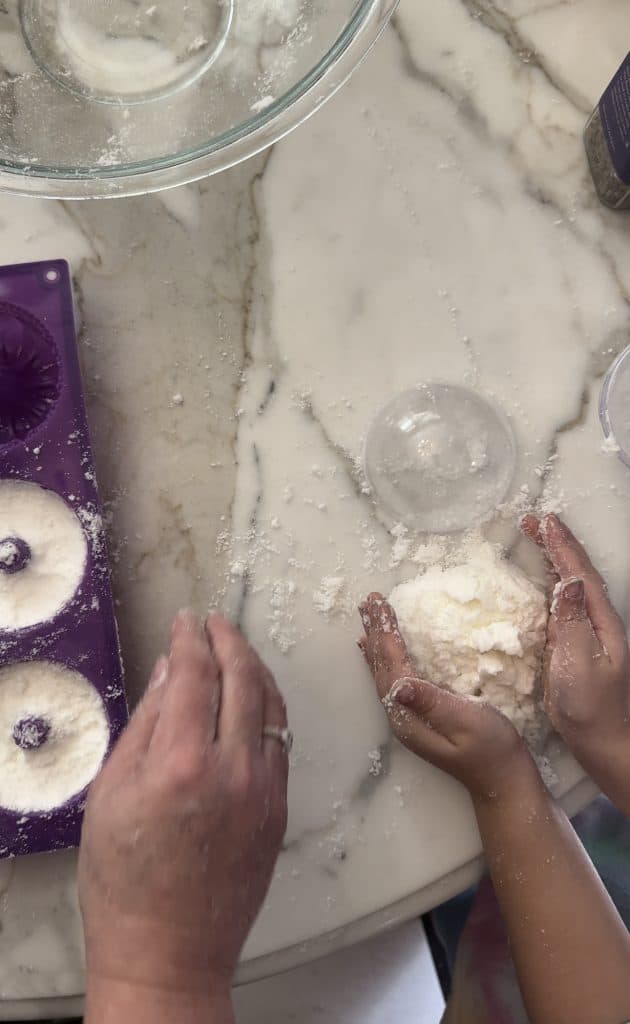
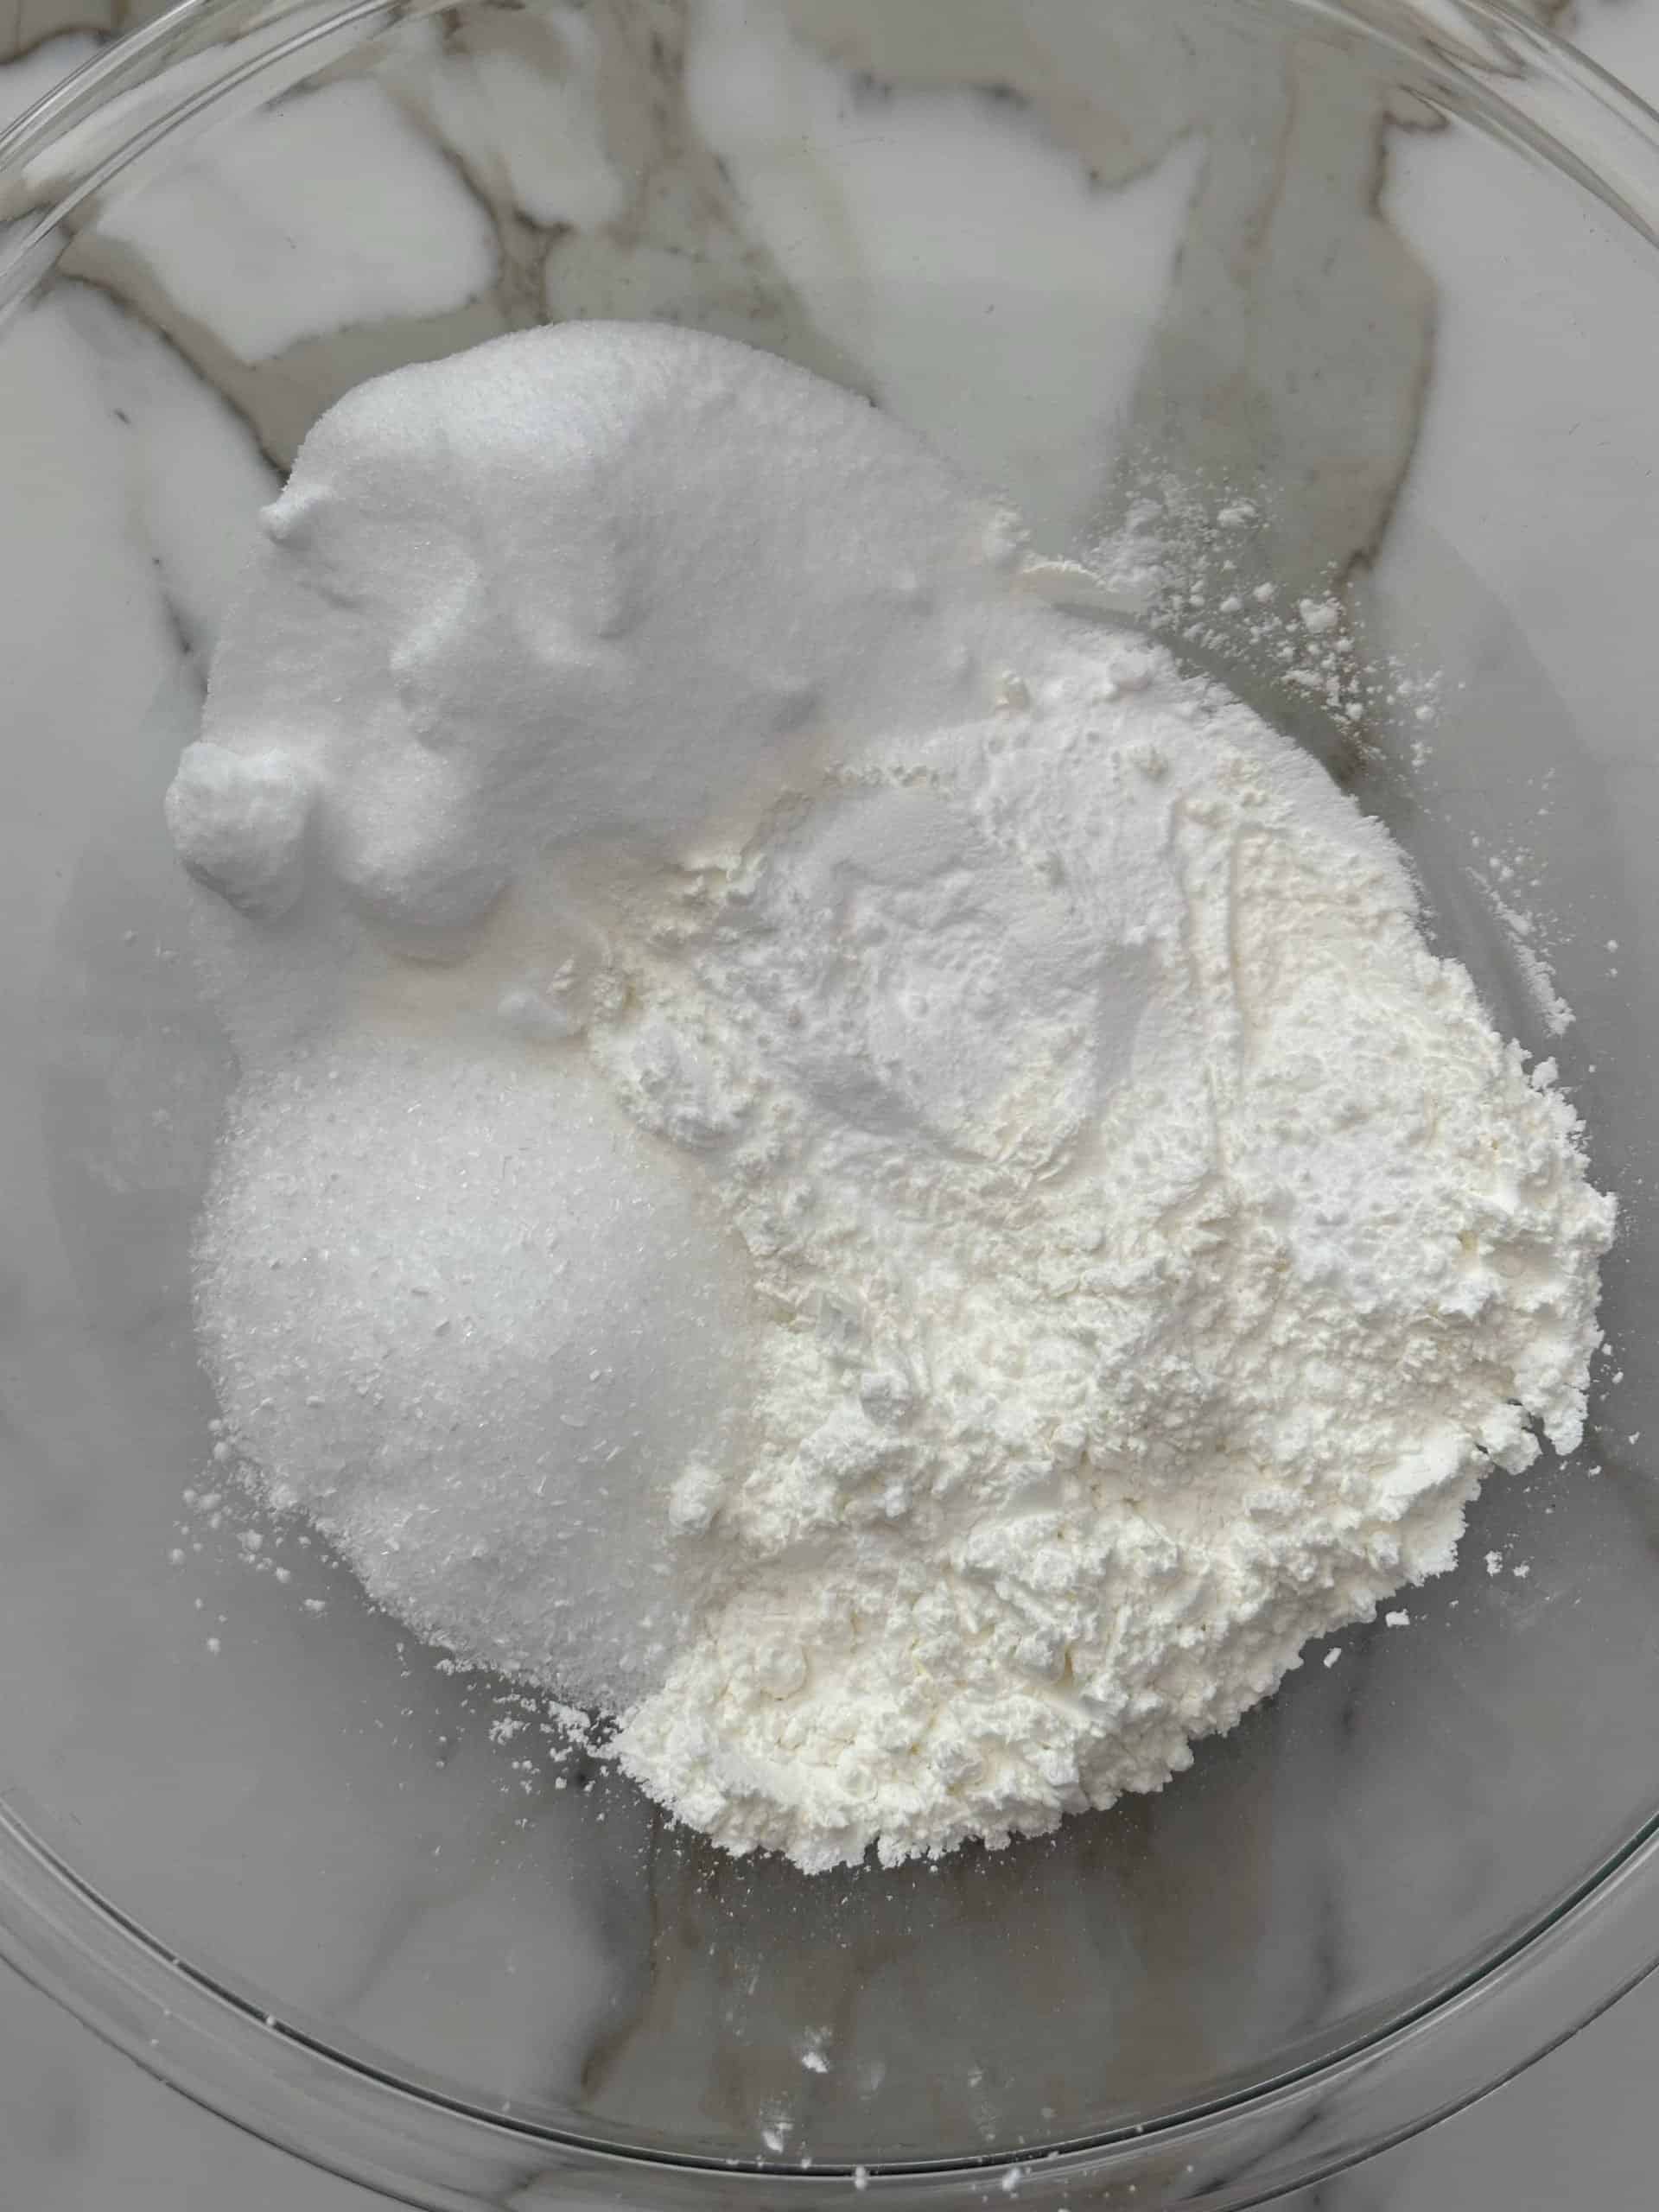
Mix the dry ingredients together with a whisk and press them through a mesh strainer with your hands

- Baking Soda

- Citric Acid

- Corn starch

- Epsom Salt

- Oils and wet ingredients
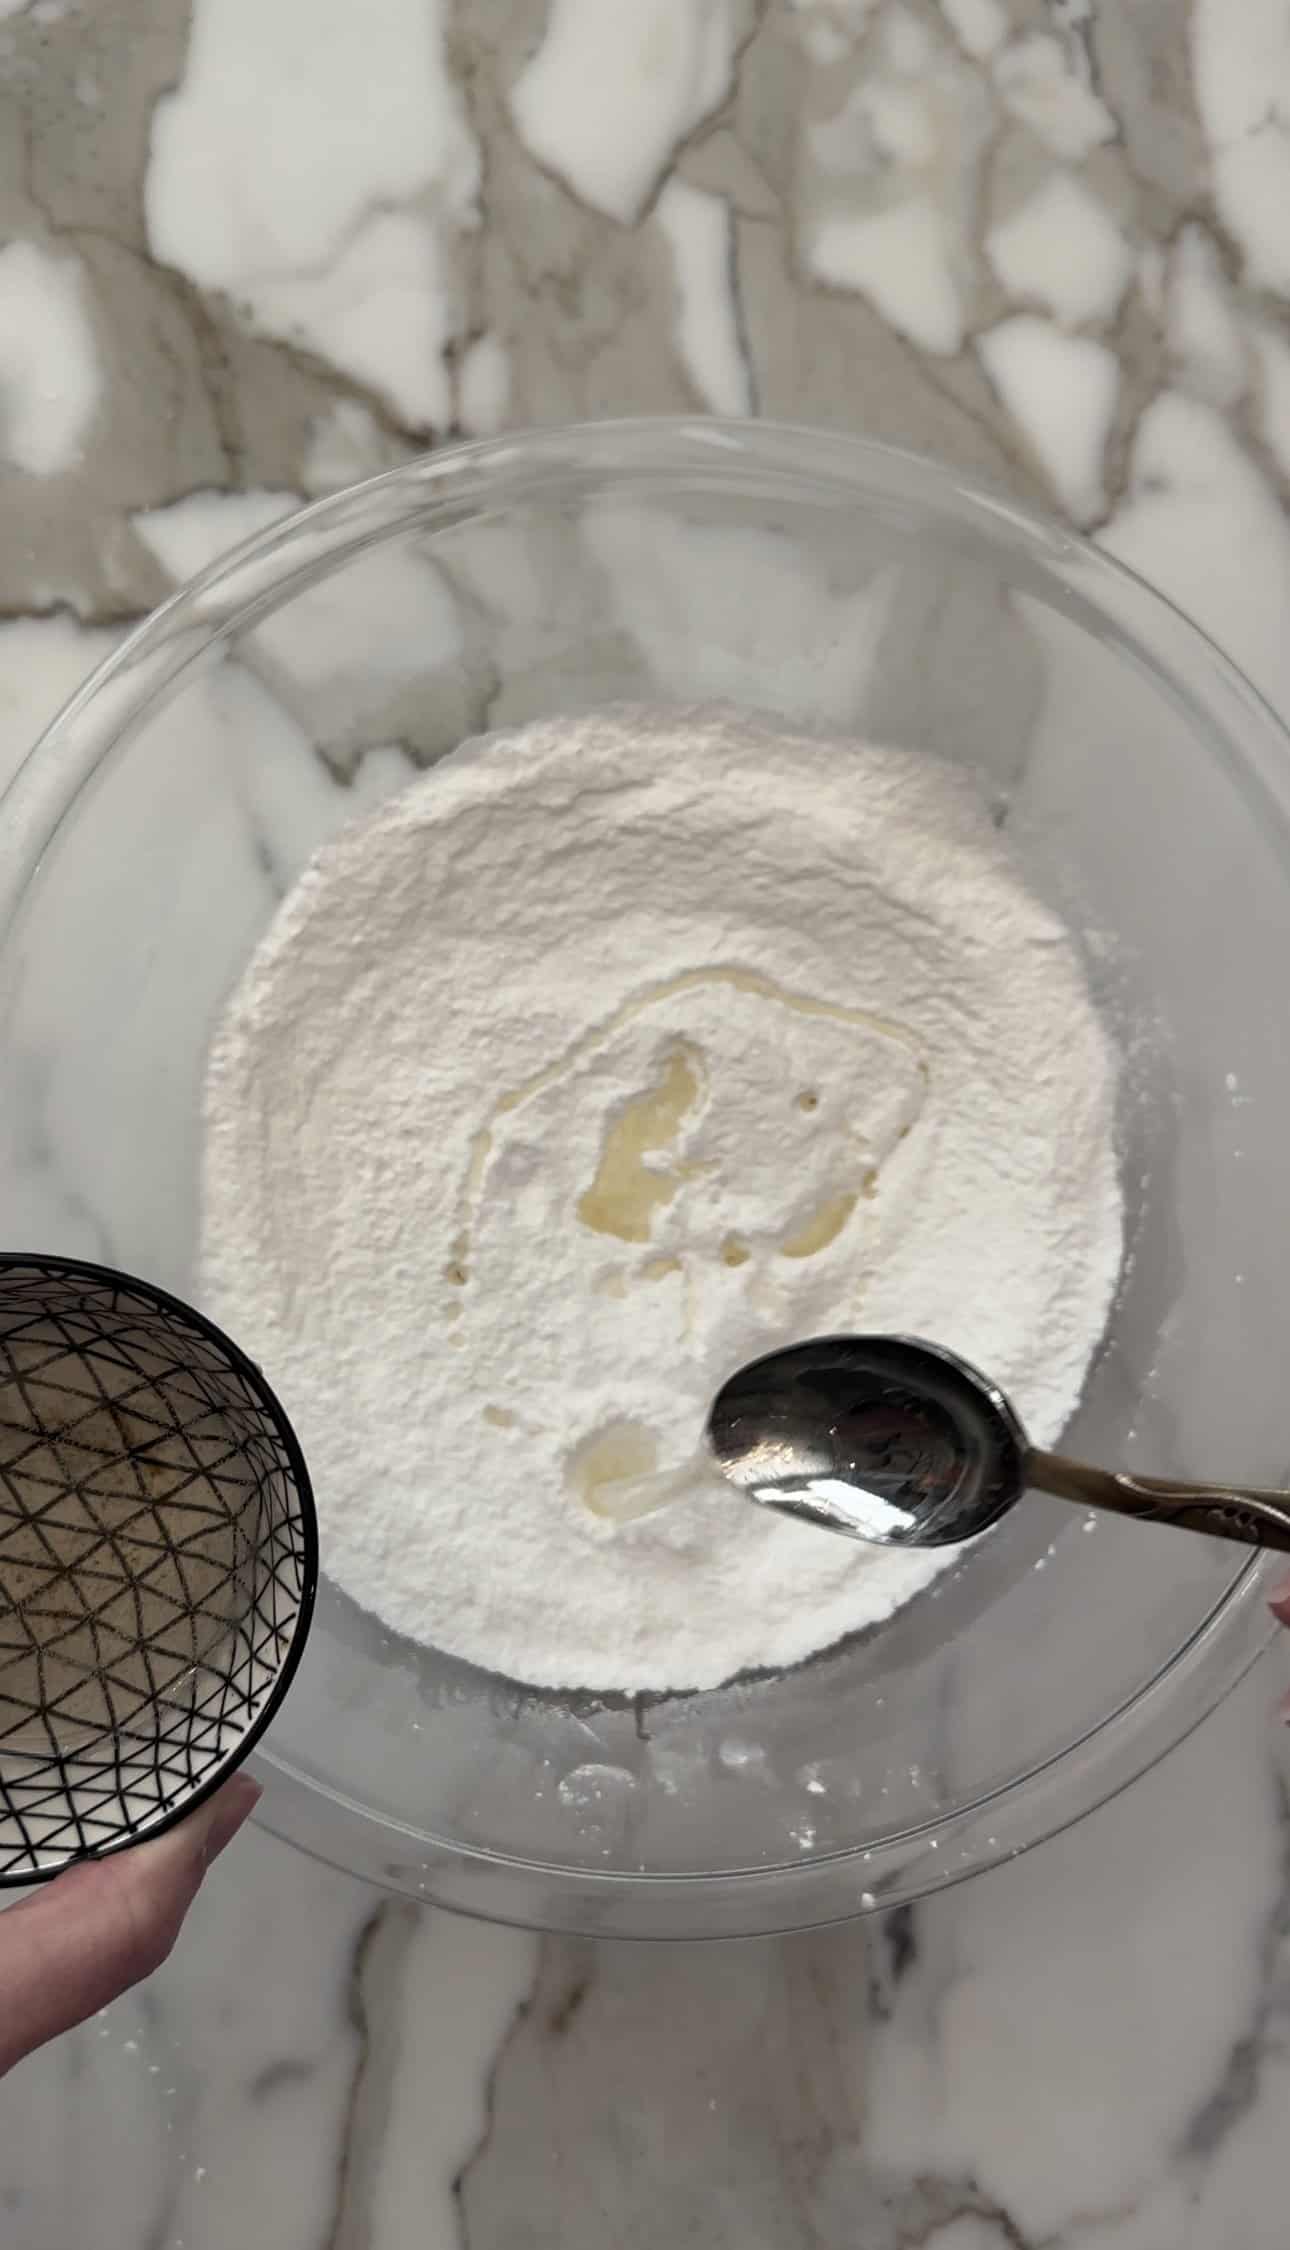
Mix coconut oil and essential oil or extracts together then slowly add to the dry mixture and using your hands to mix. I ended up using about 3 tablespoons all together.

- Mix together
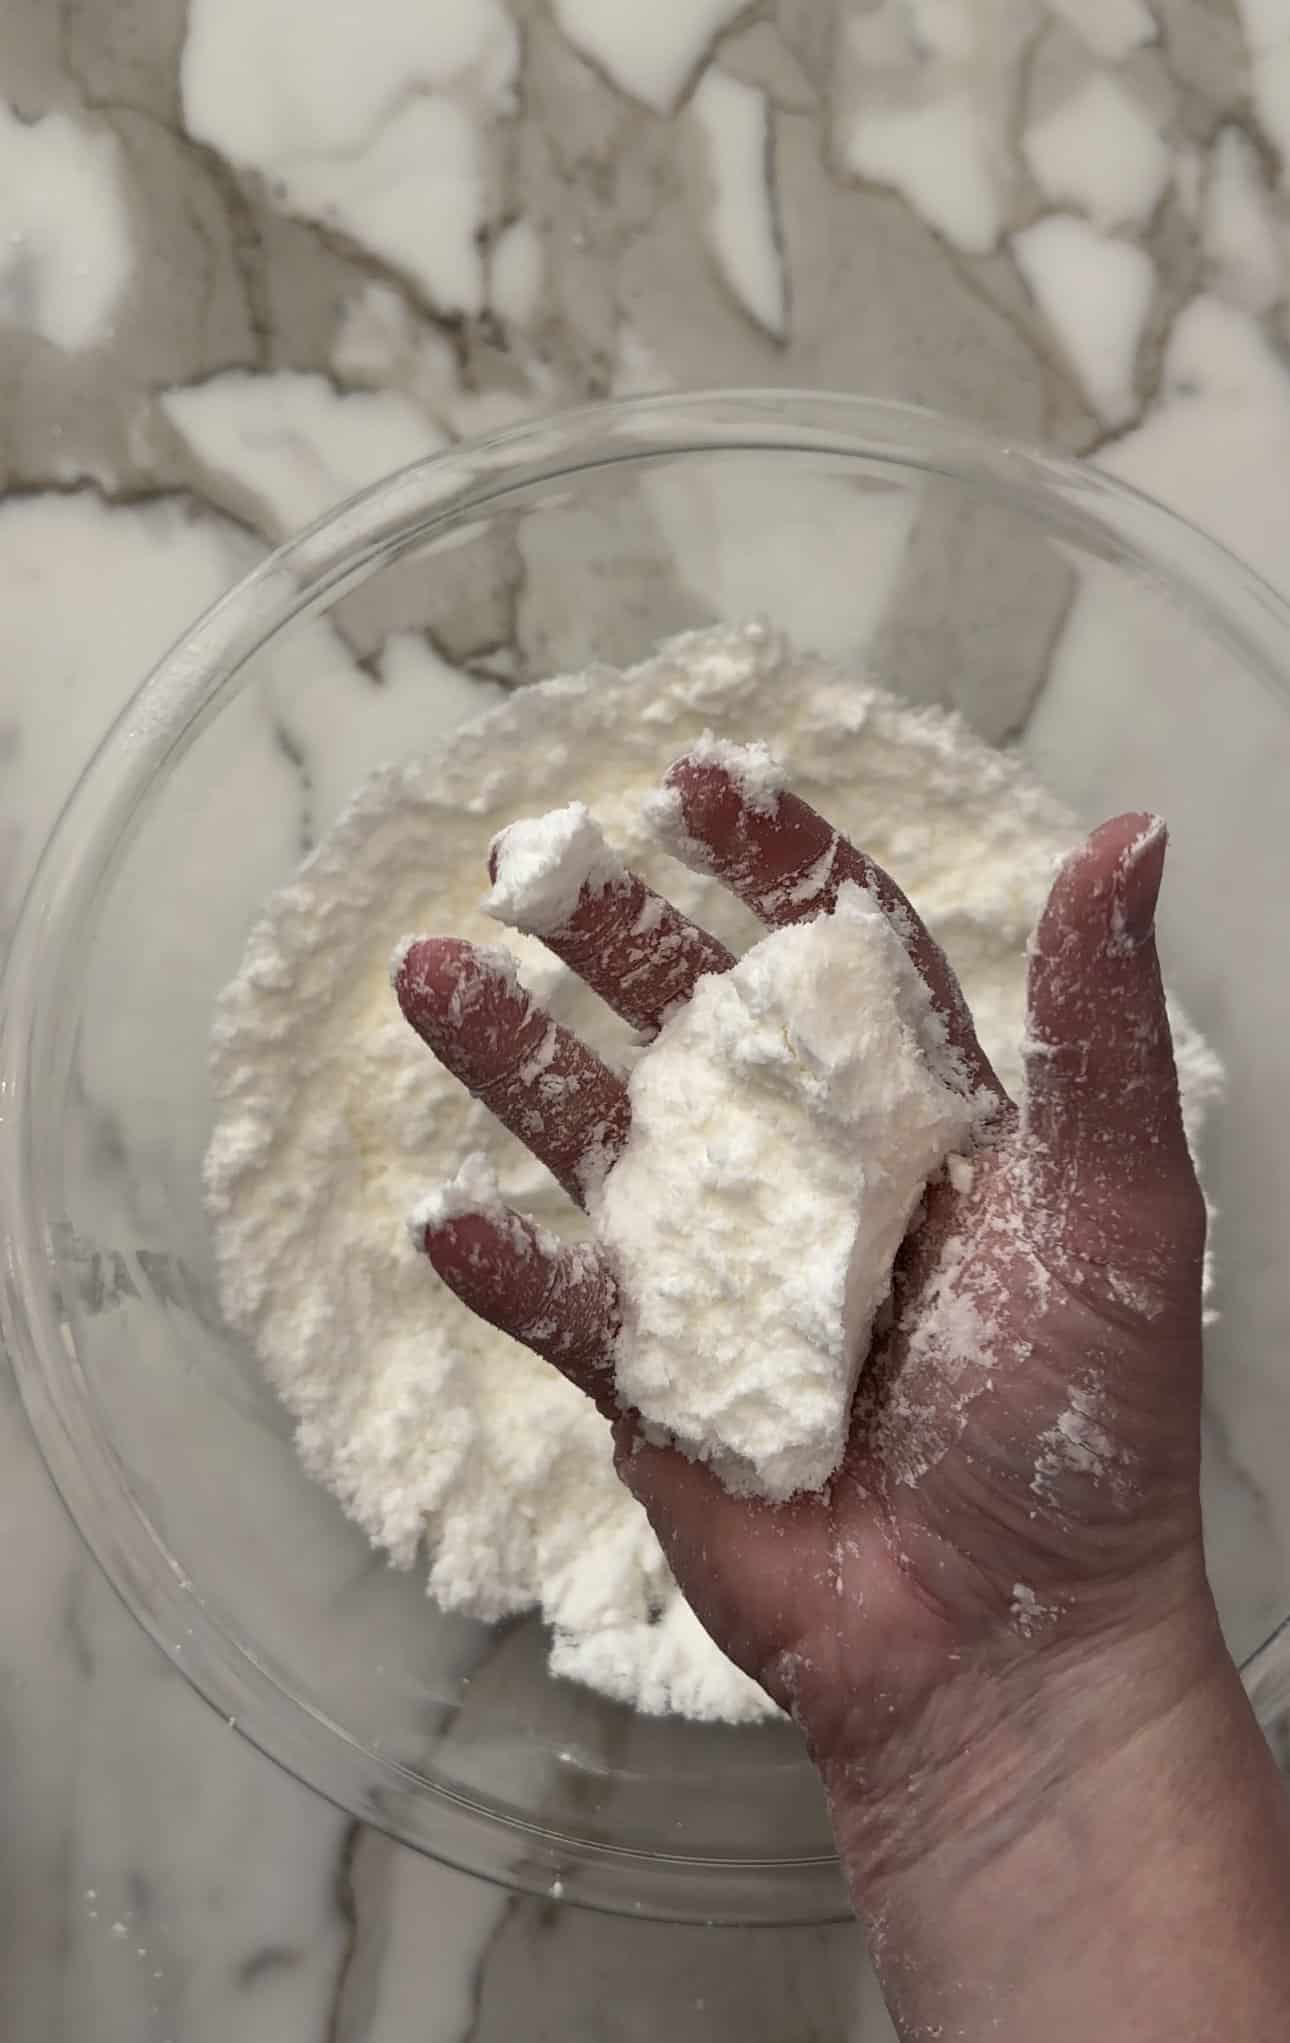
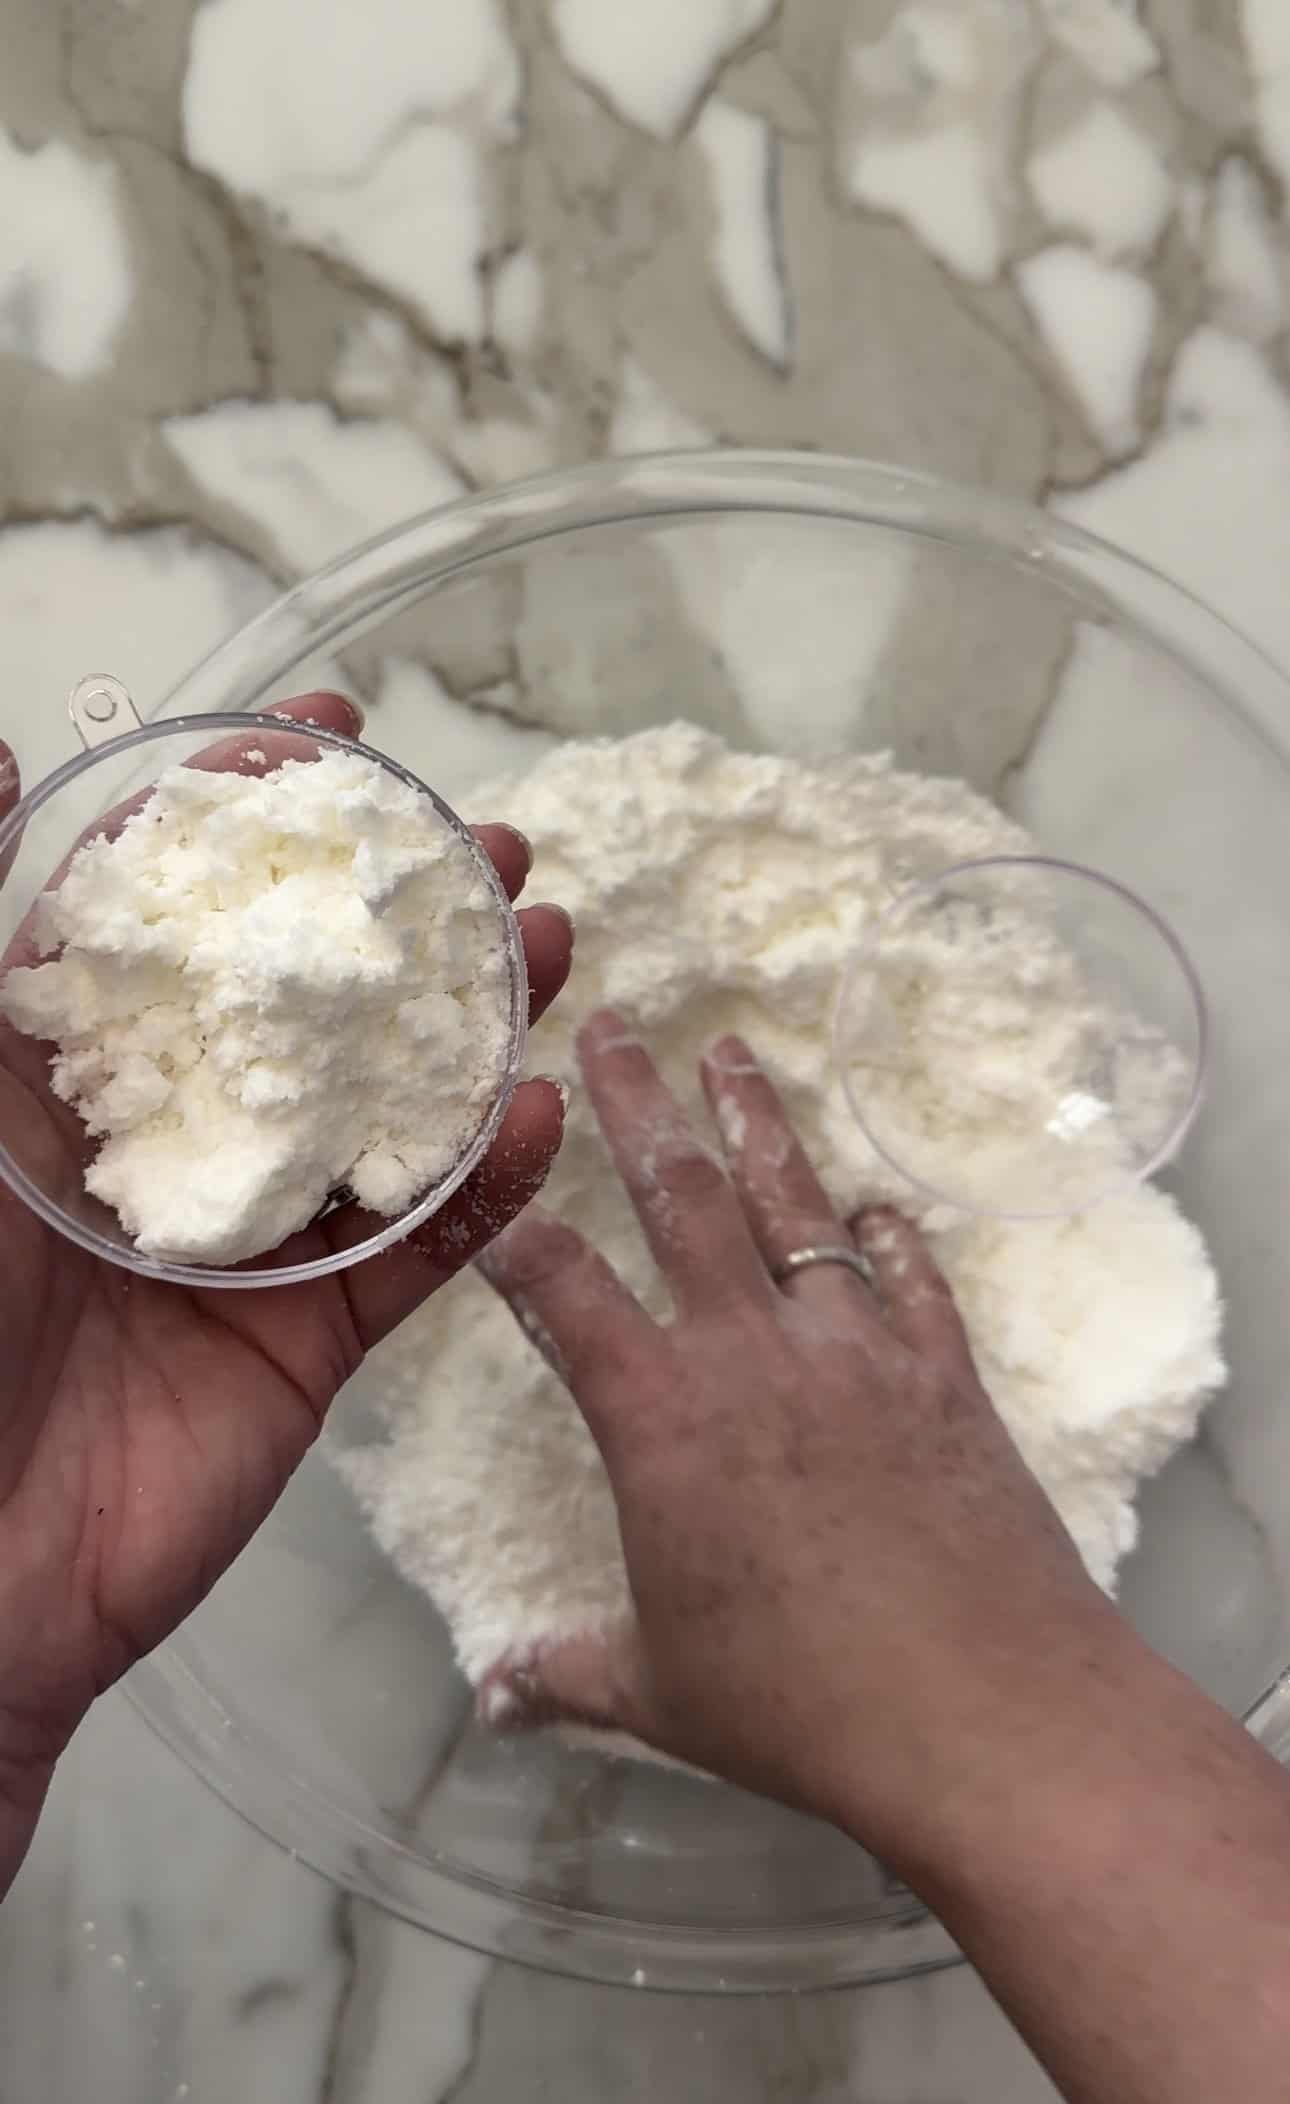
Mix in the oil mixture slowly so that you don’t activate the “fizz”. It will feel like it’s powdery but if you squeeze it together it will form a ball when it’s ready.

- Press in the Molds
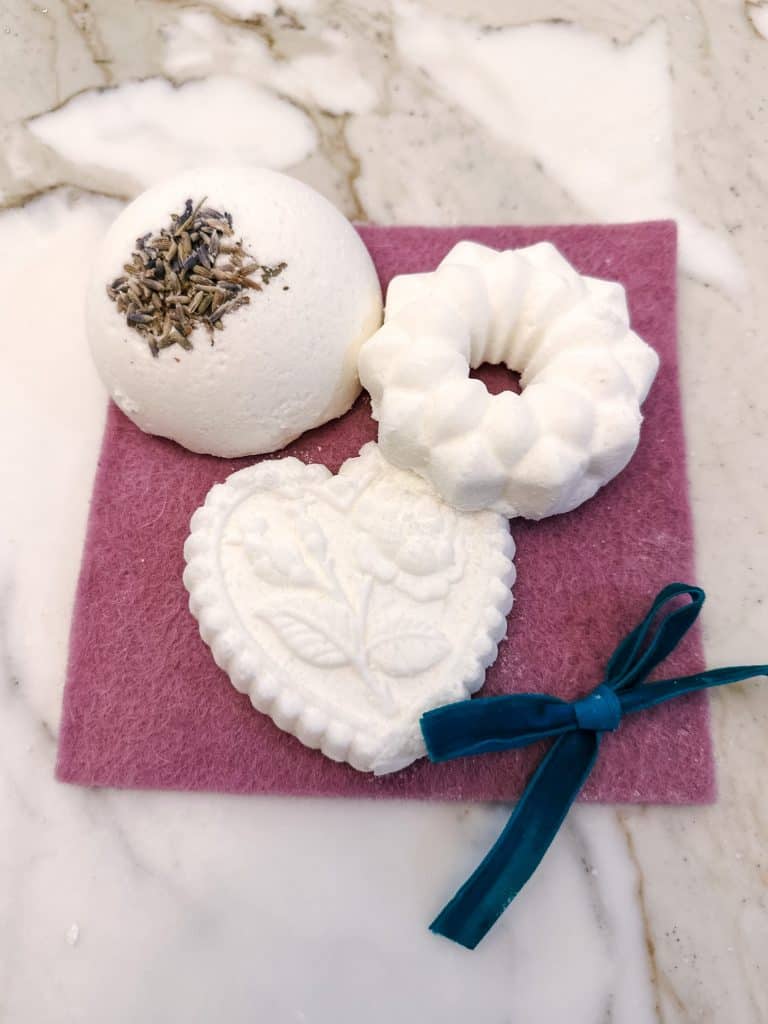
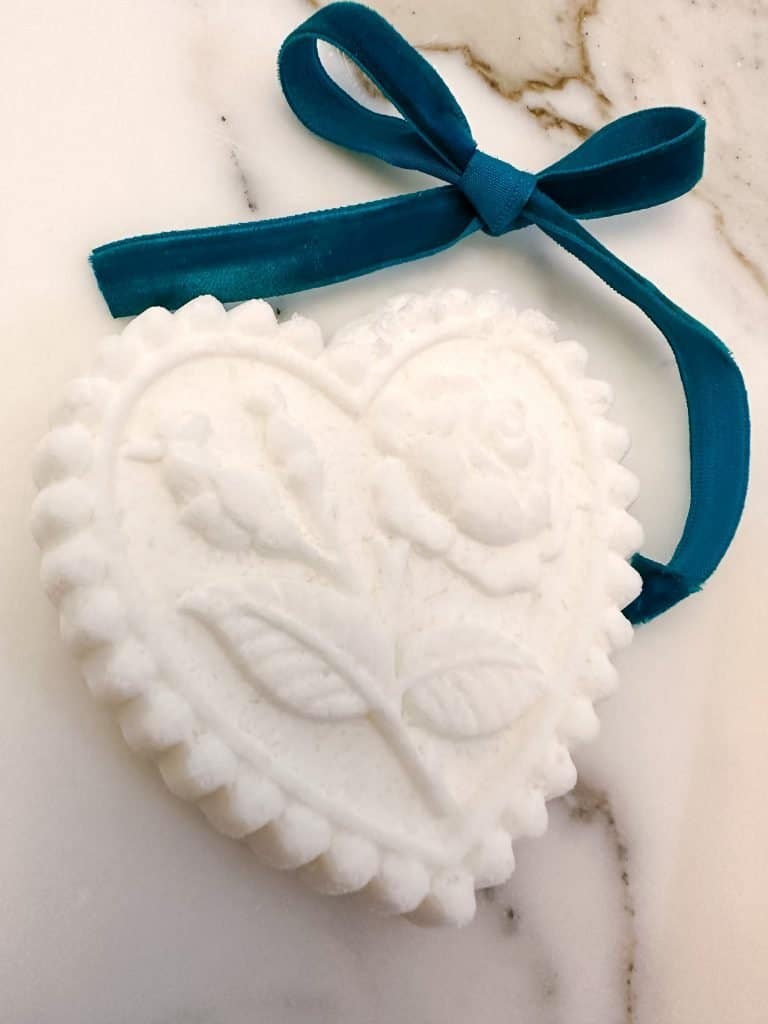
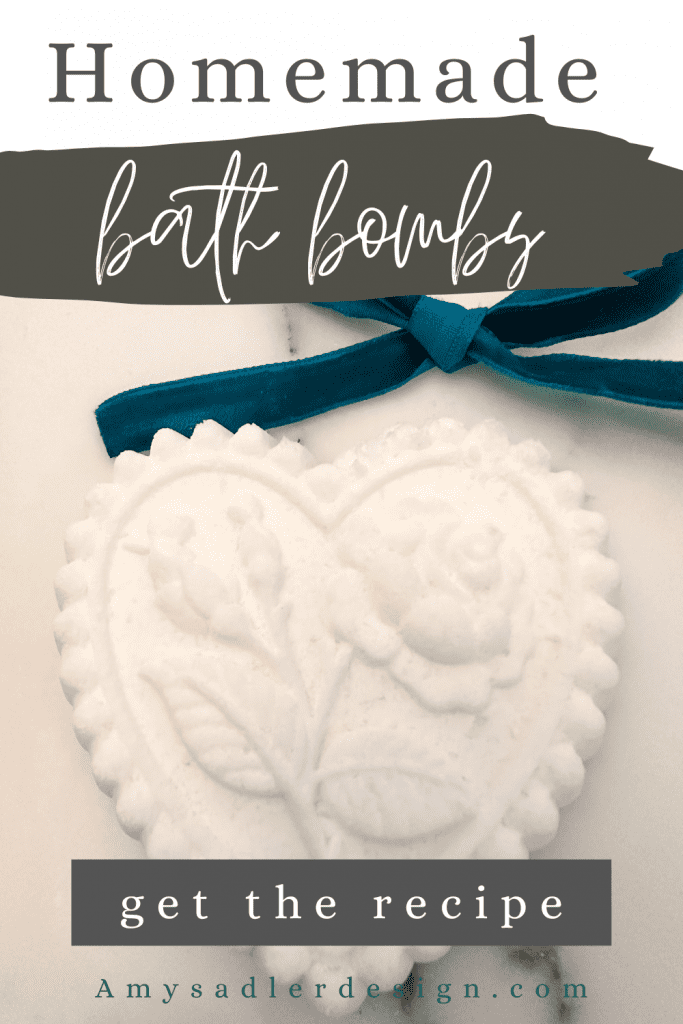
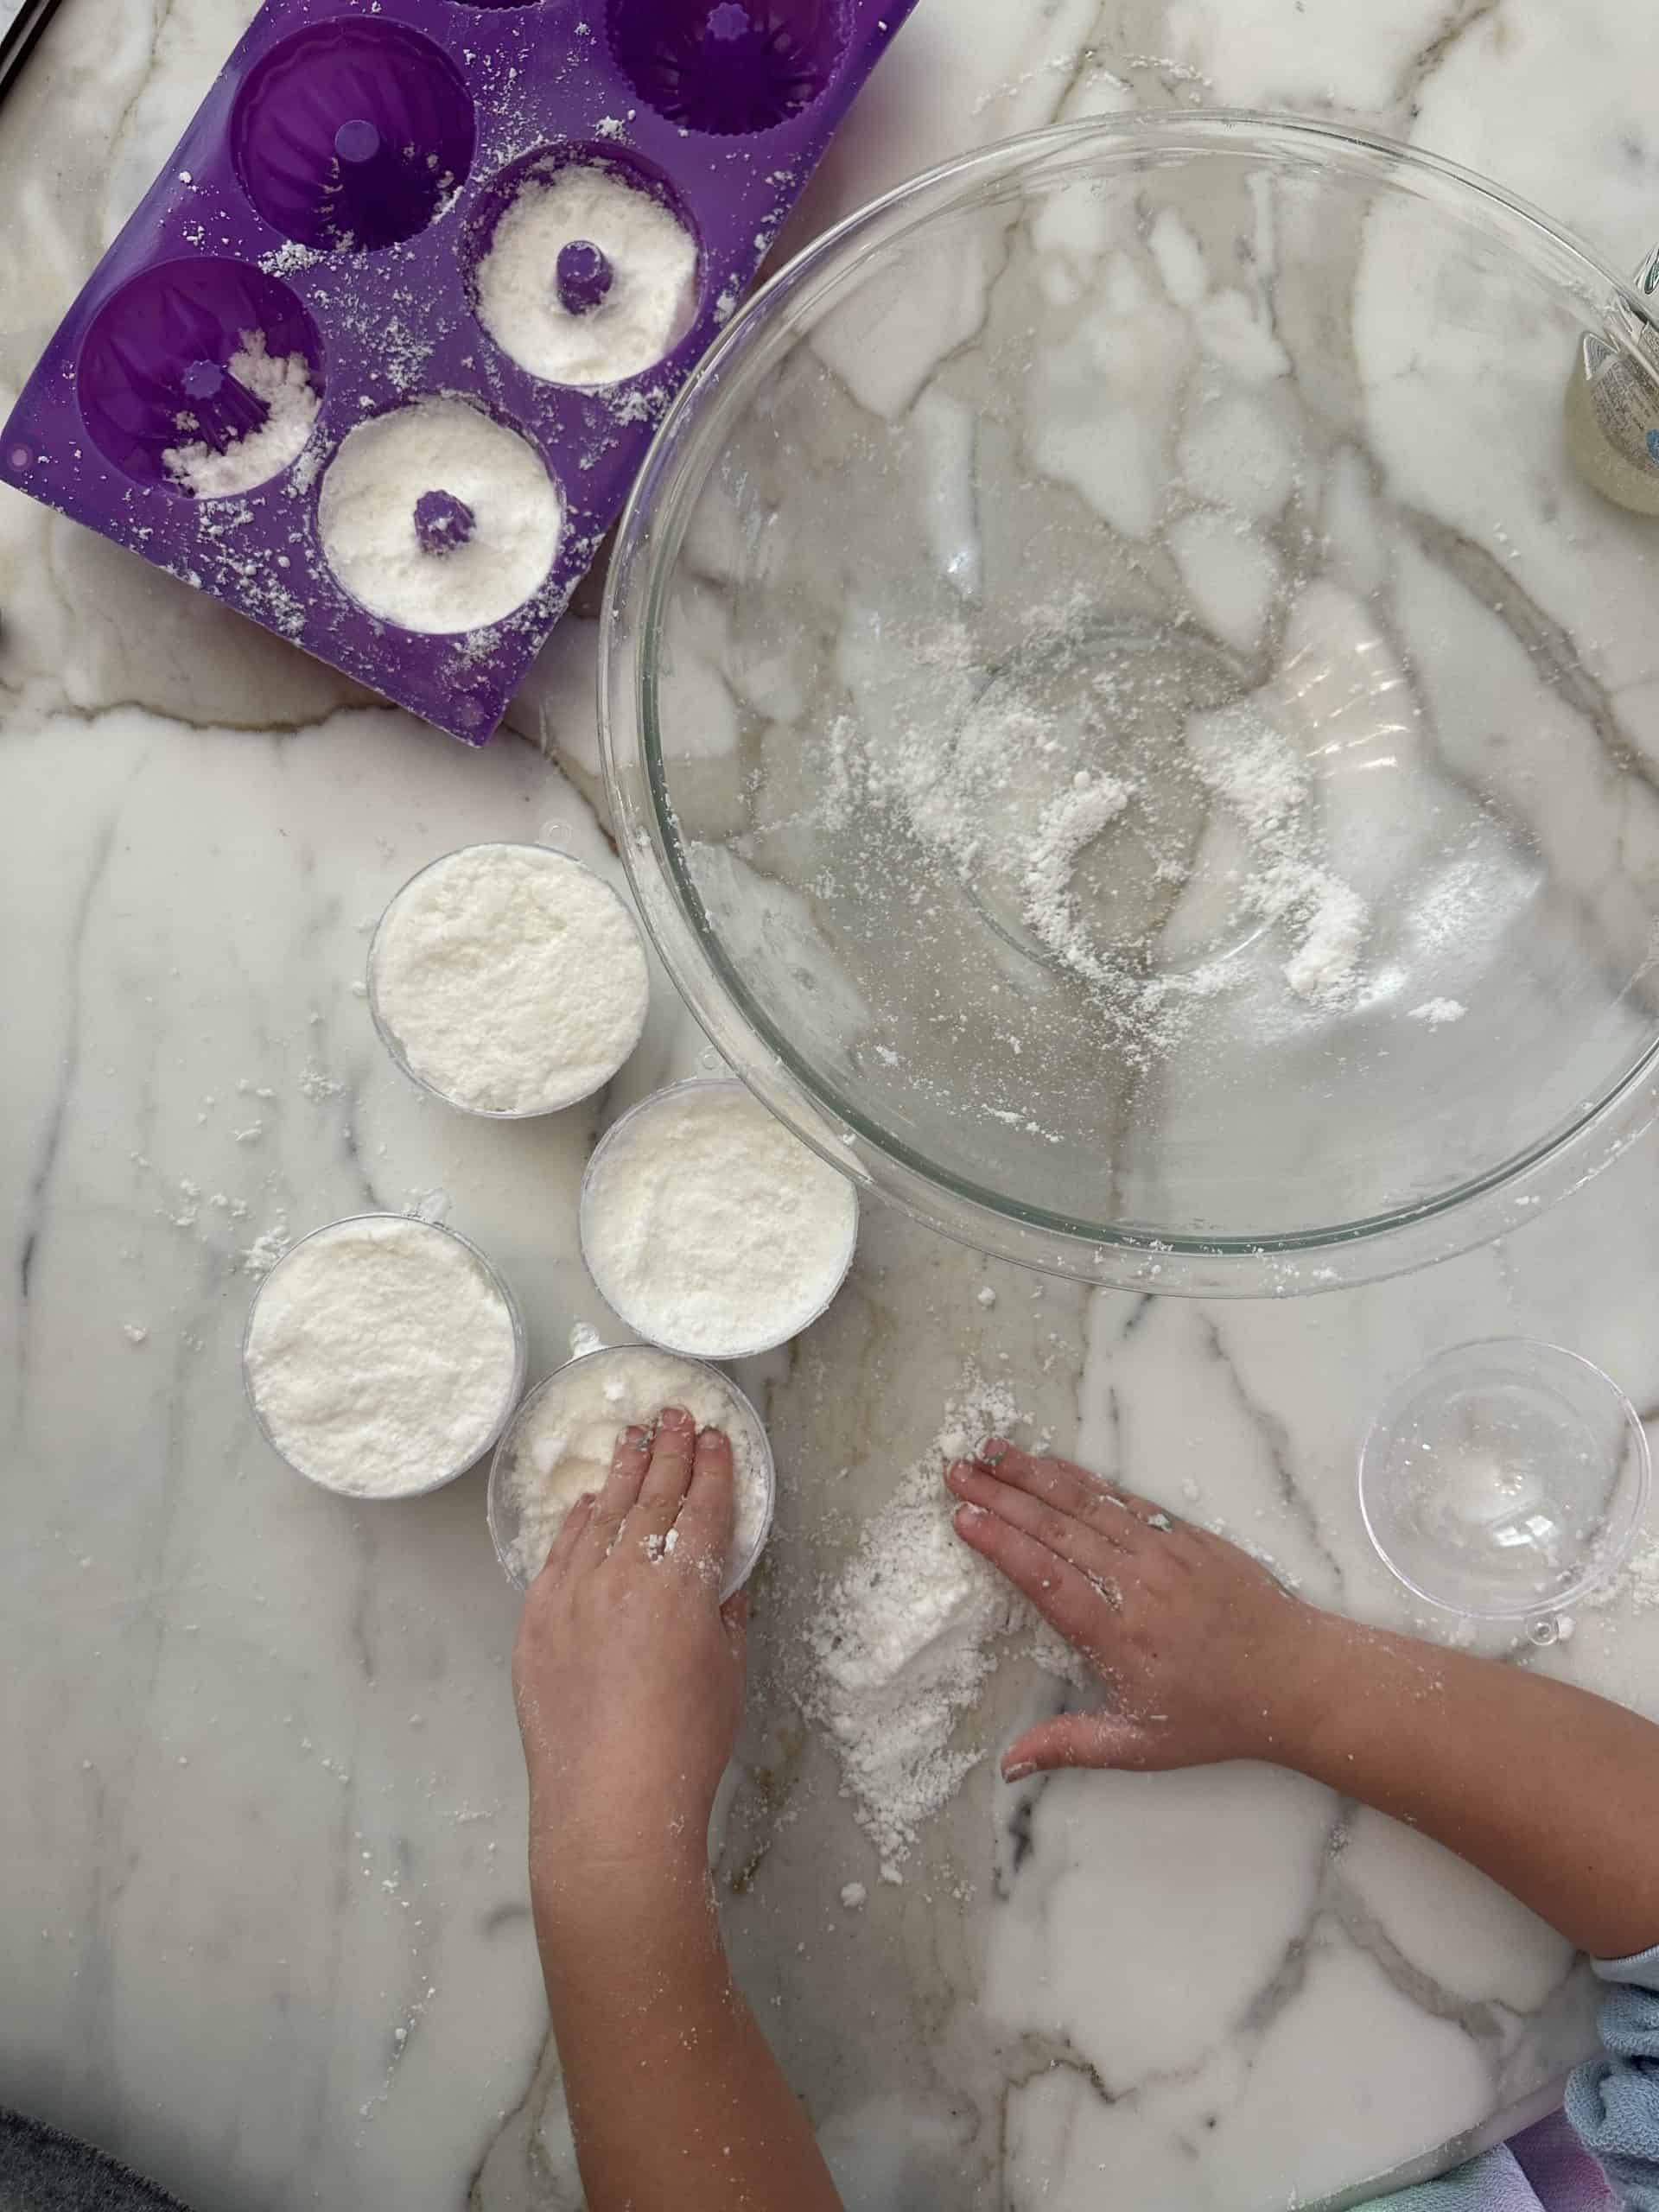
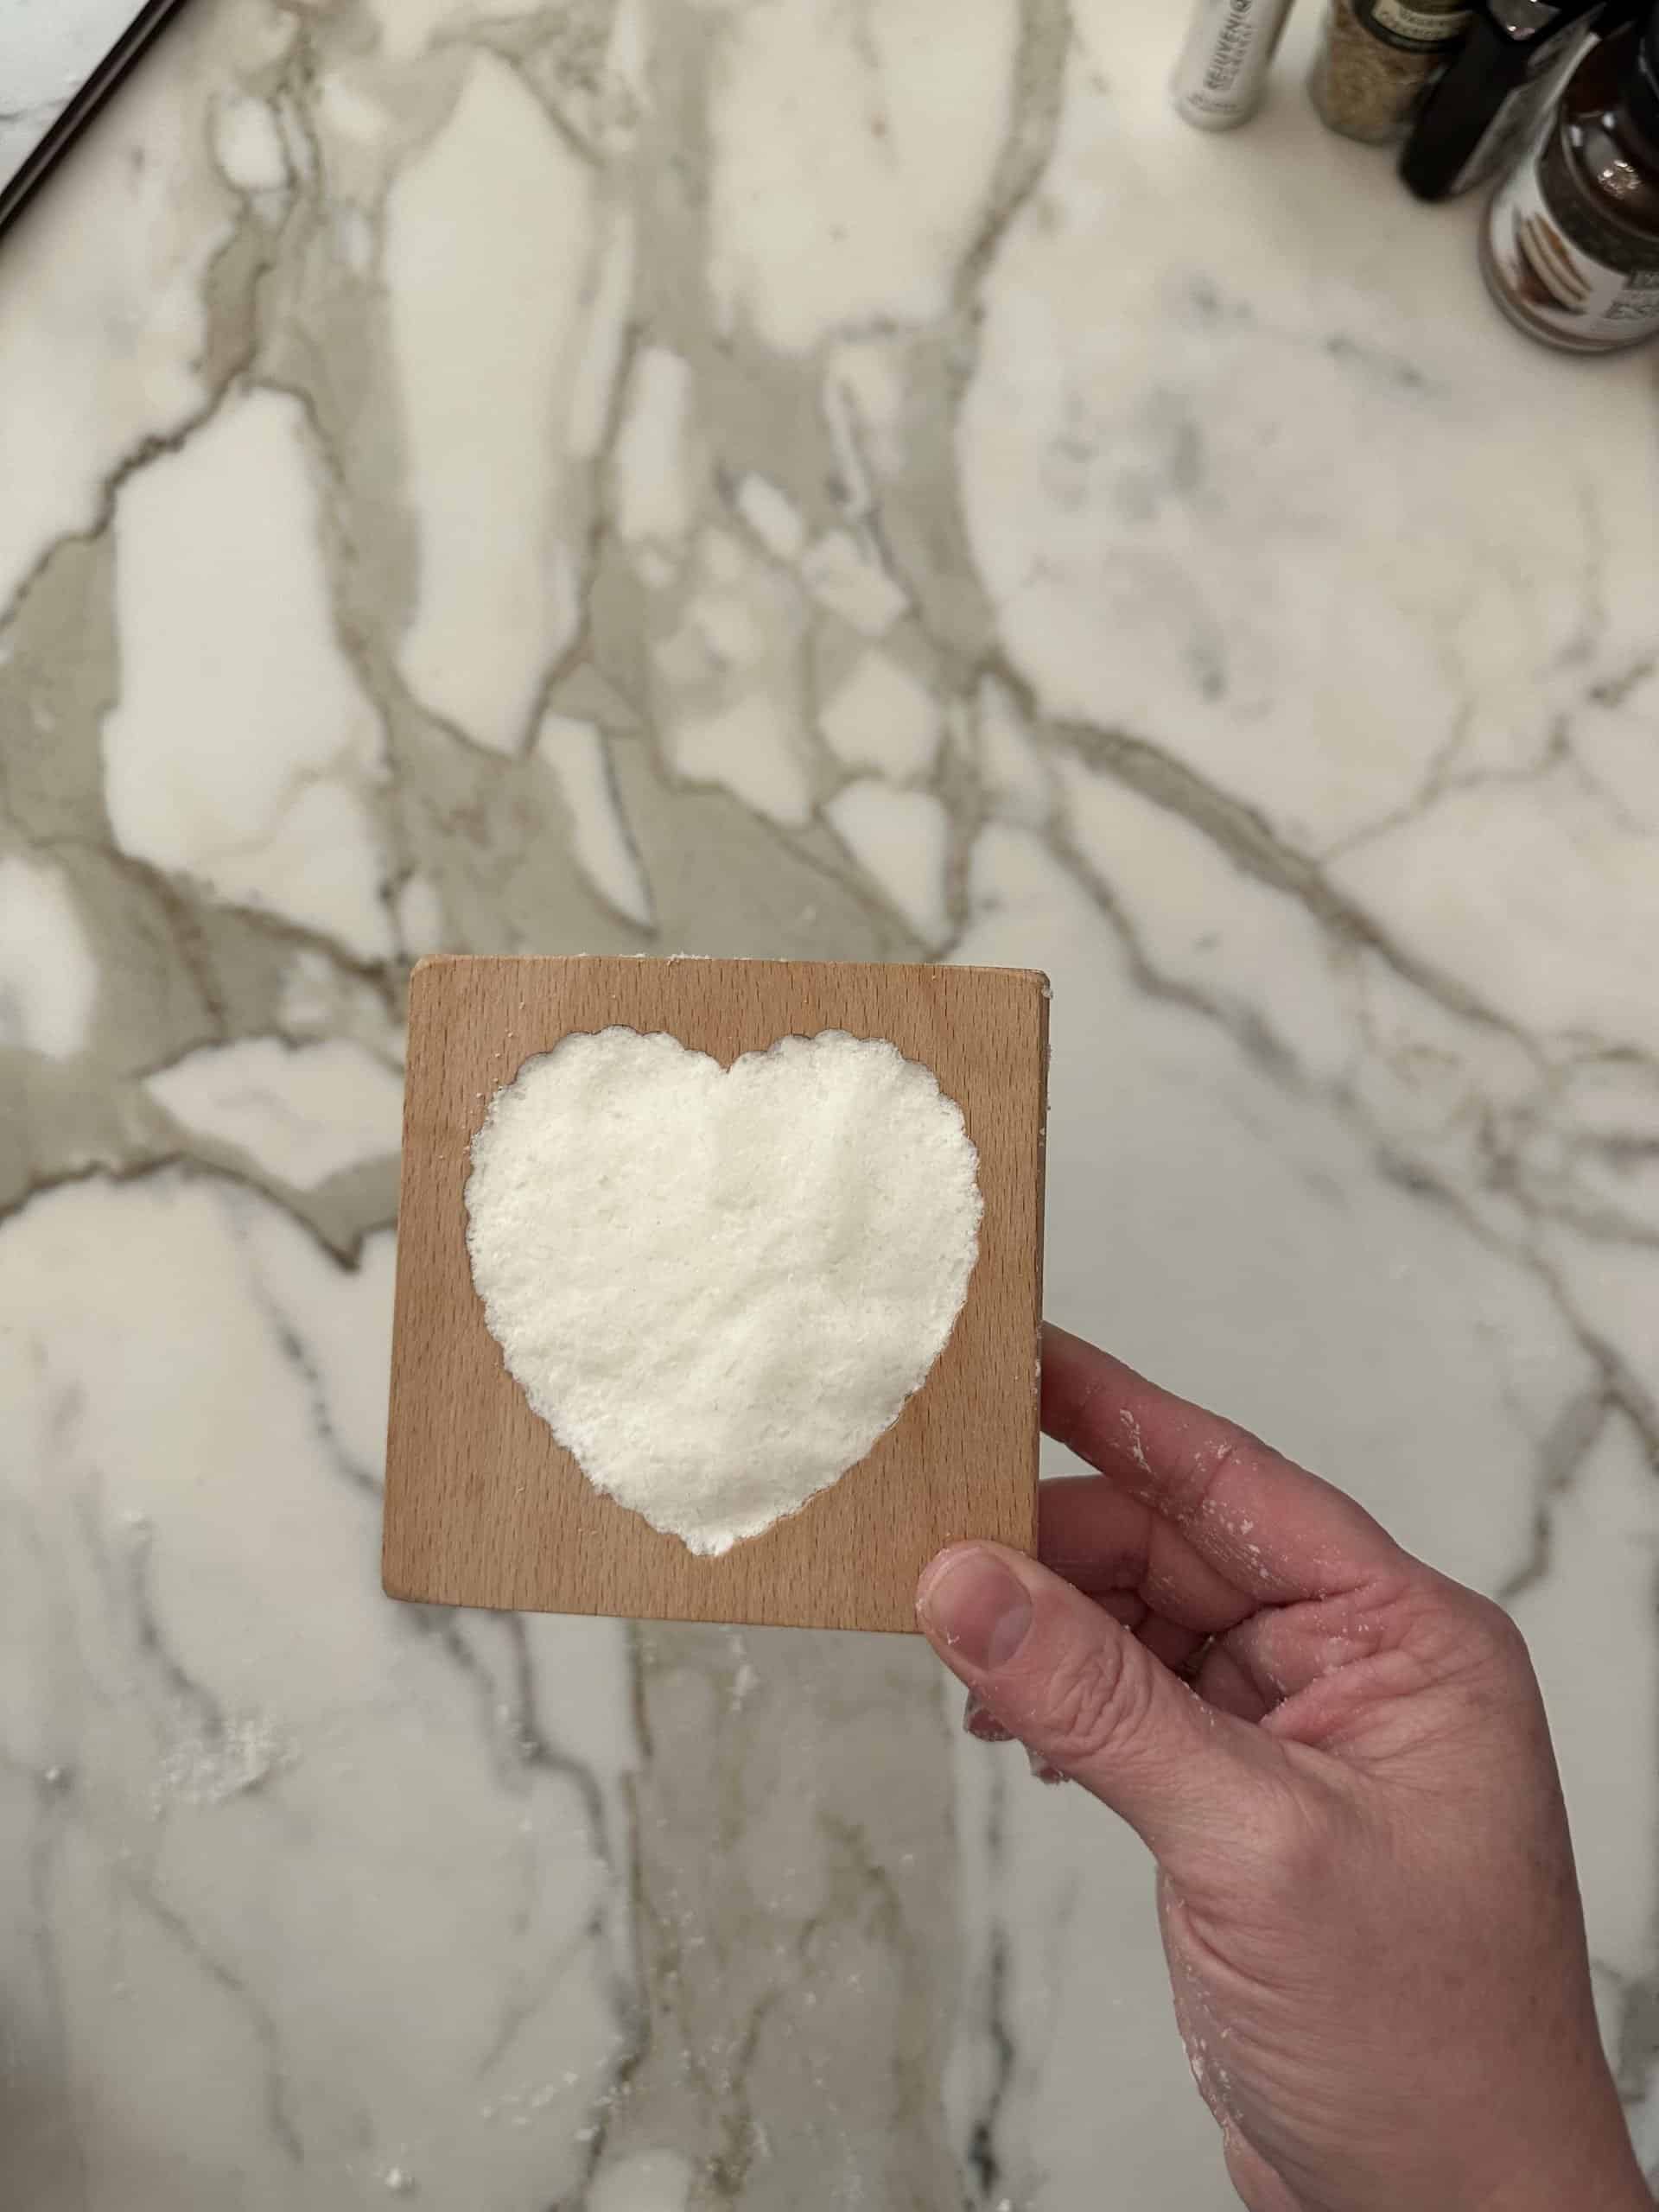
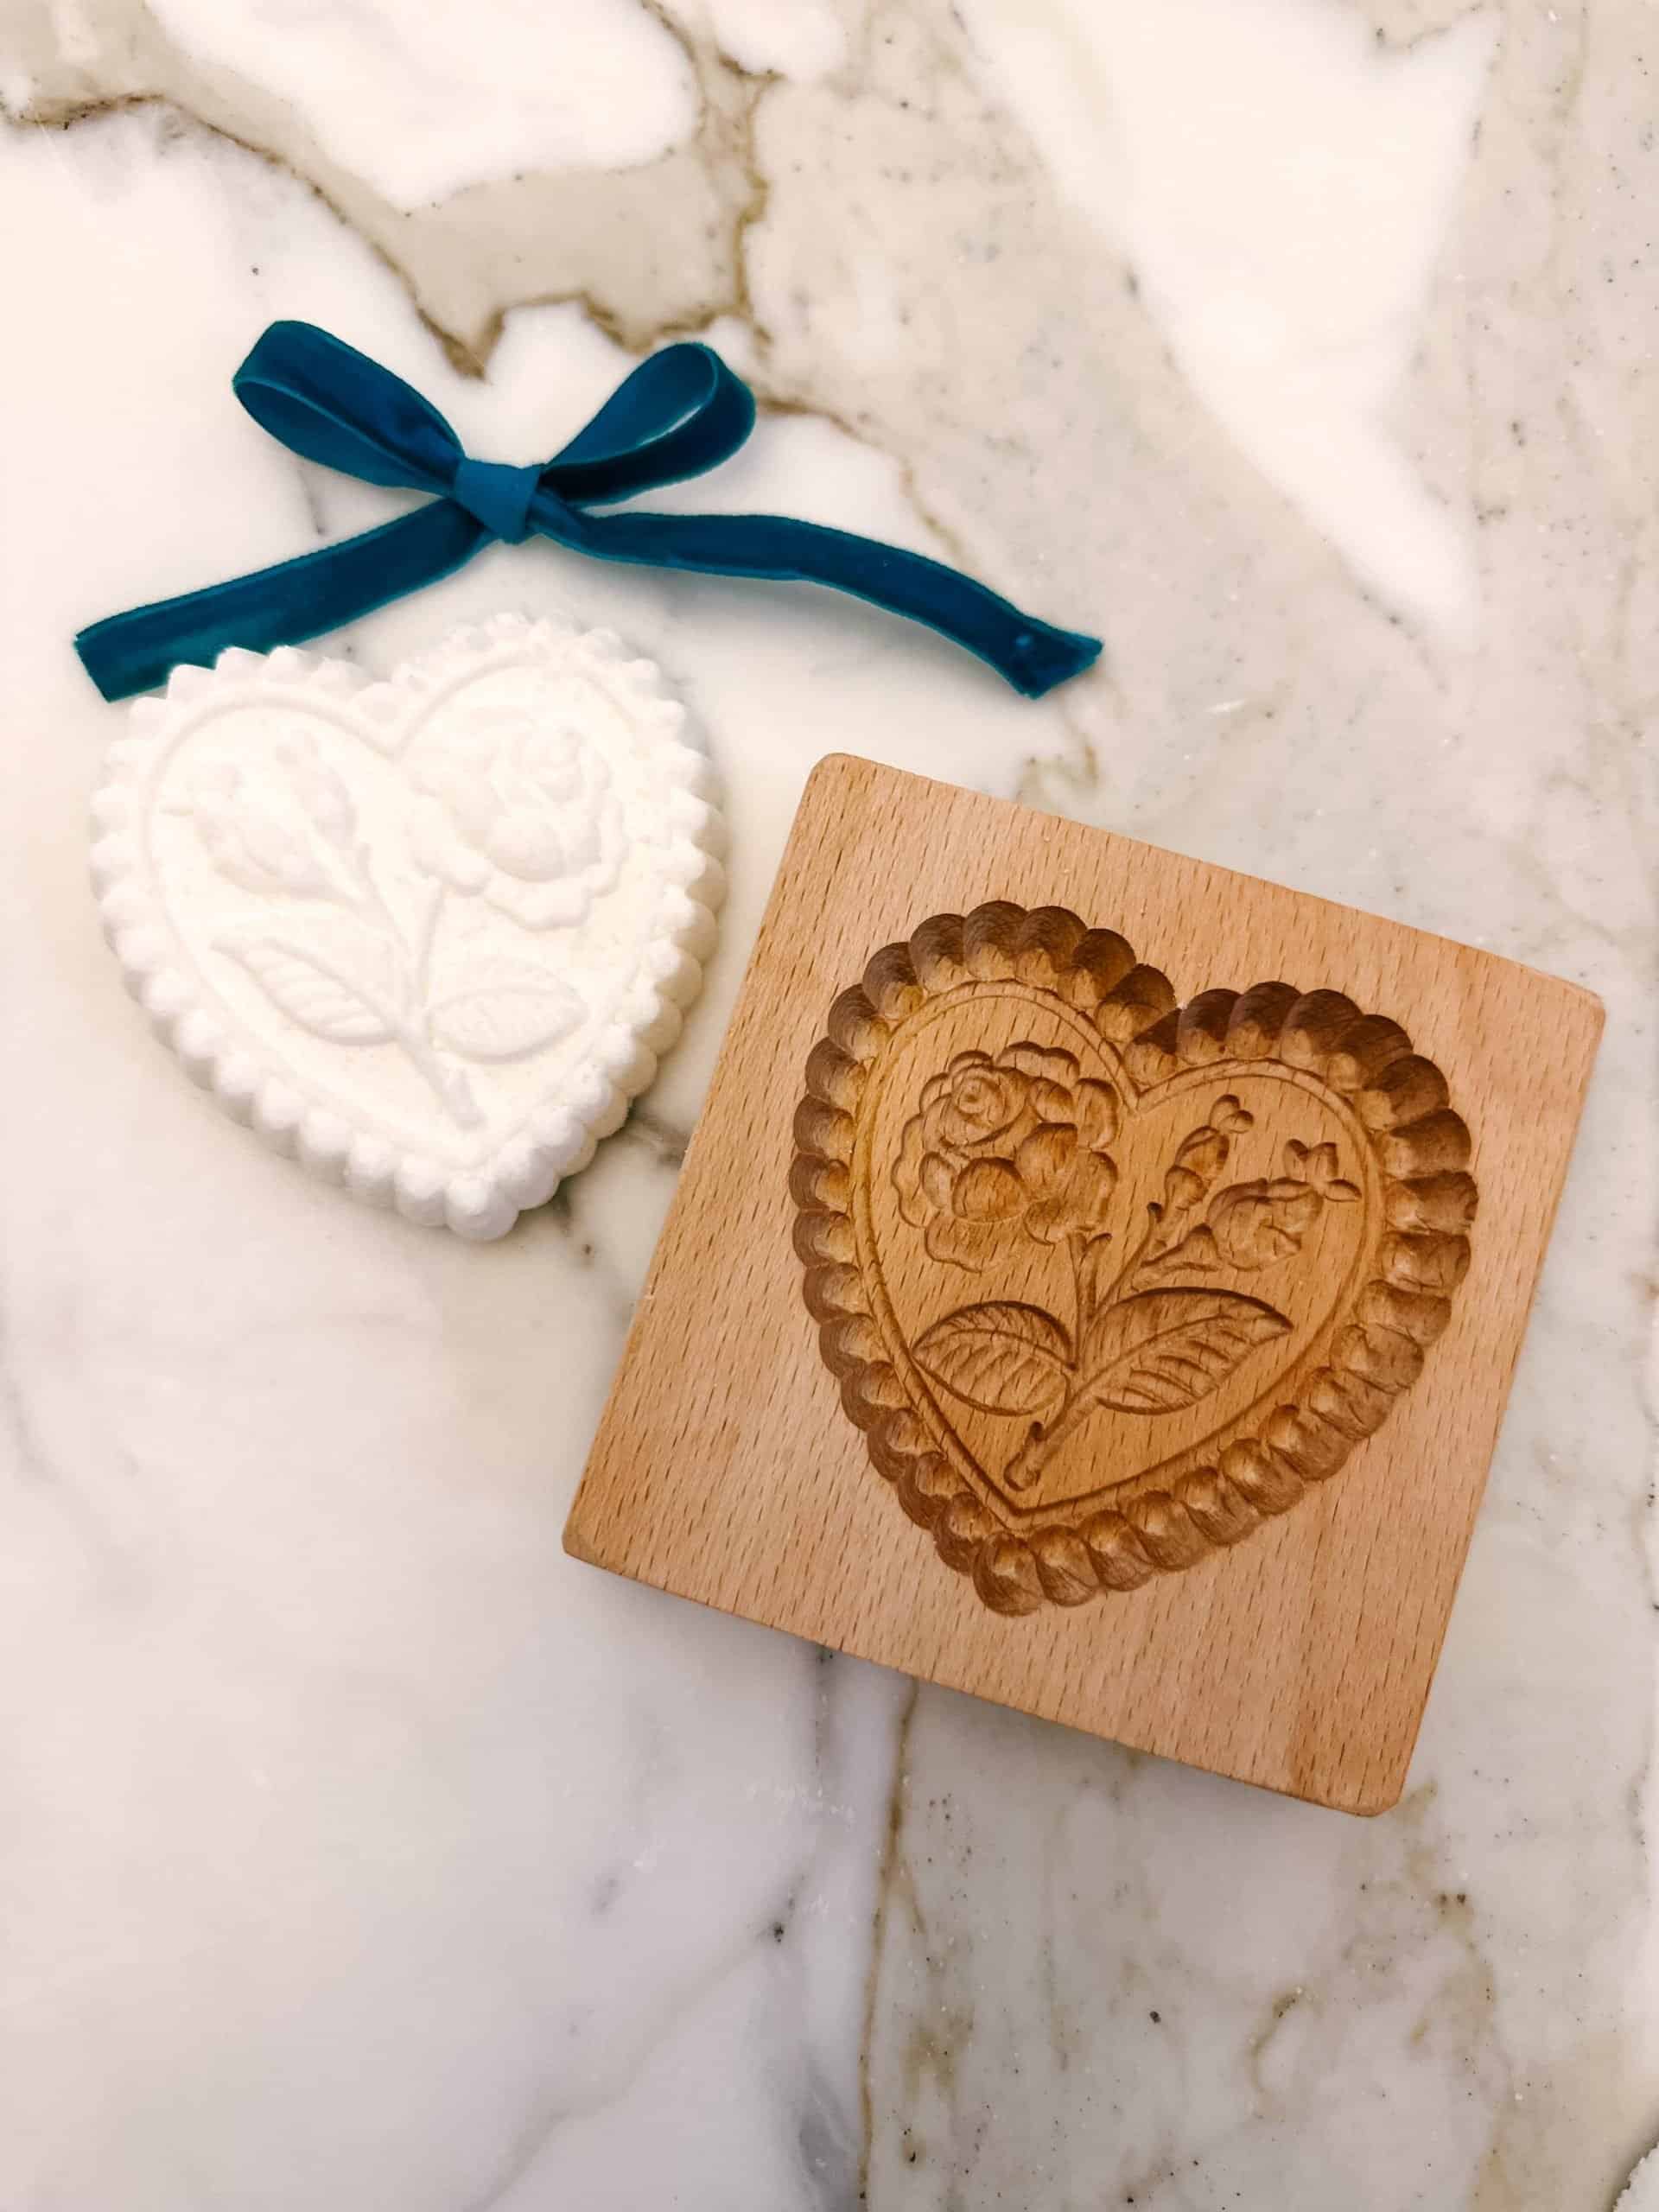
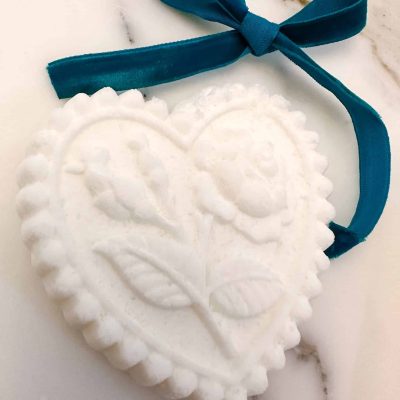
Press the wet mixture into your bath bomb molds to a little overfilled. Most of the time bath bombs are in a ball shape but when I put the two sides together I felt like they were huge and so I made half bombs. LOL I love the size of half of the sphere. Then I filled a cute bundt silicone mold and a wooden cookie mold and they came out amazing!

-

-

- Refridgerate
I set my molds in the fridge for about 20 minutes to let my coconut oil get solid again before demolding.
- Demold
Demold. Let sit overnight before use.

- Take a relaxing bath!
Easy Homemade Bath Bombs DIY
Equipment
- Bath bomb molds
- Wisk
Materials
- 1 cup Baking soda (NOT BAKING POWDER)
- 1/2 cup Citric acid
- 1/2 cup epsom salt
- 1/2 cup Cornstarch
- 2 1/2 tblsp Coconut Oil
- 1 tblsp Essential oil
Other fun additives
- 1 tsp Instant espresso
- 1 tsp Pure vanilla extract
- Lavender flowers
- Orange zest
Instructions
- Mix the dry ingredients together with a wisk and press them through a mesh strainer with your hands
- Mix oils and/or extracts together
- Mix in the oil mixture slowly so that you don't activate the "fizz"
- Press the wet mixture into your bath bomb molds to a little overfilled on each side and press the two sides together firmly
- Demold and let sit overnight before use
Adding extras
- To add lavender flowers or orange zest, add them into one side of the mold first and press the bath bomb mixture around them
It’s easy to save this post to your Pinterest board right here from the image below by either hovering over it on your computer or touch the red Pinterest Logo on the image with your phone and it will automatically open your Pinterest app to save! That way you’ll have it when you are ready for it!
Handmade Gift Series
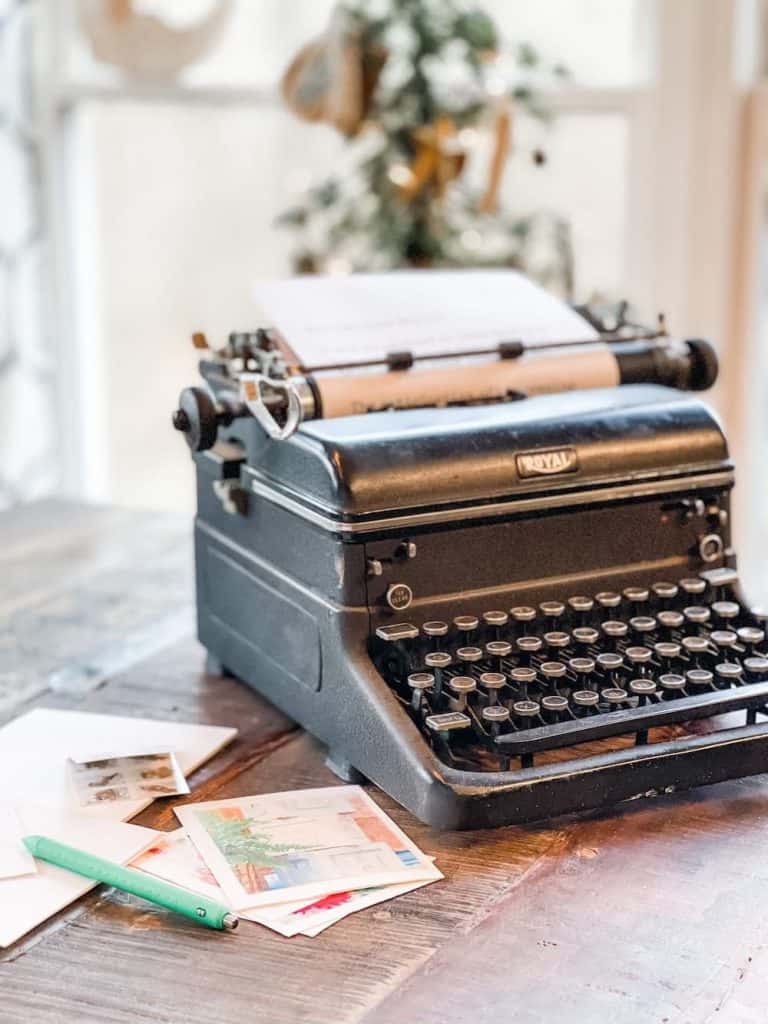
Regina from Saved by Salvage is showing you how to make hand painted water color note cards!
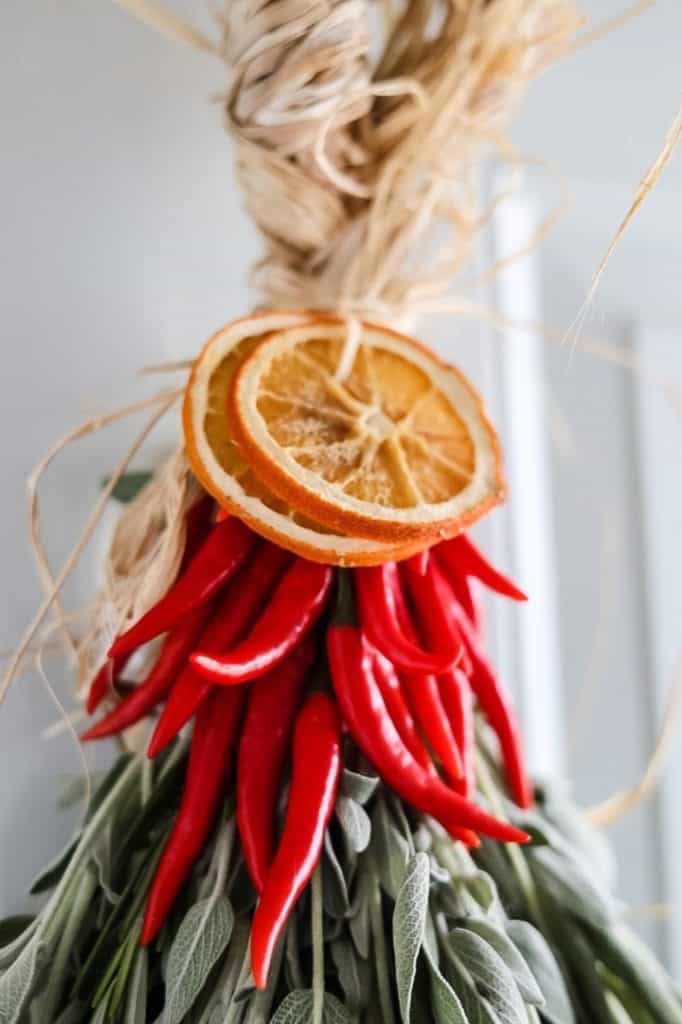
Jennifer at Cottage on Bunker Hill has the funnest fresh herb swag that matches her fresh herb garden gift from last week!
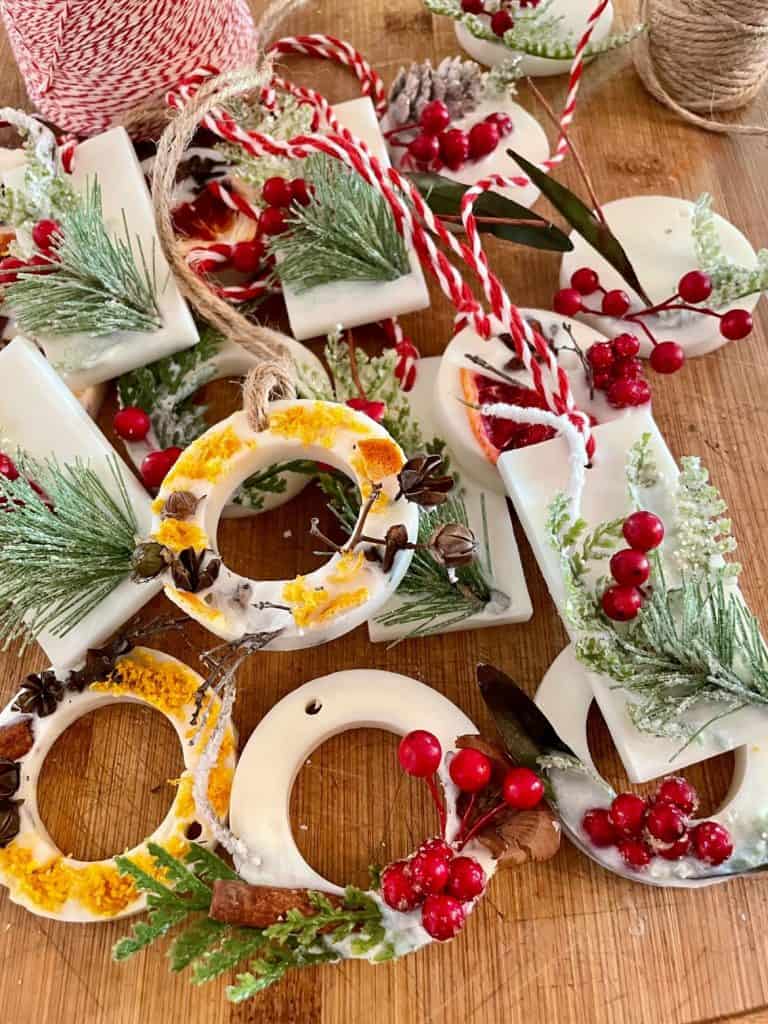
Wendy with WM Design House has outdone herself again with
You Might Also Like
Easy Homemade Hostess Gifts To Take To A Party
How to Make Leather Earrings Without a Cricut- DIY
How to Make Homemade Vanilla Extract for Baking (Two Ingredients)
These are so pretty! My aunt would love these for a present!
What a great post Amy. I love your homemade bath bombs and there is nothing better then a great hot bath. I also adore those sweet little hands that are helping you.
These are so beautiful! I would love to share these on my Saturday newslettter.
Amy – these are definitely being added to my To Do list. They are so cute.