How to Make a Tiered Tray Using Pumpkins
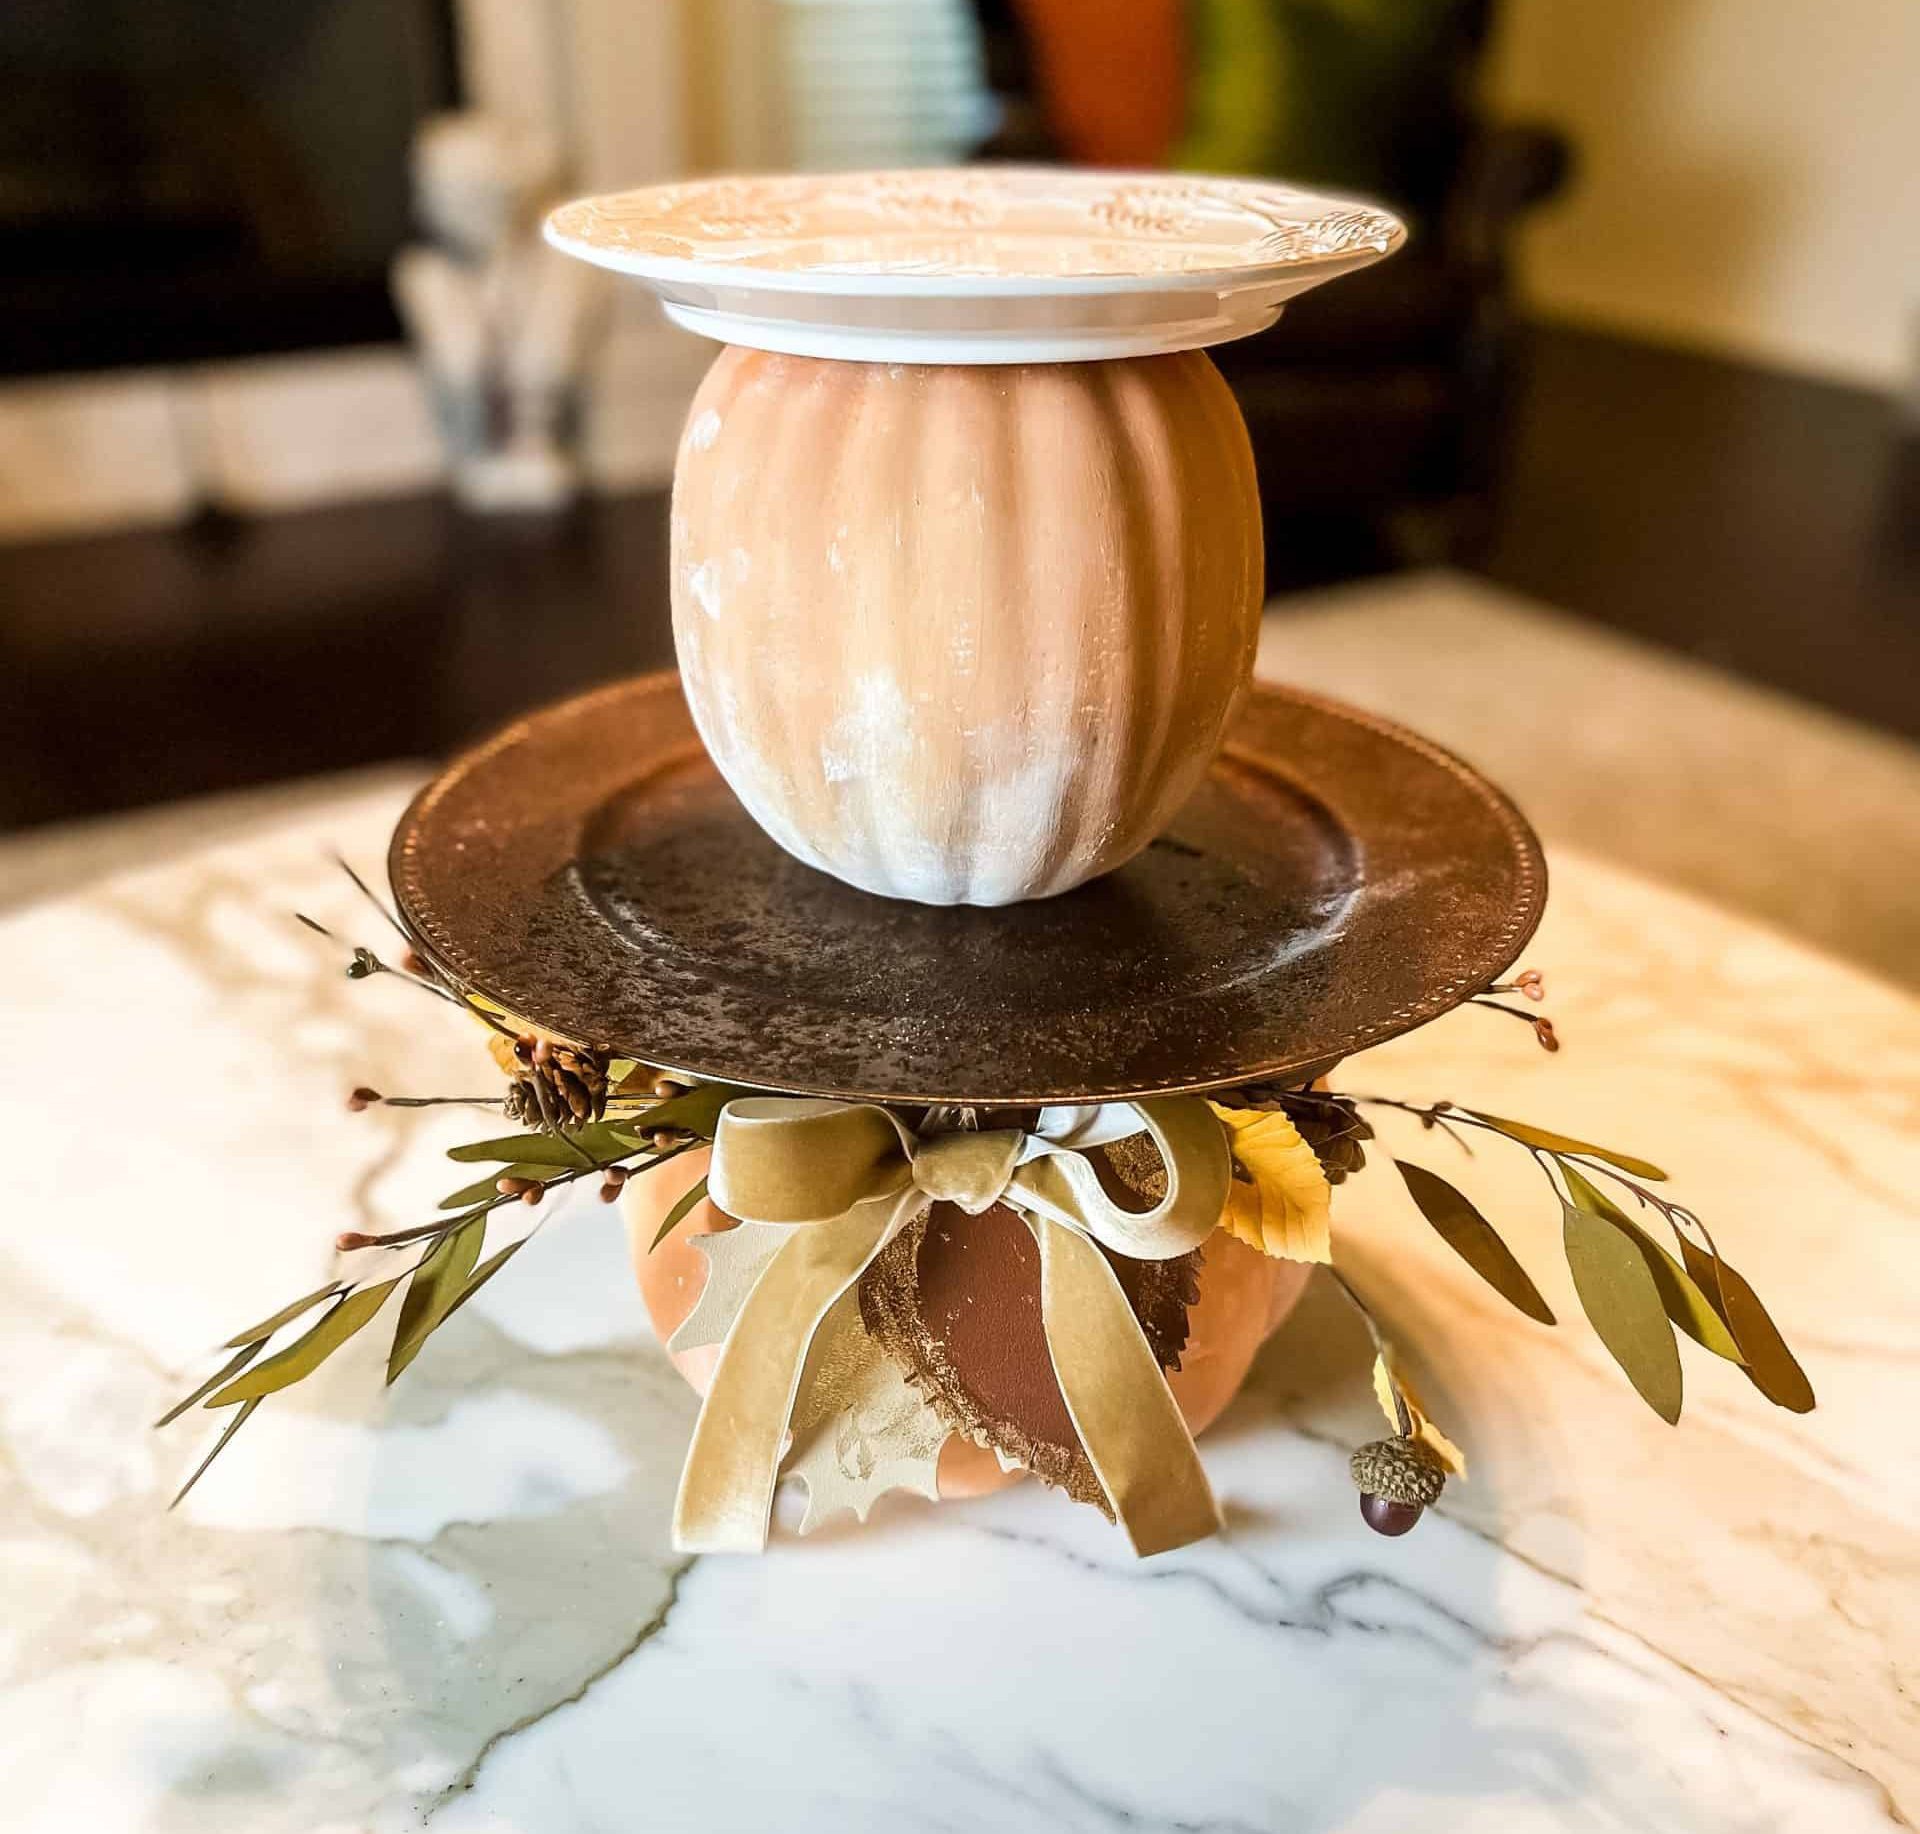
Today I want to show you how to make a tiered tray using pumpkins. Let me show you how to put a new spin on an old favorite!
This year is all about the Easy Pottery Barn Terra Cotta Pumpkin Dupe for me over on the blog! I have found so many uses for a painted terra cotta pumpkin! This Tiered Tray decor using pumpkins is so adorable and functional!
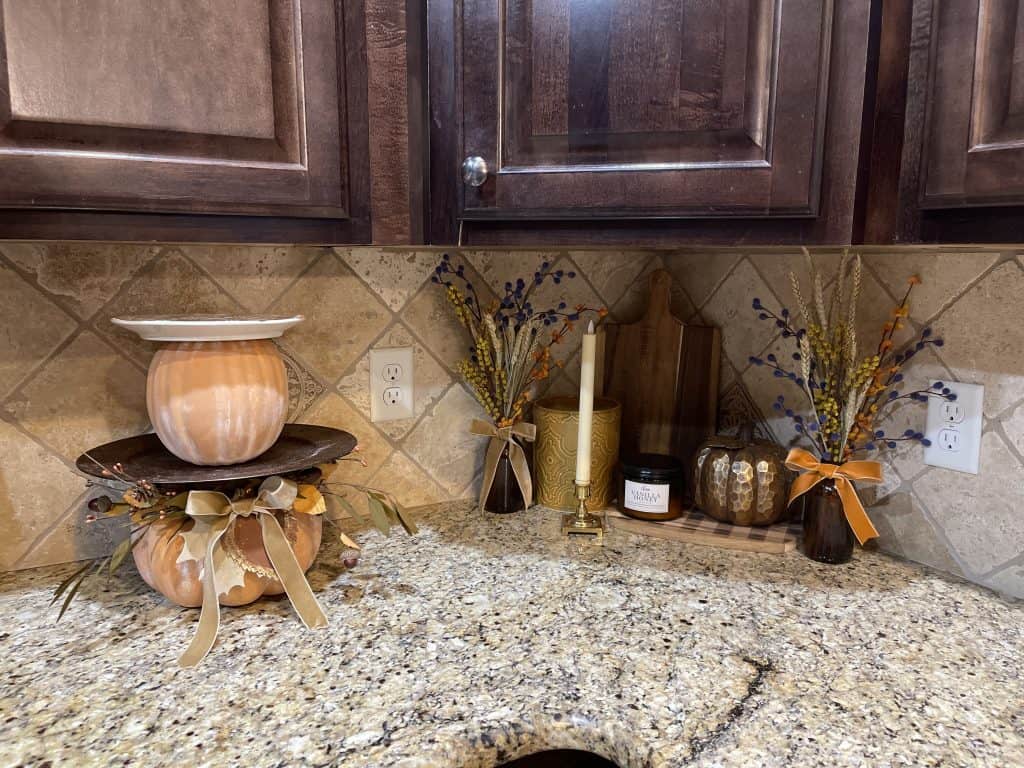
Oh, how I love fall and the change of seasons! (Except seasons haven’t changed quite yet)LOL
I used to go with my grandpa on a little “drive” to a town about 40 minutes away from his house every fall. He took me to a little town called Carthage, Missouri. They had a beautiful park that had every kind of tree you can think of (especially as a little girl from Kansas).
Grandpa would walk around with me and we would pick up leaves we thought were pretty and make sure we got every color of leaf that fell! We collected acorns and branches and we talked about how smart God must have been to create seasons.
Hey, maybe this is where my love of fall comes from! I was so lucky to have such a fantastic grandpa. He impacted my life in ways he never could’ve imagined!
That seems like the most supplies I have ever listed for a DIY, but hear me out, it’s very easy! It’s worth it!
Supplies
- One large plastic pumpkin
- One smaller plastic pumpkin
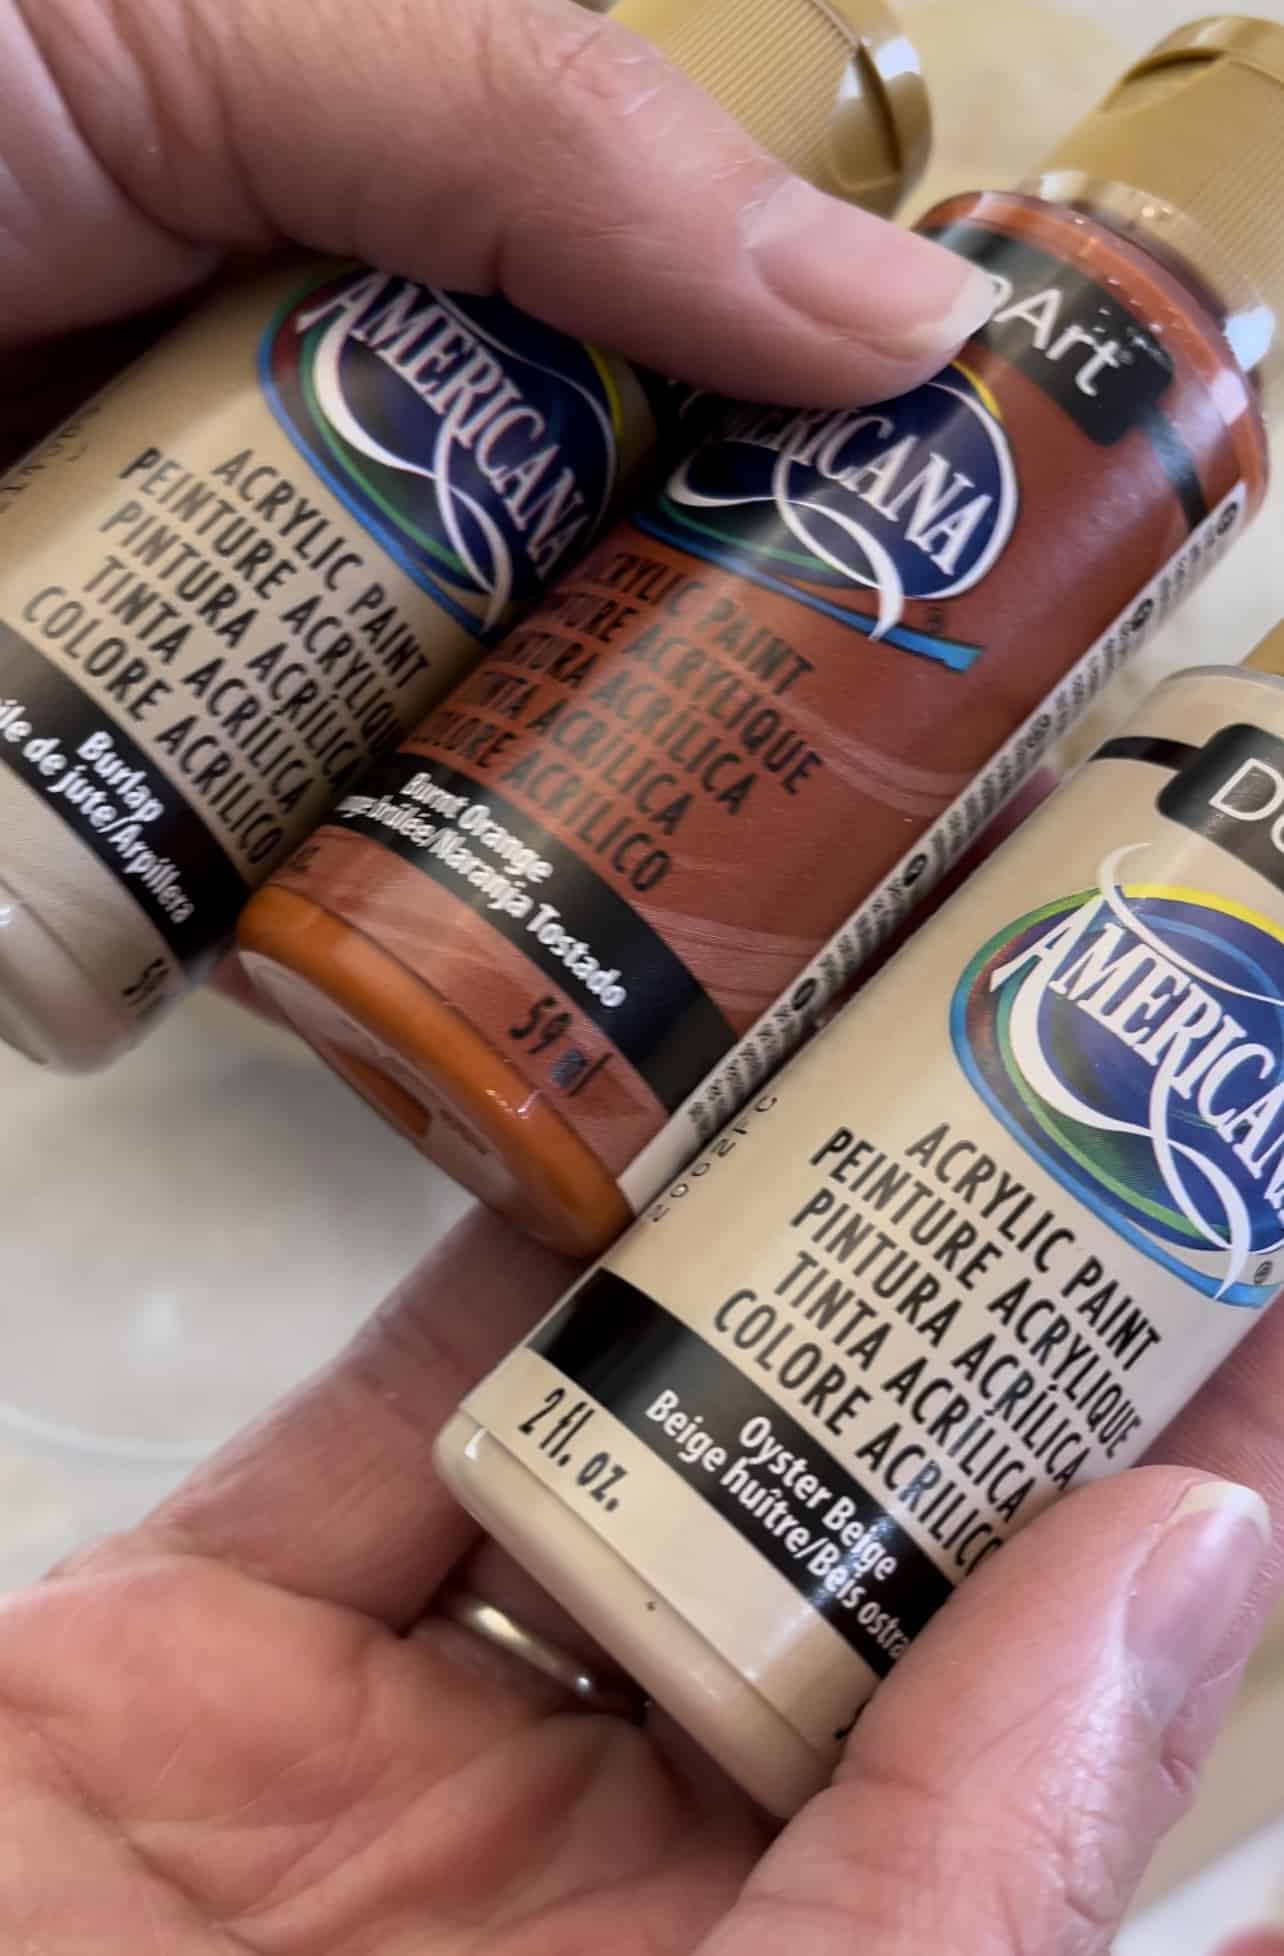
- ArtDeco Paint Color Options
- Oyster Bay
- Burlap
- Antique Maroon
- Spiced Pumpkin
- Burnt Orange
- Paint Powder or Flour
- Mod Podge
- Cinnamon
- One Charger Plate
- One Dessert Plate
- Hot Glue
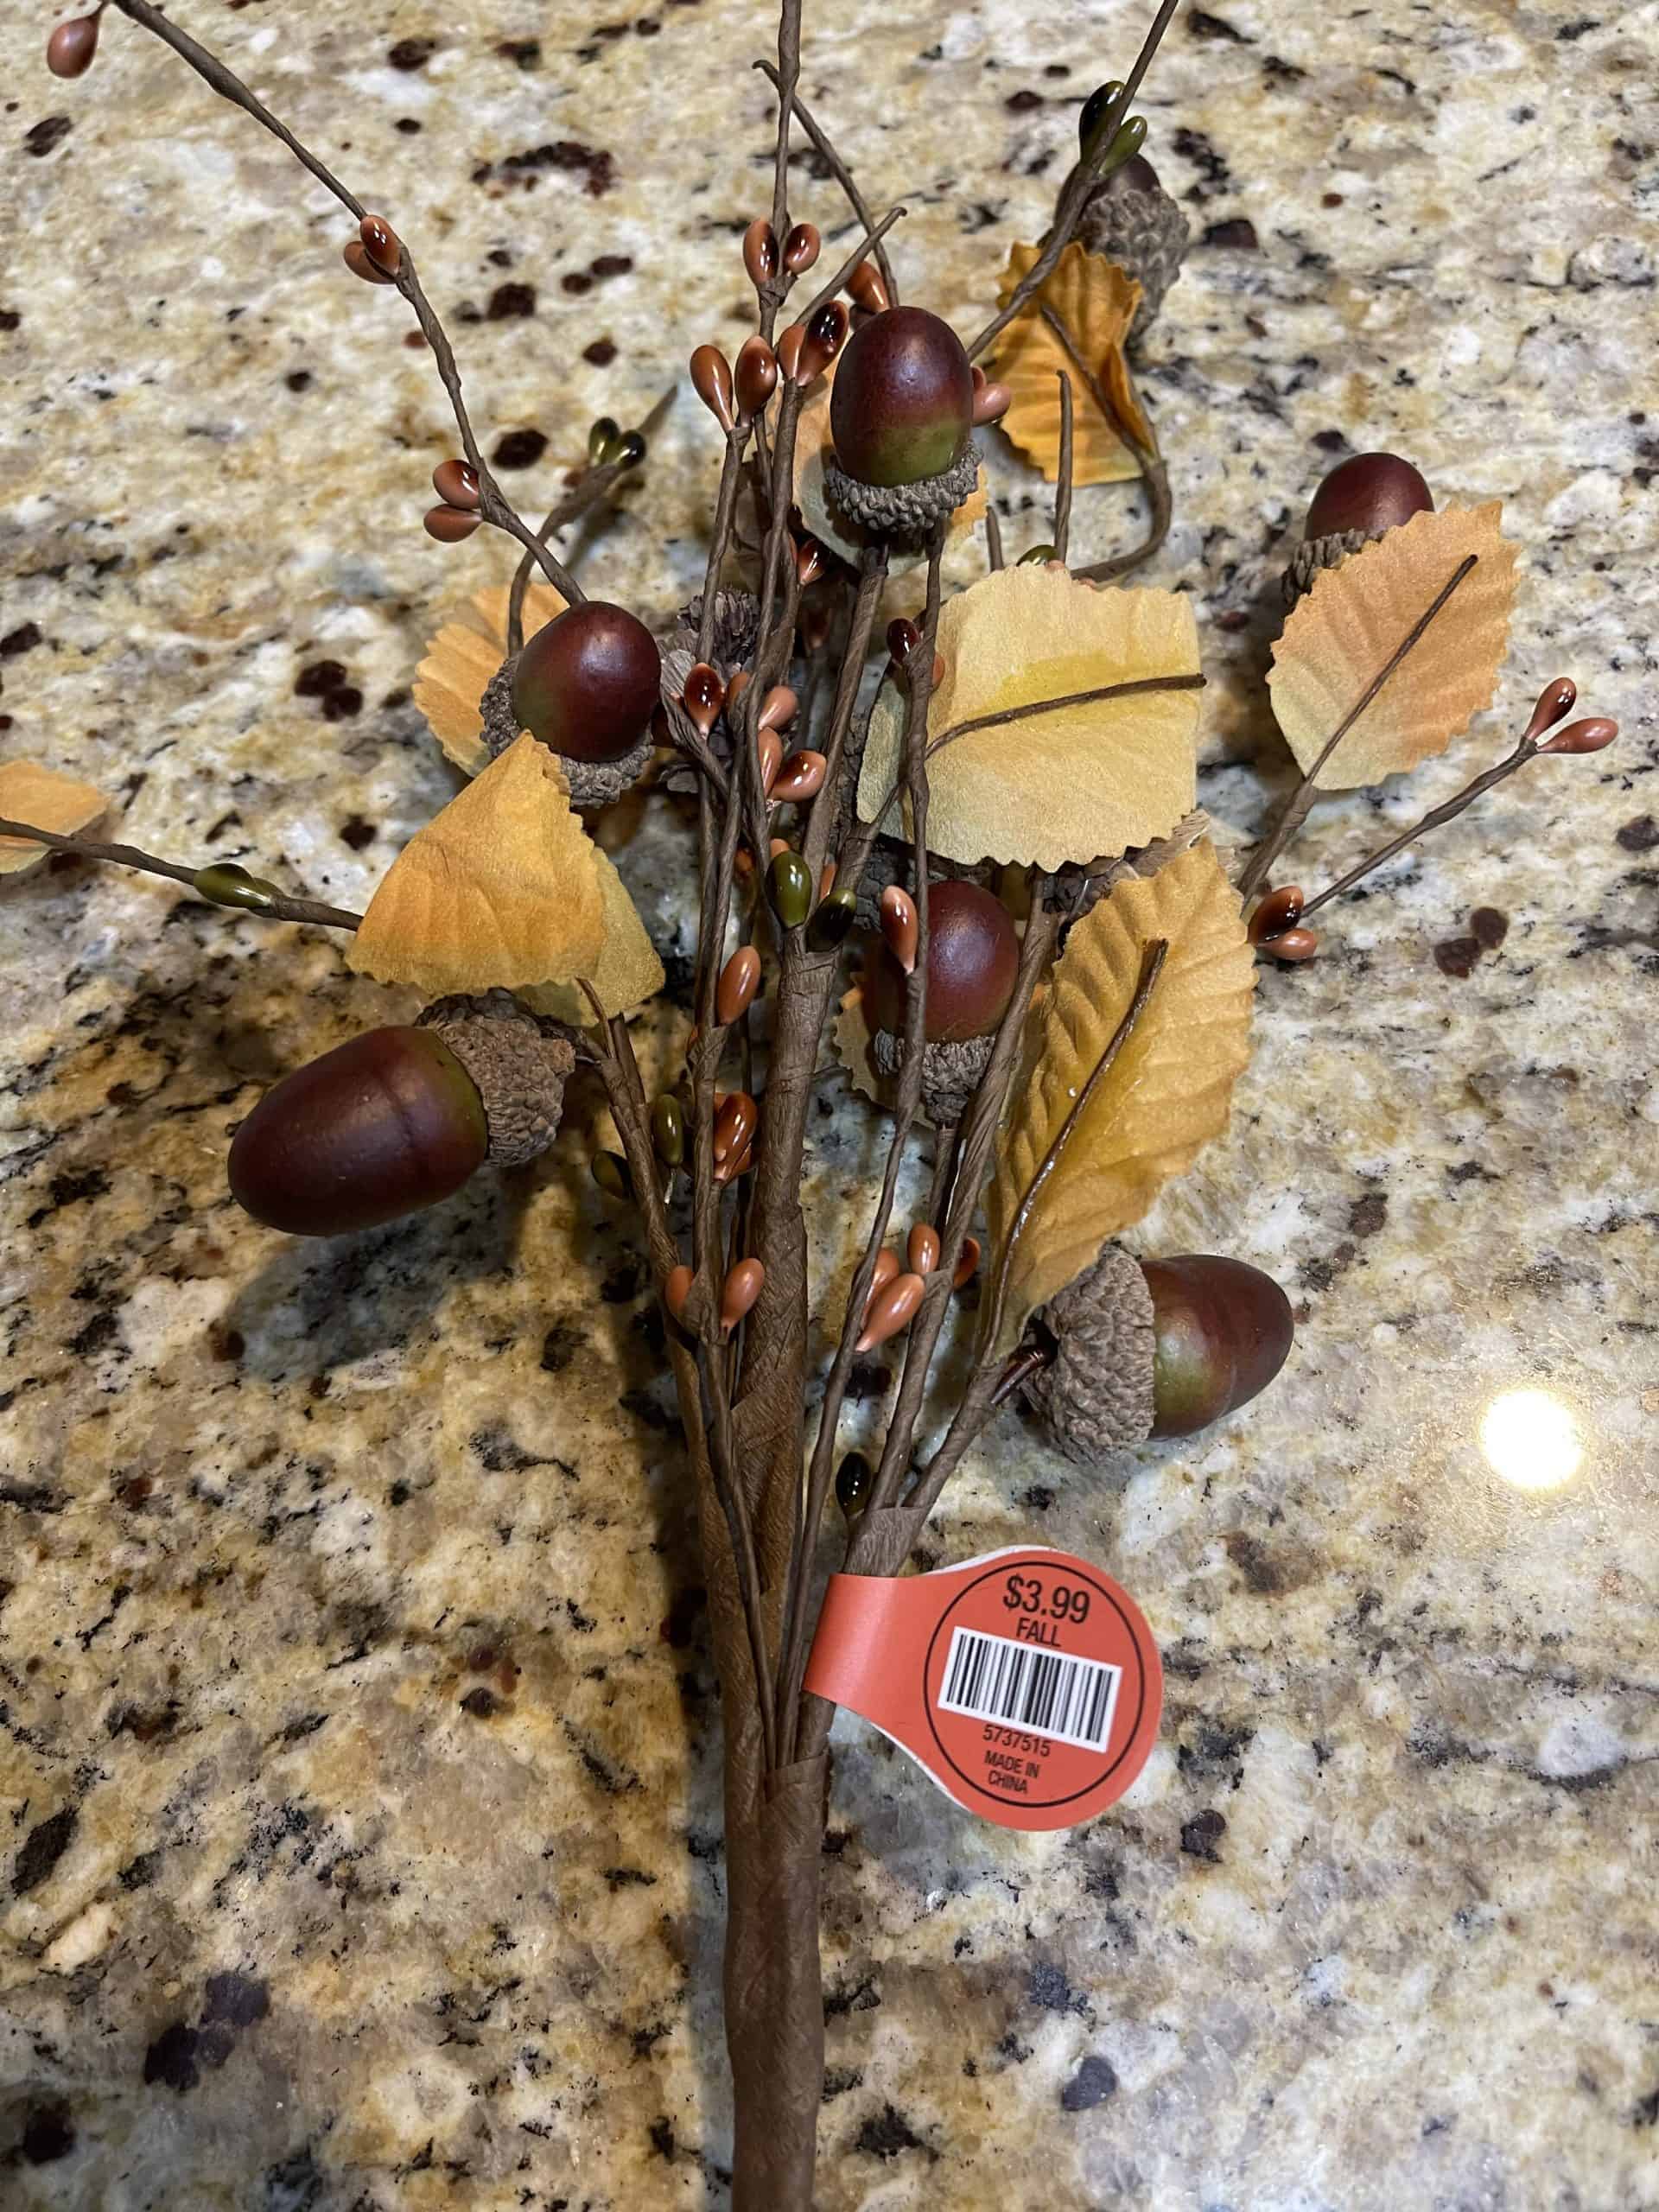
- Fall floral picks
- Ribbon
How to Make a Tiered Tray with pumpkins
- Mix your Paint
Mix your paint colors to get a terra cotta color. Light peachy orange is what I was going for. You can get it more orange if you like that better. Make it your own!

- Paint your plastic pumpkins
Use the mixed paint directly on your clean plastic pumpkin.
This is me painting the pumpkin on my first Pinterest TV episode! I will link it for you at the bottom of this post.
- Add Paint Powder
Tap on paint powder over the wet paint and brush it over the pumpkin and focusing on the top and the spines. Use a dry brush and your hands to press in the powder. You can substitute flour if you like.

- Antique the Charger
Spread mod podge or spray glue on your charger and sprinkle cinnamon all over the wet glue to add a “rusty” look to it! This is the first time I have tried the cinnamon trick and I love it! So cool!

- Clear coat
Spray a clear matte spray sealer over the cinnamon to seal it in place.
- Allow to Dry
Allow everything to dry for at least 30 minutes
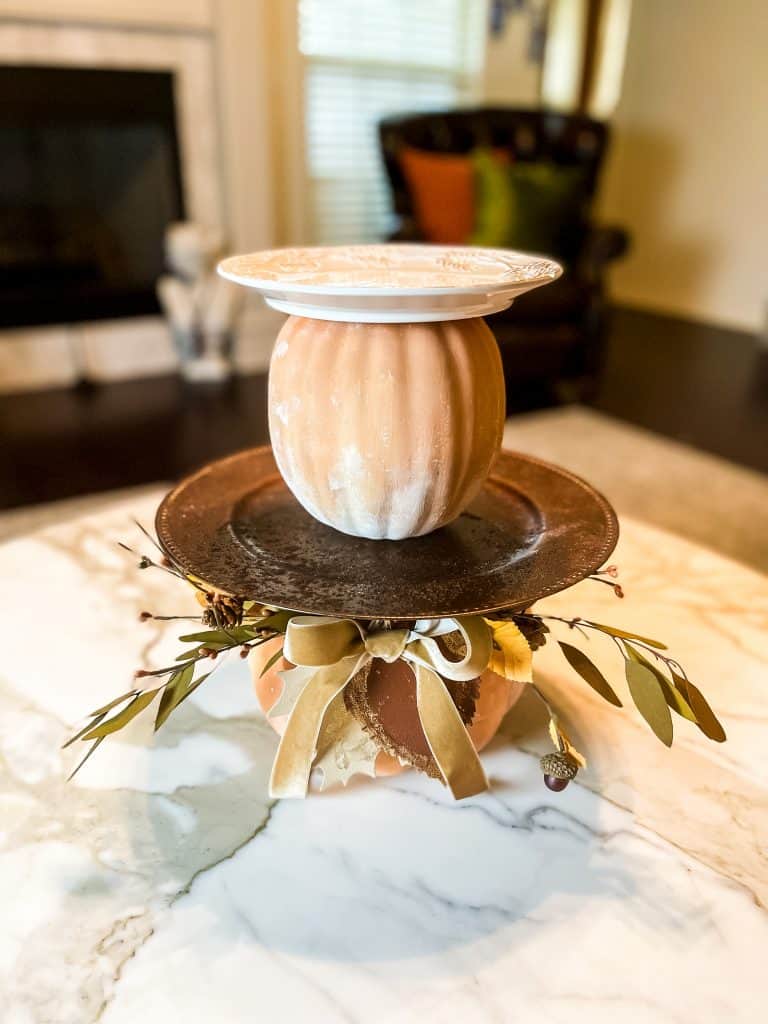
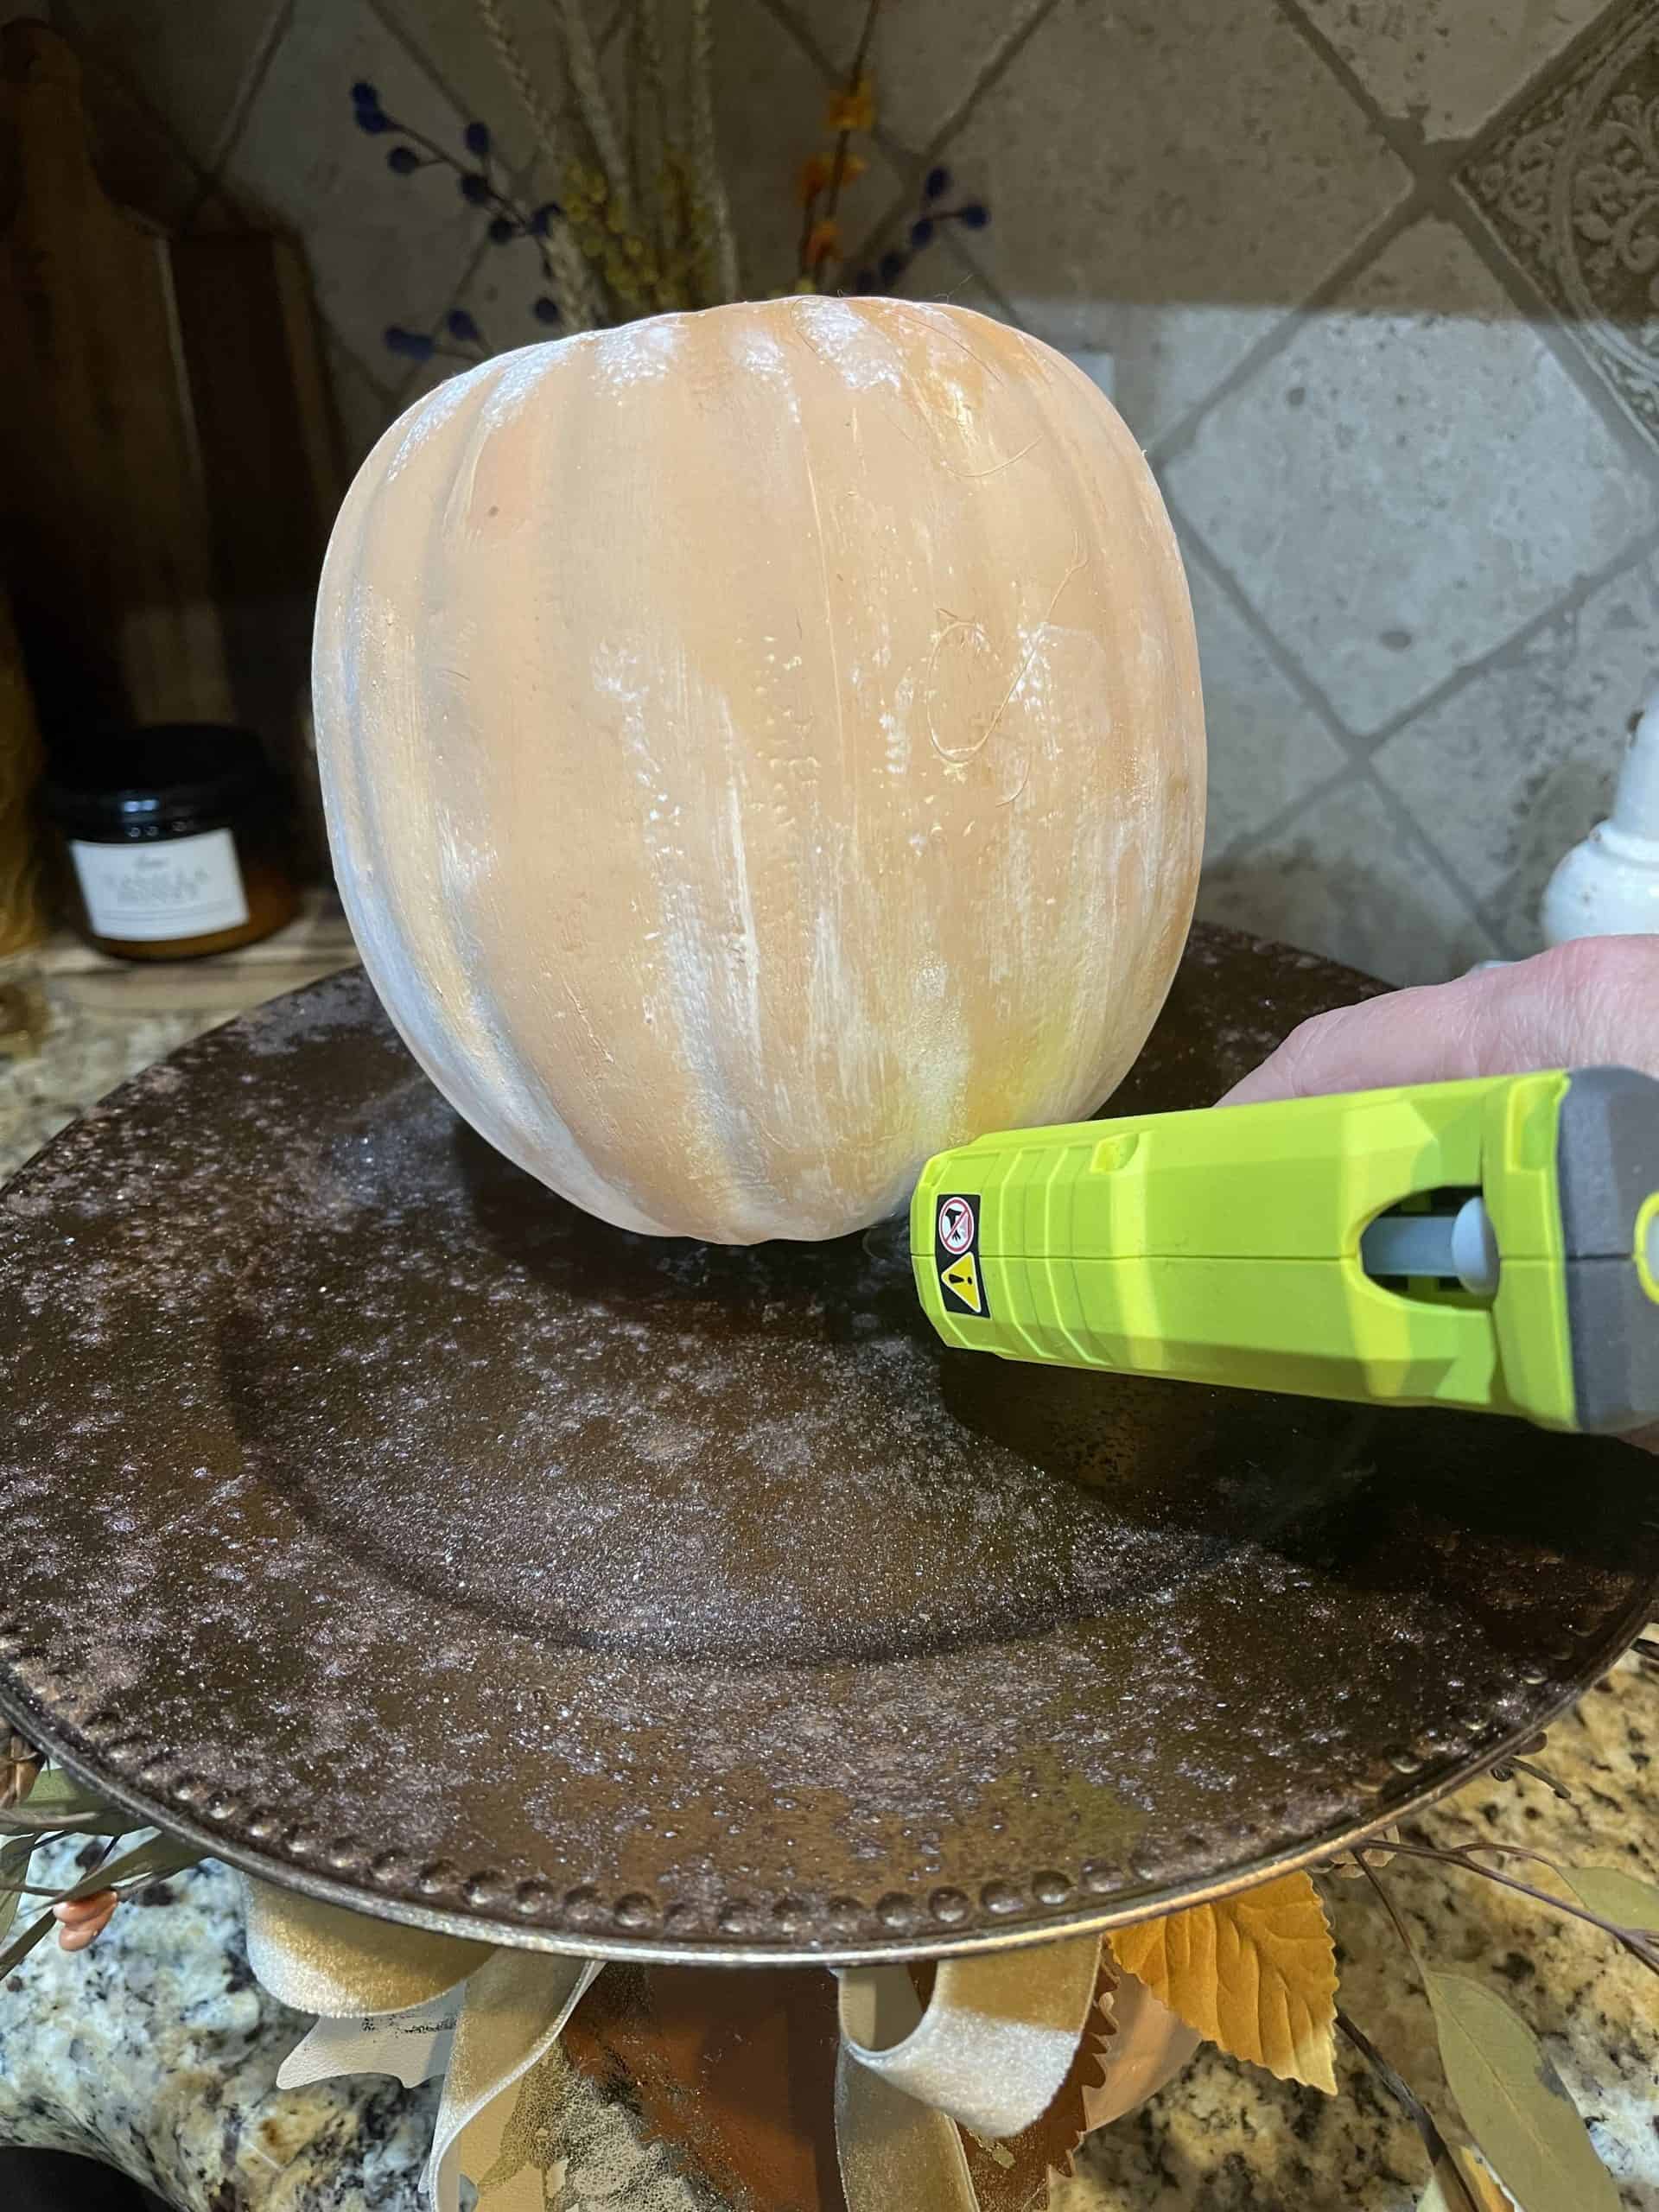
- Put together the first layer
I got this crooked the first time so the second time I laid my charger face down and placed the pumpkin in the center (upside down) and it worked much better for me!

- Next Layer
Then turn it right side up and glue the smaller pumpkin to the top of the charger. I glued the second pumpkin upside down to give it better stability and it worked.

- Top Plate
Then Glue the top dessert plate on top.

- Add fall florals
I had an acorn pick from Hobby Lobby that I pulled apart to make a “swag” style floral.

- Add leaves
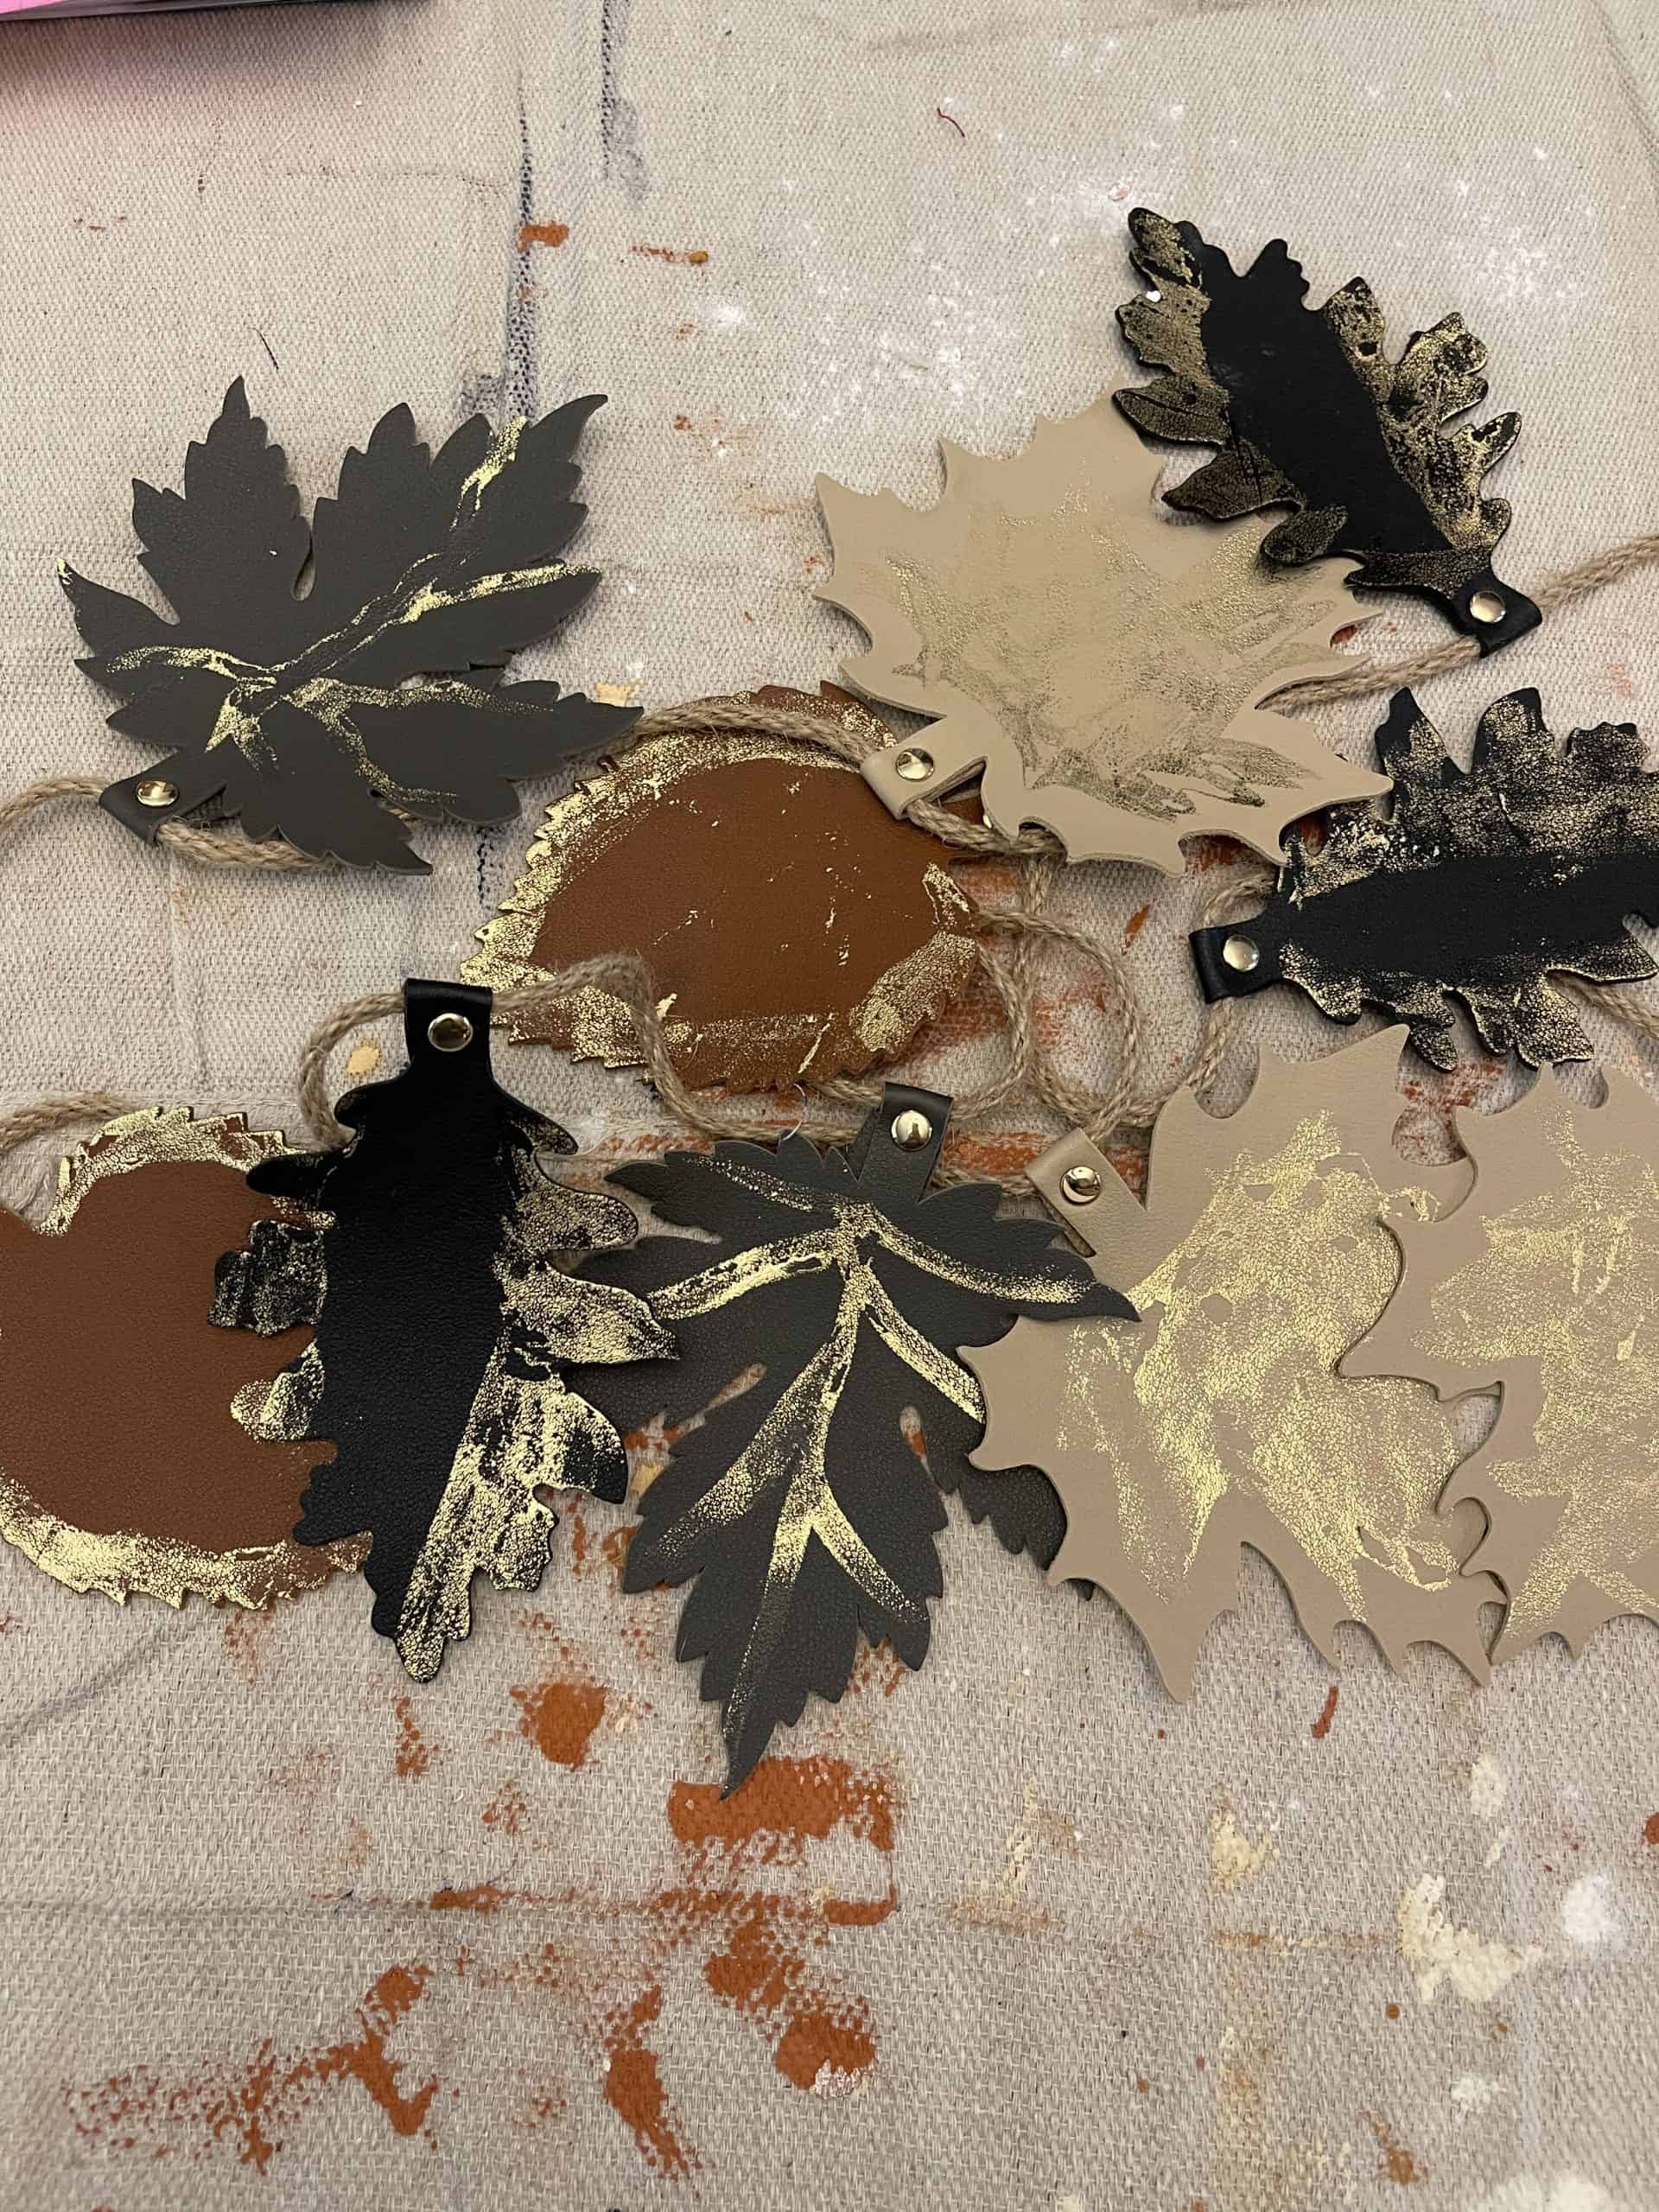
I used two leaves from my gilt leather leaves project and hot glued them over the center of my swag to hide the middle.

- Add a bow
I used velvet ribbon from Hobby Lobby and tied it in a simple bow I hot glued it on the front and then hot glued the swag onto the front of the pumpkin

How cute is that! I love this project!
Here is the link for my Pinterest TV Episode making a Pumpkin Tiered Tray!
It’s easy to save this post to your Pinterest board right here from the image below by either hovering over it on your computer or touch the red Pinterest Logo on the image with your phone and it will automatically open your Pinterest app to save! That way you’ll have it when you are ready for it!
If you wanted to just use the pumpkins without painting them and just a charger and plate without the finish on it you can just hot glue plates on pumpkins and it would be adorable. What we are doing here is making it our own!

You Might like to try these Paint Techniques on a pumpkin
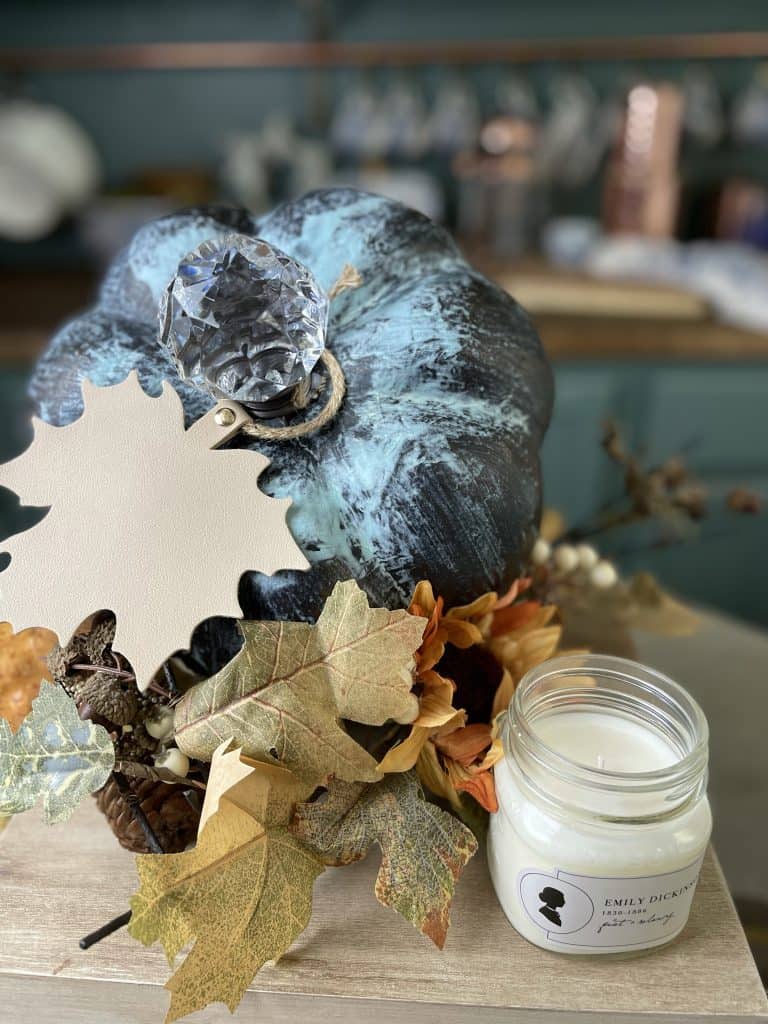
Copper and Bronze Patina Pumpkins
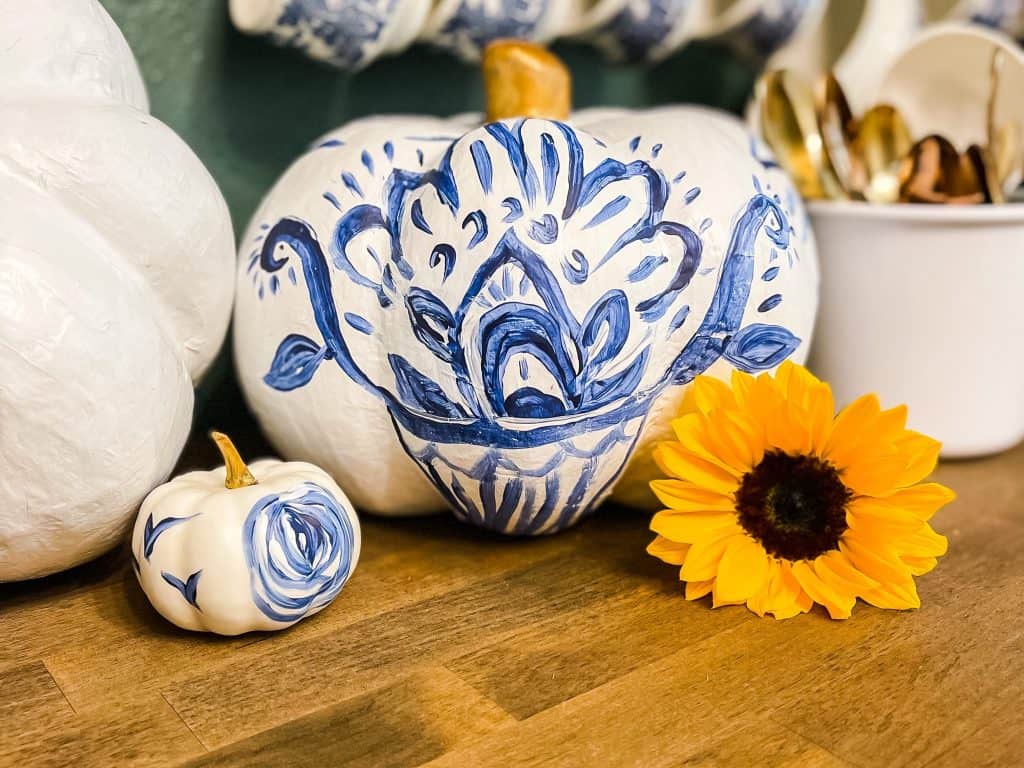
Blue and White Painted Pumpkins




I love this pumpkin tired tray. You did a fabulous job! The pumpkins look just like terracotta and I like all the different plants you used. It is full of so many different textures. Thanks for sharing today on Home Imagined!
I love this idea! Stacking trays and pumpkins are two of my favorite things! I’m going to have to give this a try! Thanks for the inspiration!
I loved your tiered tray! It’s always fun watching you do things live!🧡
So cool!! What a fun project for fall!!! I’ve never seen anything quite like this before…it has so many uses for this time of year!!
Amy this is such a great idea! I am sharing in my weekly Nesting post this morning! Have a great weekend!
Amy,
This is such a clever idea and I appreciate you for sharing it today on the Fall Round-up.
Thank you Rachel! This fall round up was a great one! Loved it!
I absolutely adore this Amy. It’s so pretty. And perfect for fall!
Awe thank you my friend! I am so ready for fall!
I love this!! Such a cute and fun project for fall.
Thank you! I am loving it too!
What a great project for fall! You’re so creative!
I can’t wait to use it year after year! Now I am off to buy some mums!
Super cute project, Ames!
Thank you!
Amy, the tiered pumpkin tray is stunning!