Copper and Bronze Patina Pumpkins
One morning I was showing my patina pumpkins to my friend on a zoom call and she said, Amy Sadler why in the world are those not on your blog? Ummmm I don’t know, other than I didn’t think about it!
My friend is also my blog mentor KariAnne Wood at Thistlewood Farms. I have learned so much from her wisdom and the amazing positivity that she exudes! If you are interested in blogging, you should look into her blog VIP group.
This blog post is part of a fun fall blog hop through the group so if you are here from Crystal at Sweet Valley Acres and her fun fall post then welcome! I am so glad you’re here!
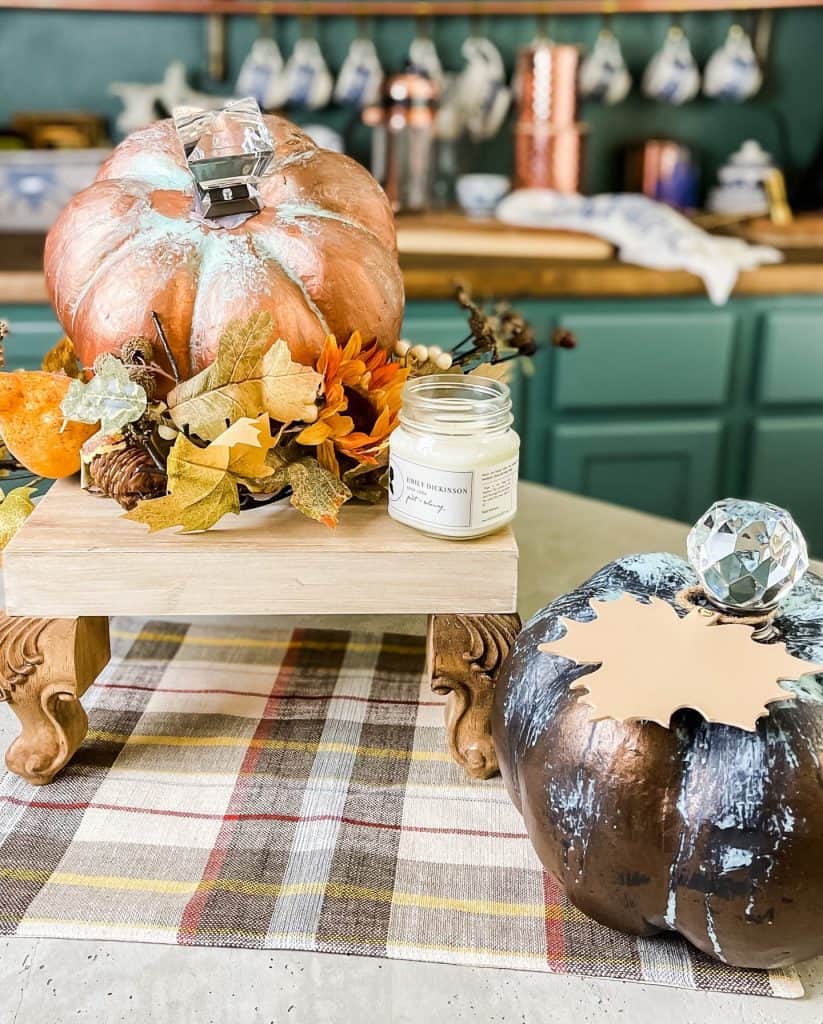
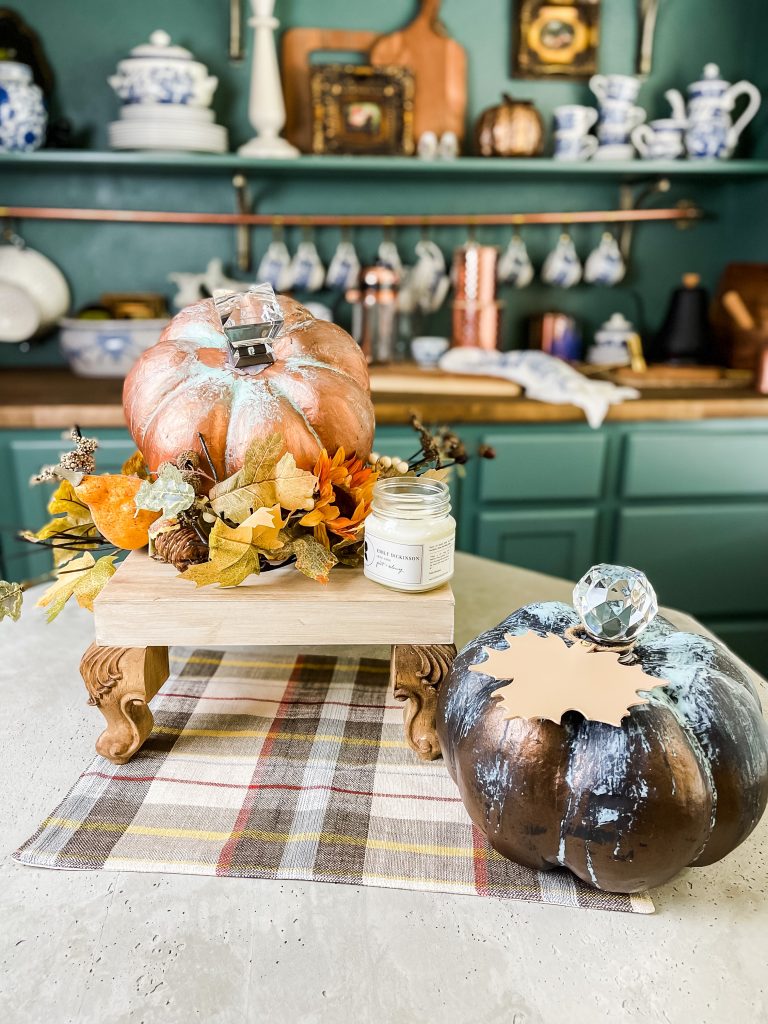
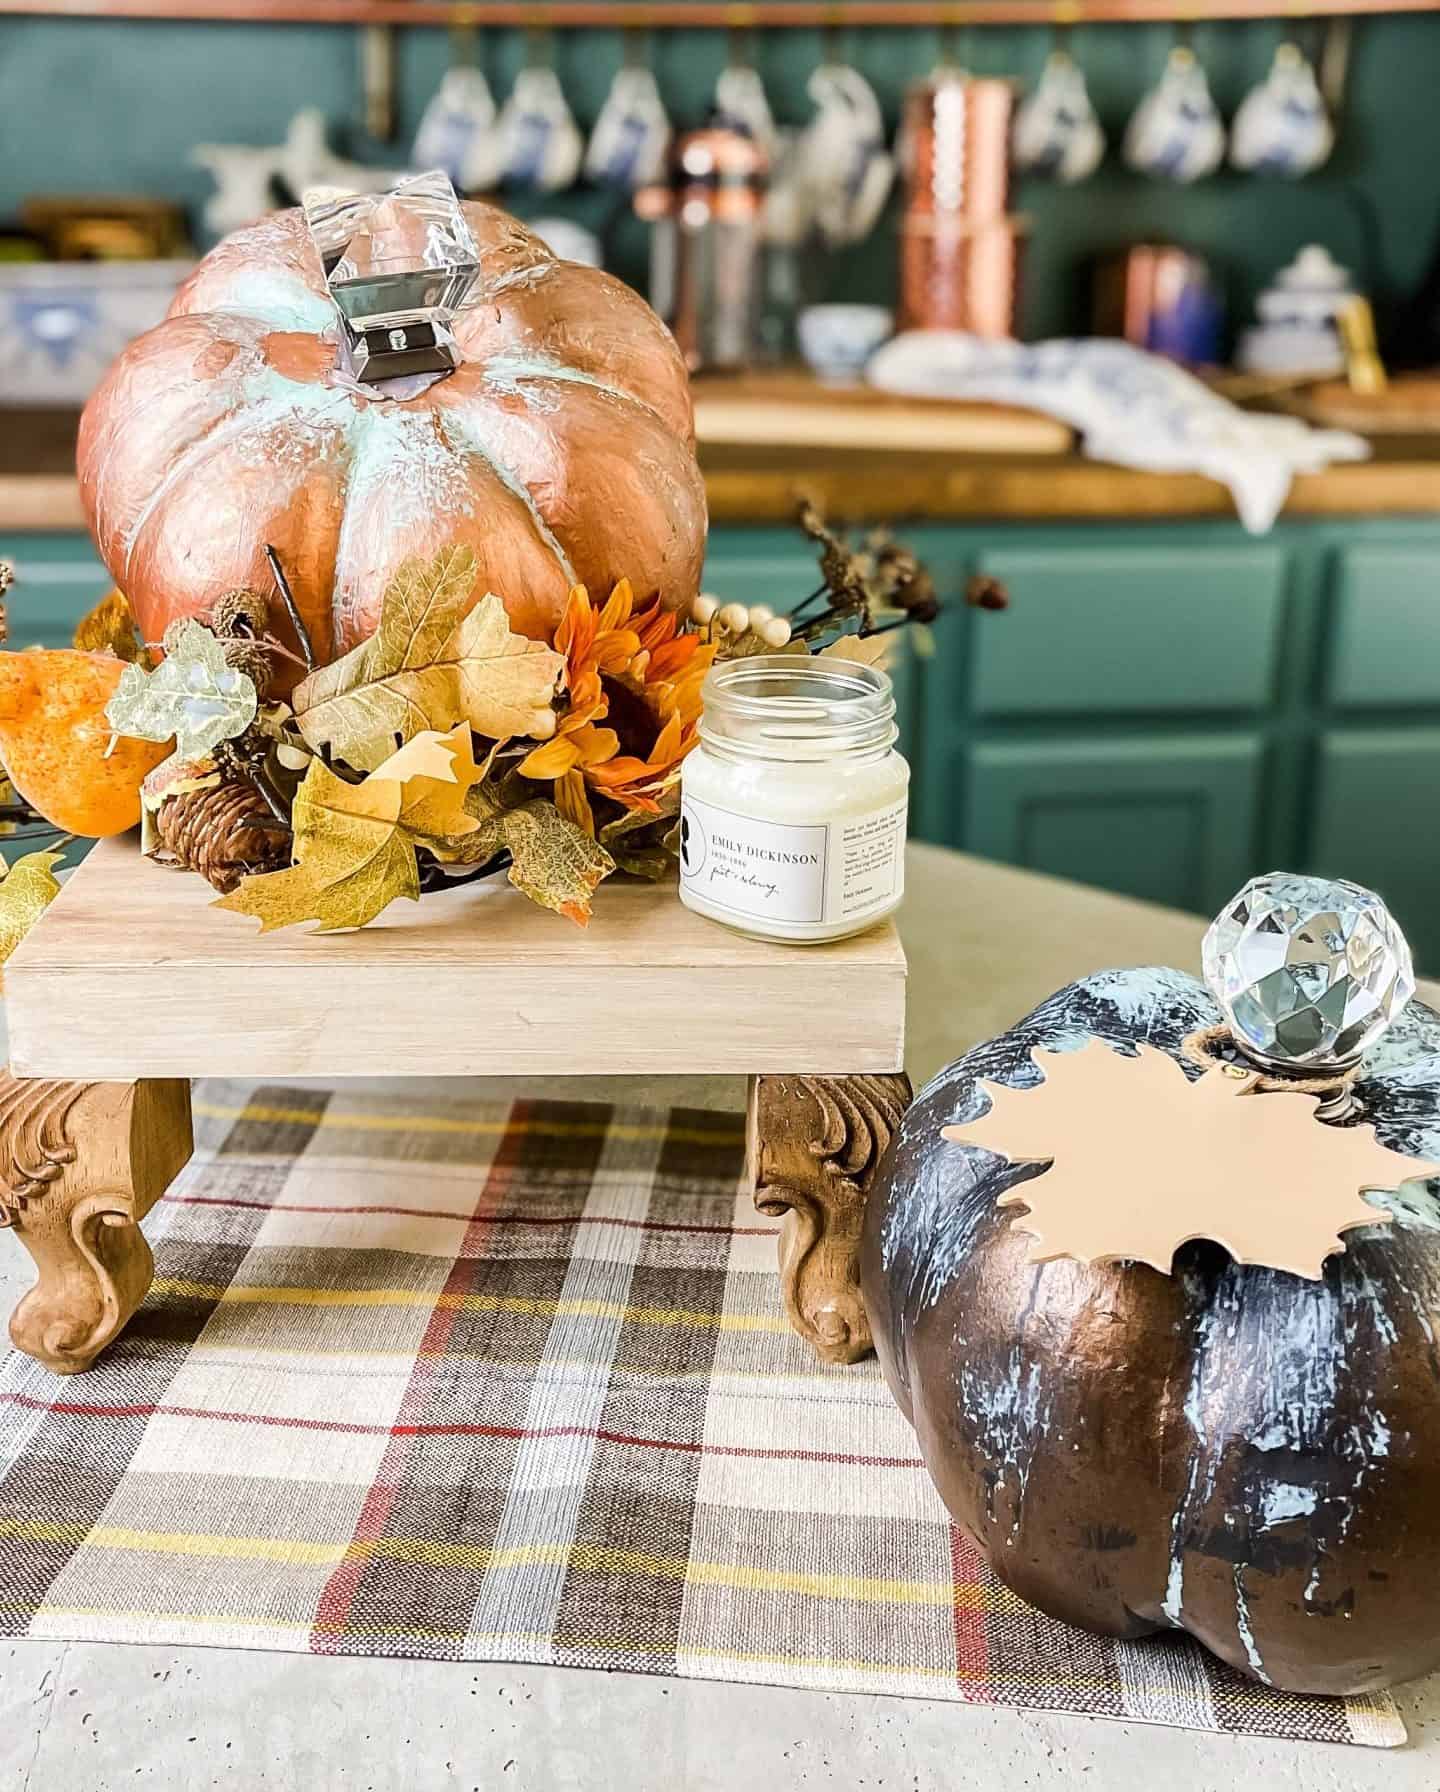
So, if you saw my DIY cake stand/ riser from last week then you got a sneak peek! These patina pumpkins complimented it beautiful! Here is my fun patina pumpkin DIY for you.
Copper and Bronze Patina Pumpkins
supplies
- Paper mache pumpkin (mine are from Hobby Lobby)
- Modern Masters Bronze, Iron, Copper metal effects paint
- Modern Masters Green patina, Blue patina, Rust liquid solutions
- Brown and Black craft paint
- Travel size spray bottles x3
- Fancy curtain fenial
- Exacto knife
- Hot glue gun and hot glue
How to create your own patina pumpkin
- Cut Out the Stem
Cut out the stem of the pumpkin as closely as possible to the base of the stem so that your hole is as small as possible.
- Paint Your Pumpkin
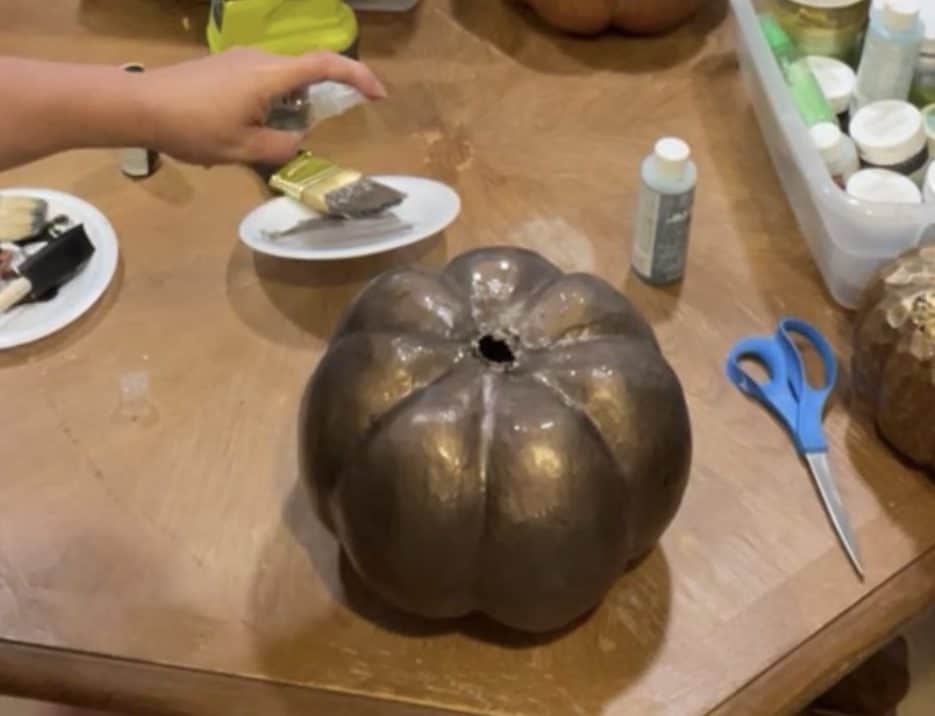
Paint your paper mache pumpkin one with brown and one with the black craft paint. Let dry
- Prep Patina Solution
Pour your two liquid patina solutions into two separate travel size spray bottles.
Tip #1: The solution will rust out the springs in the bottles so I only use them a few times before they are ruined
Tip #2: I pour any unused solution back into it’s original container after I spray my project. - Paint then Add the Patina Solution
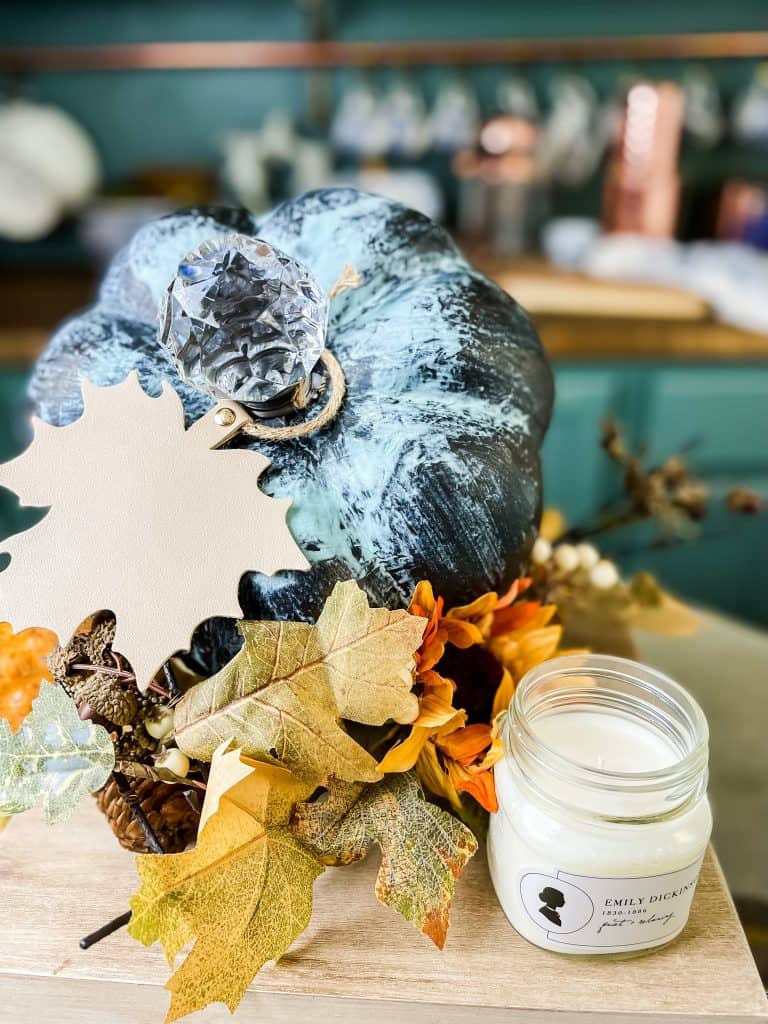
Paint the black pumpkin with the bronze metal effects paint and while the paint is still wet spray the blue patina solution on to the pumpkin liberally and allow it to run and pool on the top and down the sides.

- Repeat Step 4.
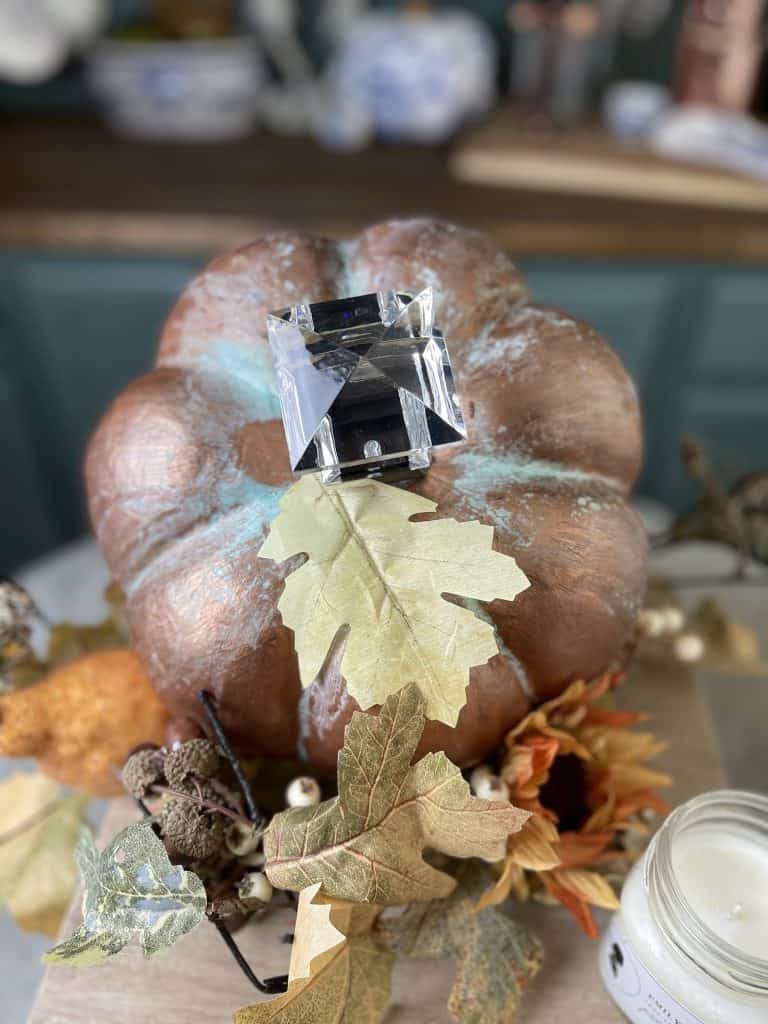
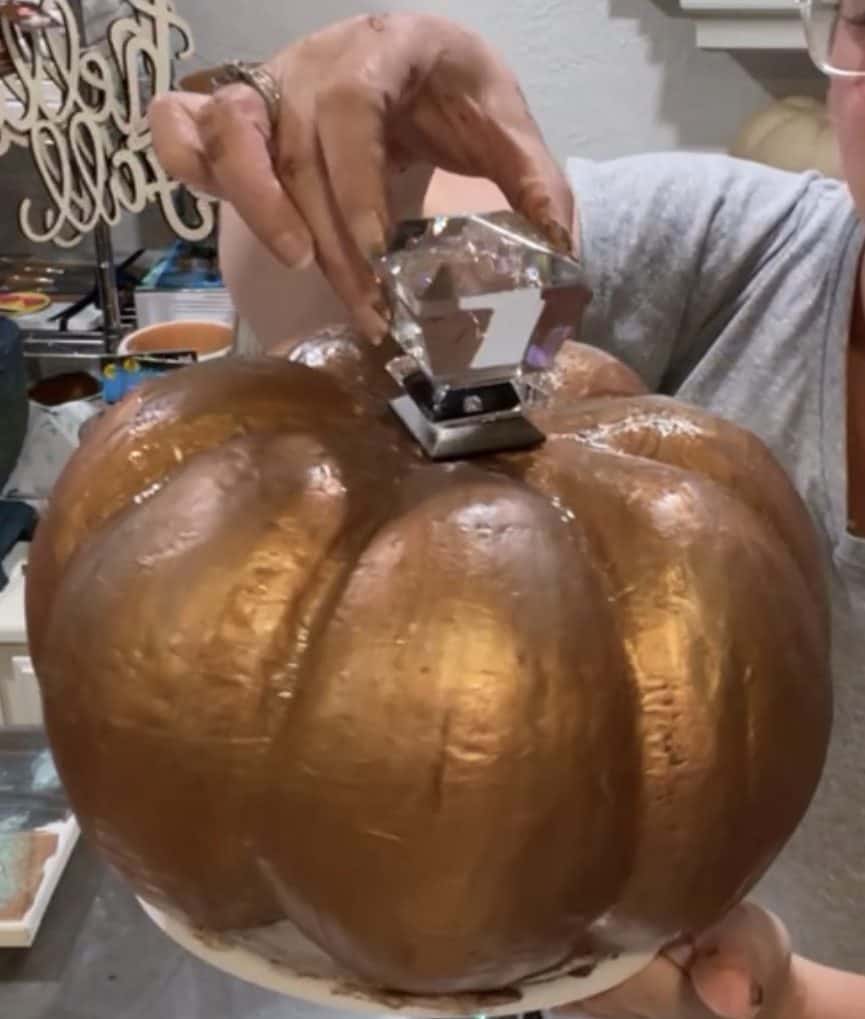
Paint your copper metal effects paint over your brown pumpkin and while the paint is still wet , liberally spray it with the green patina solution so that it runs down the ribs of your pumpkin and shows wet on the top.
- Add Fenials
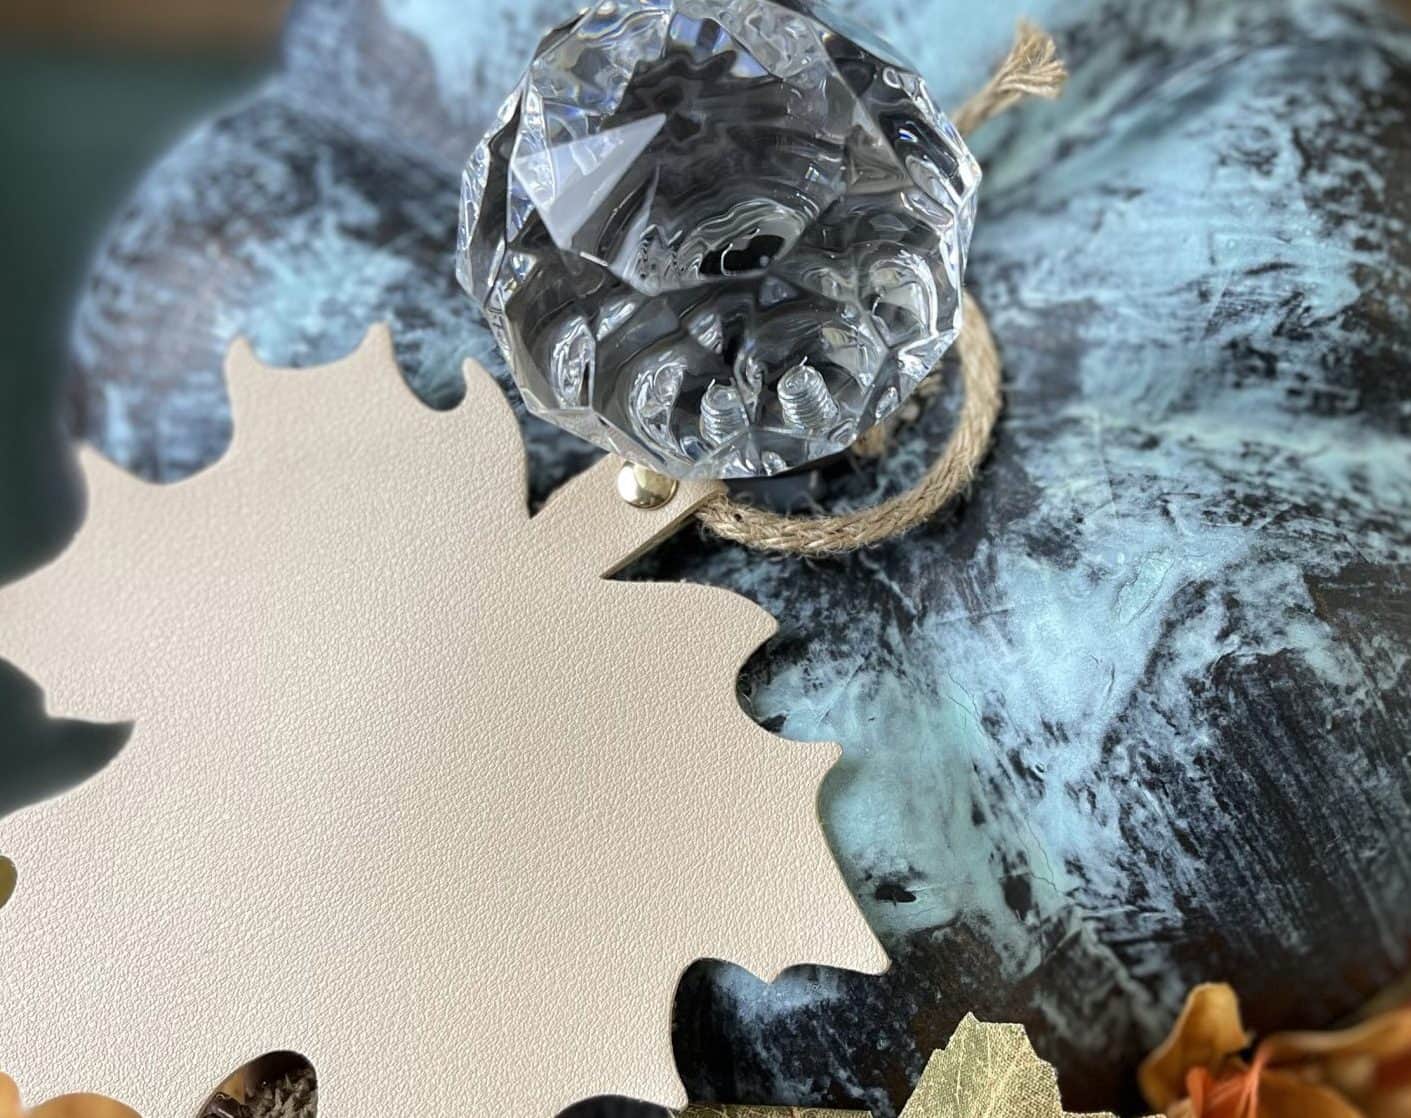
After the patina solution is dry on both of the pumpkins you can hot glue your fenials where your stems belong.

- Add Embellishments
Hot glue on any embellishments like leaves or bling.

- Voila! Decorate with and enjoy your new patina pumpkins!
You have a beautifully aged pumpkin within minutes!
Now head on over to see what Misty is up to with her Pumpkins!

Amy, these are so awesome! I am going to have to try this metal + patina effect. And how did you think to put a finial on top? Simply adorable. Adding to my list of must-do crafts! Thank you so much for sharing.
Thank you Misty! I had them and was looking for ways to use them! It was a match made in heaven!!!!
Amy, I love these! I really like anything patina, I can see these in my garden!
This finish would be perfect for garden decor!
OOOO…. I love these!! Great tutorial
Thank you Christin!
Wow this is amazing!!! I love the patina one!
Thank you Crystal!
Your projects always amaze me! I love these pumpkins and the finial is BRILLIANT! Thank for sharing and hopping with all of us! ~Missy
You continue to amaze me. You are so talented. I love your pumpkins and your riser. Happy hopping with you.
Your pumpkins are so glam with their blingy stems, but yet rustic. So fun! Happy hopping wit you.
Love the glamor and bling you brought into Fall! Glad to see you on the fall hop.
Amy these are gorgeous! I love the crystal on top!