The Secret to a Flawless Finish: How to Choose the Right Primer for Your Painting Projects
Today we’re talking about something that might not be the most glamorous part of a painting project but is absolutely essential: primer. Yes, that unassuming can of paint prep can make or break your final result. Whether you’re refreshing a room, tackling a furniture makeover, or diving into a full-home renovation, choosing the right primer is the key to a flawless, long-lasting finish.
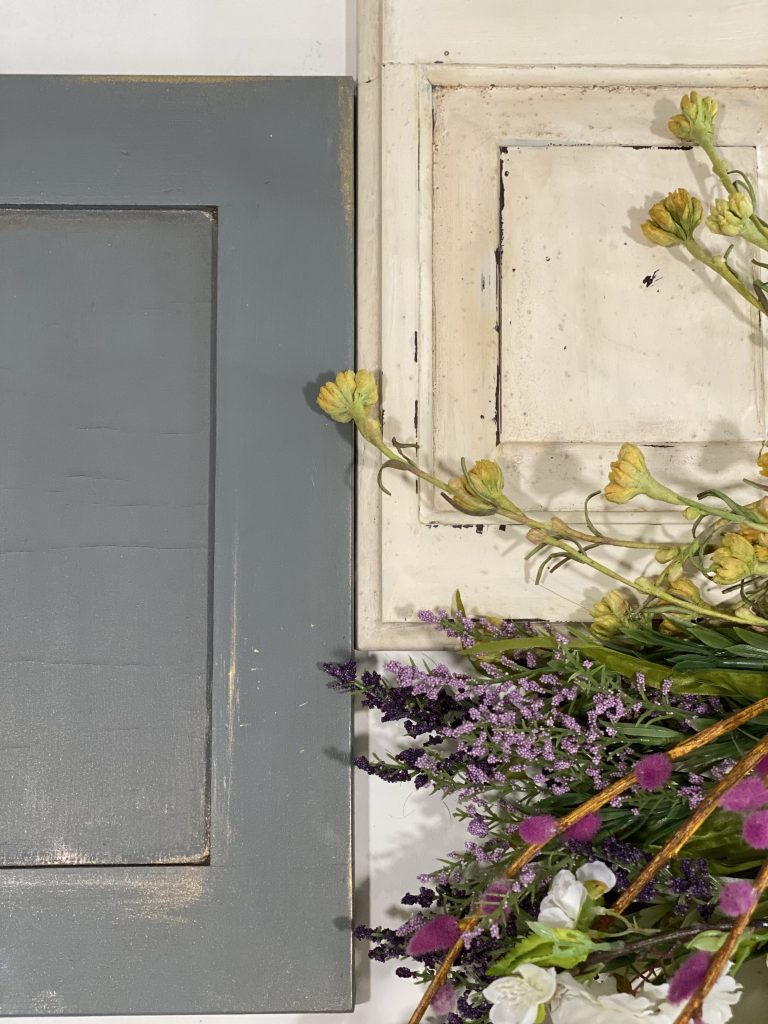
I have painted thousands of cabinet doors, drawers, walls, furniture and even home decor and knowing the right primer to use is so important and shouldn’t be overlooked or skipped! I know it’s an added step but the longevity of your project is at stake and I promise it’s worth it because having to strip paint later and refinish the whole project is way worse than just doing it to begin with!
So, let’s roll up our sleeves (literally!) and chat about how to pick the perfect primer for your next project. Trust me, your painting projects—and your future self—will thank you.

Why Primer Matters
Before we dive into the nitty-gritty, let’s talk about why primer is so important. Primer is like the foundation of a great outfit—it sets the stage for everything else. Here’s what it does:
- Creates a Smooth Surface: Primer fills in tiny imperfections, creating an even base for your paint.
- Improves Paint Adhesion: It helps your paint stick better, which means fewer chips and a longer-lasting finish.
- Blocks Stains and Odors: Got water stains, smoke damage, or lingering smells? A good primer can seal those in.
- Enhances Color Accuracy: Primer ensures your paint color looks true to the swatch, especially when covering dark or bold walls.
Pro Tip!
Skipping primer is like baking a cake without greasing the pan. Sure, you can do it, but the results won’t be nearly as good.
This post may include affiliate links; you can read my disclosure policy here.
How to Choose the Right Primer
Not all primers are created equal, and the right one depends on your specific project. Here’s a breakdown of the most common types and when to use them:
1. All-Purpose Primer
This is your go-to for most painting projects. It’s great for new drywall, lightly stained surfaces, or when you’re making a subtle color change.
My Pick: Zinsser Bulls Eye 1.2.3 is a reliable choice. It dries quickly, covers well, and works on a variety of surfaces.
2. Stain-Blocking Primer
If you’re dealing with water stains, smoke damage, or tannin bleed (those pesky brown spots that show through paint), you’ll need a stain-blocking primer.
My Pick: Zinsser BIN Shellac (White) is a lifesaver for tough stains. It’s also great for covering dark colors with lighter ones.
3. High-Hide Primer
When you’re painting over a bold or dark color, a high-hide primer is your best friend. It ensures your new color pops without needing multiple coats of paint.
My Pick: Zinsser Bulls Eye 1.2.3 is a game-changer for covering deep reds, blues, or blacks.
4. Bonding Primer
For slick or non-porous surfaces like tile, laminate, or glossy finishes, a bonding primer is a must. It helps the paint adhere to surfaces that would otherwise repel it.
My Pick: Zinsser BIN Shellac (White) is perfect for tricky surfaces like cabinets or furniture.
5. Mold & Mildew-Resistant Primer
If you’re painting a bathroom, laundry room, or any other moisture-prone area, this primer is a must. It prevents mold and mildew from creeping through your fresh paint job.
My Pick: Zinsser Mold Killing Primer yes, it’s a multitasker for killing and also has mold- and mildew-resistant properties.
Shop My Favorite Primers Here

Why I recommend Zinsser!
I recommend Zinsser for every primer application listed because they are truly the best on the market, and I have personally used all of these primers listed and have had great success. I have tried others and they just haven’t worked as well for me. I think Zinsser has perfected their formulas and they stick to what they are good at.
This is not a sponsored post.
I sincerely love their primers and think they are, hands down, the best! I have been using them for years as a professional painter!
Tips for Applying Primer Like a Pro!
- Lightly Sand and Clean Your Surface First: Primer works best on a clean, dry surface. Wipe down walls or furniture with a damp cloth to remove dust and grime.
- Don’t Skip the Edges: Use a brush to cut in around edges, corners, and trim before rolling on the primer.
- Let It Dry Completely: Patience is key! Make sure the primer is fully dry before applying your paint. Check the can for drying times.
- Sand Between Coats: For an ultra-smooth finish, lightly sand the primed surface before painting.
Real-Life Examples of Primer in Action
Example 1: Covering Dark Walls
You’re painting over a dark black wall with a soft, buttery yellow. Without a high-hide primer, you’d need three or four coats of paint. With Zinsser Bulls Eye 1.2.3 Primer, you can get away with just two.

Example 2: Refinishing Furniture
You’ve scored a gorgeous vintage dresser, but it’s covered in old, glossy paint. A bonding primer like Extreme Bond Primer ensures your new paint sticks like a dream.


Example 3: Fixing Water and Mold Stains
Your bathroom ceiling has water stains from an old leak. A stain-blocking primer like Zinsser Mold Killing Primer seals those stains so they don’t bleed through your fresh coat of paint.
Final Thoughts
Choosing the right primer might not be the most exciting part of a painting project, but it’s definitely one of the most important. It’s the unsung hero that ensures your paint looks flawless, lasts longer, and stays true to color. So, the next time you’re tempted to skip this step, remember: a little extra effort upfront saves you a lot of headaches down the road.
And hey, if you’re feeling overwhelmed, just reach out! I’m always here to help you navigate your design dilemmas and create spaces you love.
Happy Painting!
Milk Paint Mastery: Achieve a Beautiful, Chipped Finish (Recipe Included!)
How to Update Cherry Cabinets (Without Painting!)
Free Paint Color Tracker
The Best White Cabinet Paint Colors