How To Add Gold Foil Technique To Leather
In this post, I will show you how to add gold foil to leather. The gold foil I use is the key to my success!
I use gold foil on everything from crafts to furniture paint finishes and even on walls! It can take a project from drab to fab in an instant!
If you take a look around my blog you’ll soon learn that I love gold! It is so warm and inviting.
I have antique oil paintings in gold frames and antique golden brass everywhere.
Copper is my next favorite and you can find the most beautiful copper foils to make these projects I am about to share with you!
Metals are a great way to add warmth to your decor and jazz it up a bit. I love what the different foil colors can do for my DIYs!
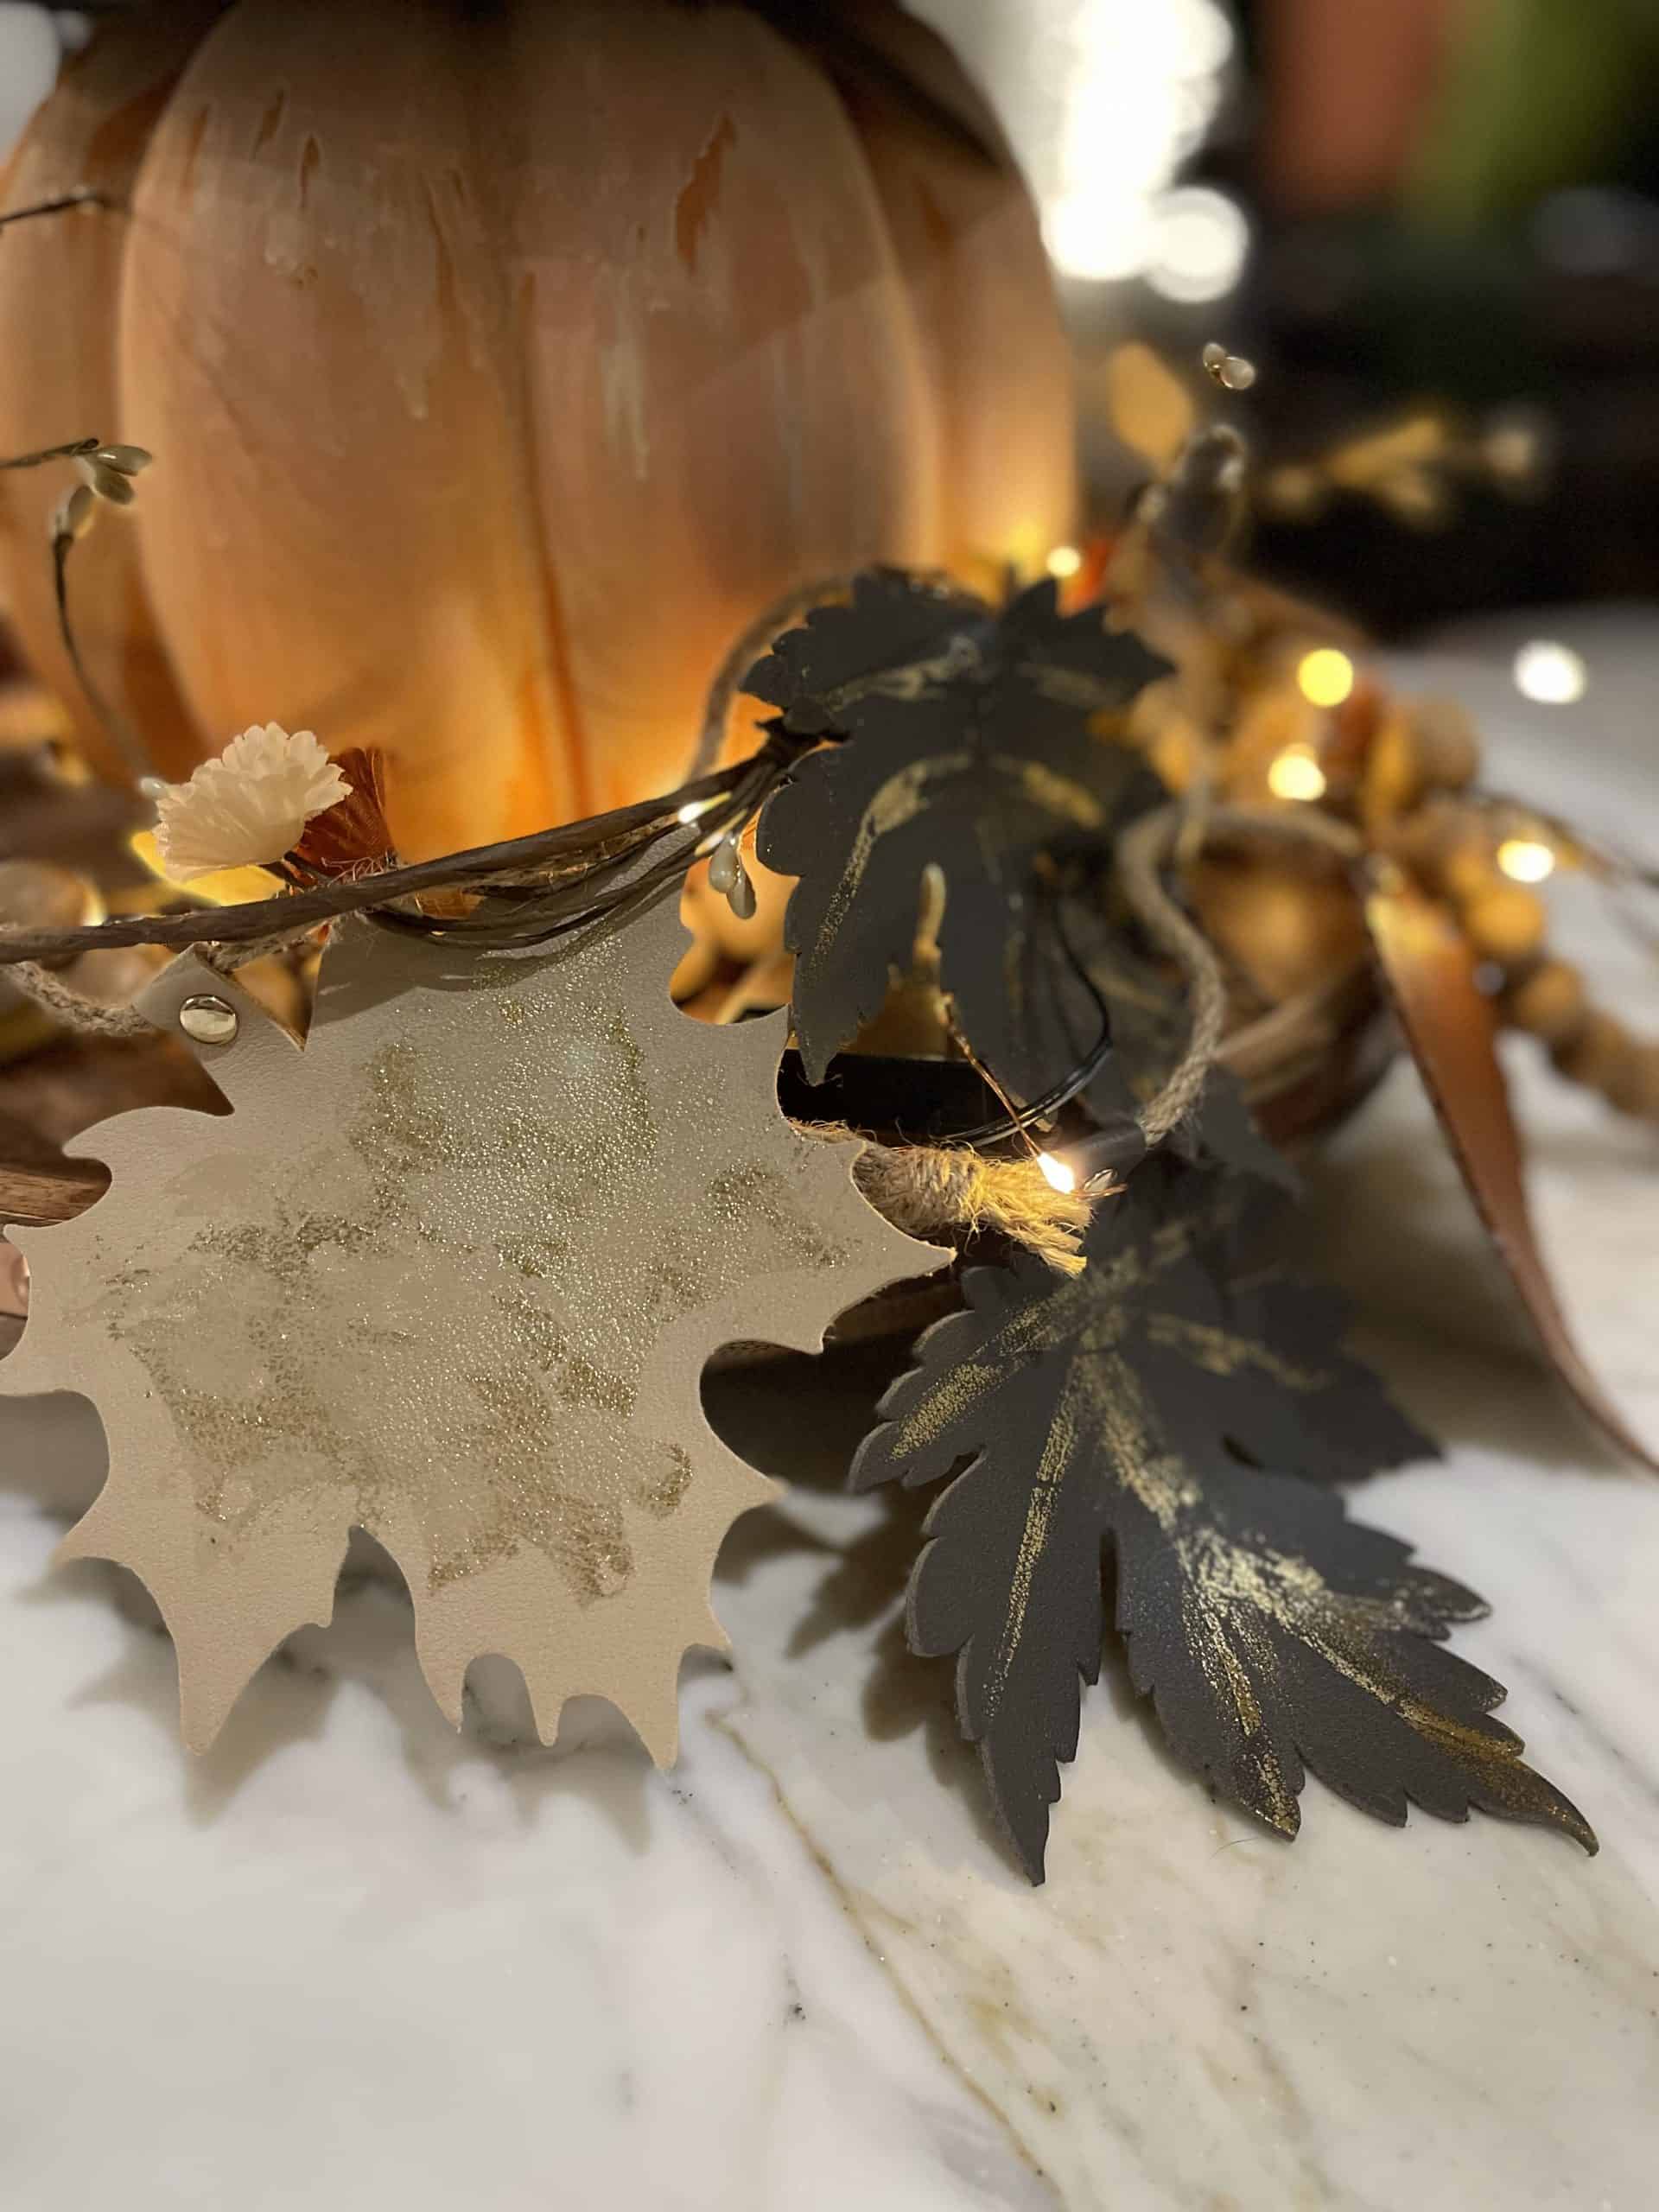
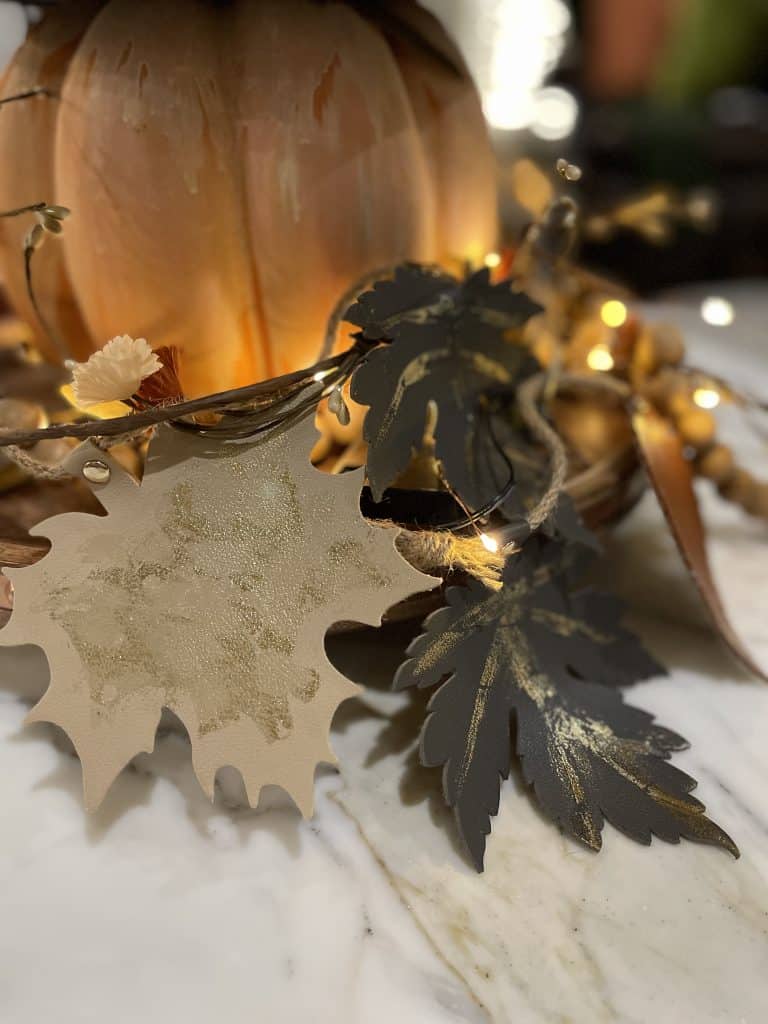
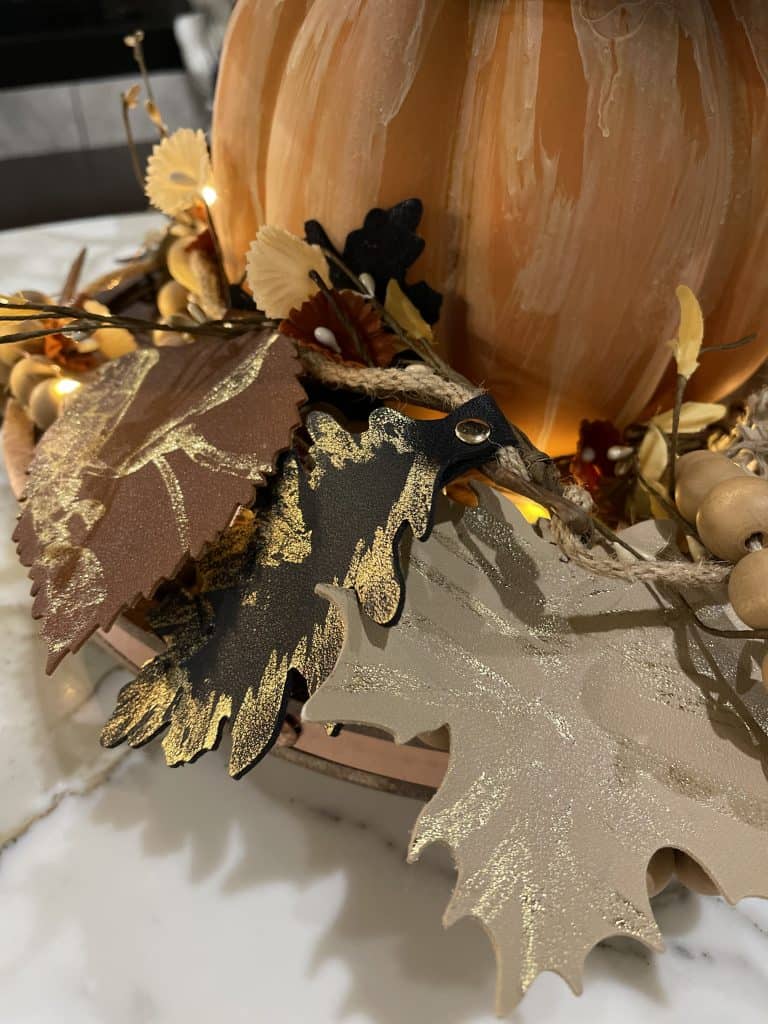
I had a fun fall leather leaf banner from Hobby Lobby and I wanted to make a beautiful fall garland with it for the Fall Craftathon event. I was adding some floral and twinkle lights and thought that the leather leaves could use some pizazz, so I added some of my favorite Coy Cheetah Gold Foil from Artistic Painting Studio. It turned out so good!
Supplies
- Coy Cheetah Gold Foil
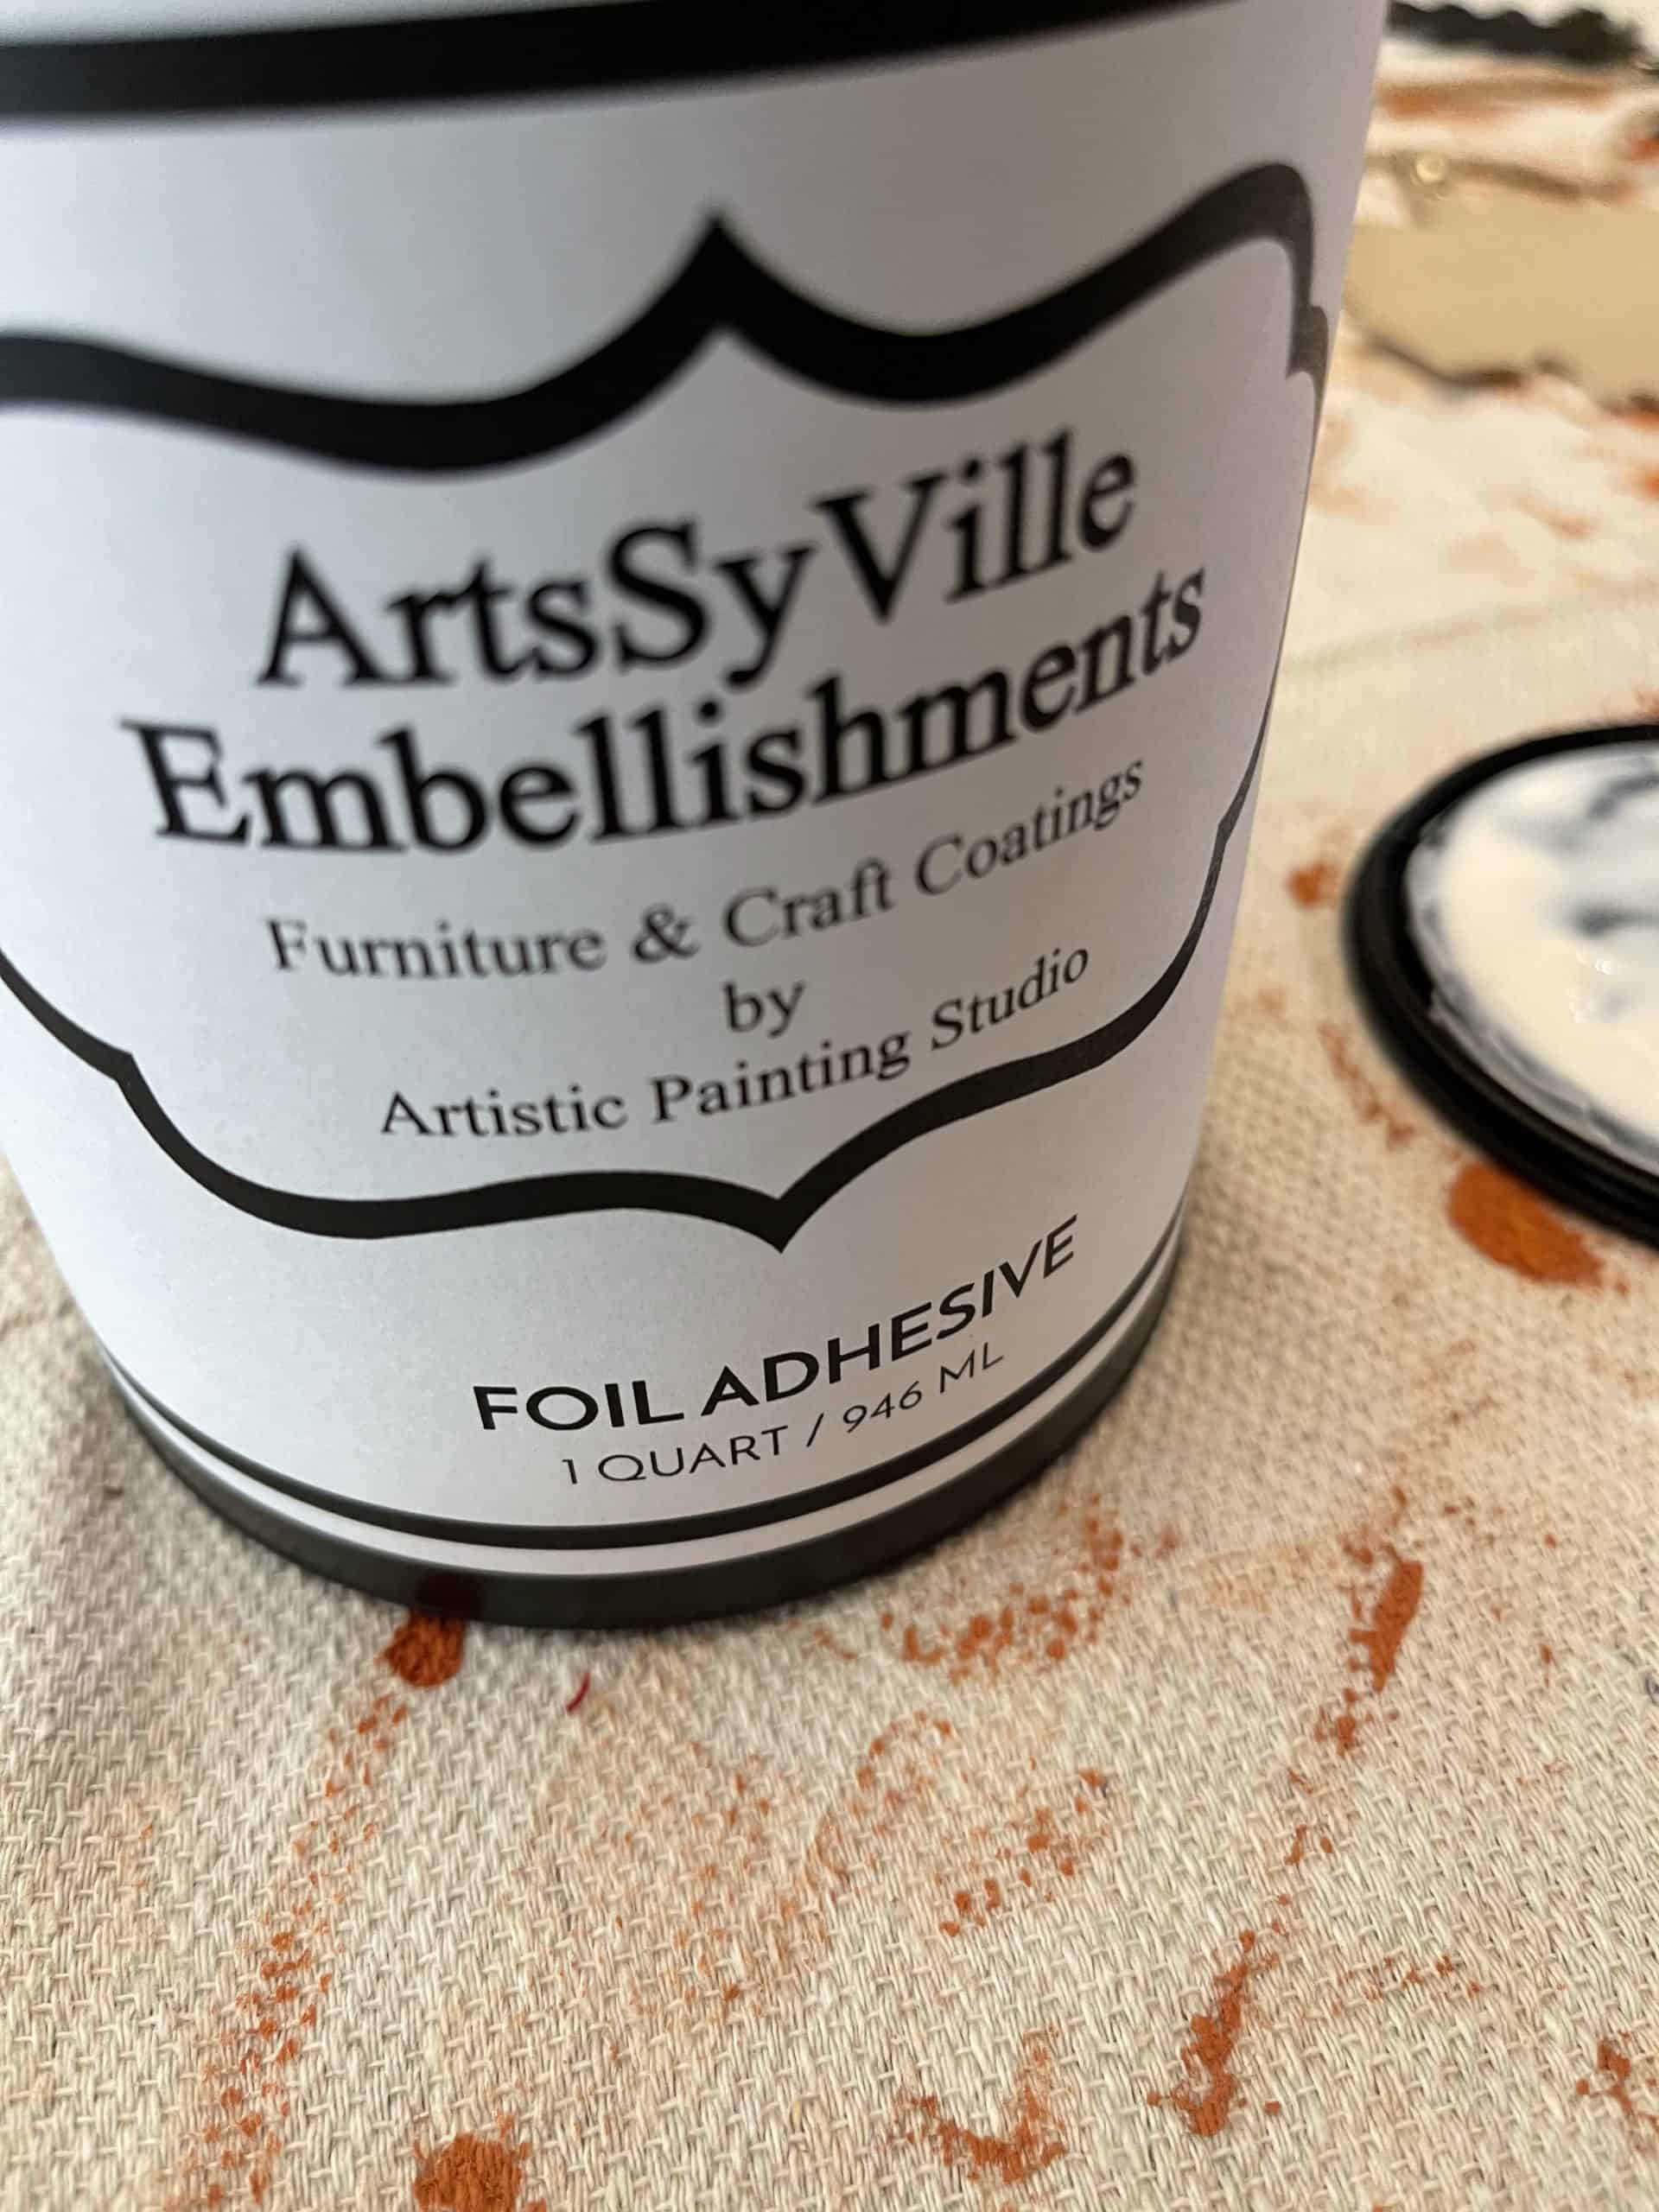
- ArtsyVille Embellishments foil adhesive
- Leather ( I am using leather leaves banner from Hobby Lobby)
How to Use Gold Foil
- Adhesive
I have used lots of different adhesives and found that I prefer the ArtsyVille Embellishments foil adhesive the most.

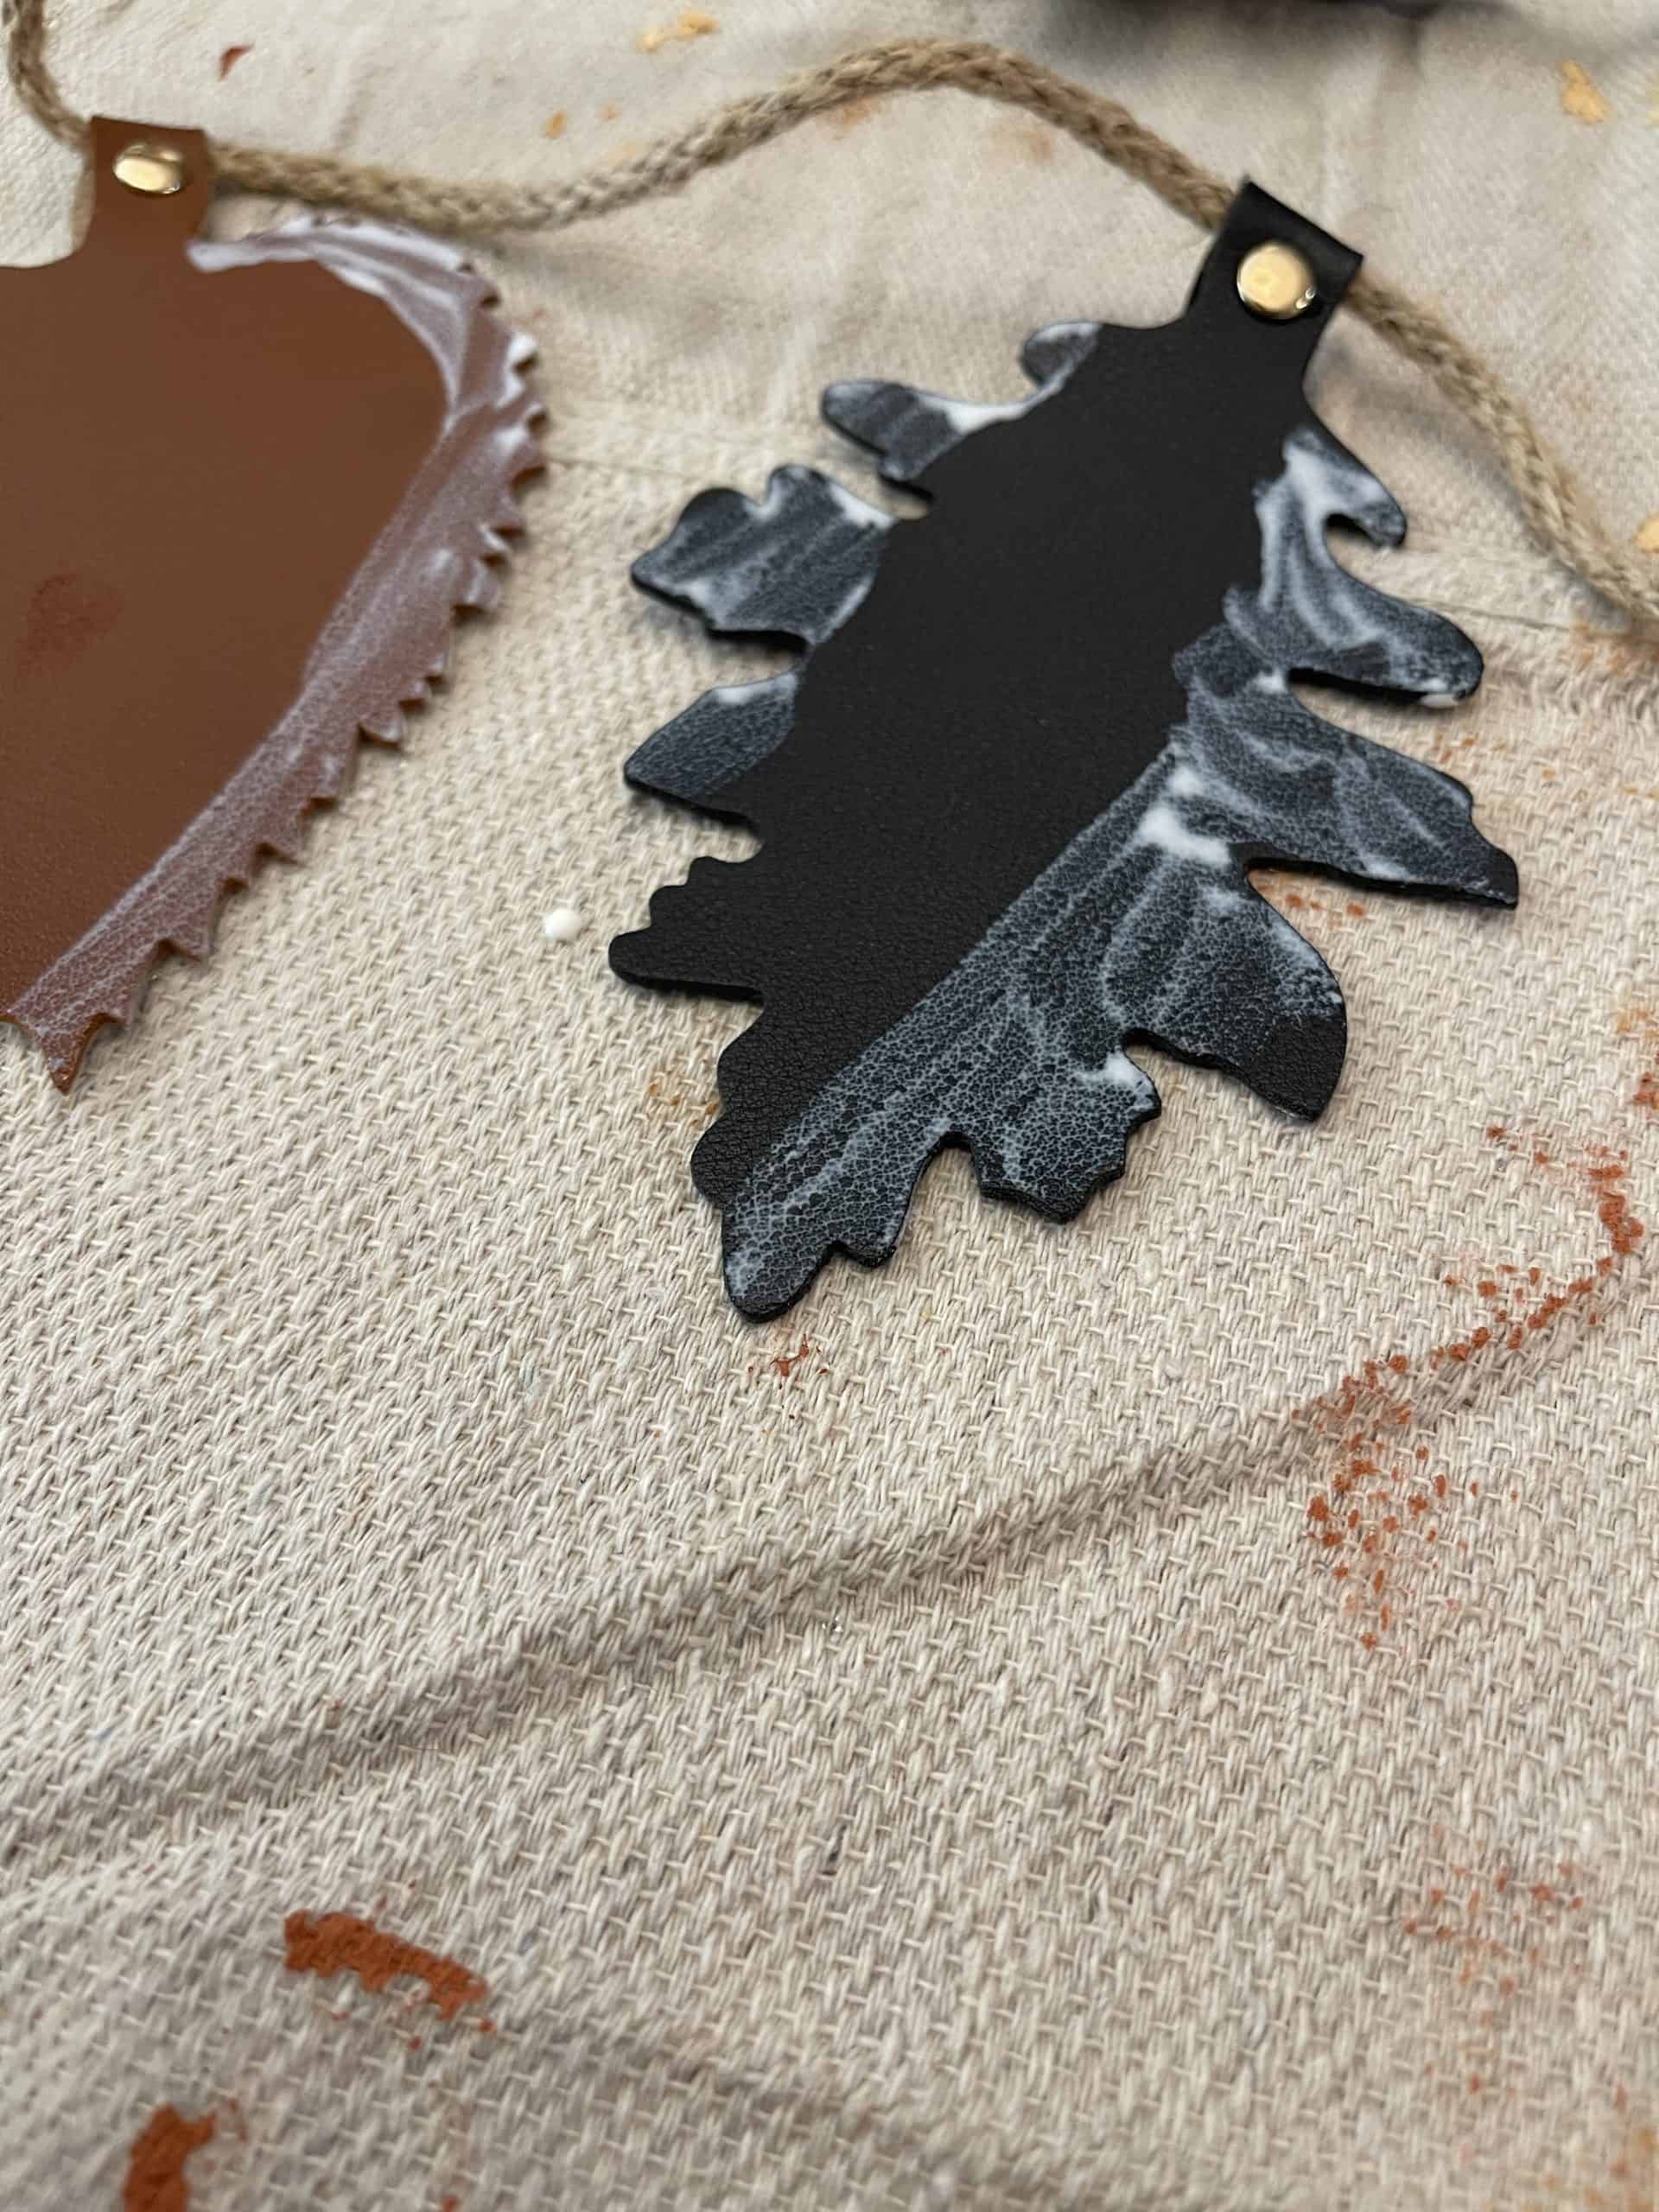
- Brush on foil adhesive
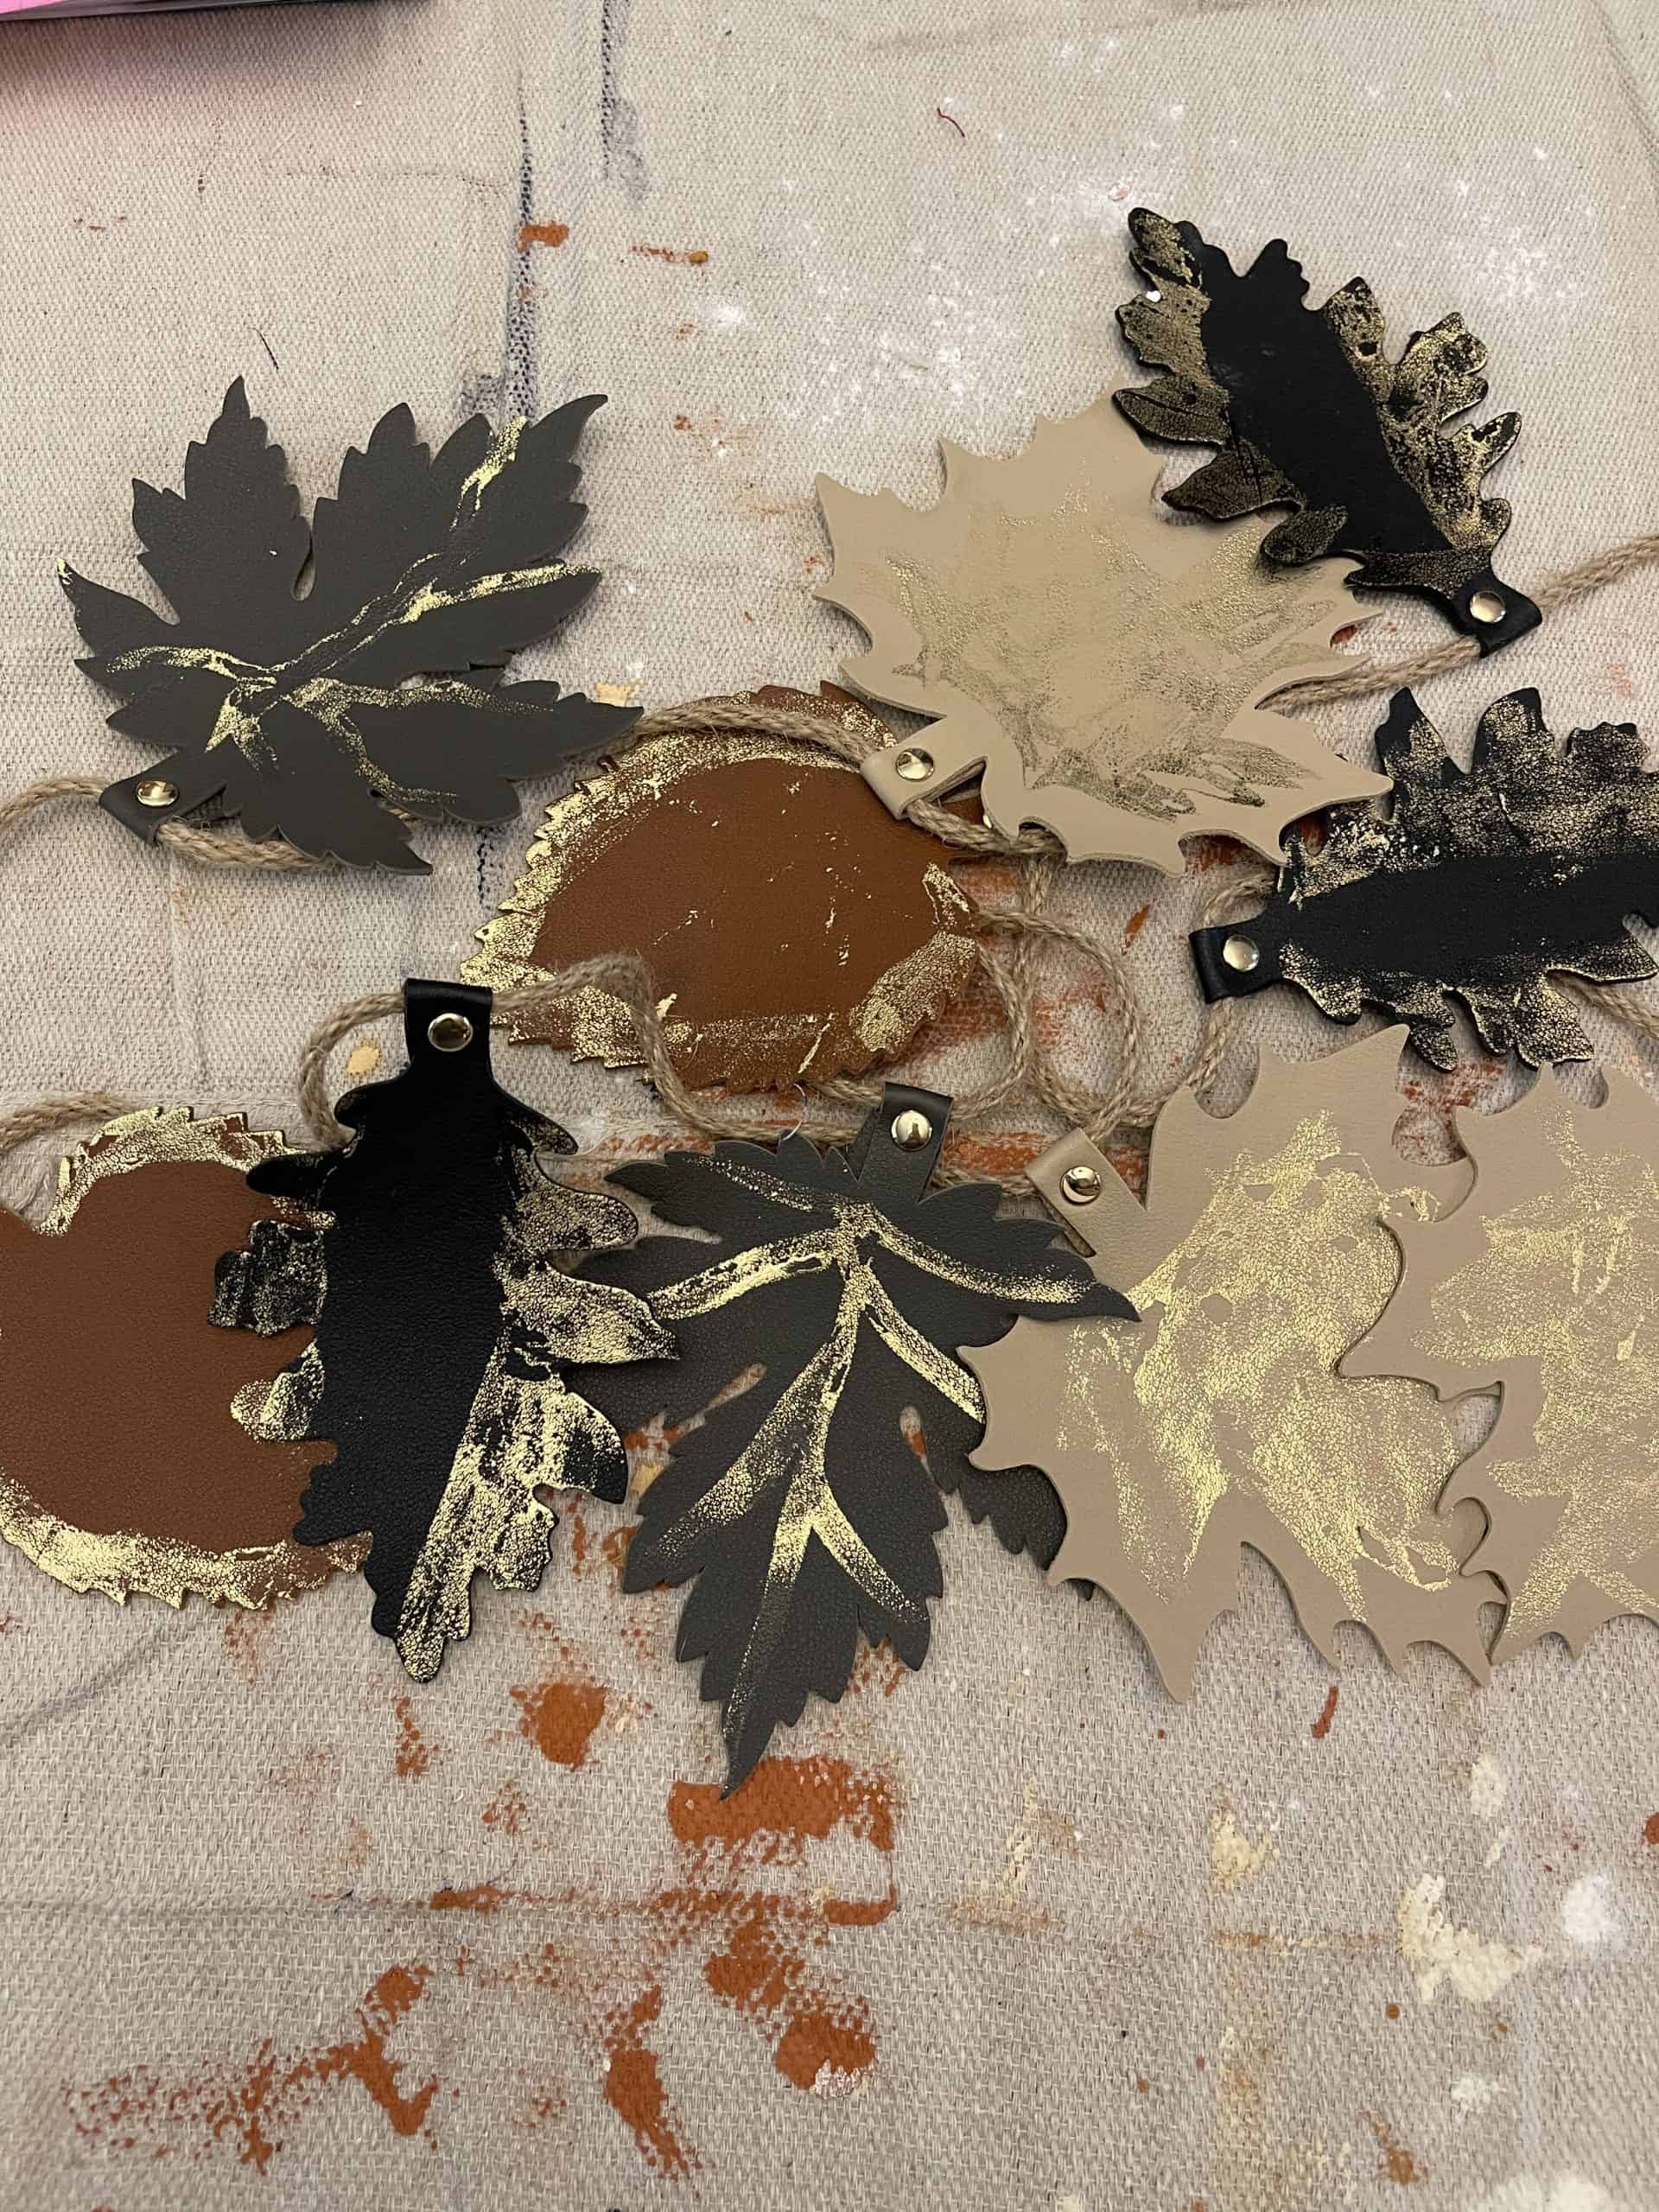
I use a small artist brush to brush on the foil adhesive in a thin layer and in different patterns on my leather leaves to give each one interest.
On larger projects, I use a silicone brush or foam roller.
- Allow to come to tack
That means that you want to give the foil adhesive 30 minutes to one hour to become sticky. It is important that it is sticky and not wet.
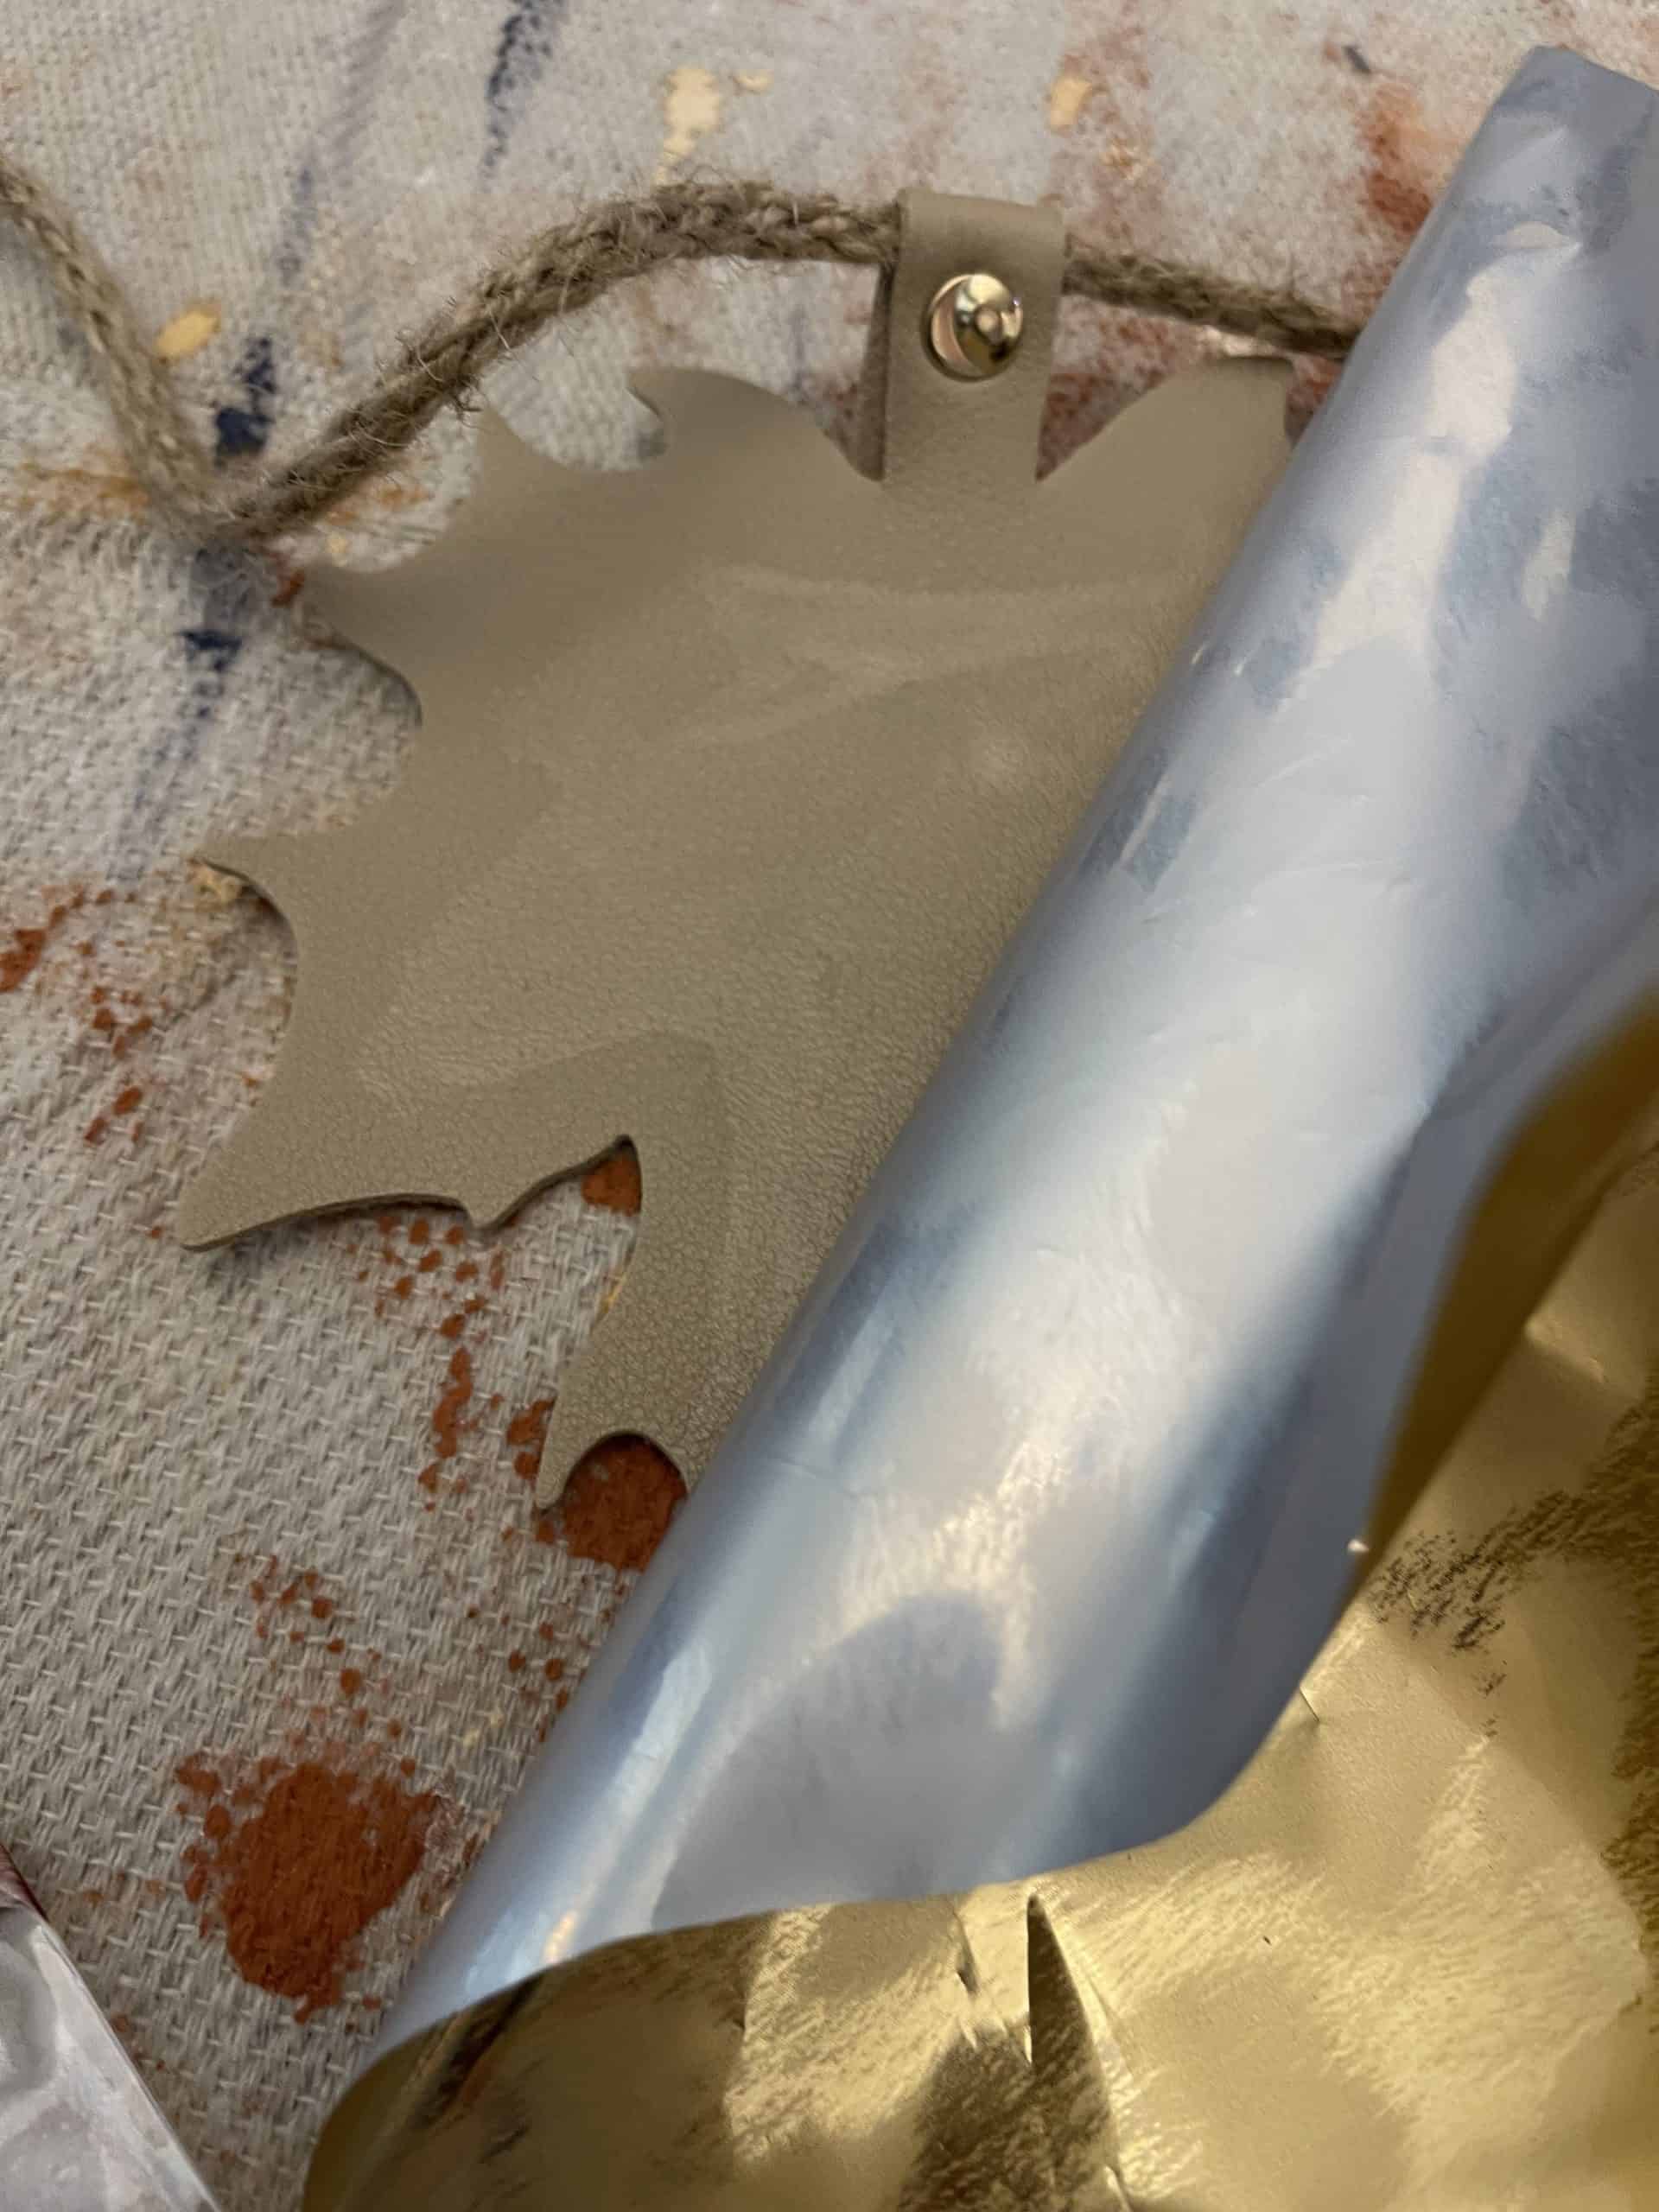
- Place gold foil
Foil comes on a clear carrier sheet so you will see the beautiful side and you will see a not-so-beautiful side of the foil. The “ugly side down” is how I remember which side goes down onto the adhesive. I cut a small manageable piece of foil and lay it down over my tacky adhesive.

- Pressure
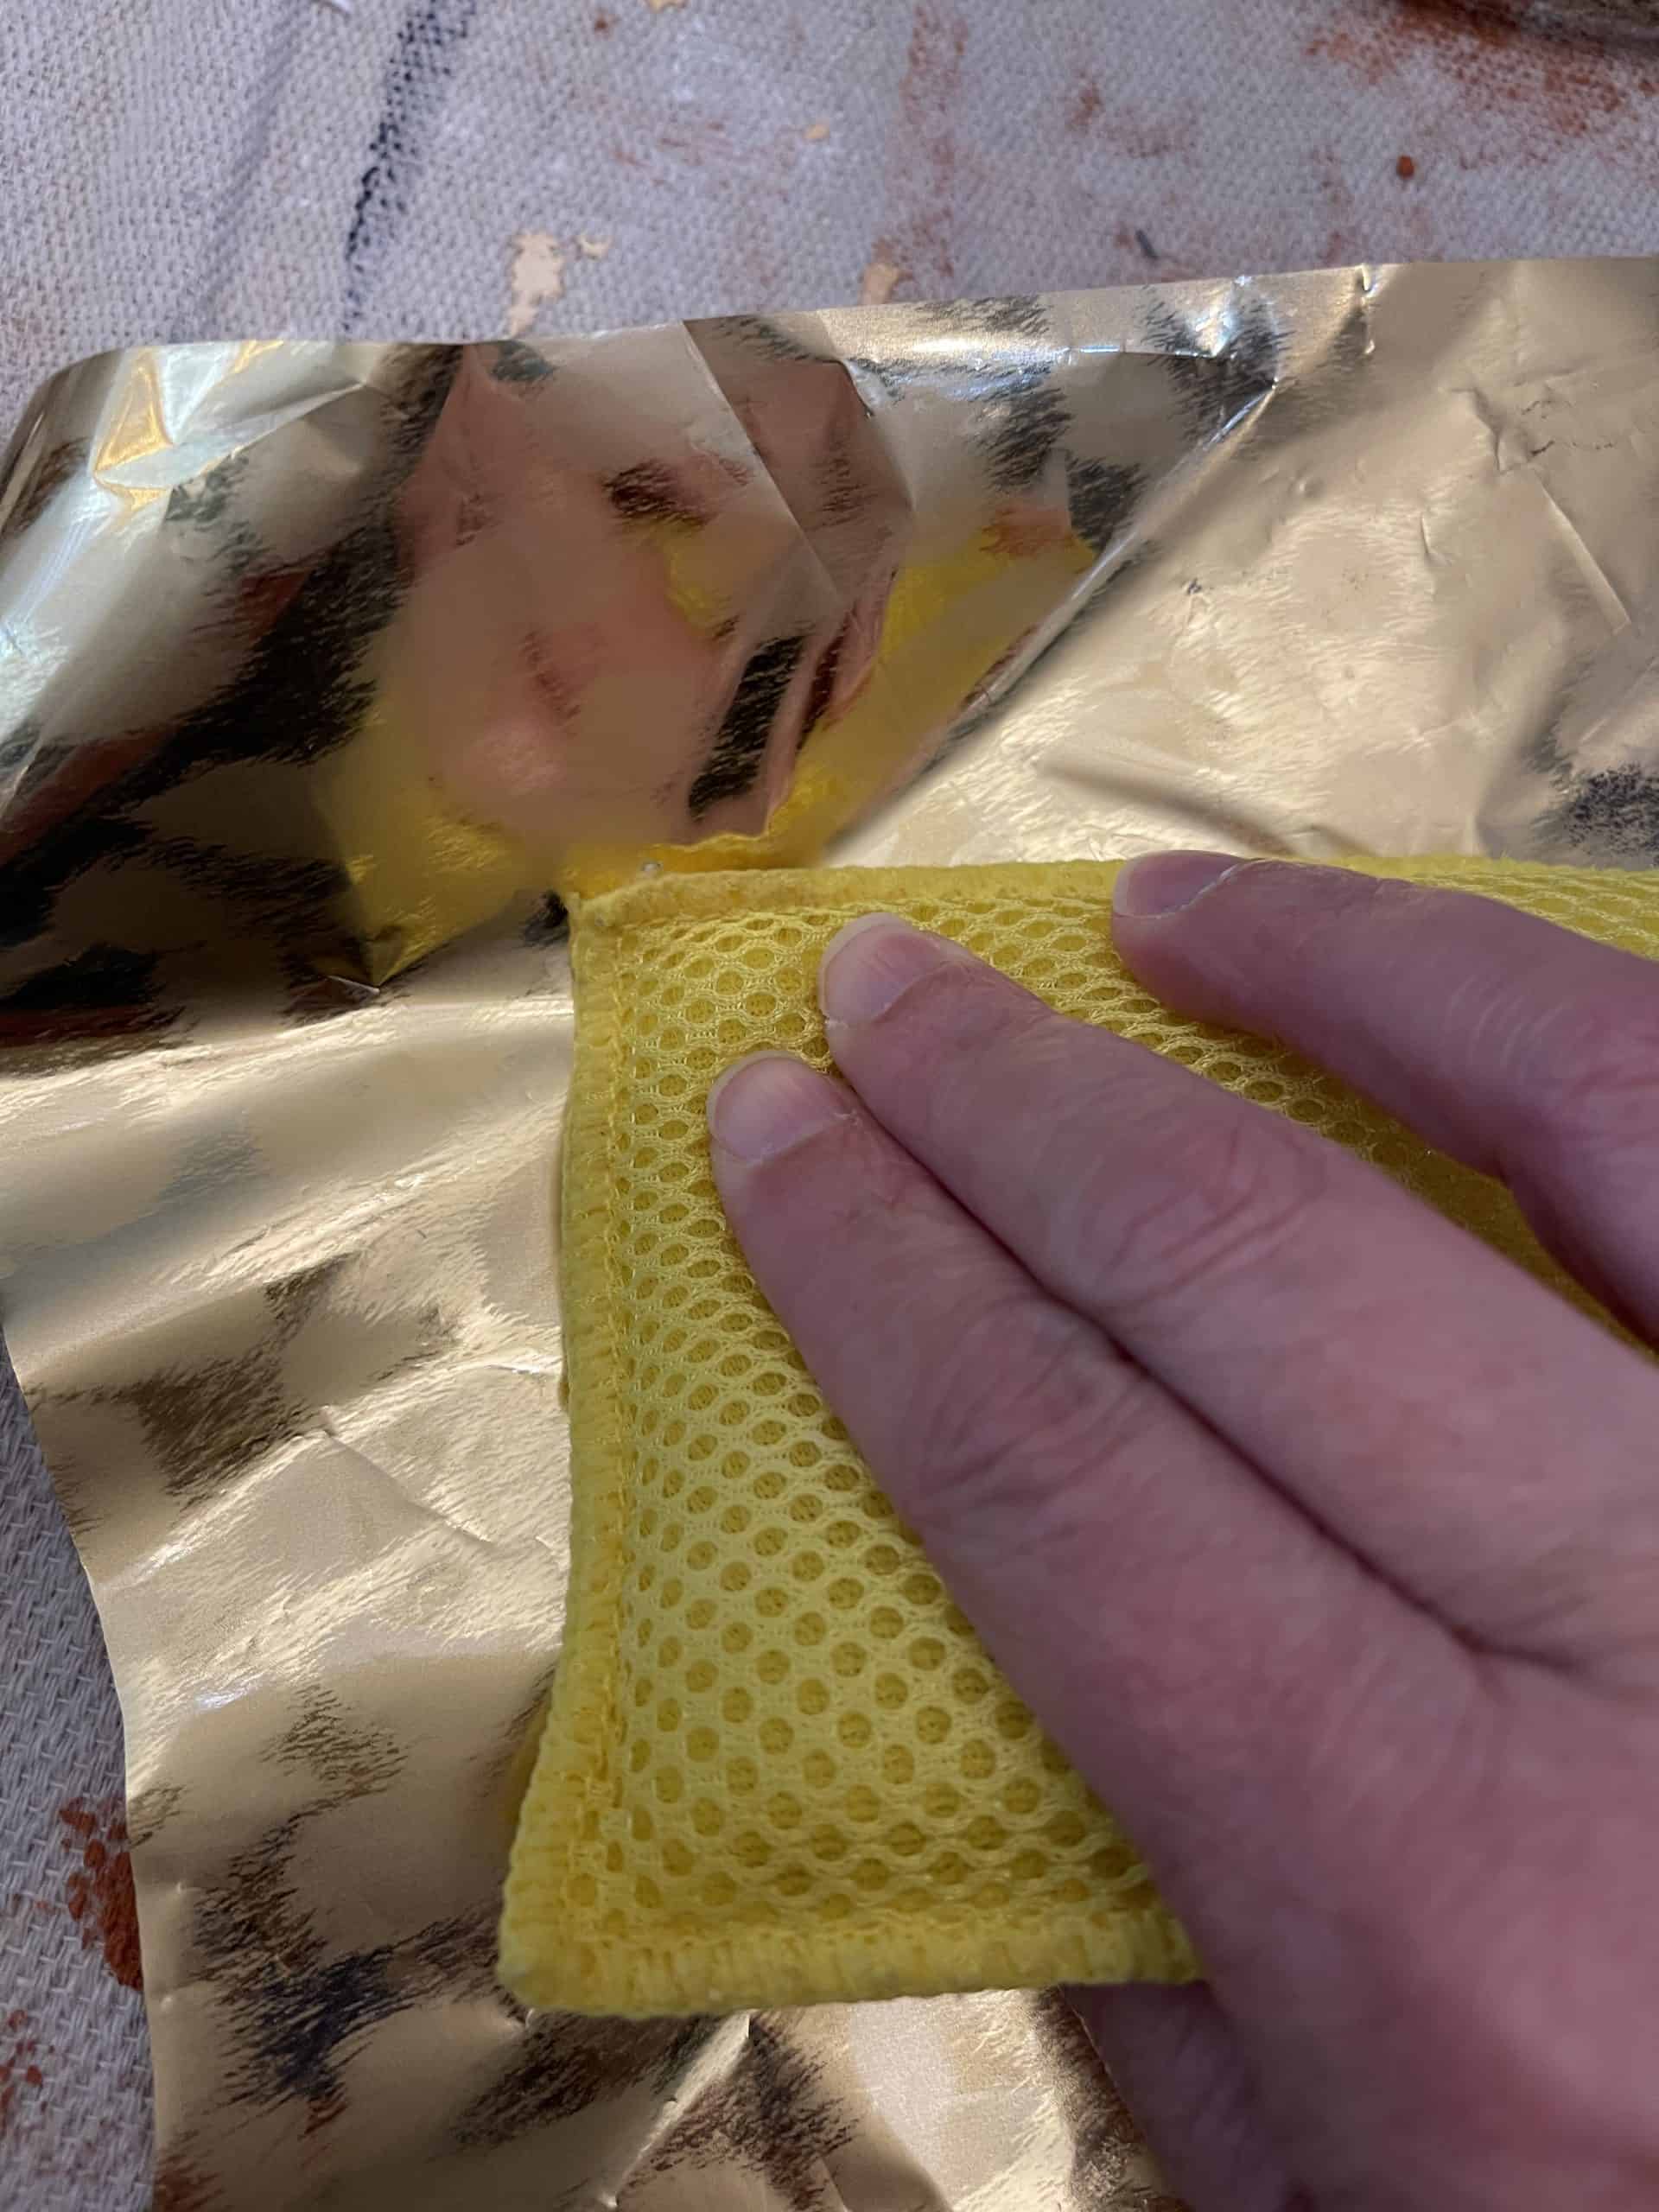
You will want to take a sponge like this one or a scrub brush and press and scrub the gold foil onto your surface. Use a good amount of pressure and make sure you cover every area that has adhesive. Some foils release a little easier than others but I always use some pressure.

- Peel
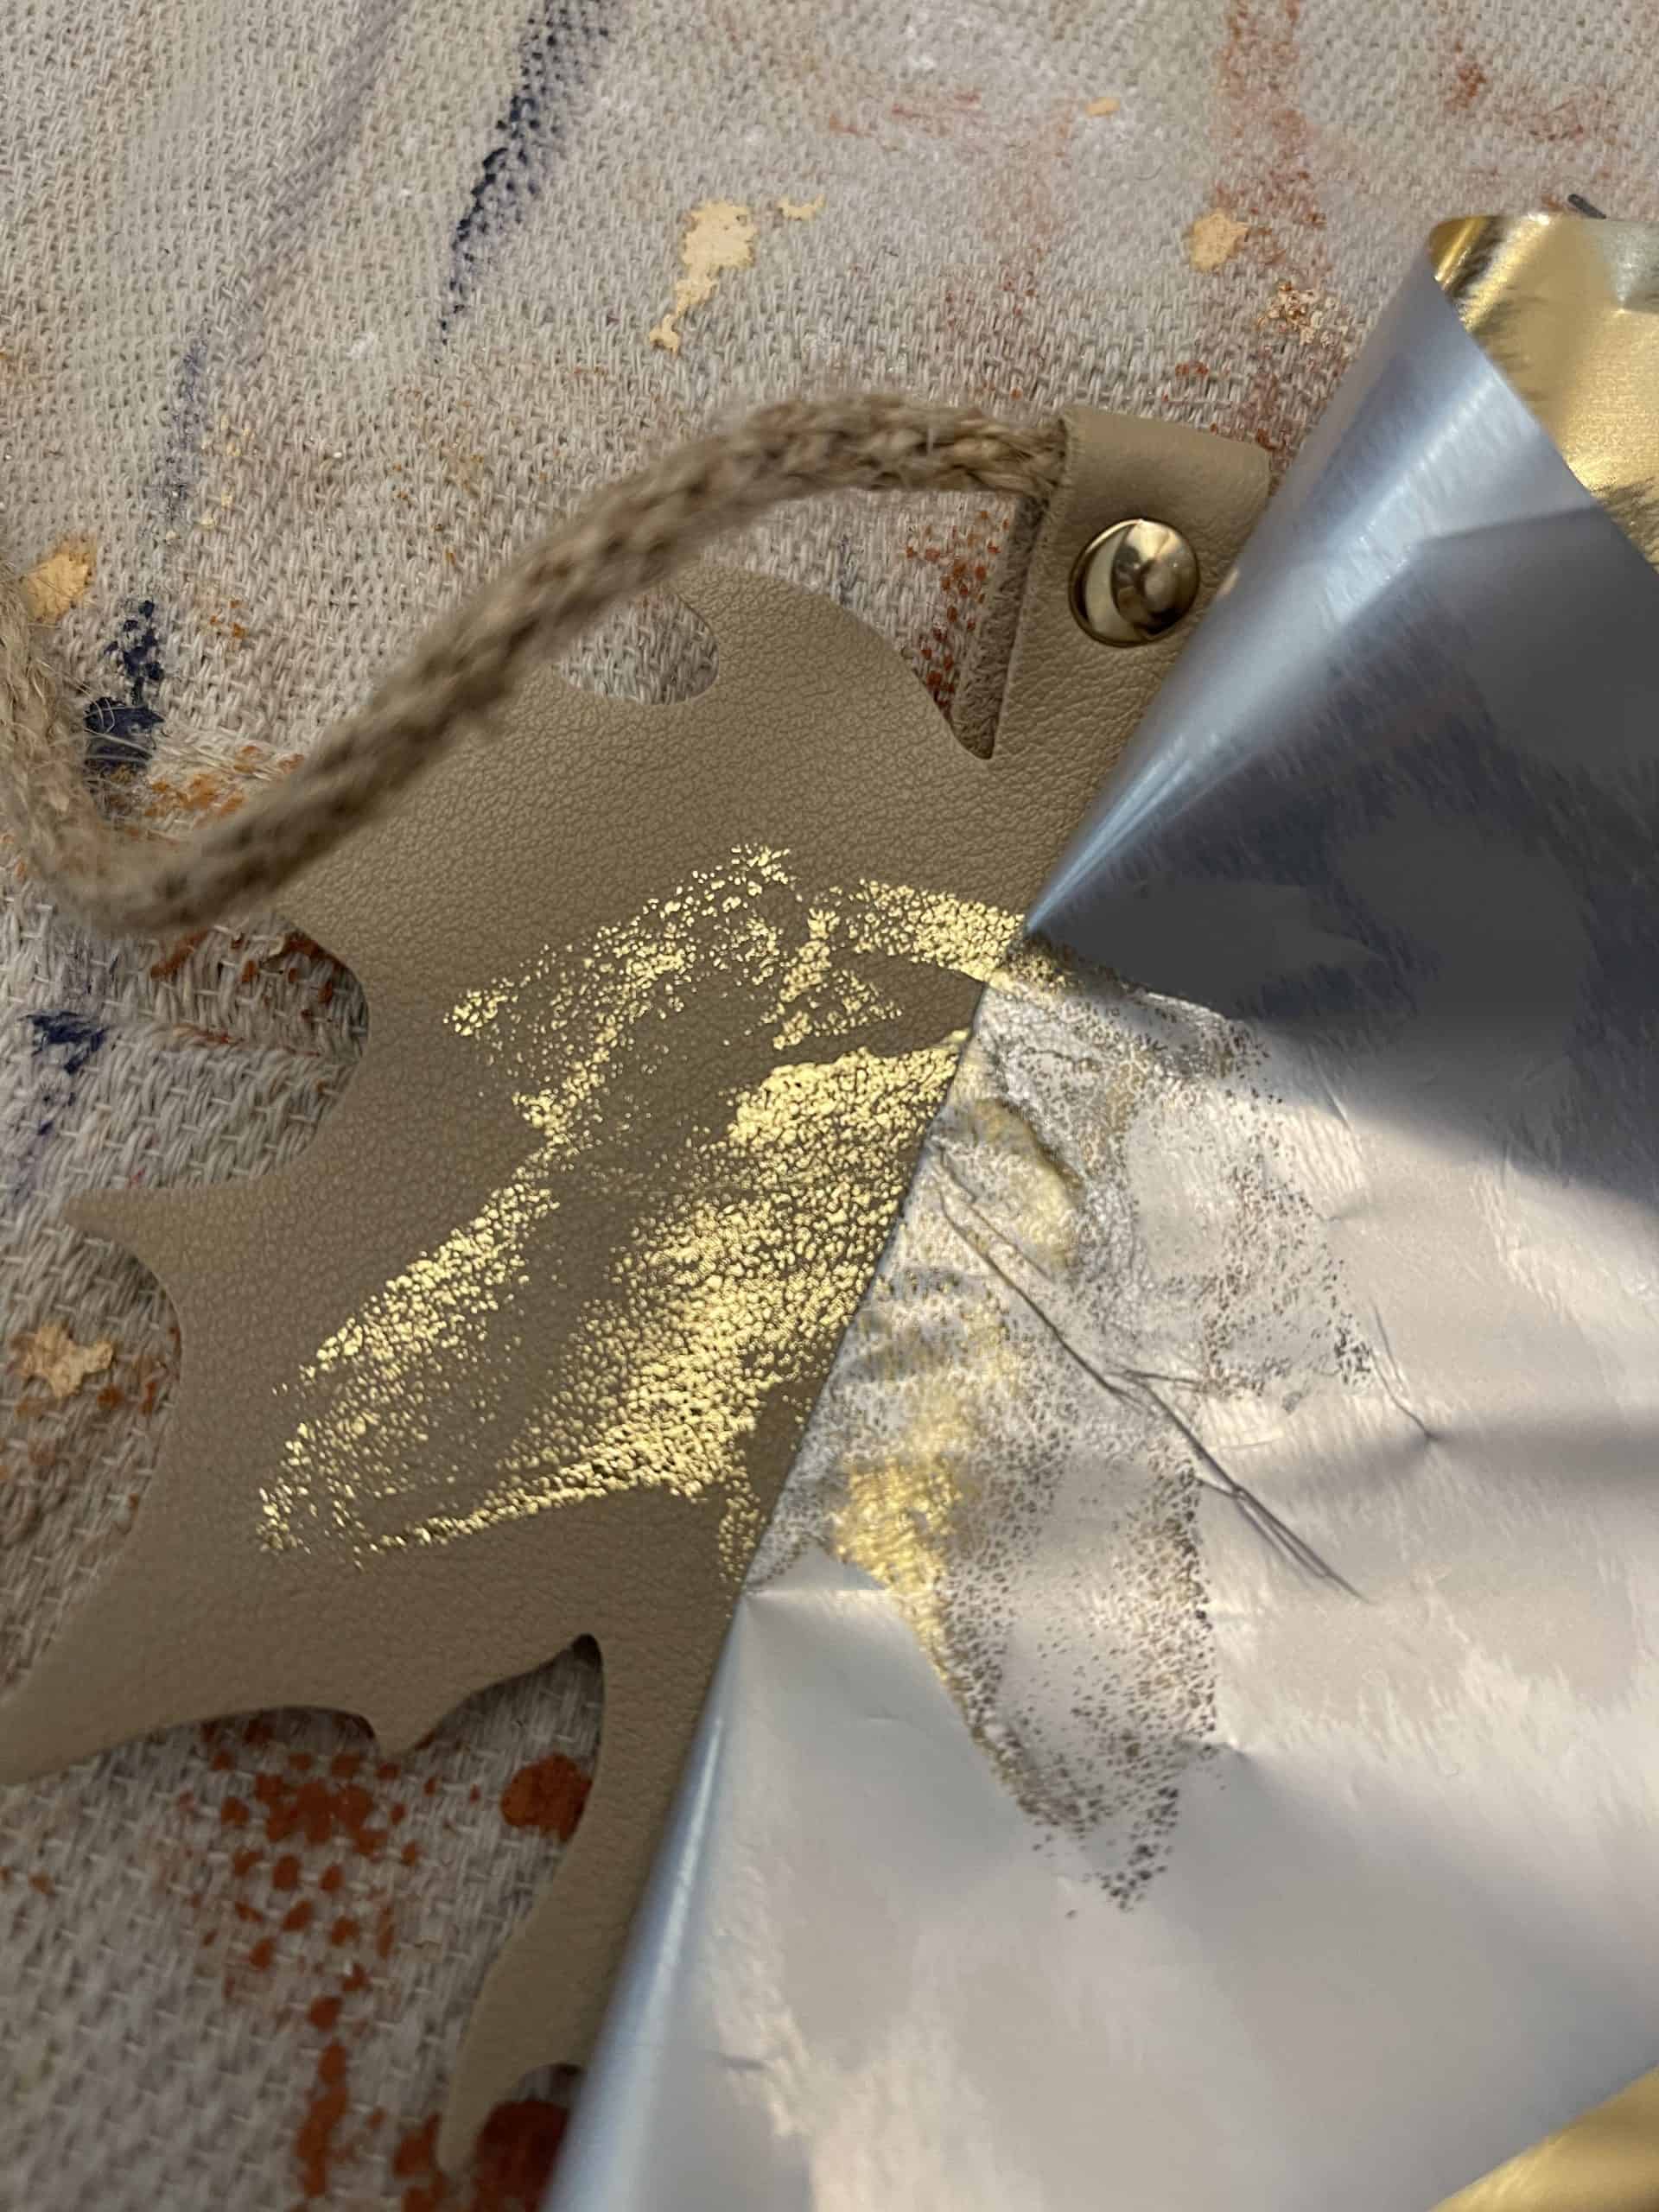
Peel the carrier sheet away and reveal the foil on your project. Don’t panic if it isn’t completely covered. You will just lay your foil back down in a new area and press again. If there is a sticky spot, you can go over it again and it will take more foil

- Sealing
You can seal your foil but I don’t typically on craft projects like this that won’t be touched a lot. You can seal it with wax or clear poly.
- Use
I have used these leaves in several projects already because I love how they turned out!


What is the difference between gold foil vs Gold Leaf
What is the difference between gold foil vs gold leaf? While they serve a similar purpose and also have a similar results they are different.
Gold foil (there are many, many colors and patterns of foil) is a metal overlaid on a clear carrier sheet and therefore able to be rolled up and is significantly more stable than gold leaf.
Gold leaf (also comes in multiple colors like silver leaf and copper leaf) is metal that is thinned to the point of being tissue-like and laid between layers of tissue for separation. Gold Leaf is very thin and very tender. It has a learning curve as it falls apart easily if you pick it up wrong or have a fan on!
The results of gold leaf are stunning, but I find that if you find the right gold foil it is equally as beautiful.
You Might Also Like
