Chinoiserie Lantern
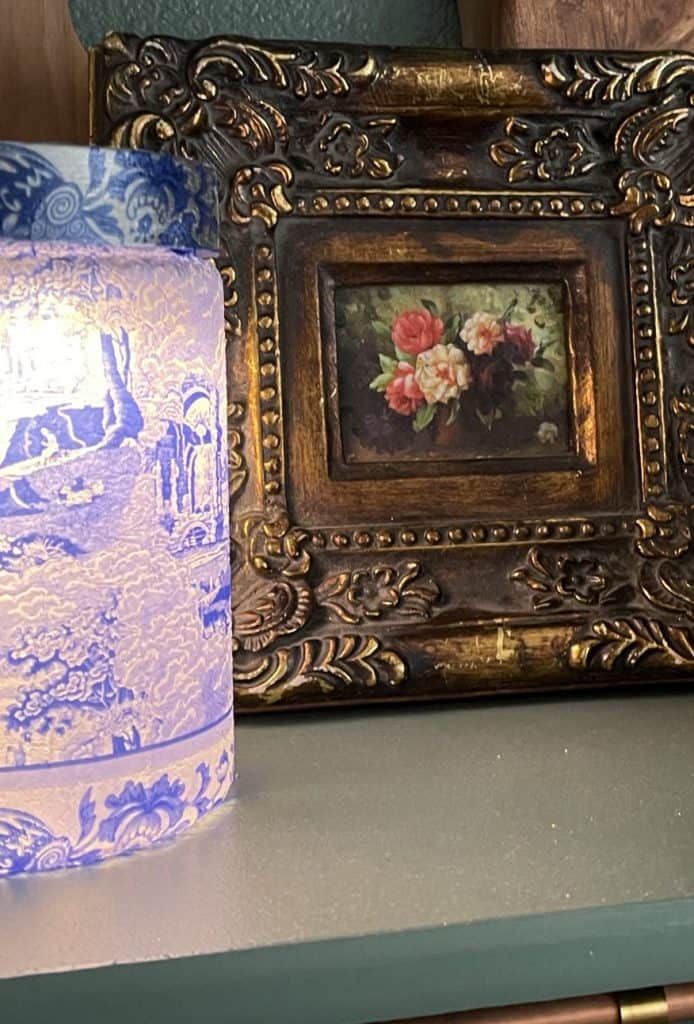
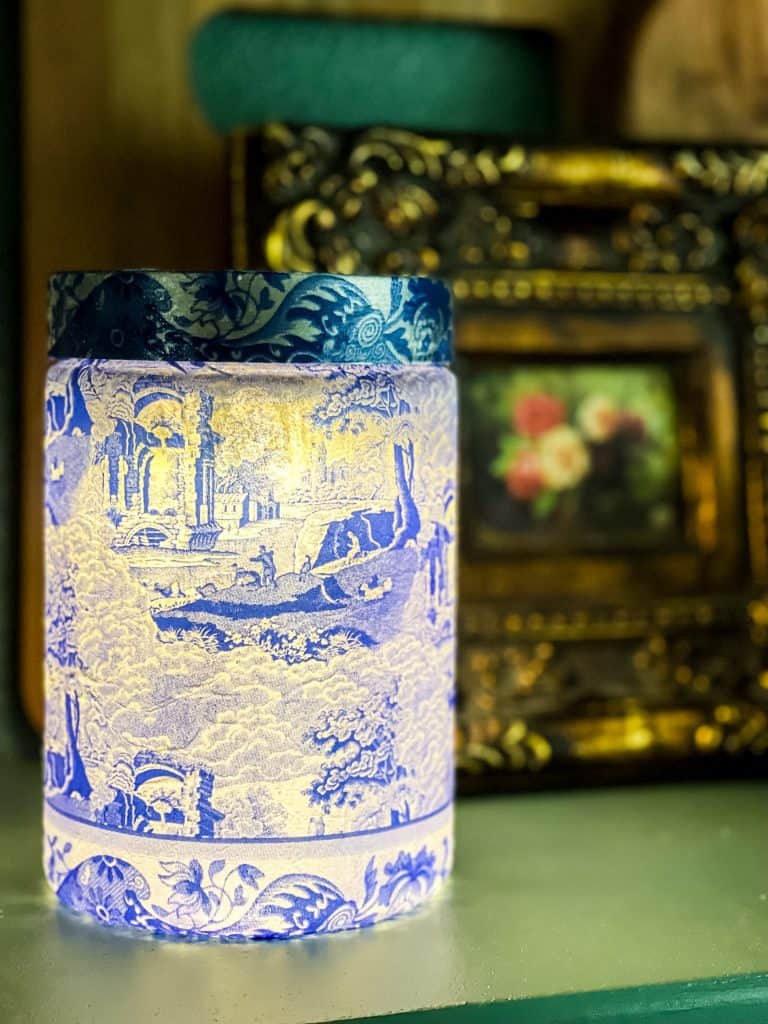
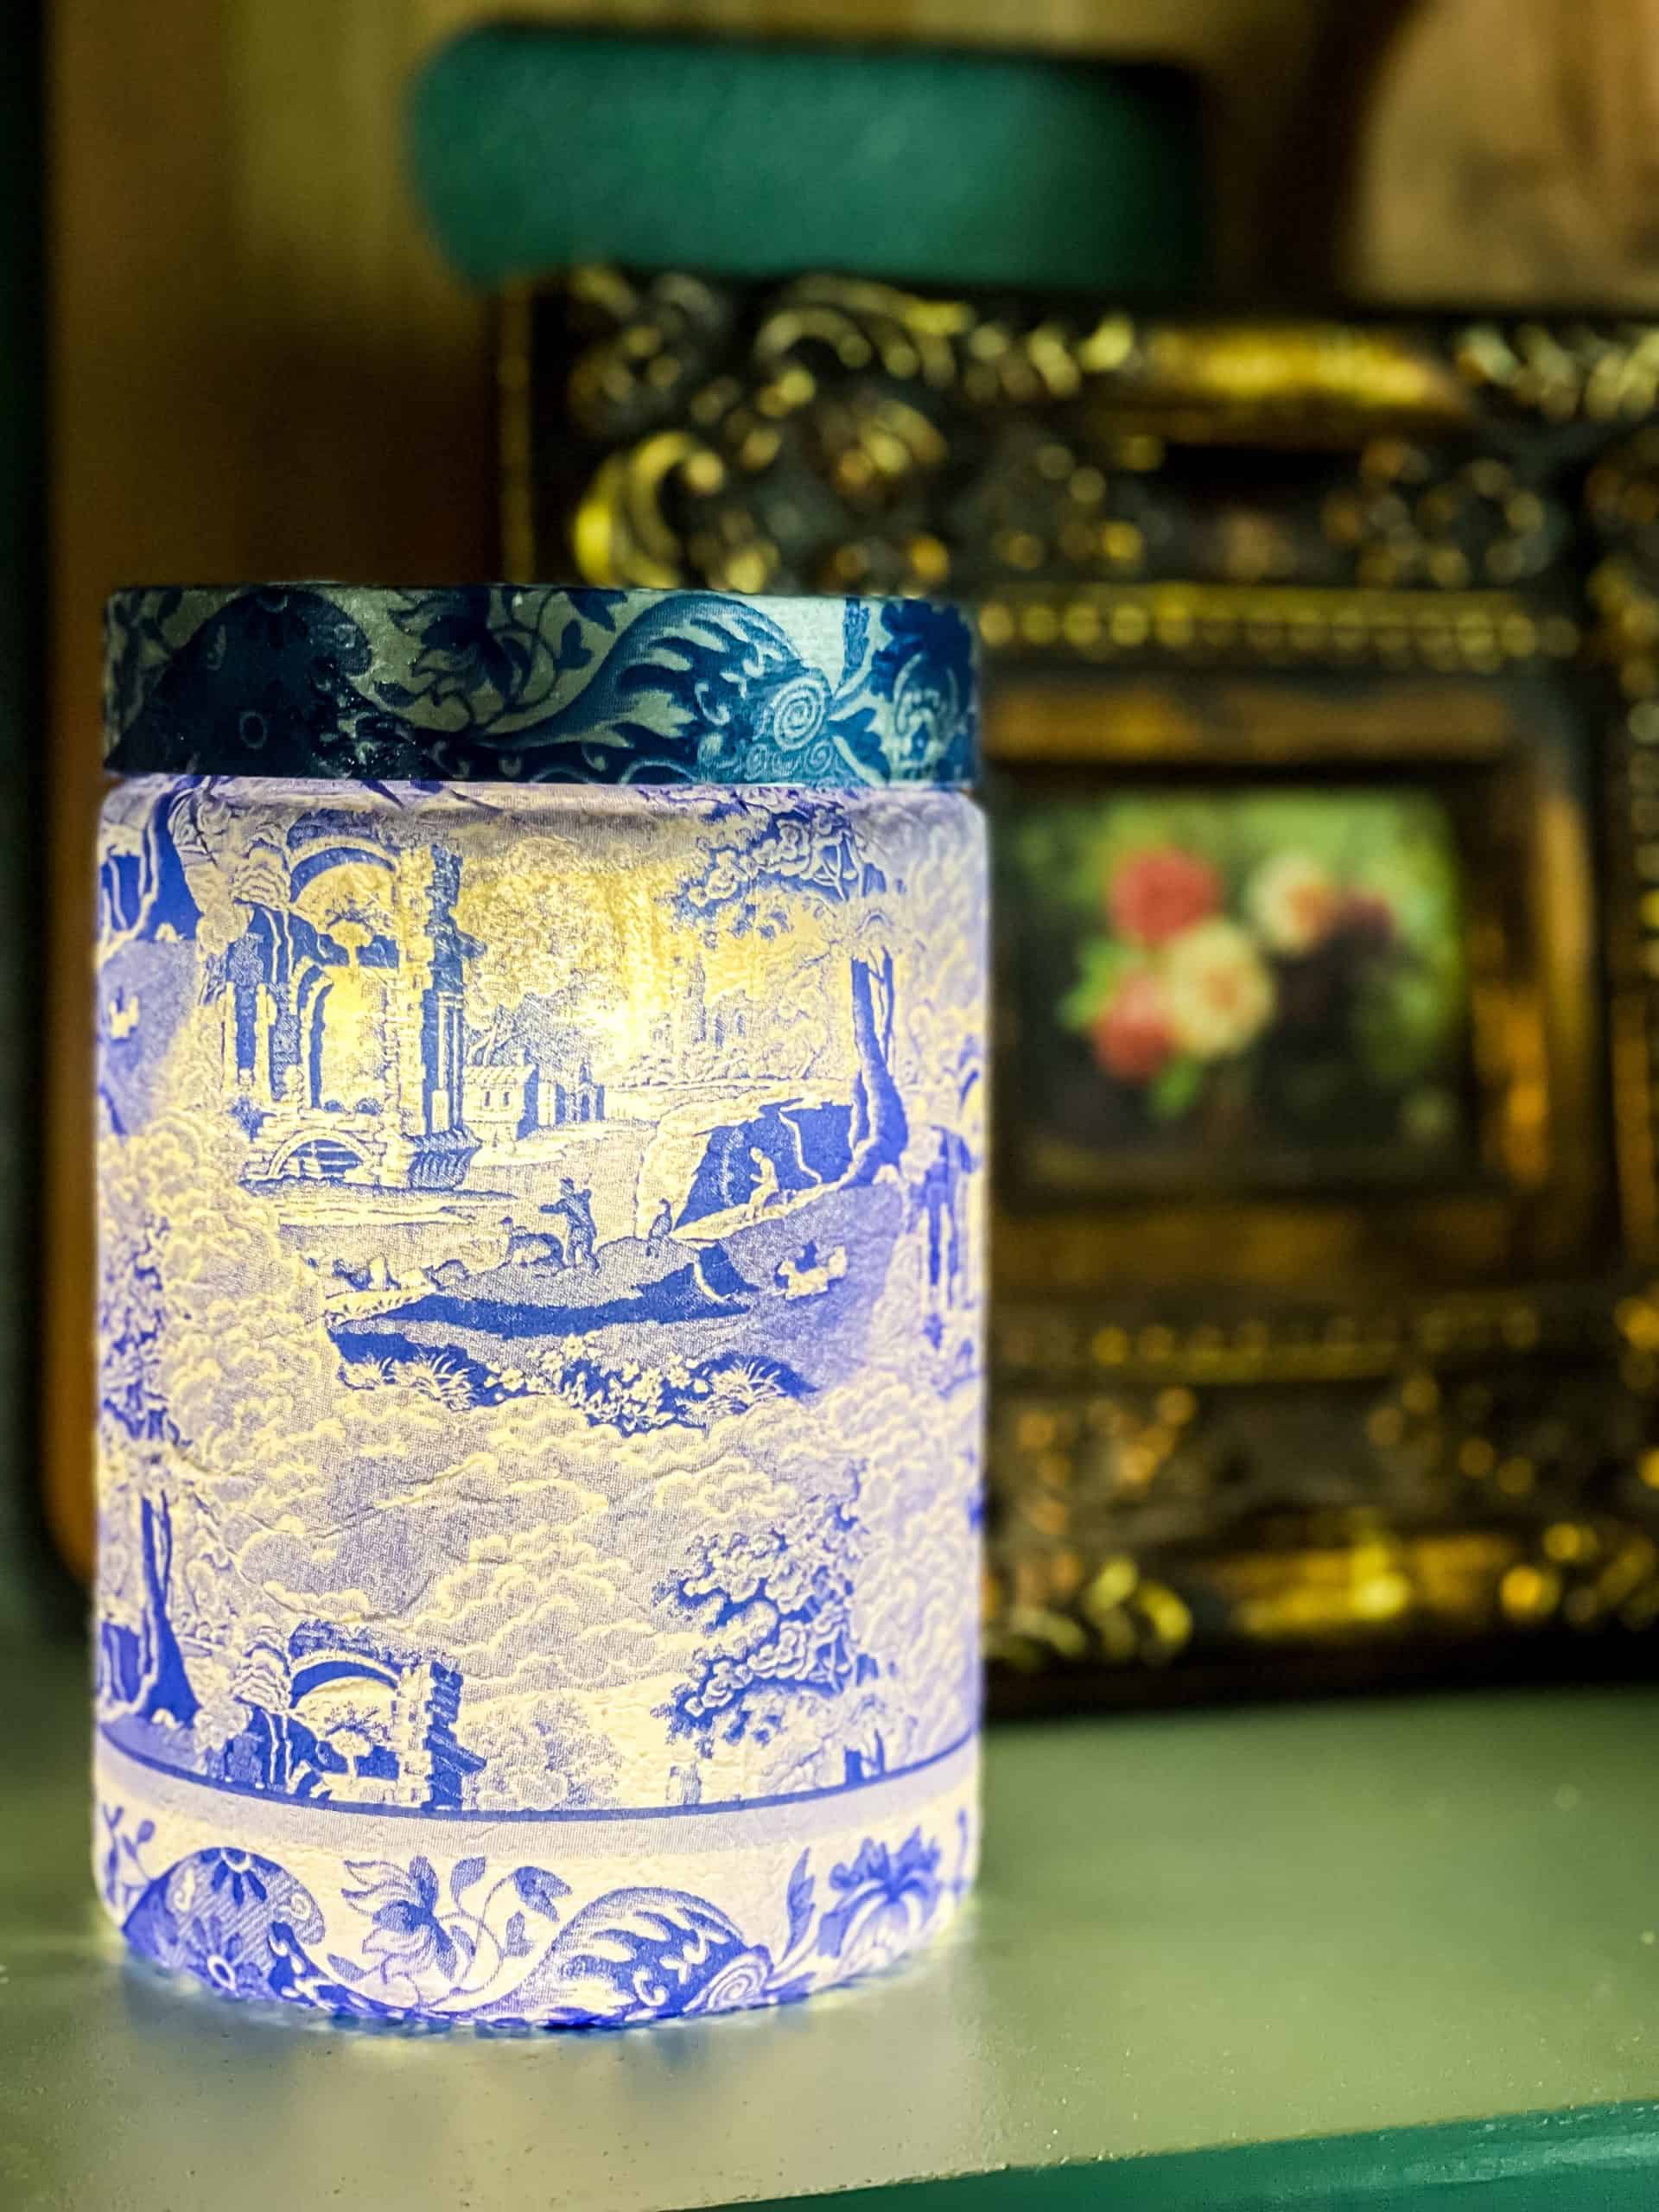
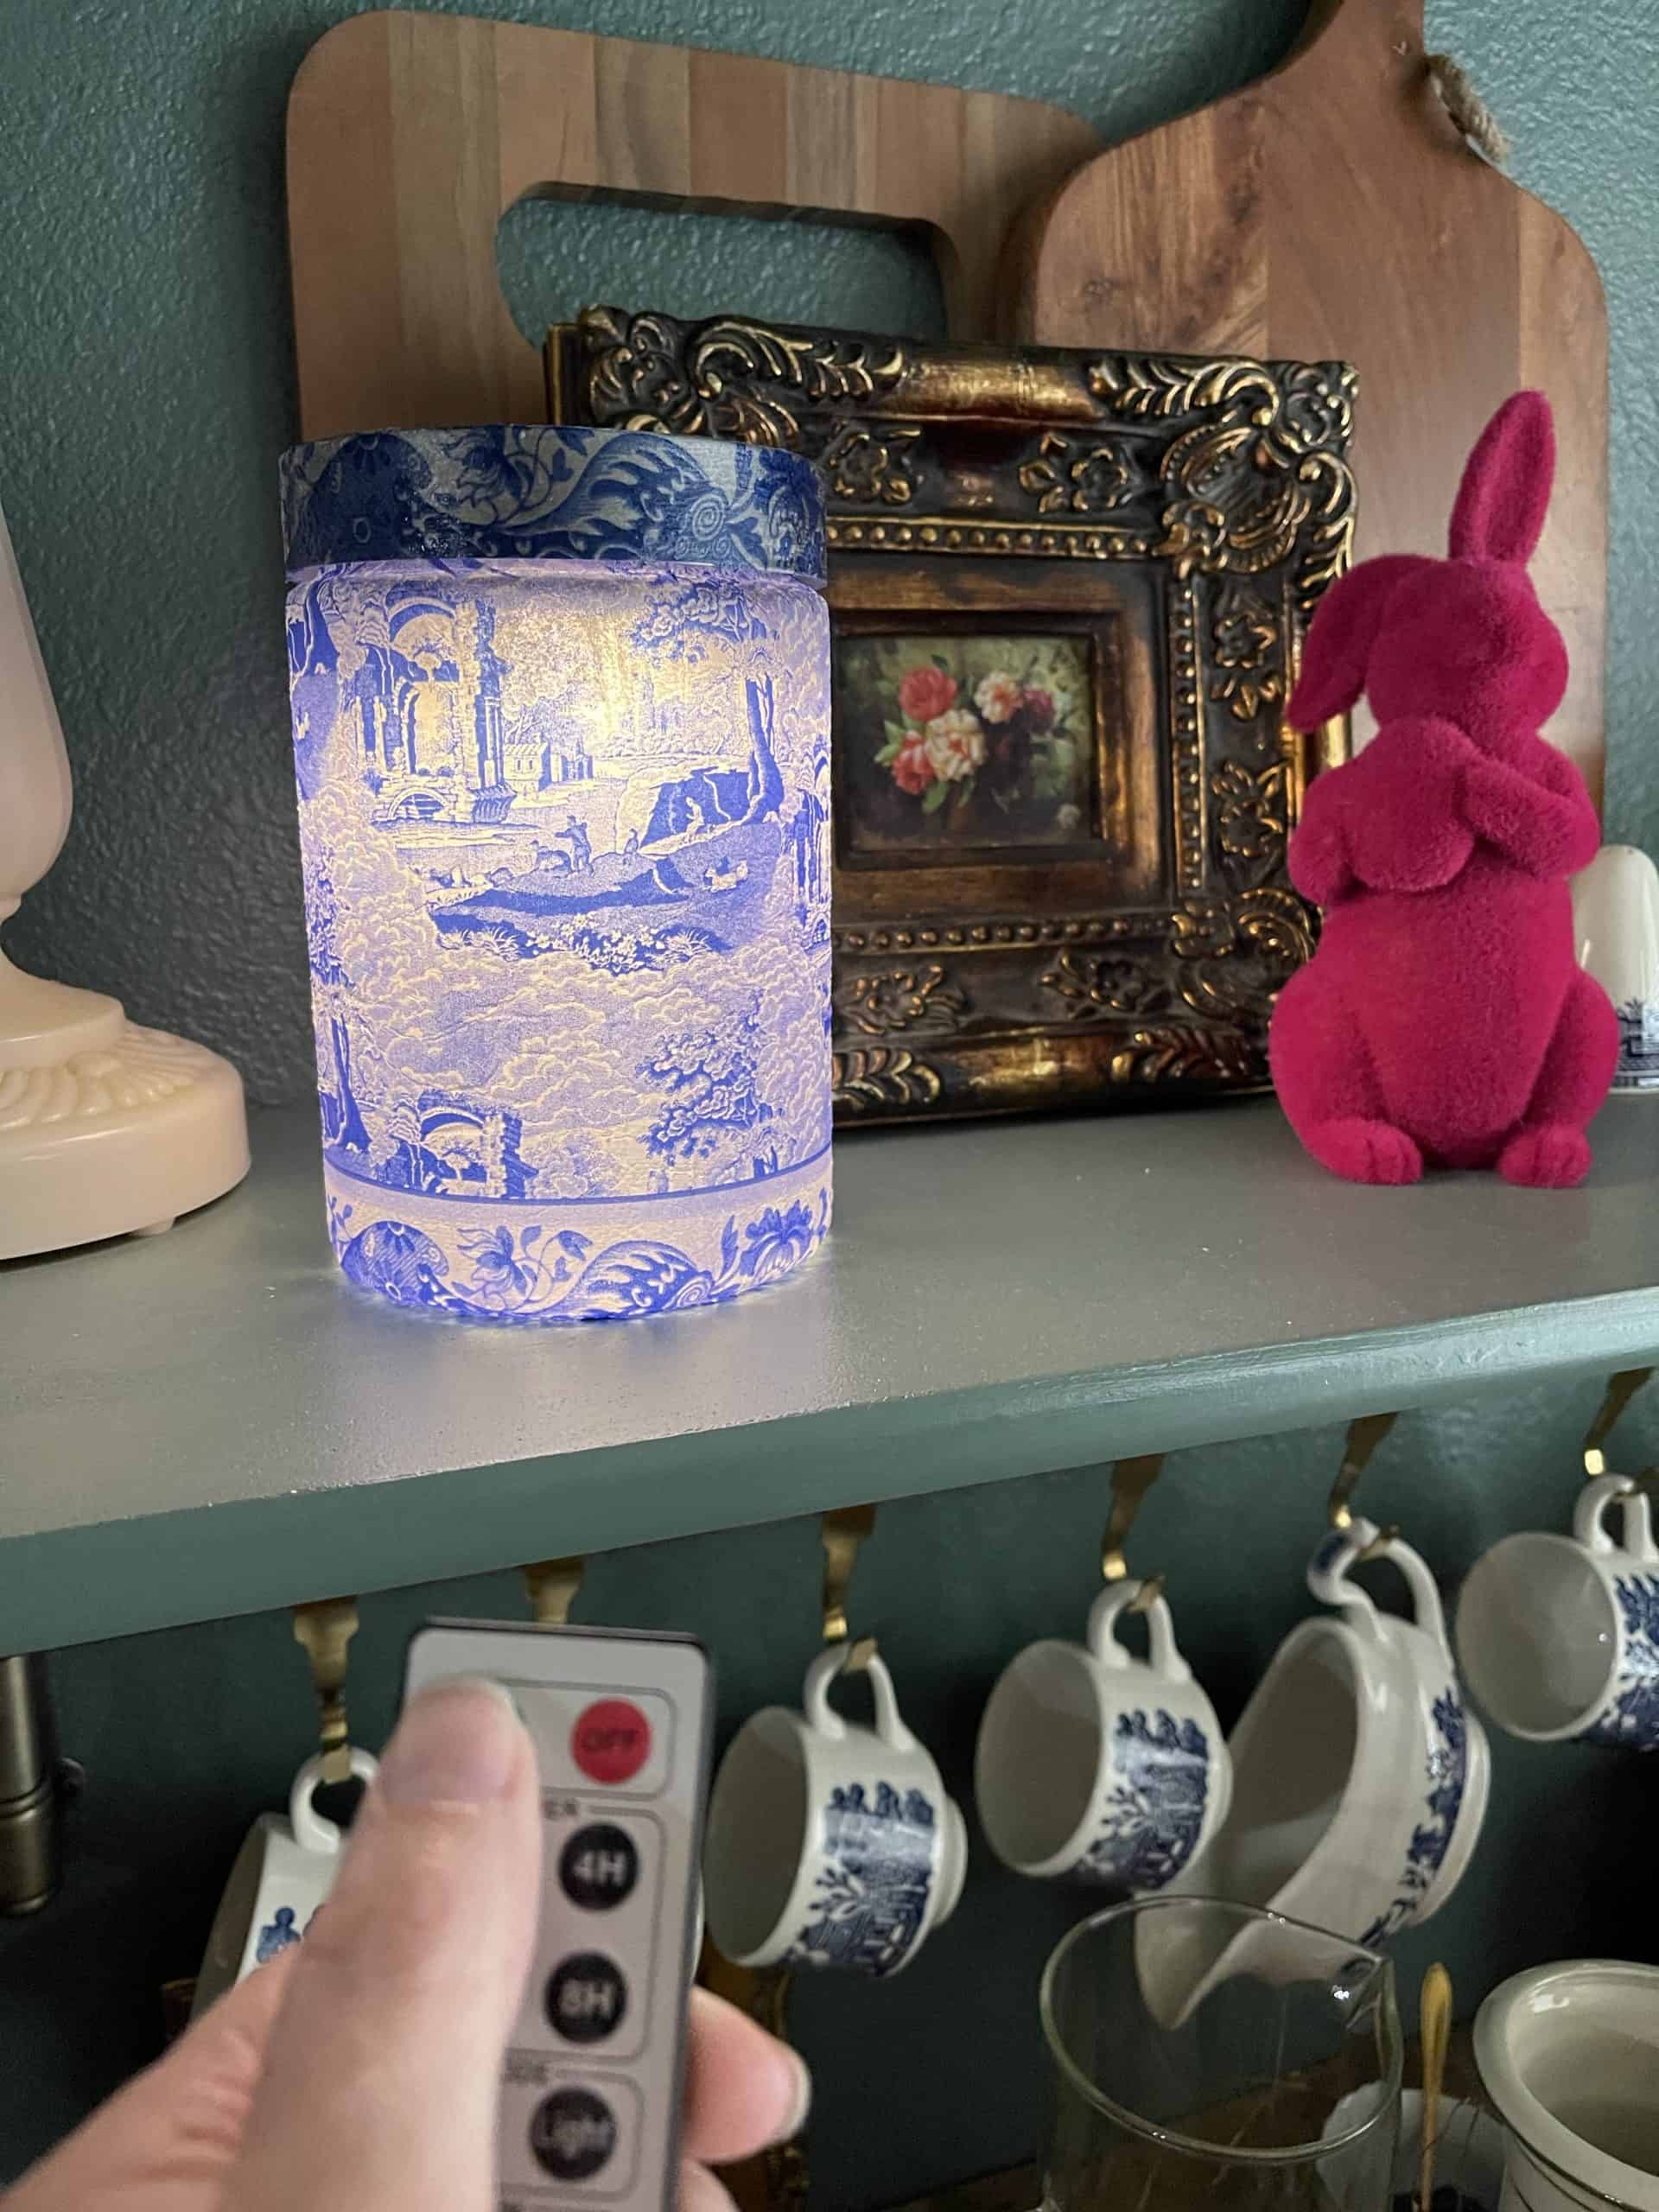
Do you love Chinoiserie lanterns? I want to show you how I made the prettiest little blue and white chinoiserie lantern for under $5!
A blue and white chinoiserie lantern is one of my favorite things. I also love lights, lamps, lanterns, even candles basically anything that gives light and is beautiful. Add those two things together and I want it. Whatever IT is!
When I think about light, I think about its many meanings. Yes, there is physical light from the sun, the moon, the chandelier, the candle, but the deeper meaning of light is so special.
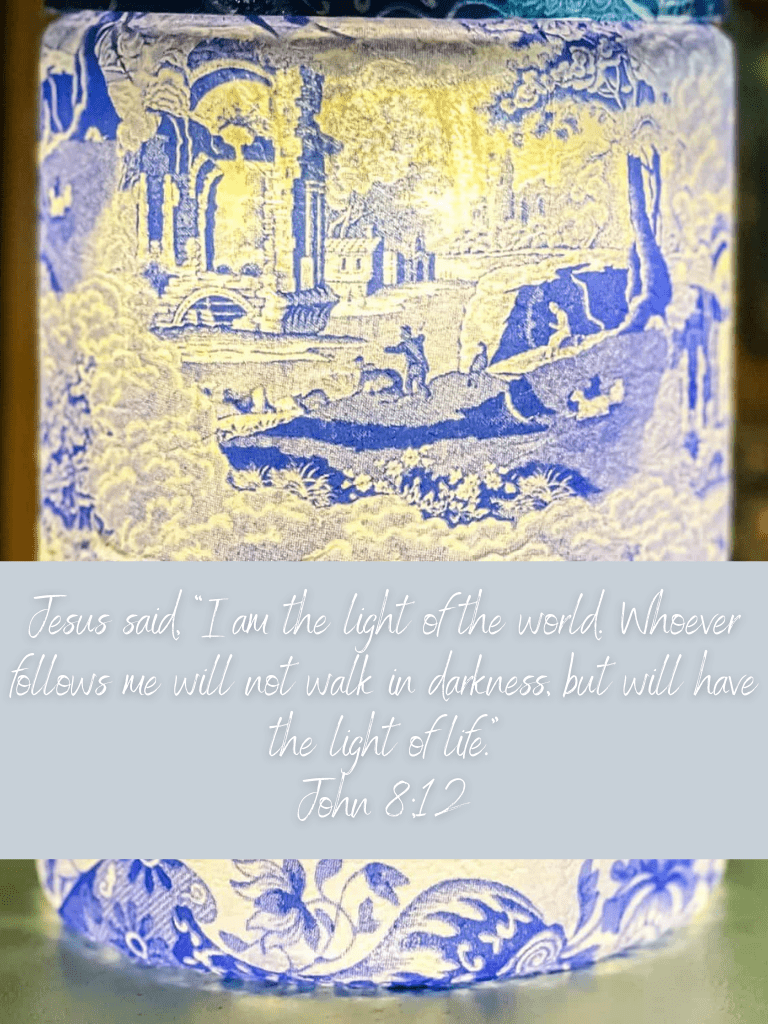
Where there is light there cannot be darkness. Even my little lantern can light my path in the dark of night, so how awesome is it that the light of Jesus and the “lightness” of Jesus, “Cast all your worries to him [Cast all your anxiety on him], because he cares about you.” 1 Peter 5:7 is available to us!
I know that’s a little deep for a chinoiserie lantern blog post, but I feel that if I needed this reminder then someone else needed it too!
If you are joining me from my friend Julie over at Redhead Can Decorate, Welcome! Wasn’t her milk glass flower tower so cute? I am inspired to make one now!!!!
I am joining my Thrifty Style Team friends today to bring you some beautiful and fun thrifty idea’s like this Chinoiserie lantern I made!
Blue and white chinoiserie lantern
Supplies
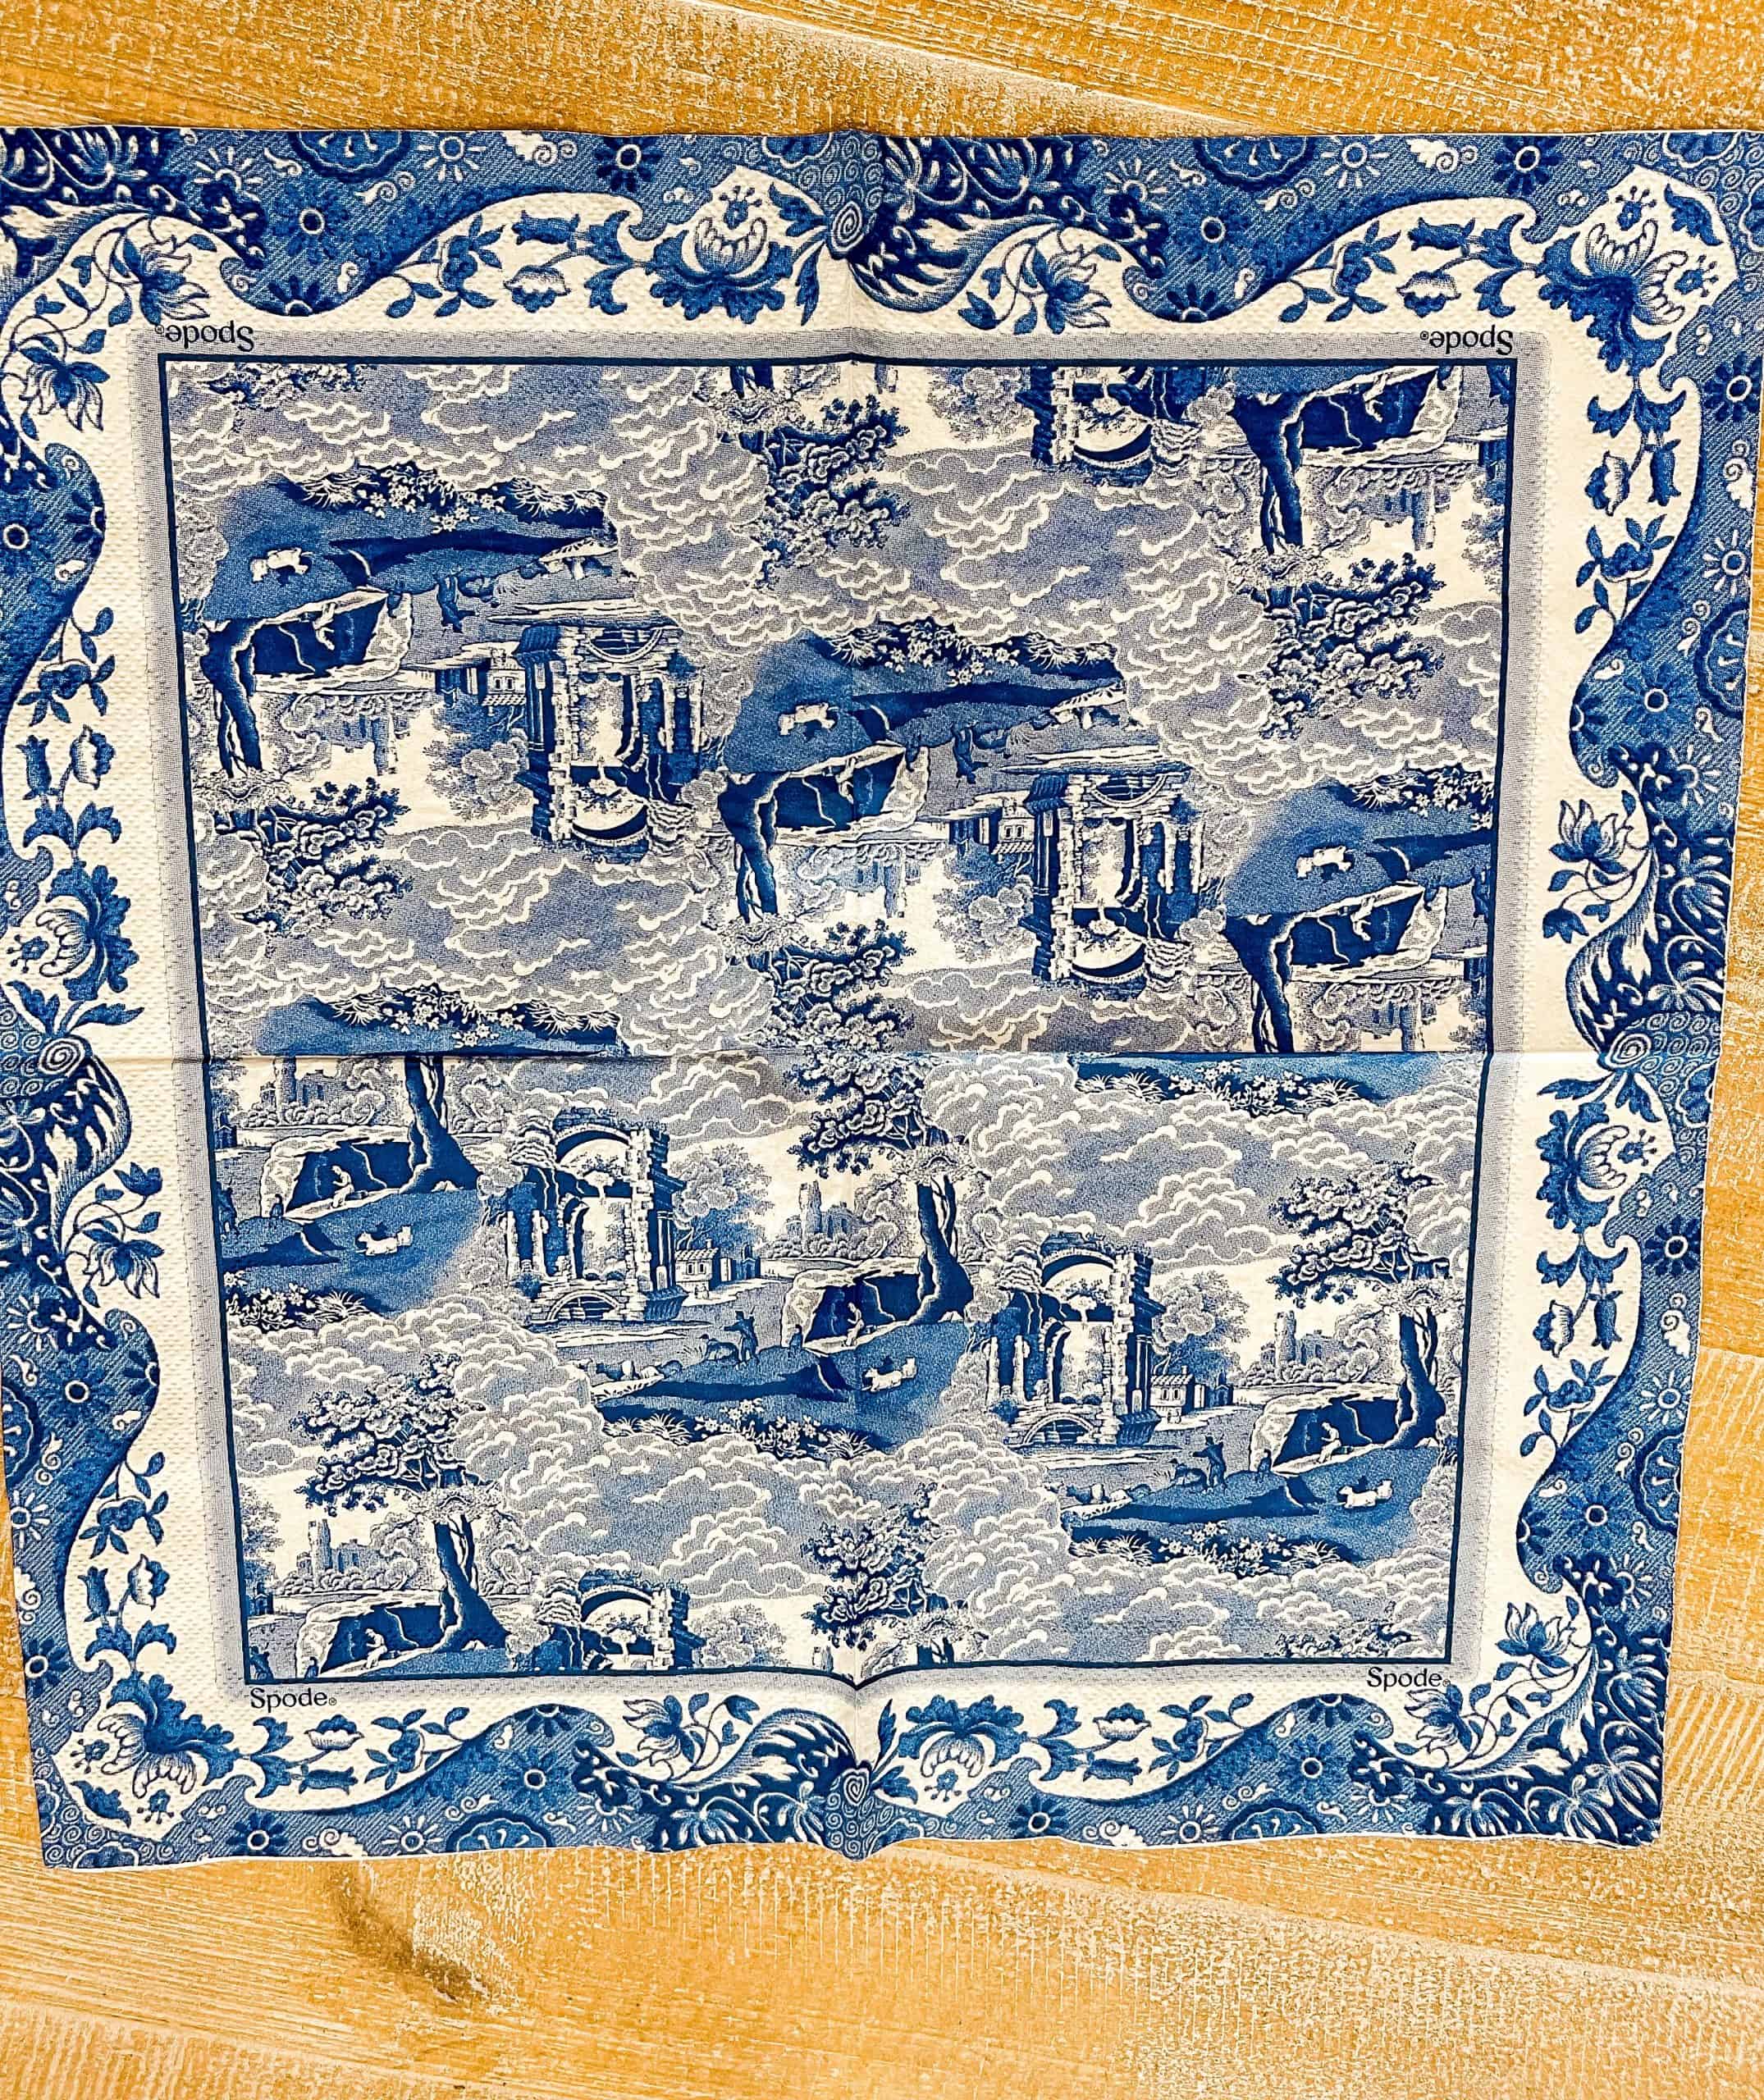
- Chinoiserie Napkins
- Remote Control Puck lights or remote flameless candle
- Clear Jar
- Preferably with a wide mouth to fit the light
- This one is a glass canister from the Dollar Tree
- Mod Podge
- Scissors
See! Super Thrifty, and beautiful!
How to make a Chinoiserie Lantern
Time needed: 1 hour
- Choose your napkin
As you know, I love chinoiserie so I have linked so many beautiful chinoiserie napkins in my Amazon Shop (Click Here)
I got these napkins at my Tuesday Mornings a few weeks ago. They are Spode, but I could not find them online anywhere!
You can also use tissue paper and decoupage paper for this project.
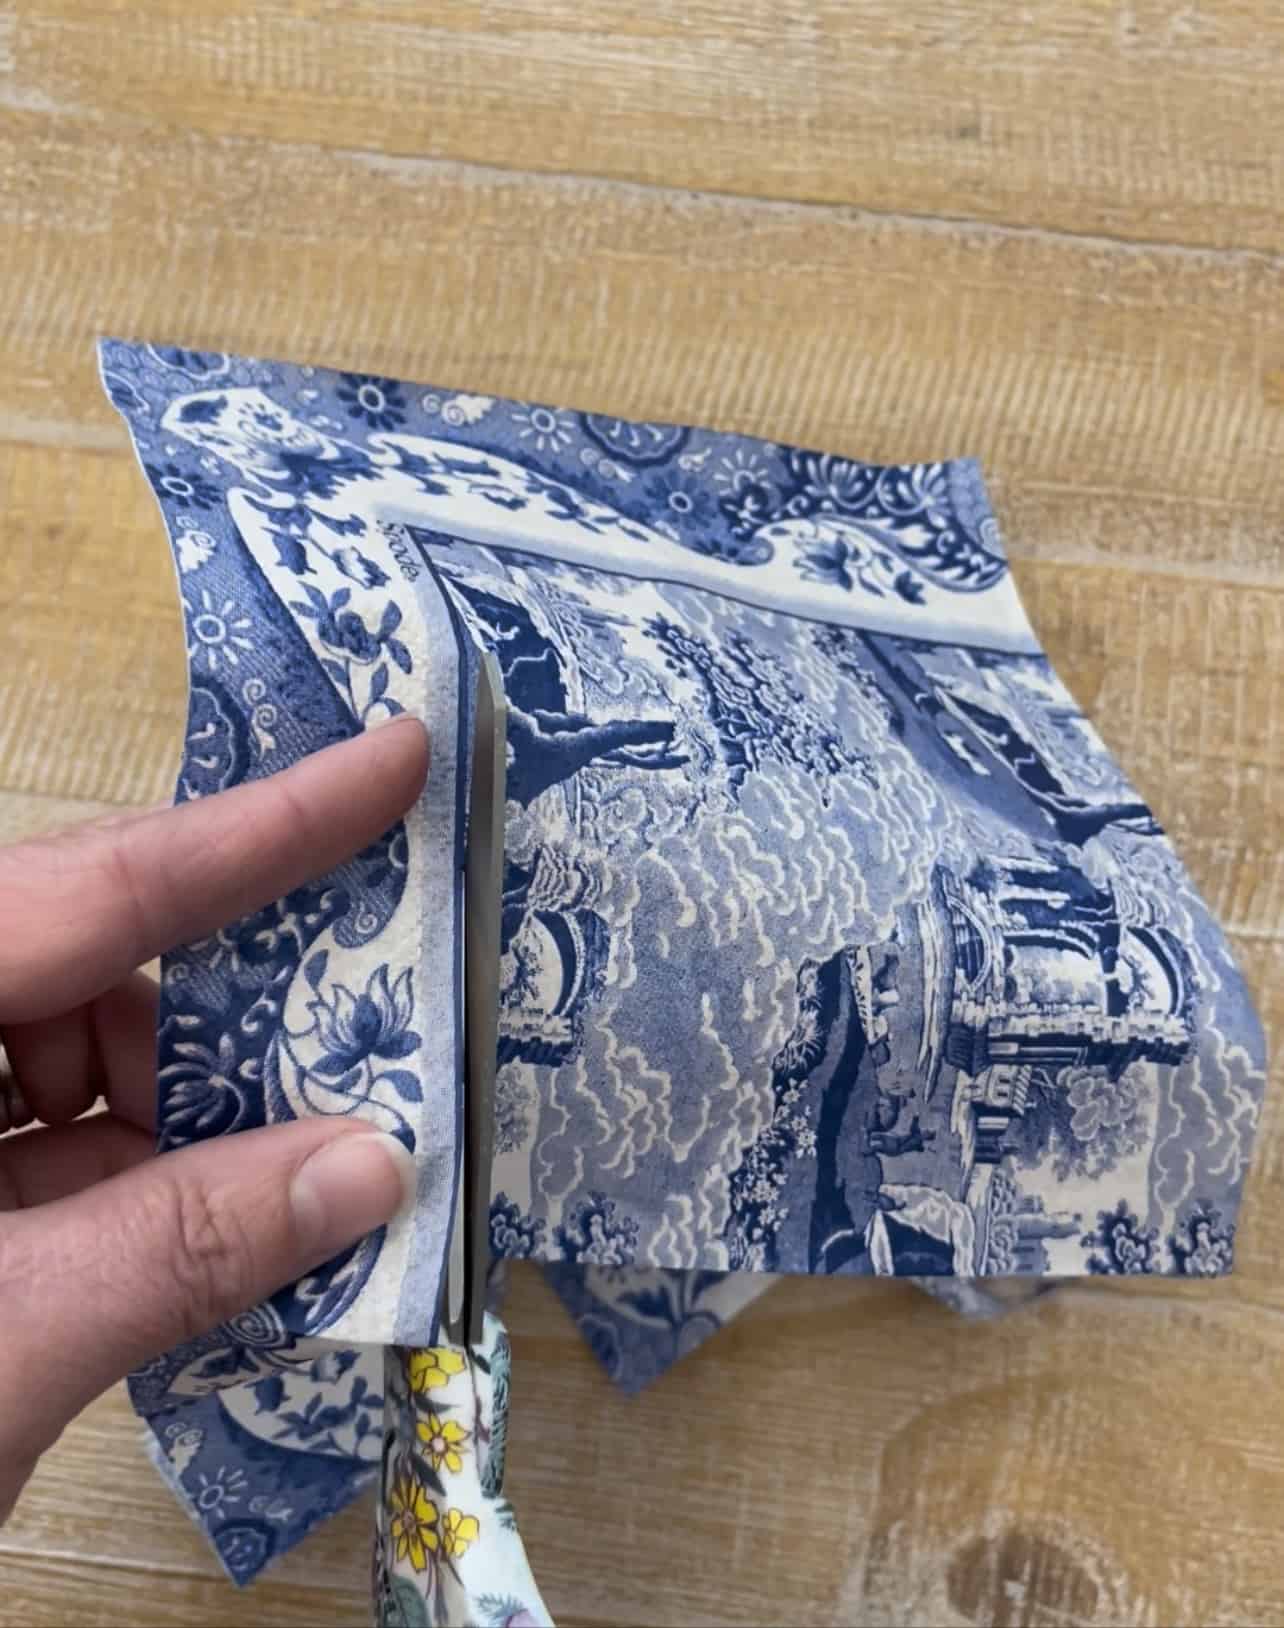
- Separate your napkin plys
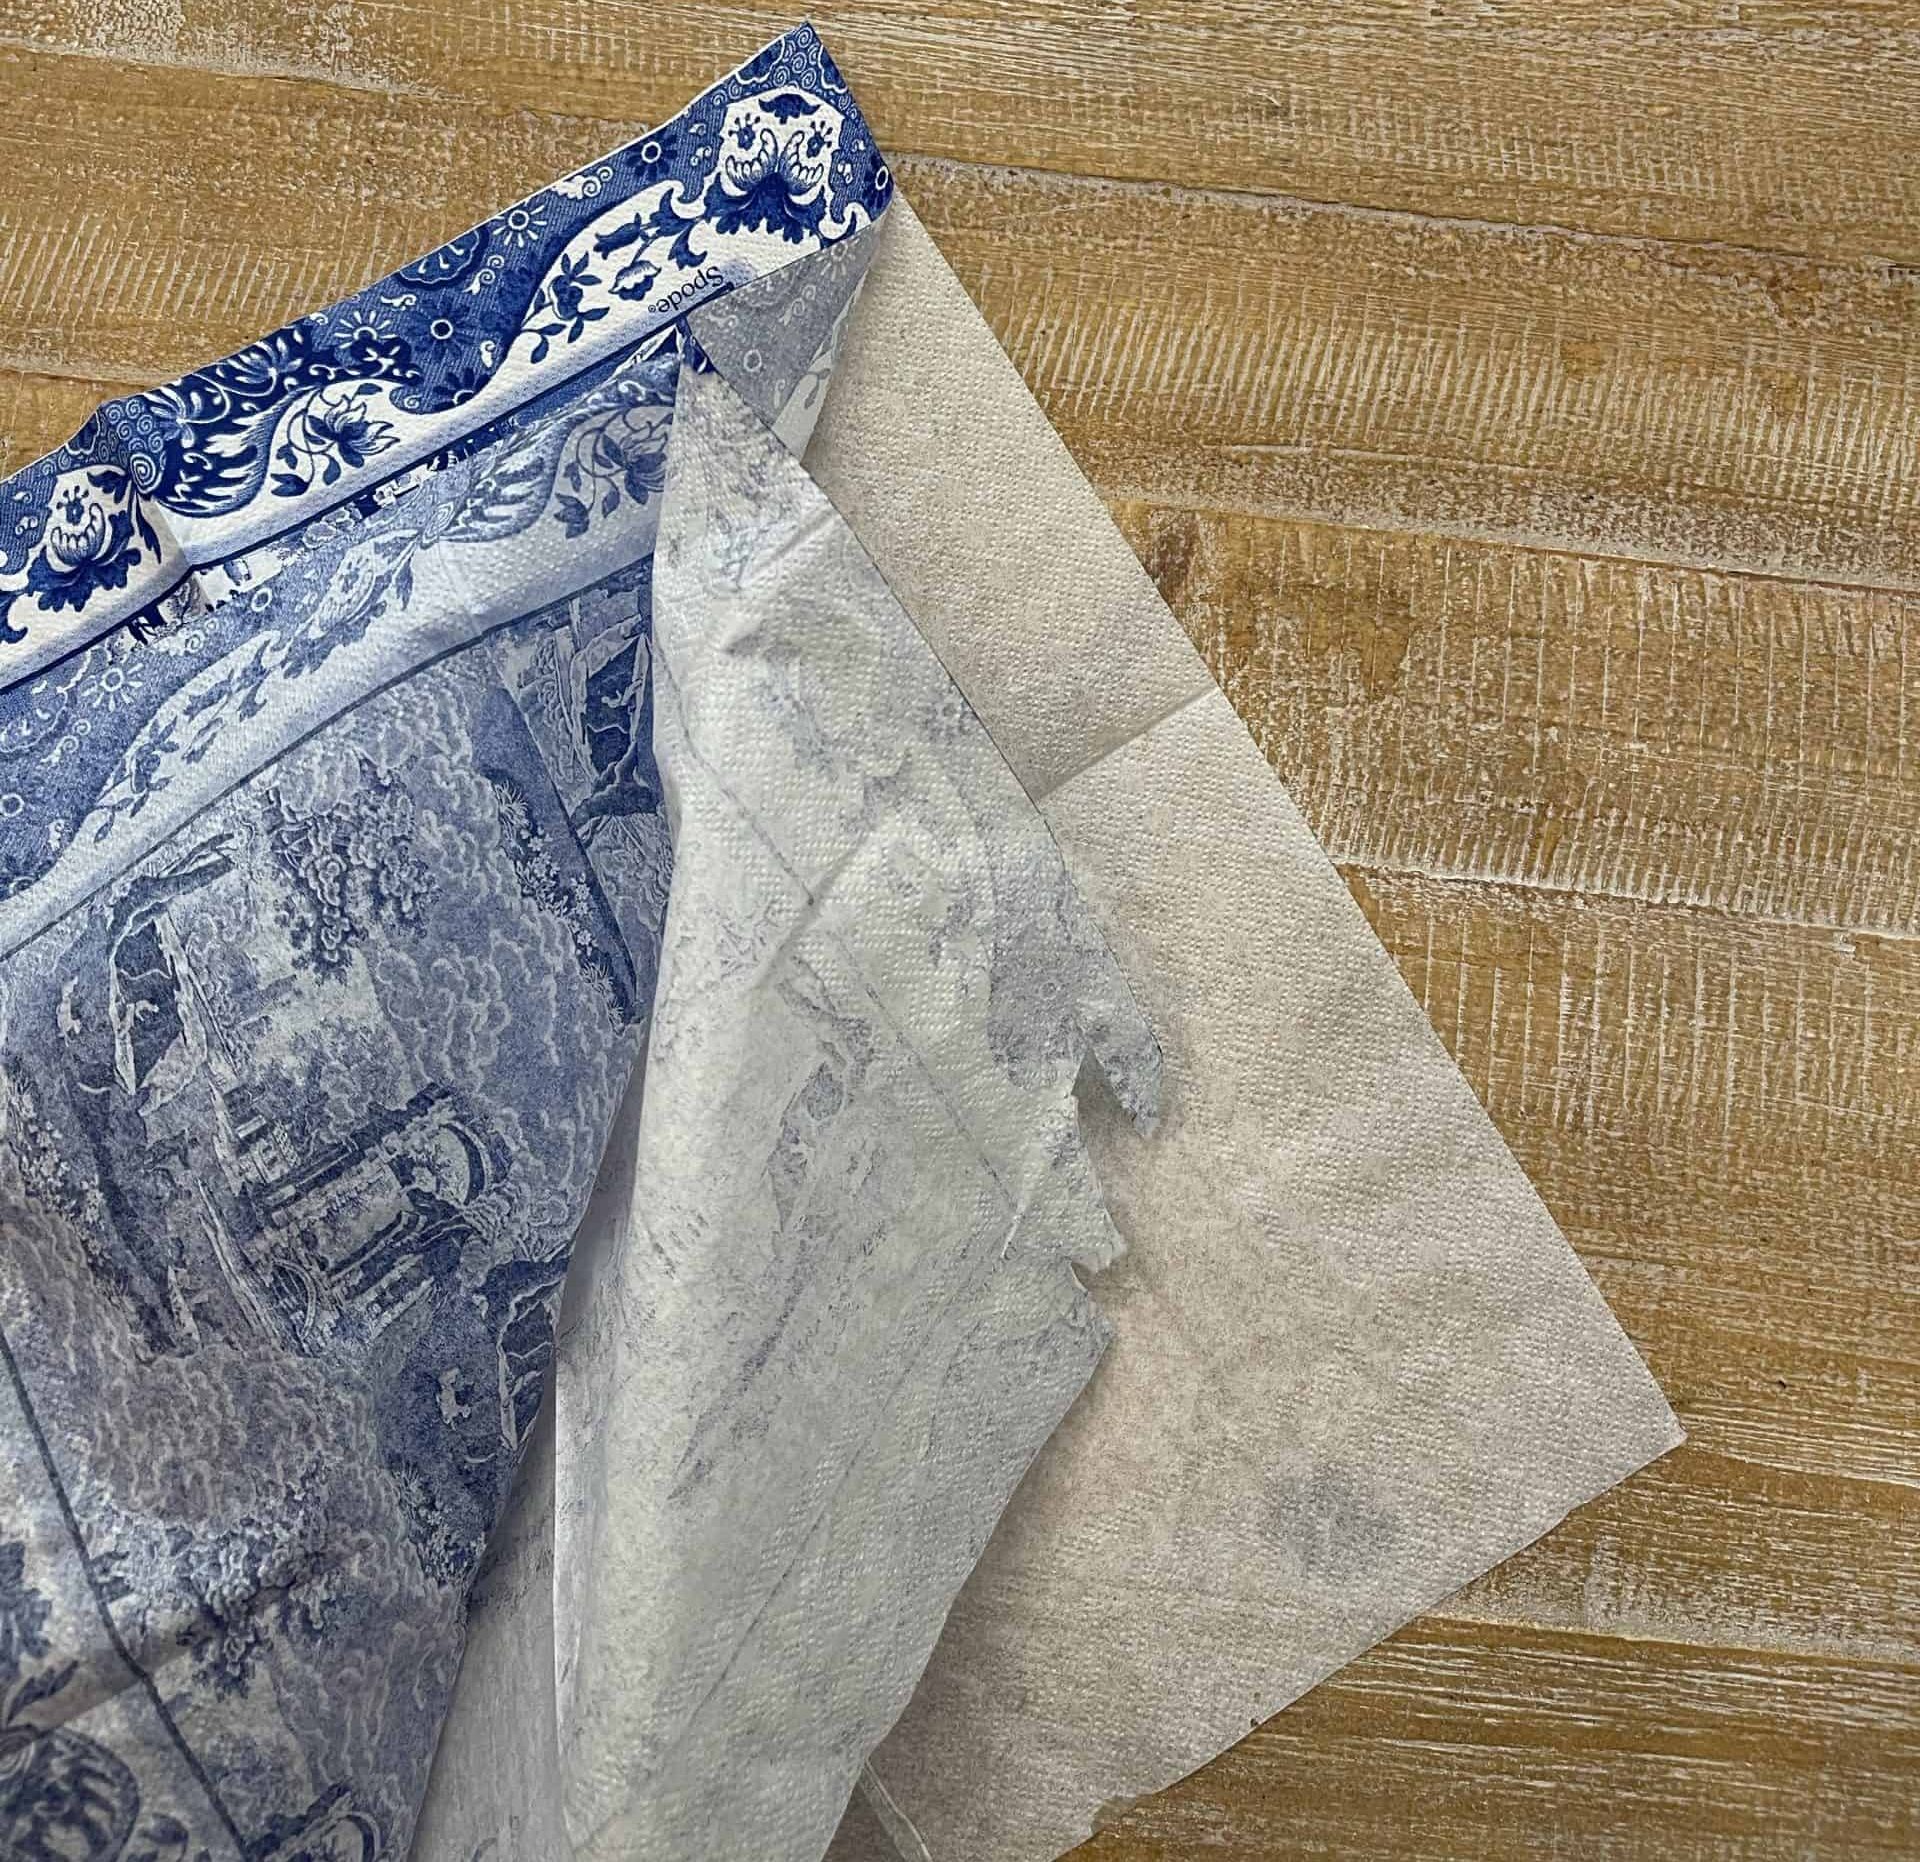
Most napkins have 3 layers. The top decorative layer and 2 white layers underneath.
This one had 3 and the first ply separates so easily but the 3rd ply is tricky.
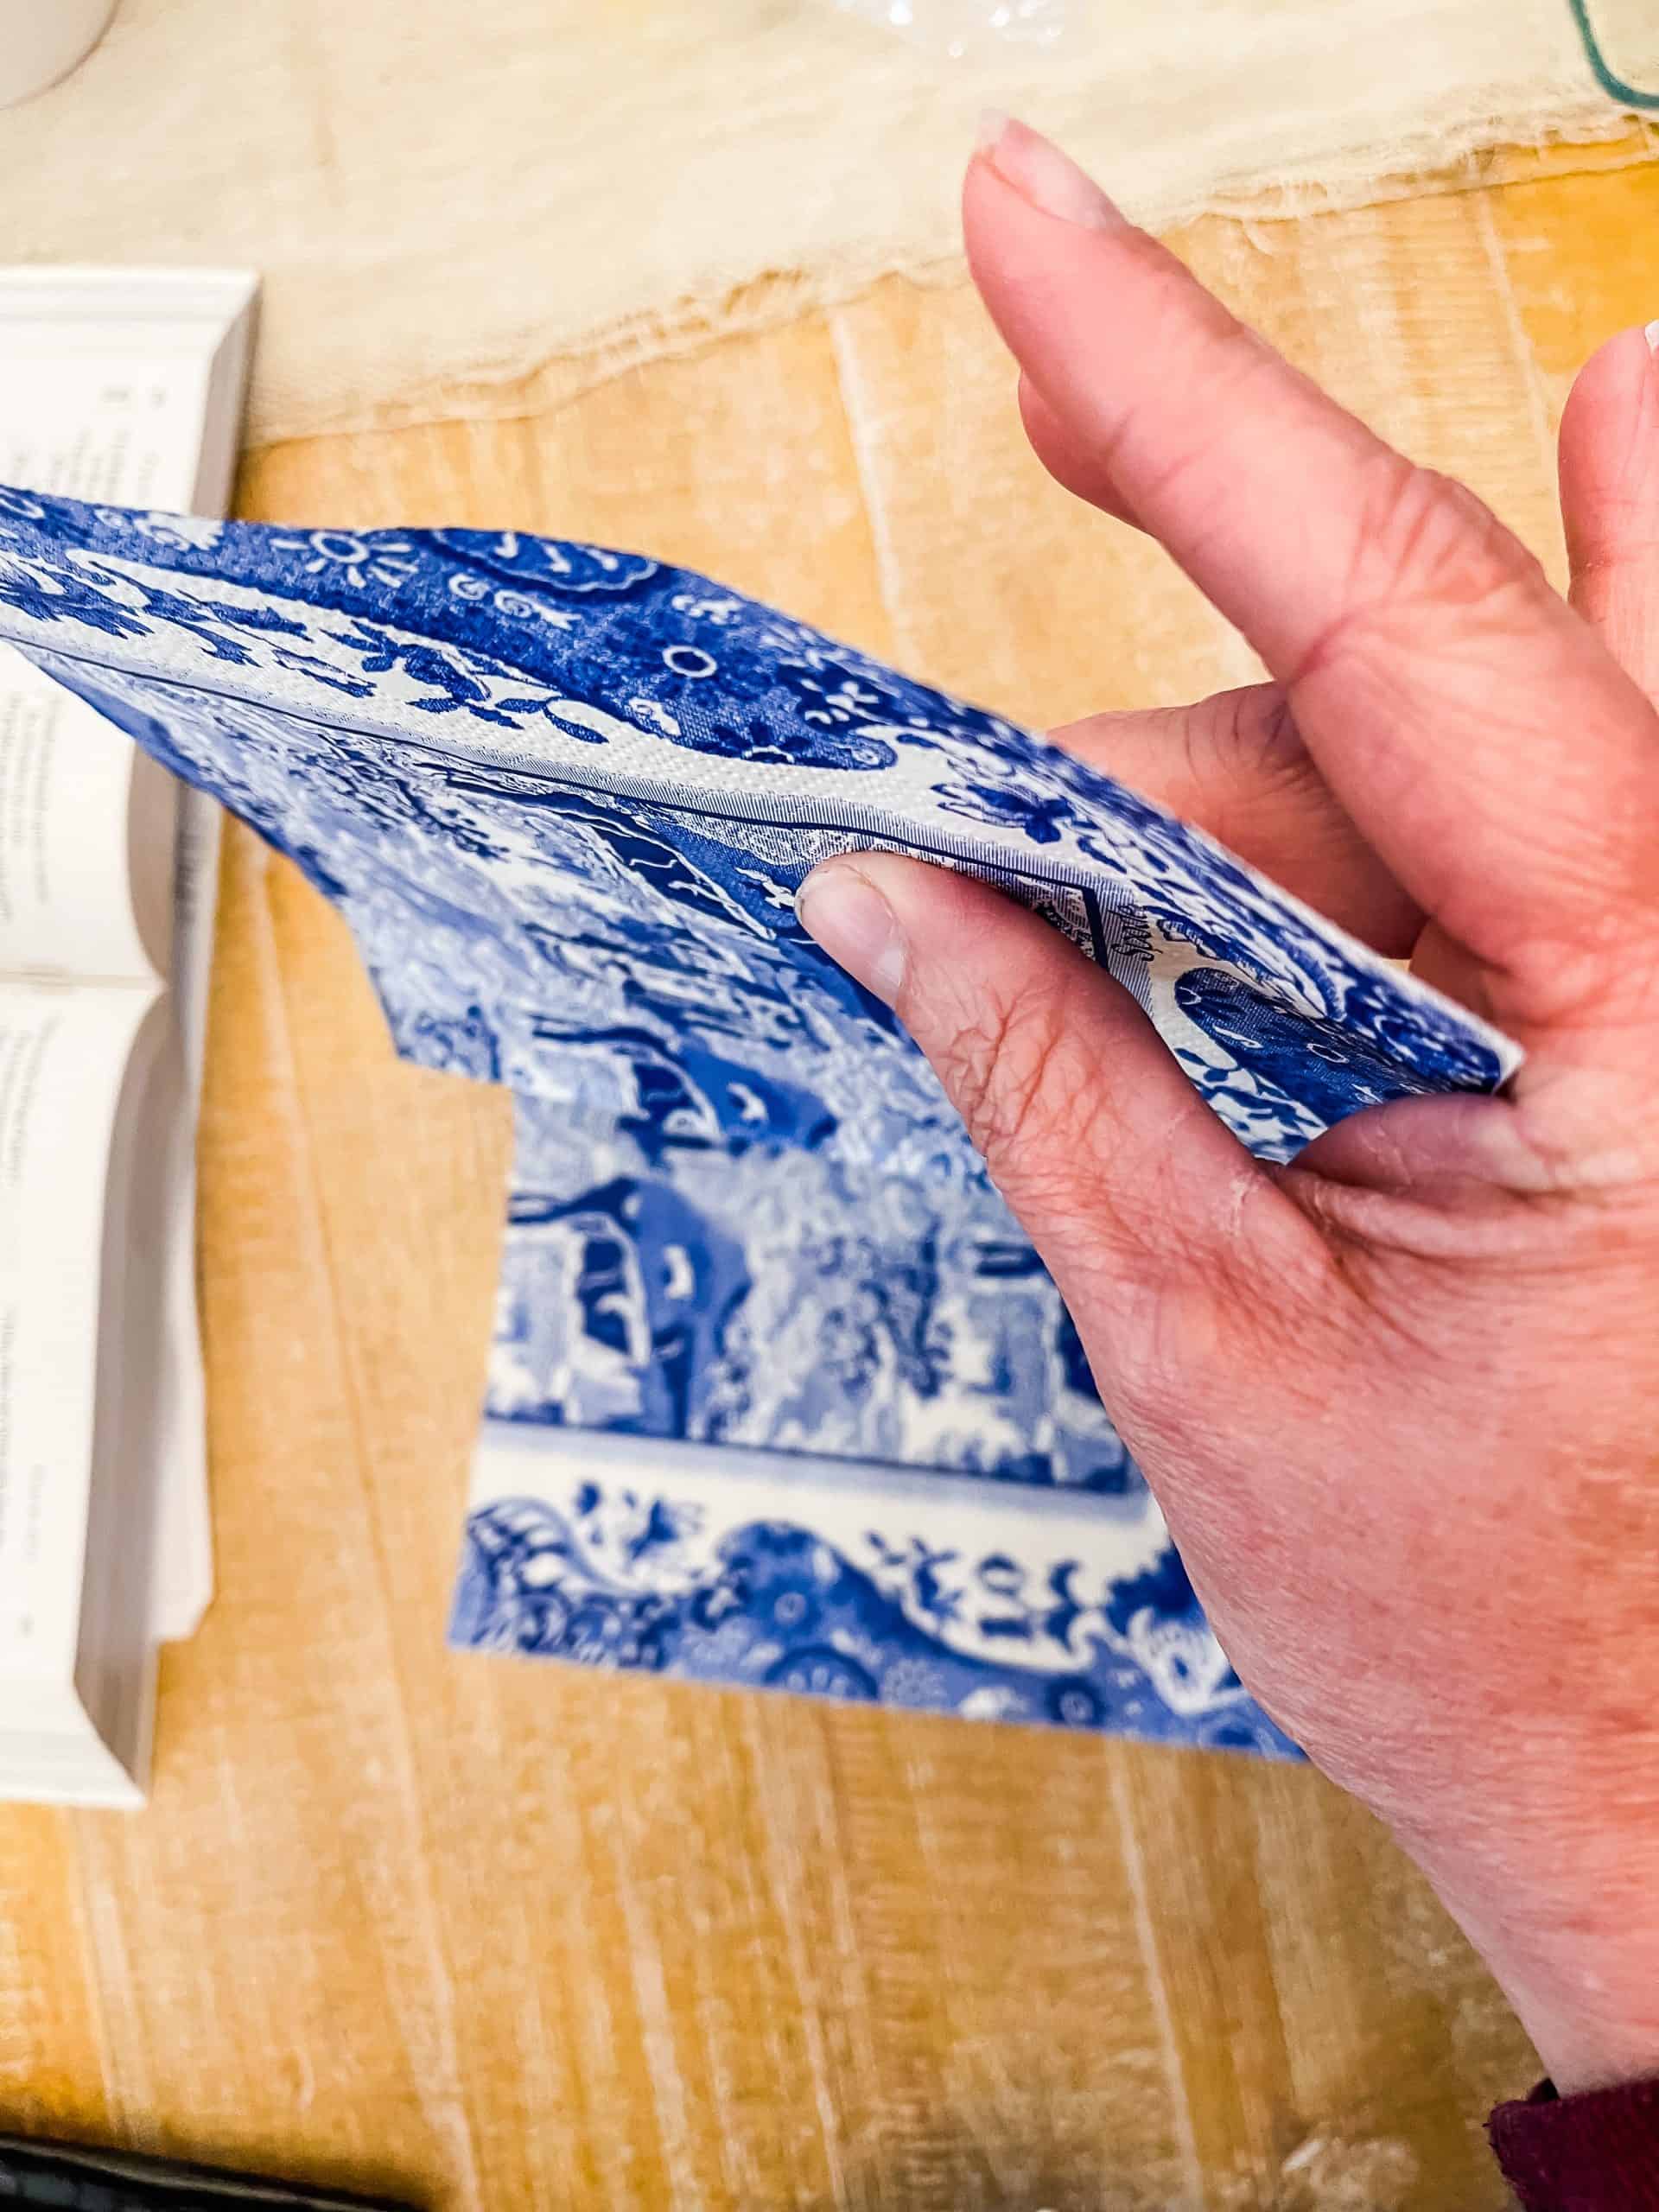
- The secret to separating the last ply
I made the mistake of always trying to separate the layer on the outer border where they are embossed or pressed together. You can tell because it has a little texture.
Here’s the secret… get your fingers damp ( I don’t lick my fingers cause that is a no from me), but I get them damp with a washcloth and place my thumb on one side and my middle finger on the other side of the napkin but just below where the embossing ends. It will cause a “bubble” and from there you can easily separate the 2 final ply’s of the napkin.
Trust me this will save you from tearing the edge of every napkin you separate from now on!
- Adhere your napkin to your canister
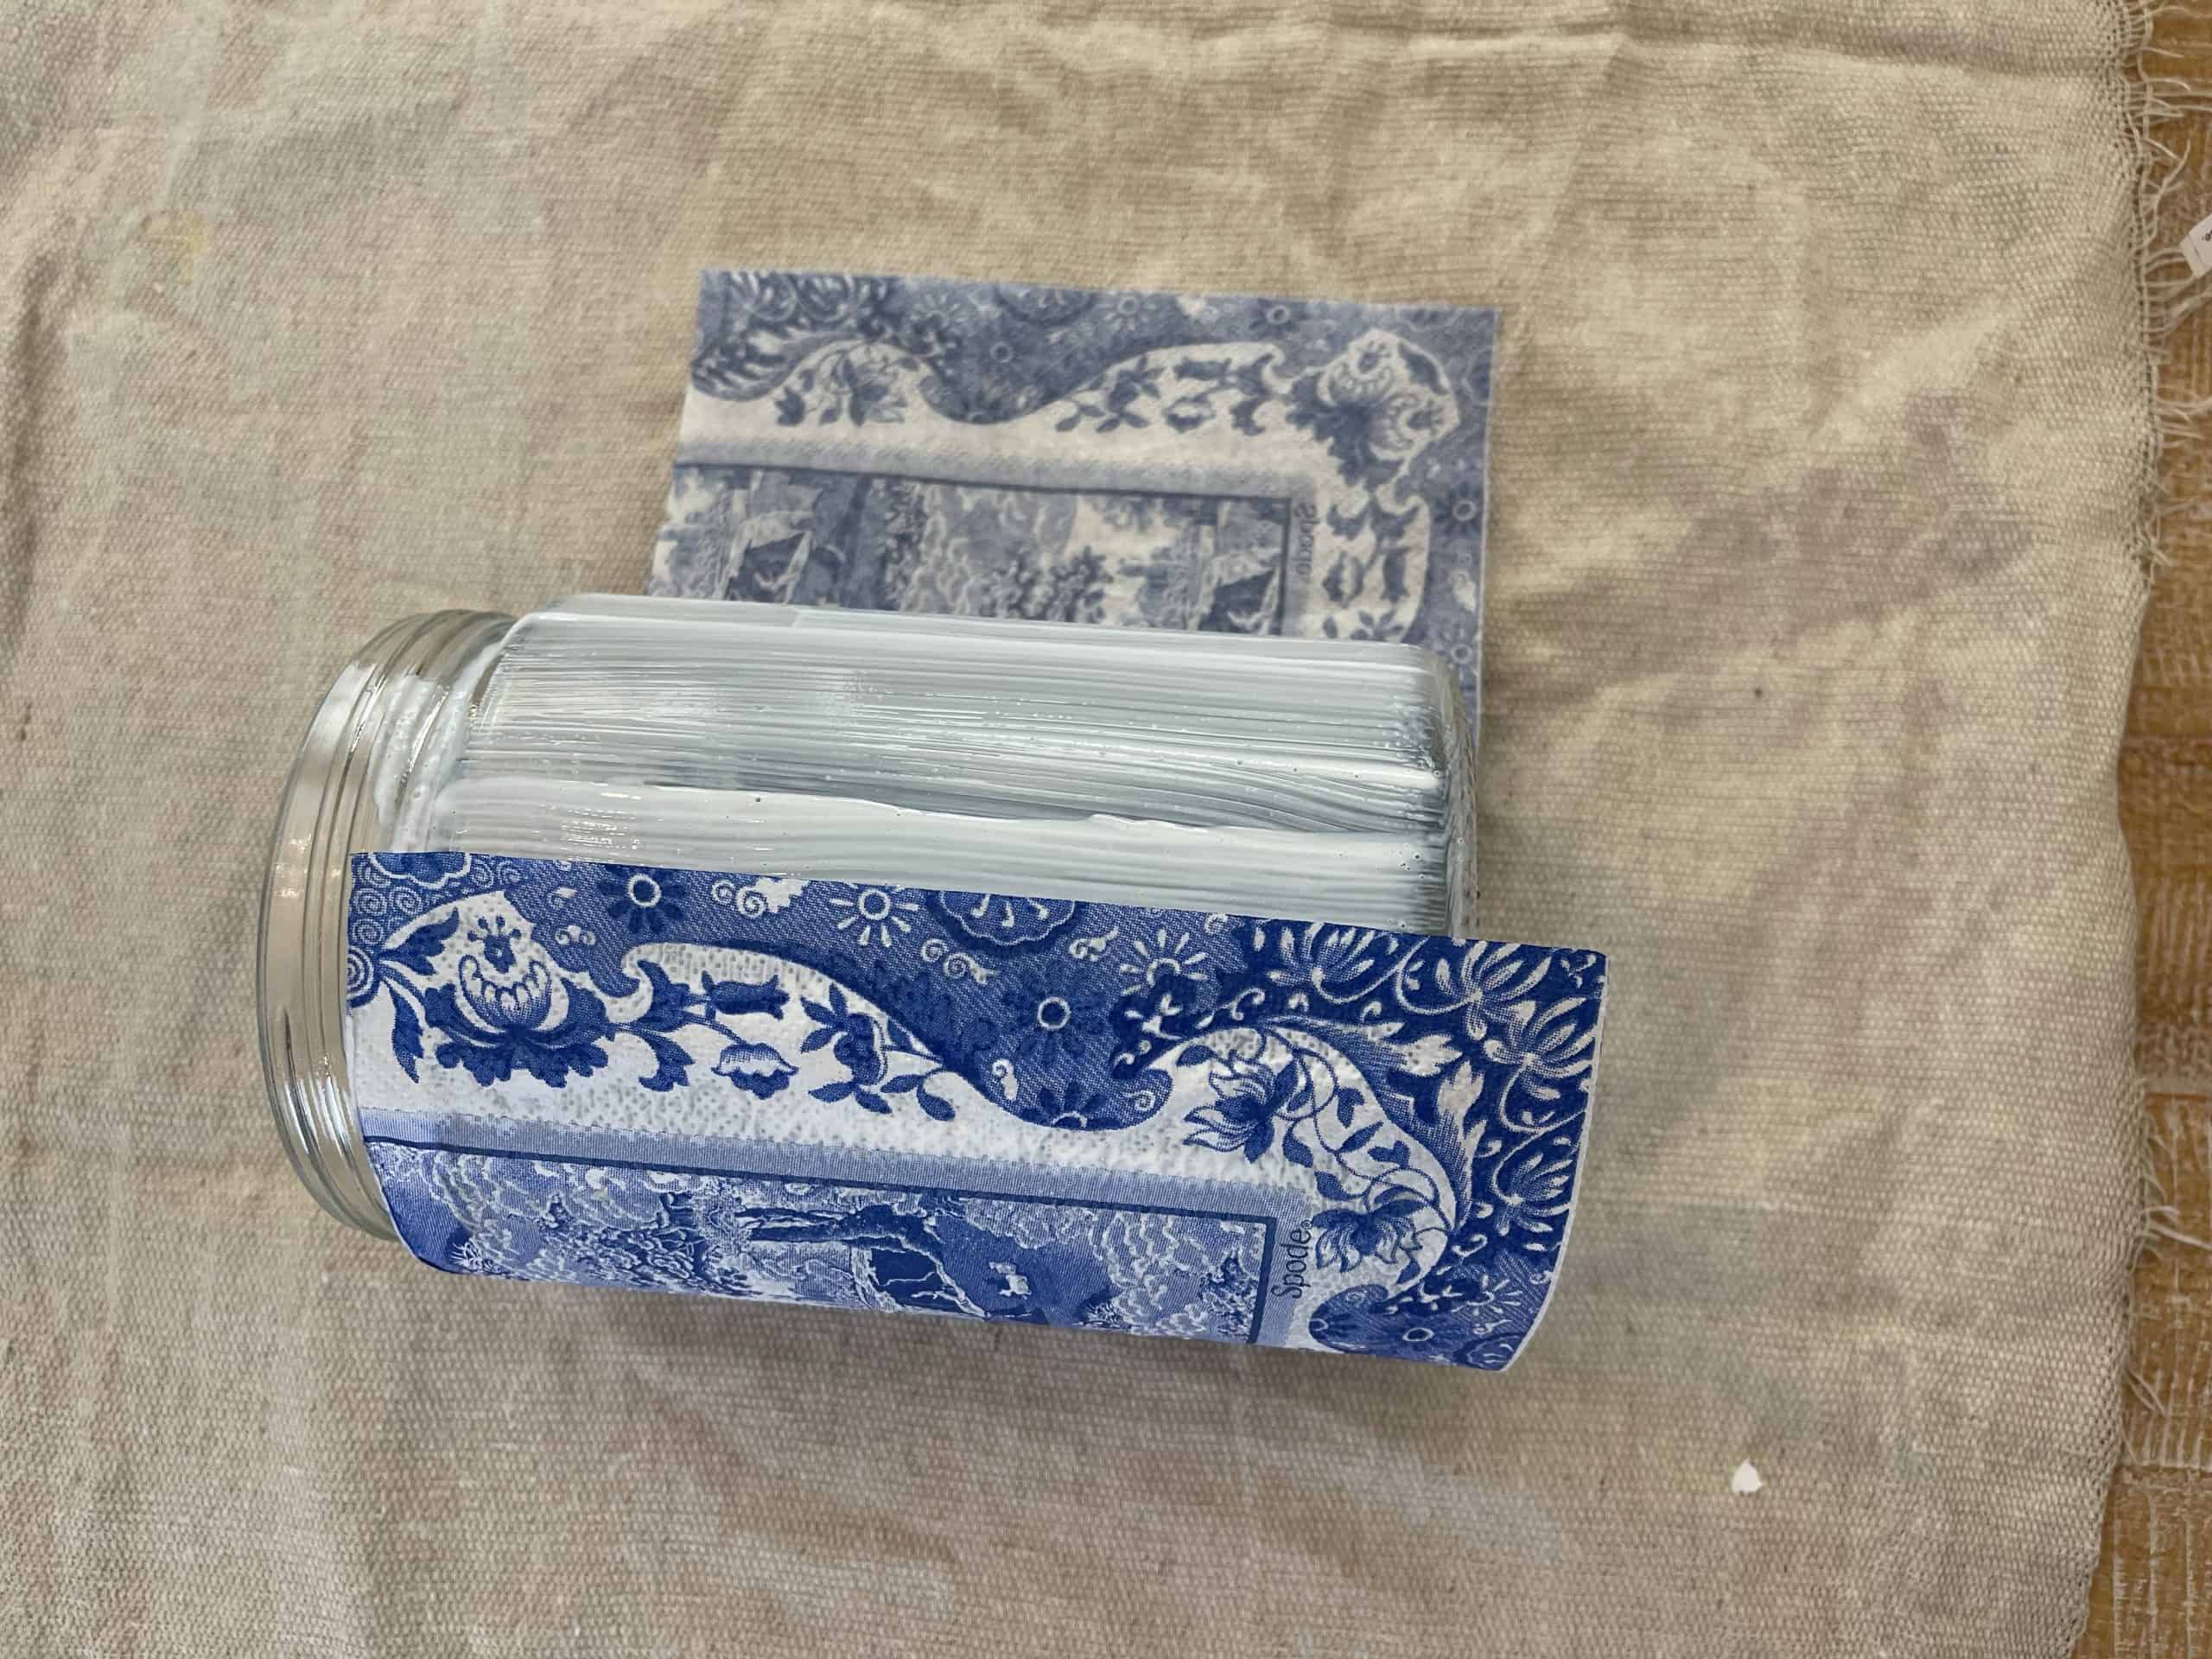
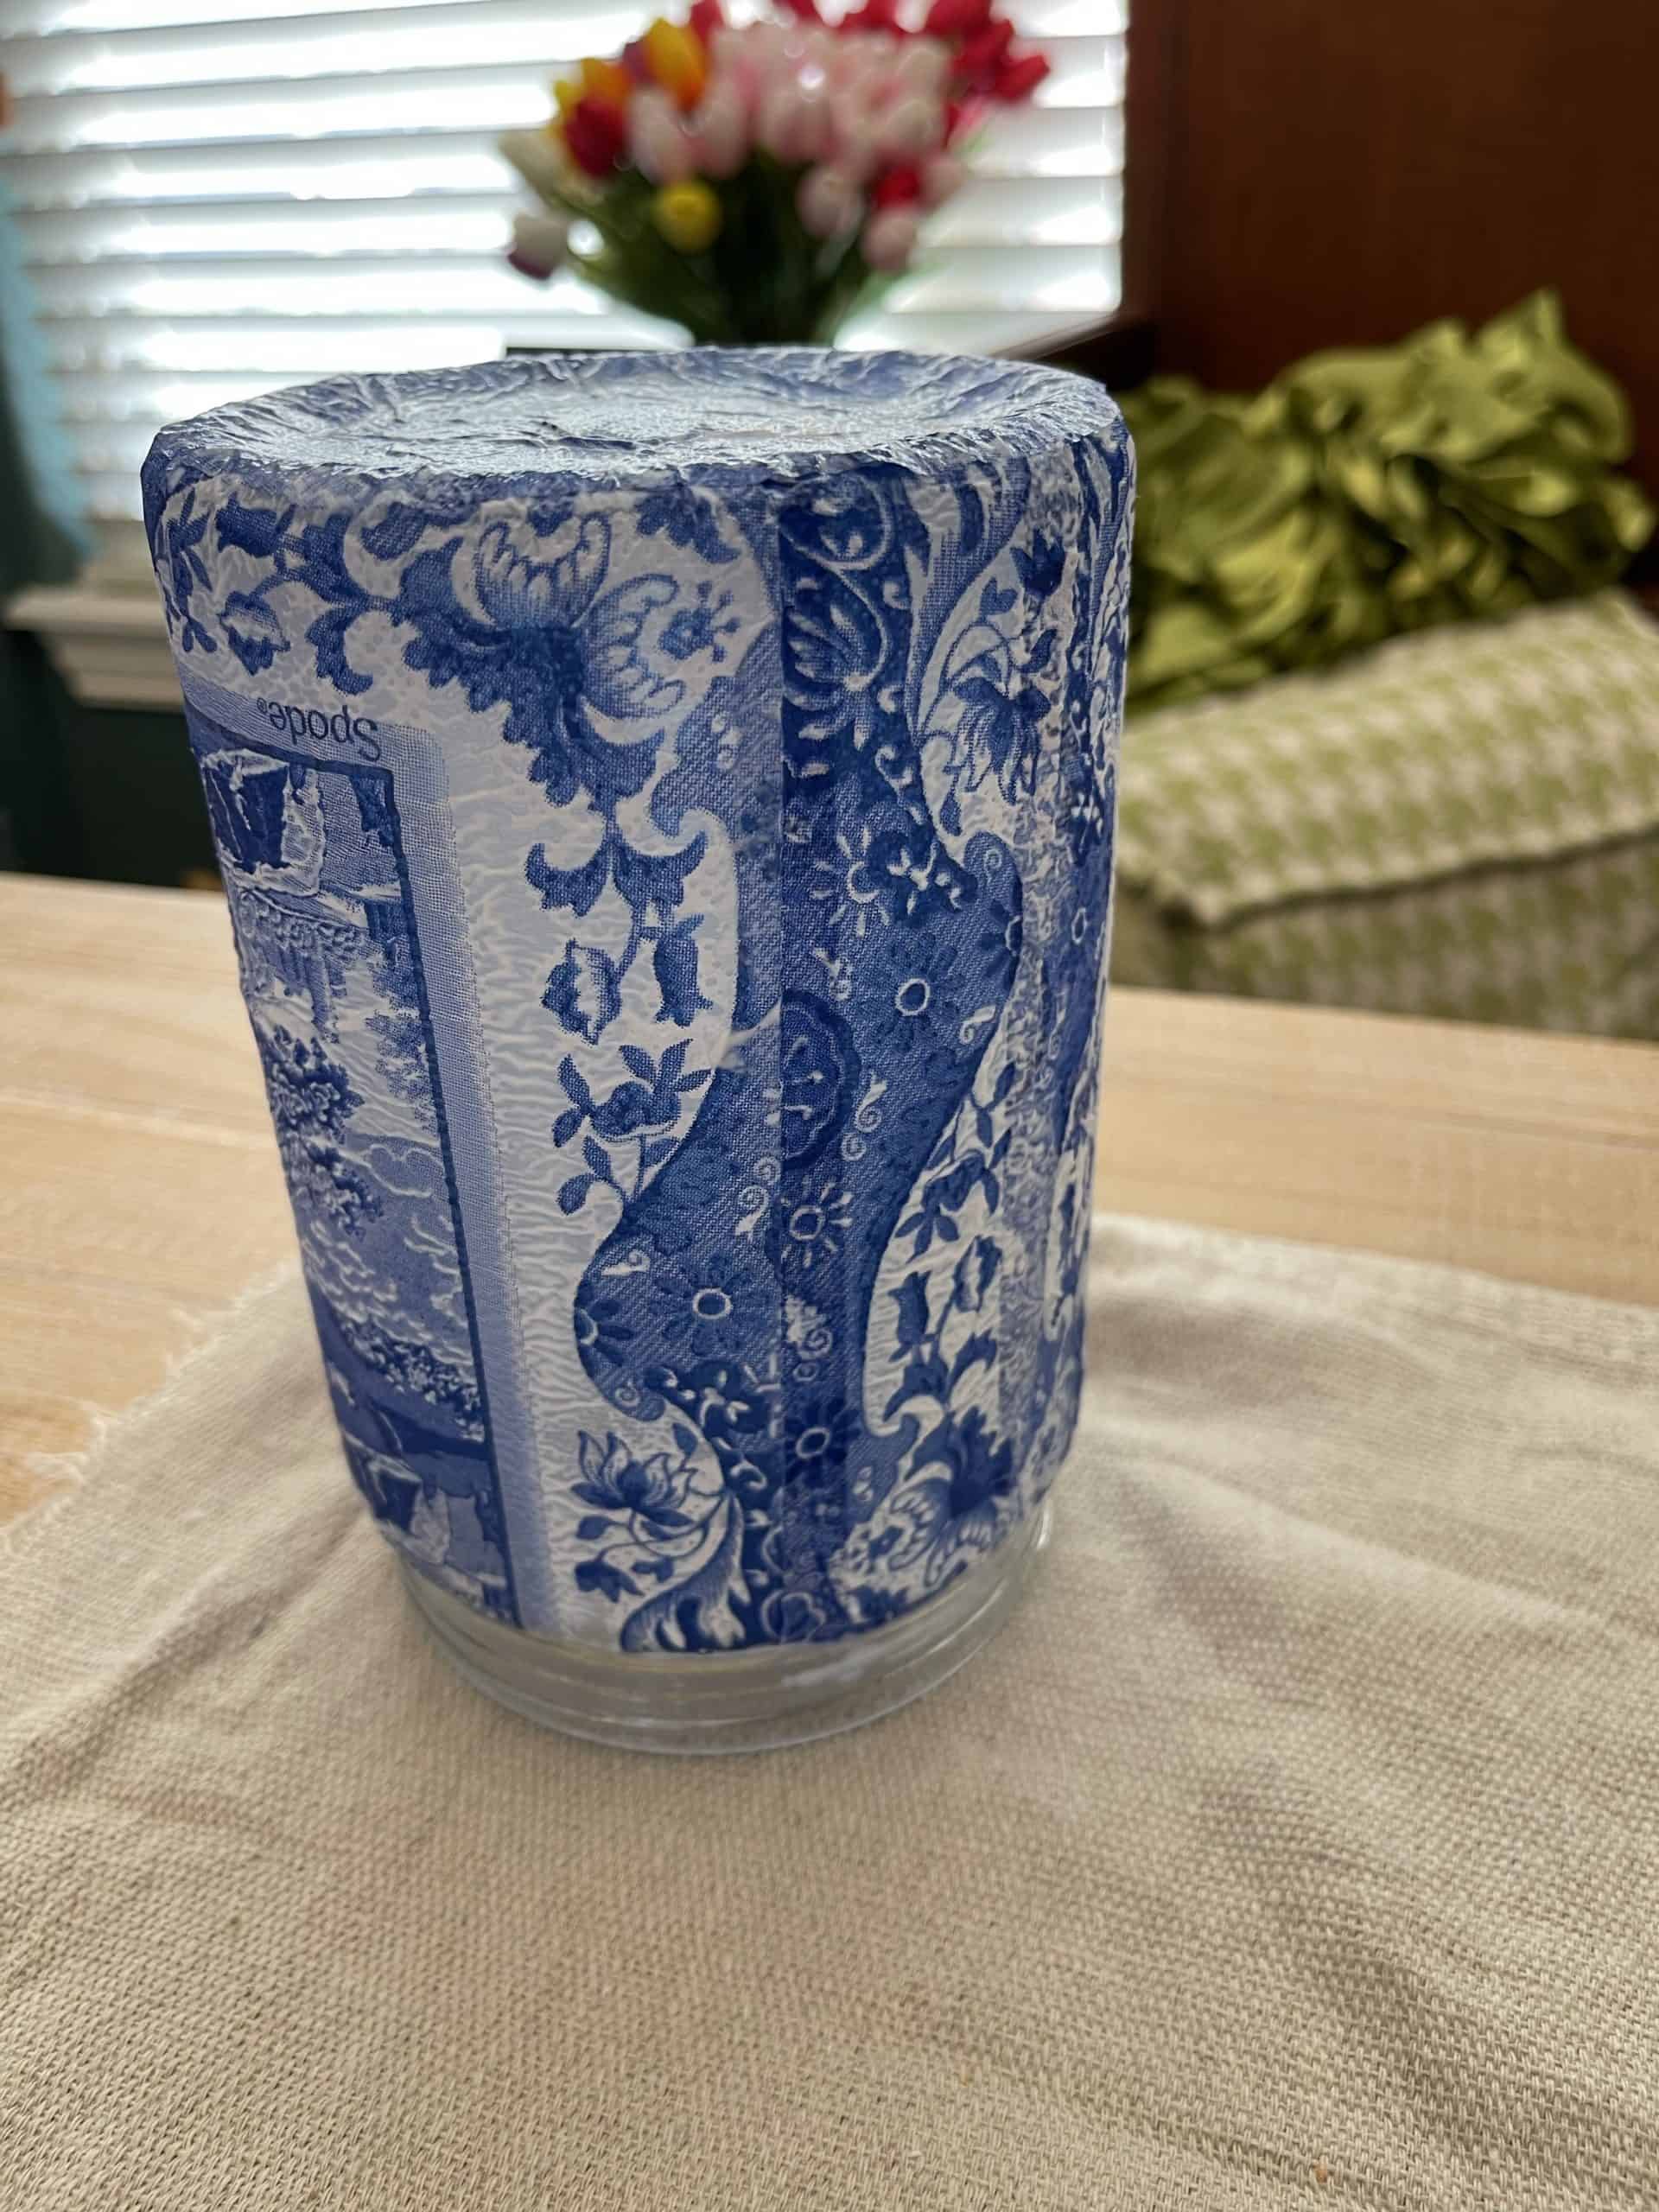
I applied my mod podge in an even layer and in even strokes around the entire canister including the curve just under the threads of the canister top, and slightly over the bottom edge as well.
Because my canister is not curvy laying the napkin on smoothly was a breeze.
I laid the napkin, right side facing down, and gently lined up the top of the napkin knowing I needed about 1/4 of an inch at the top to fold down over the curve at the top and bottom.
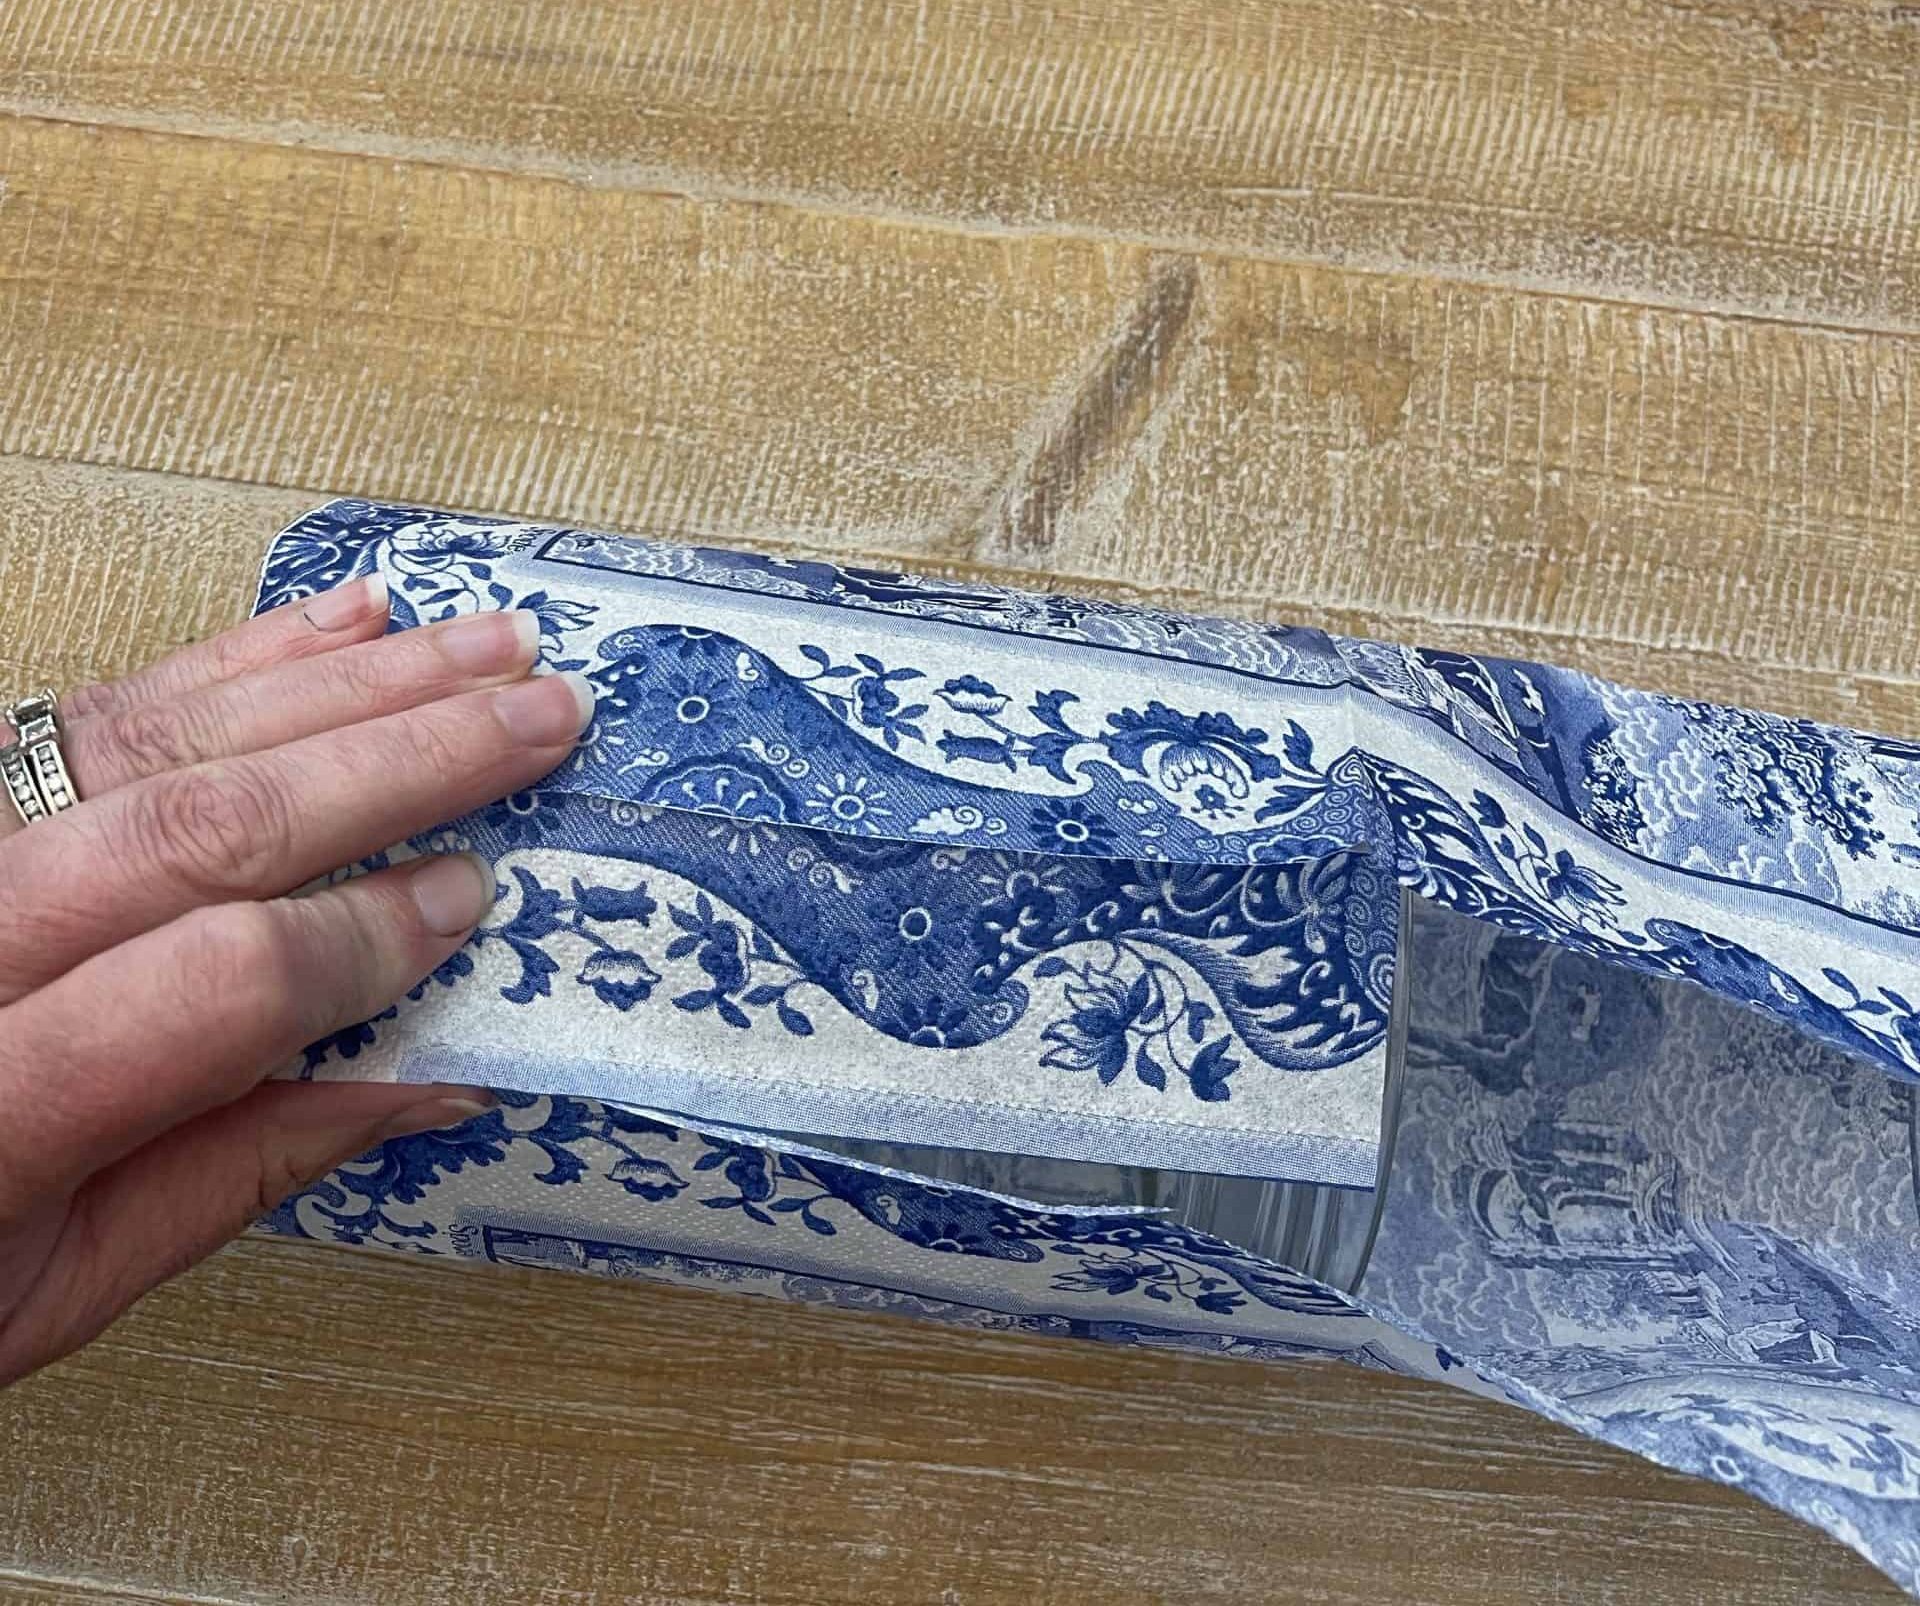
This napkin fits almost perfectly on this canister lengthwise but I lacked about an inch on the circumference so I cut a piece of the border and placed it in the open space. It looks great.
- The border piece

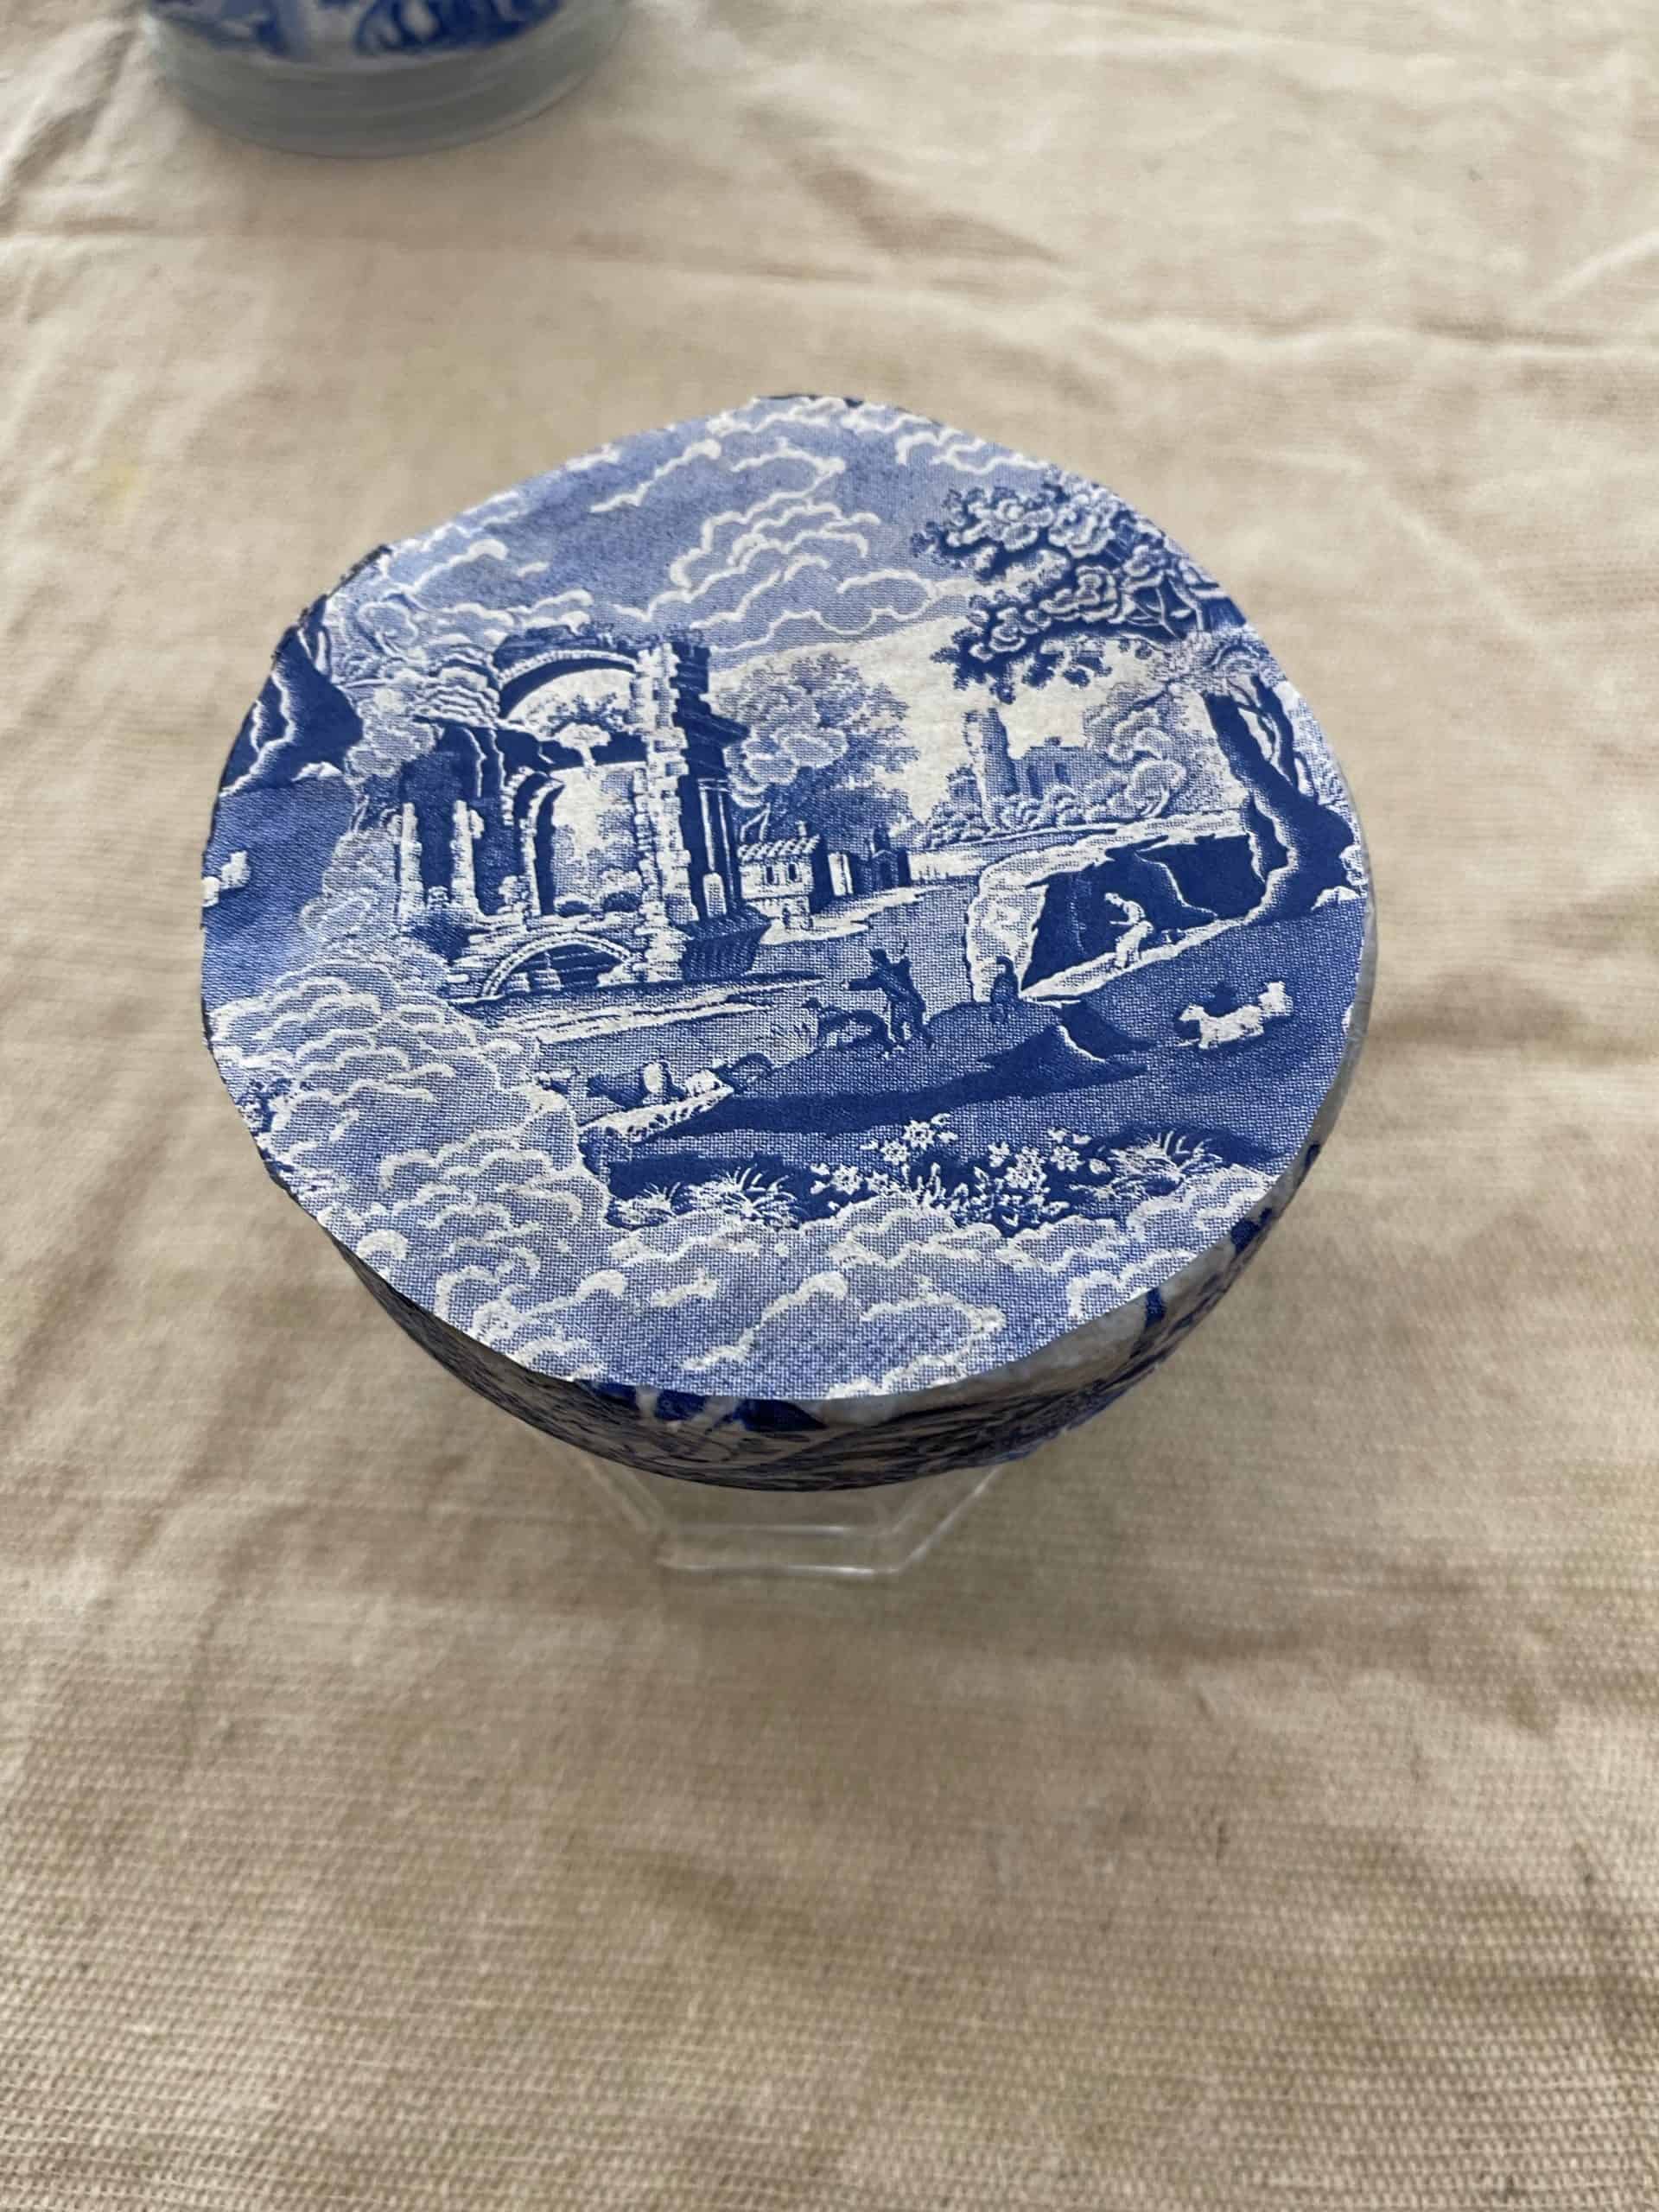
- Cut the top and bottom circles
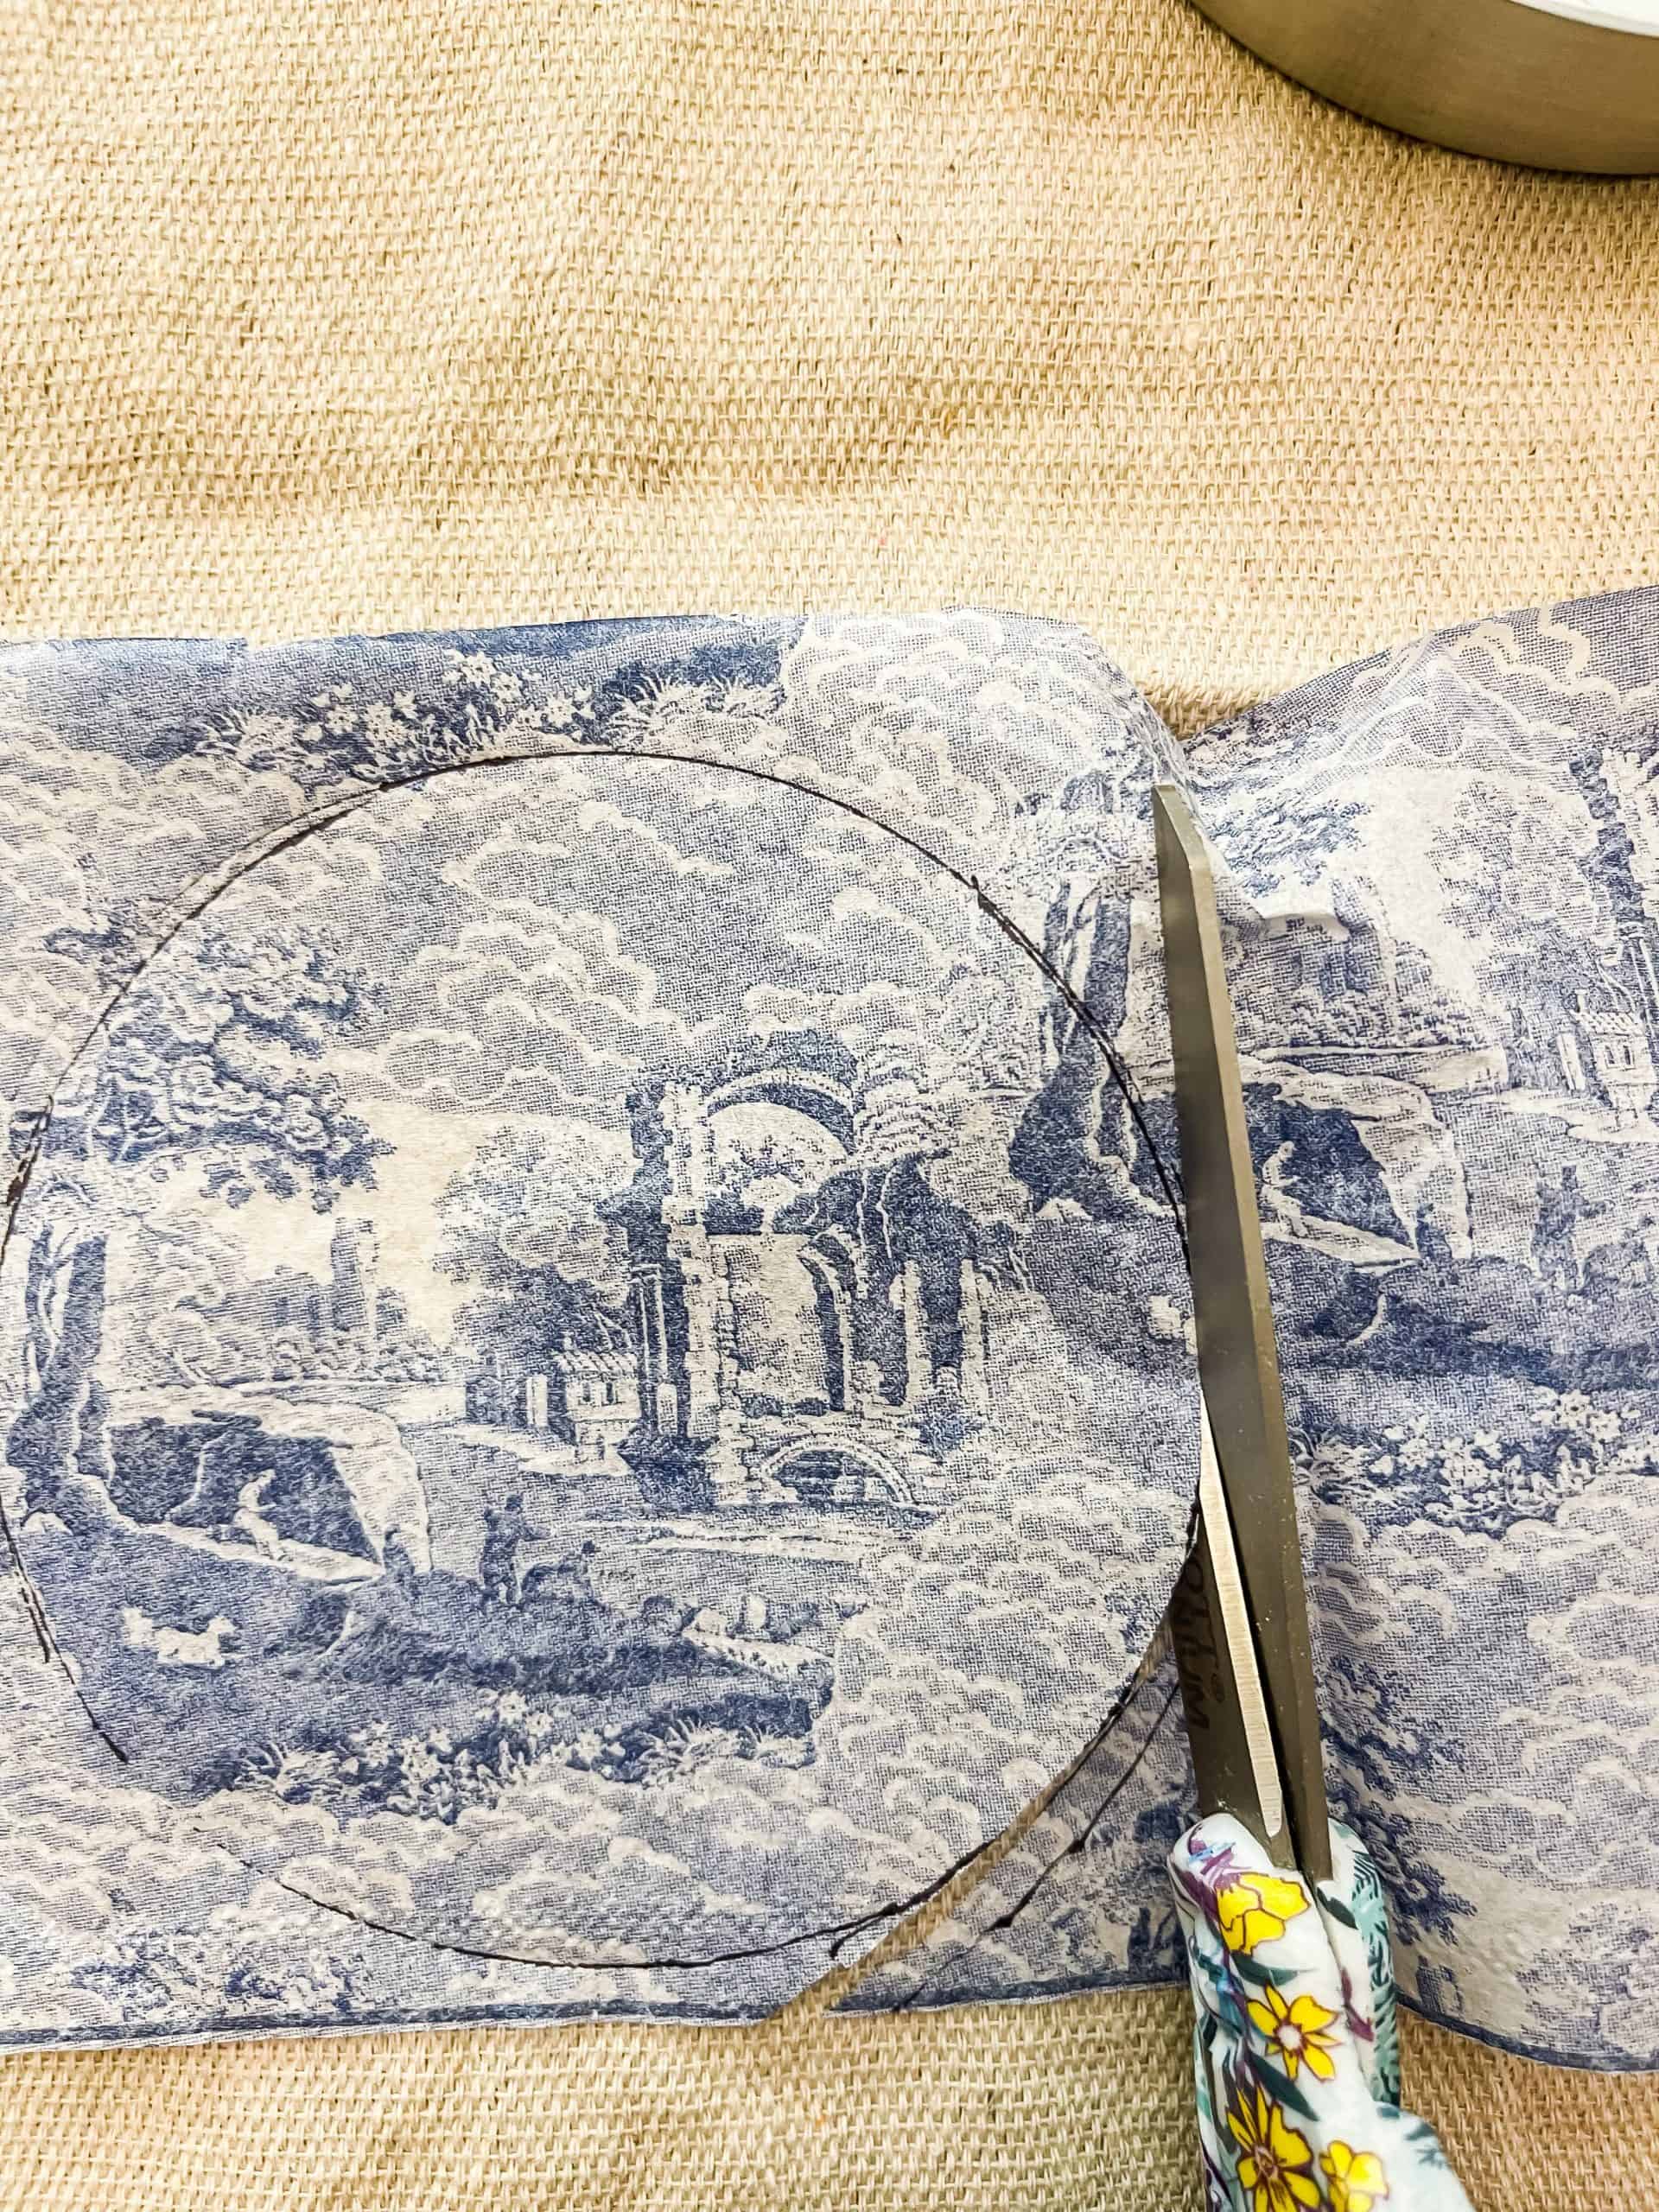
I used the lid to trace 2 circles.
I lined up my favorite part of the pattern that fit the lid and traced the circle.
I cut the circle just inside my trace line so that no sharpie shows.
Cut 2 circles.
- Cut a border piece
I cut a border of the napkin to use around the lid circumference.

- Adhere the bottom circle
I was able to apply mod podge to the bottom of the canister as it was resting on the top.
I first made sure that the ends of my napkin were secured down with mod podge and then I applied an even coat across the entire bottom and placed my circle down.
- Cover your lid
I did the border of the lid first and then the top with a small overlap that I secured down with mod podge and then adhered the circle on top. I place the lid on a candlestick to let it dry.

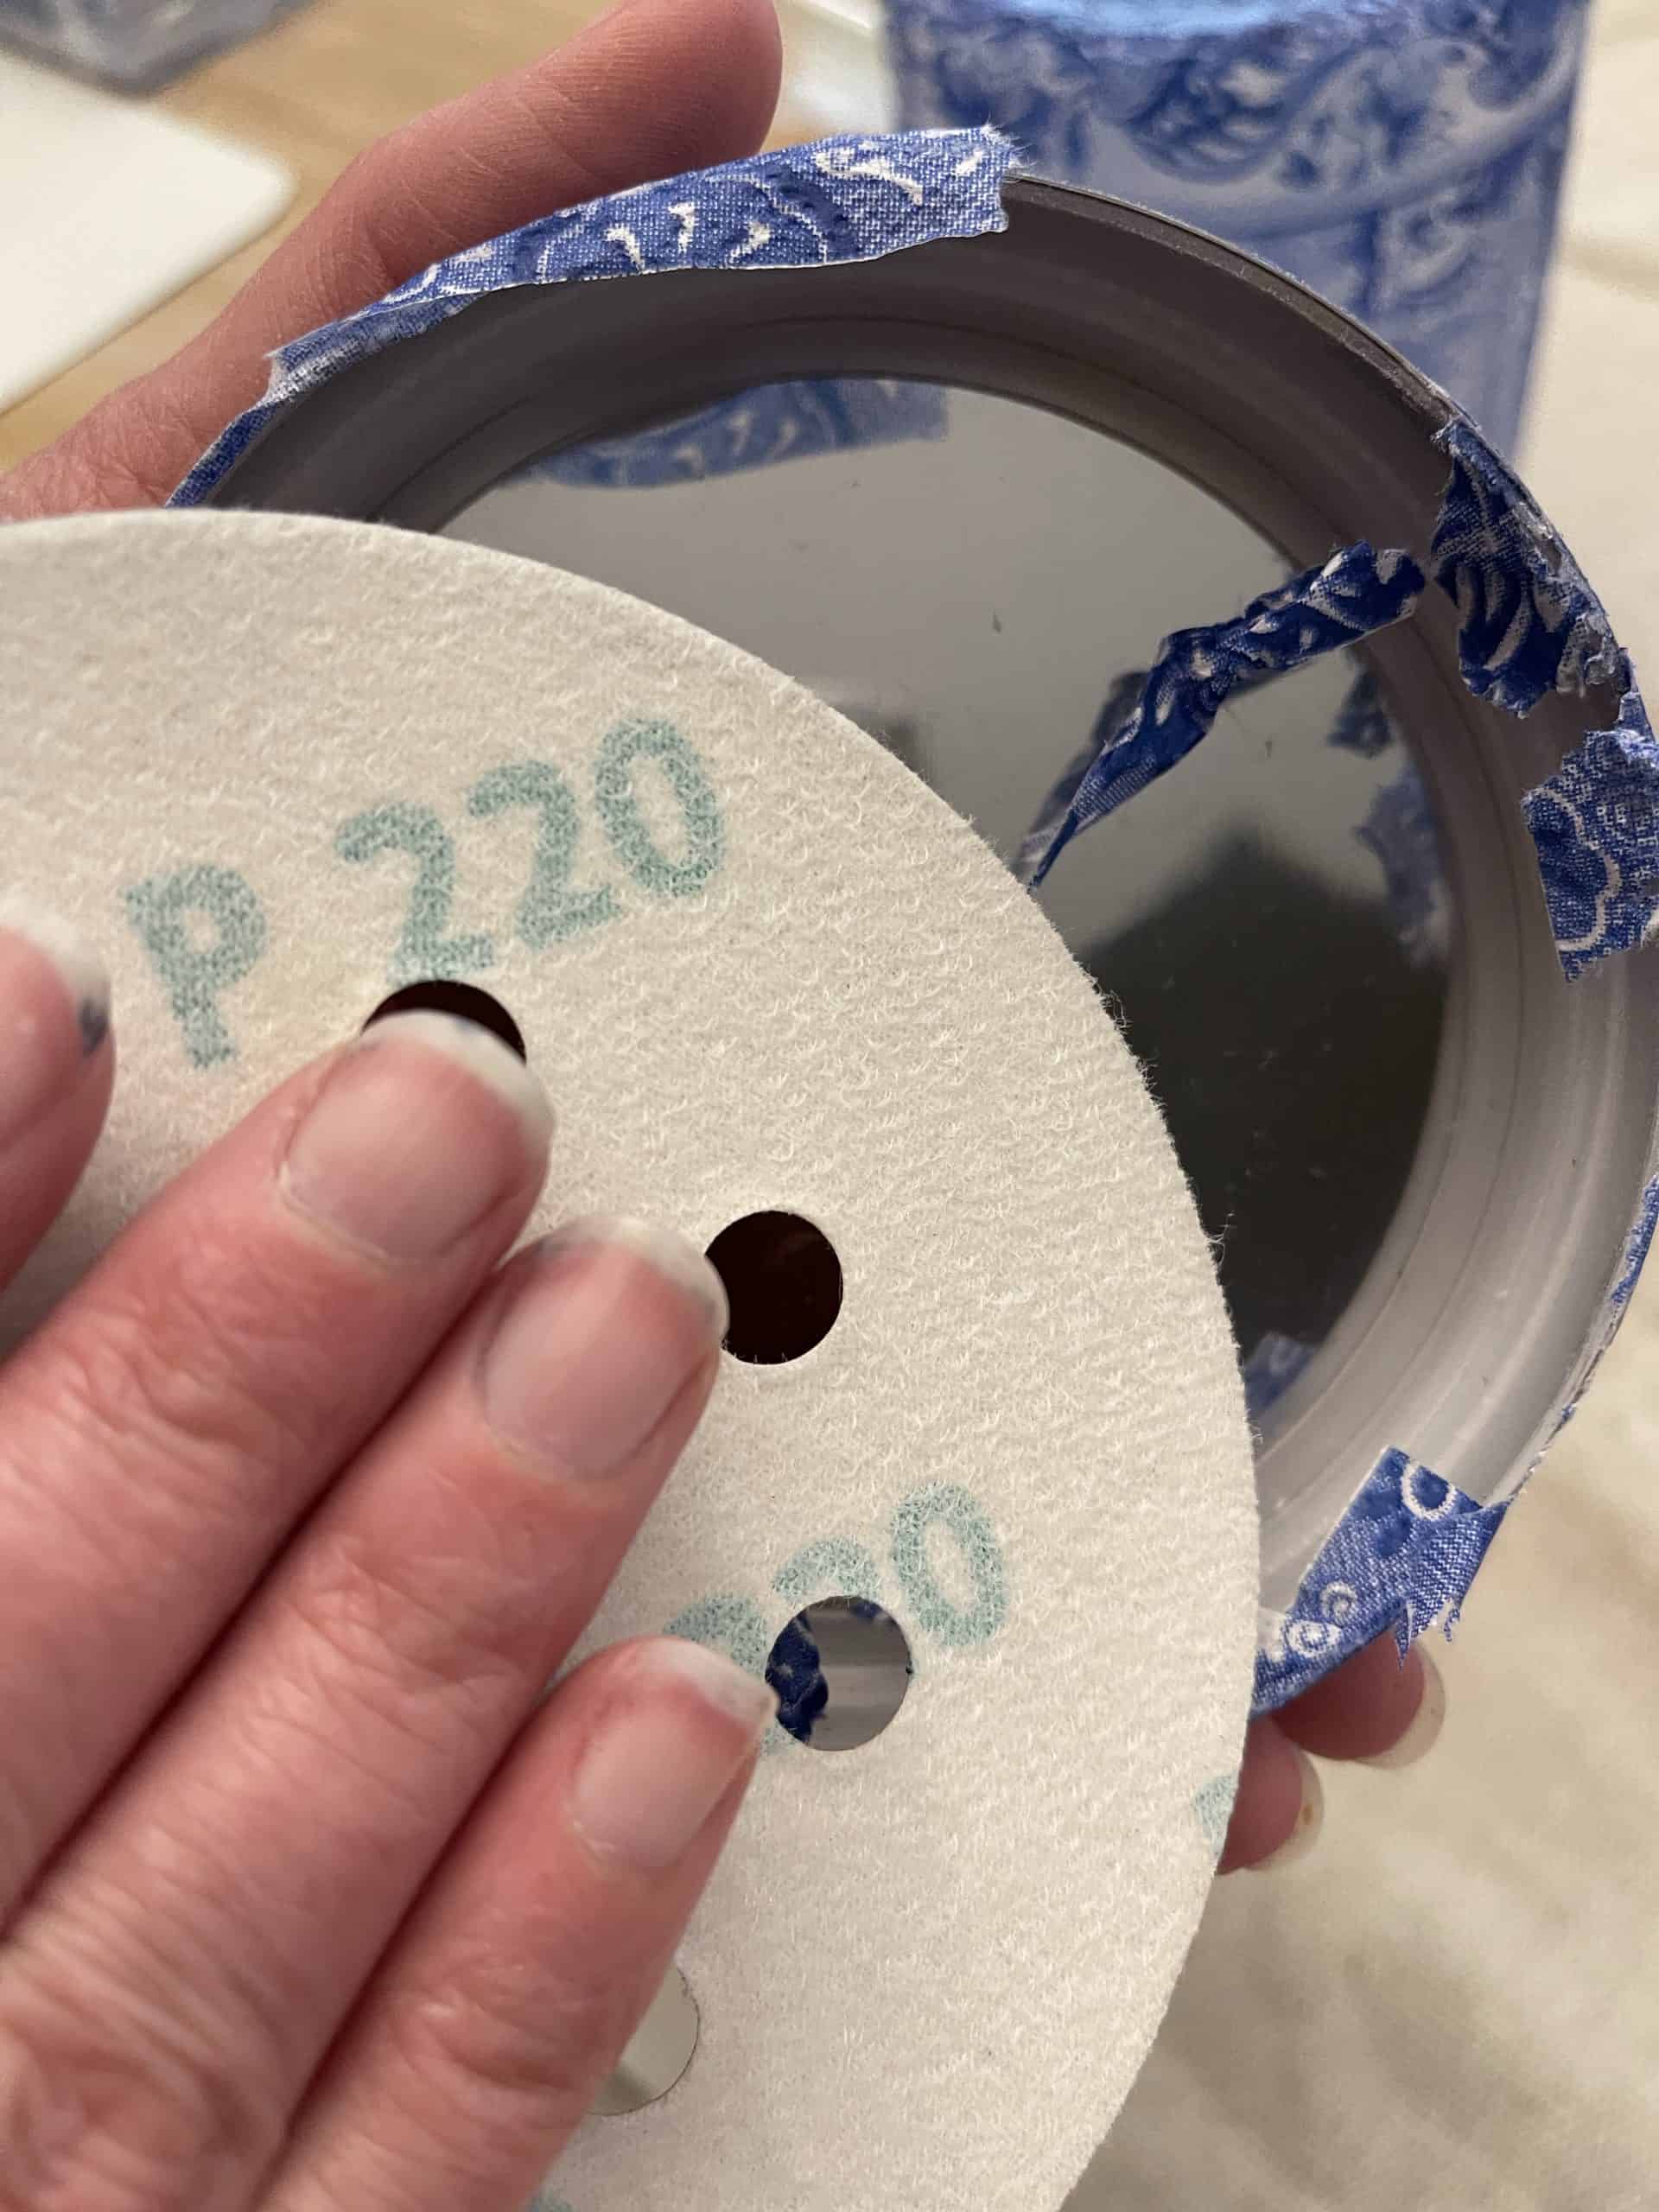
- Sand the leftover on the lid
After the mod podge dried I used 220 grit sandpaper to sand off the excess napkin on the lid.

- Seal your lantern
After the mod podge dried to the touch, I put a thin coat all over the outside of the napkin to seal it. Just in case I ever need to wipe it off it is protected.
- Add a remote control puck light
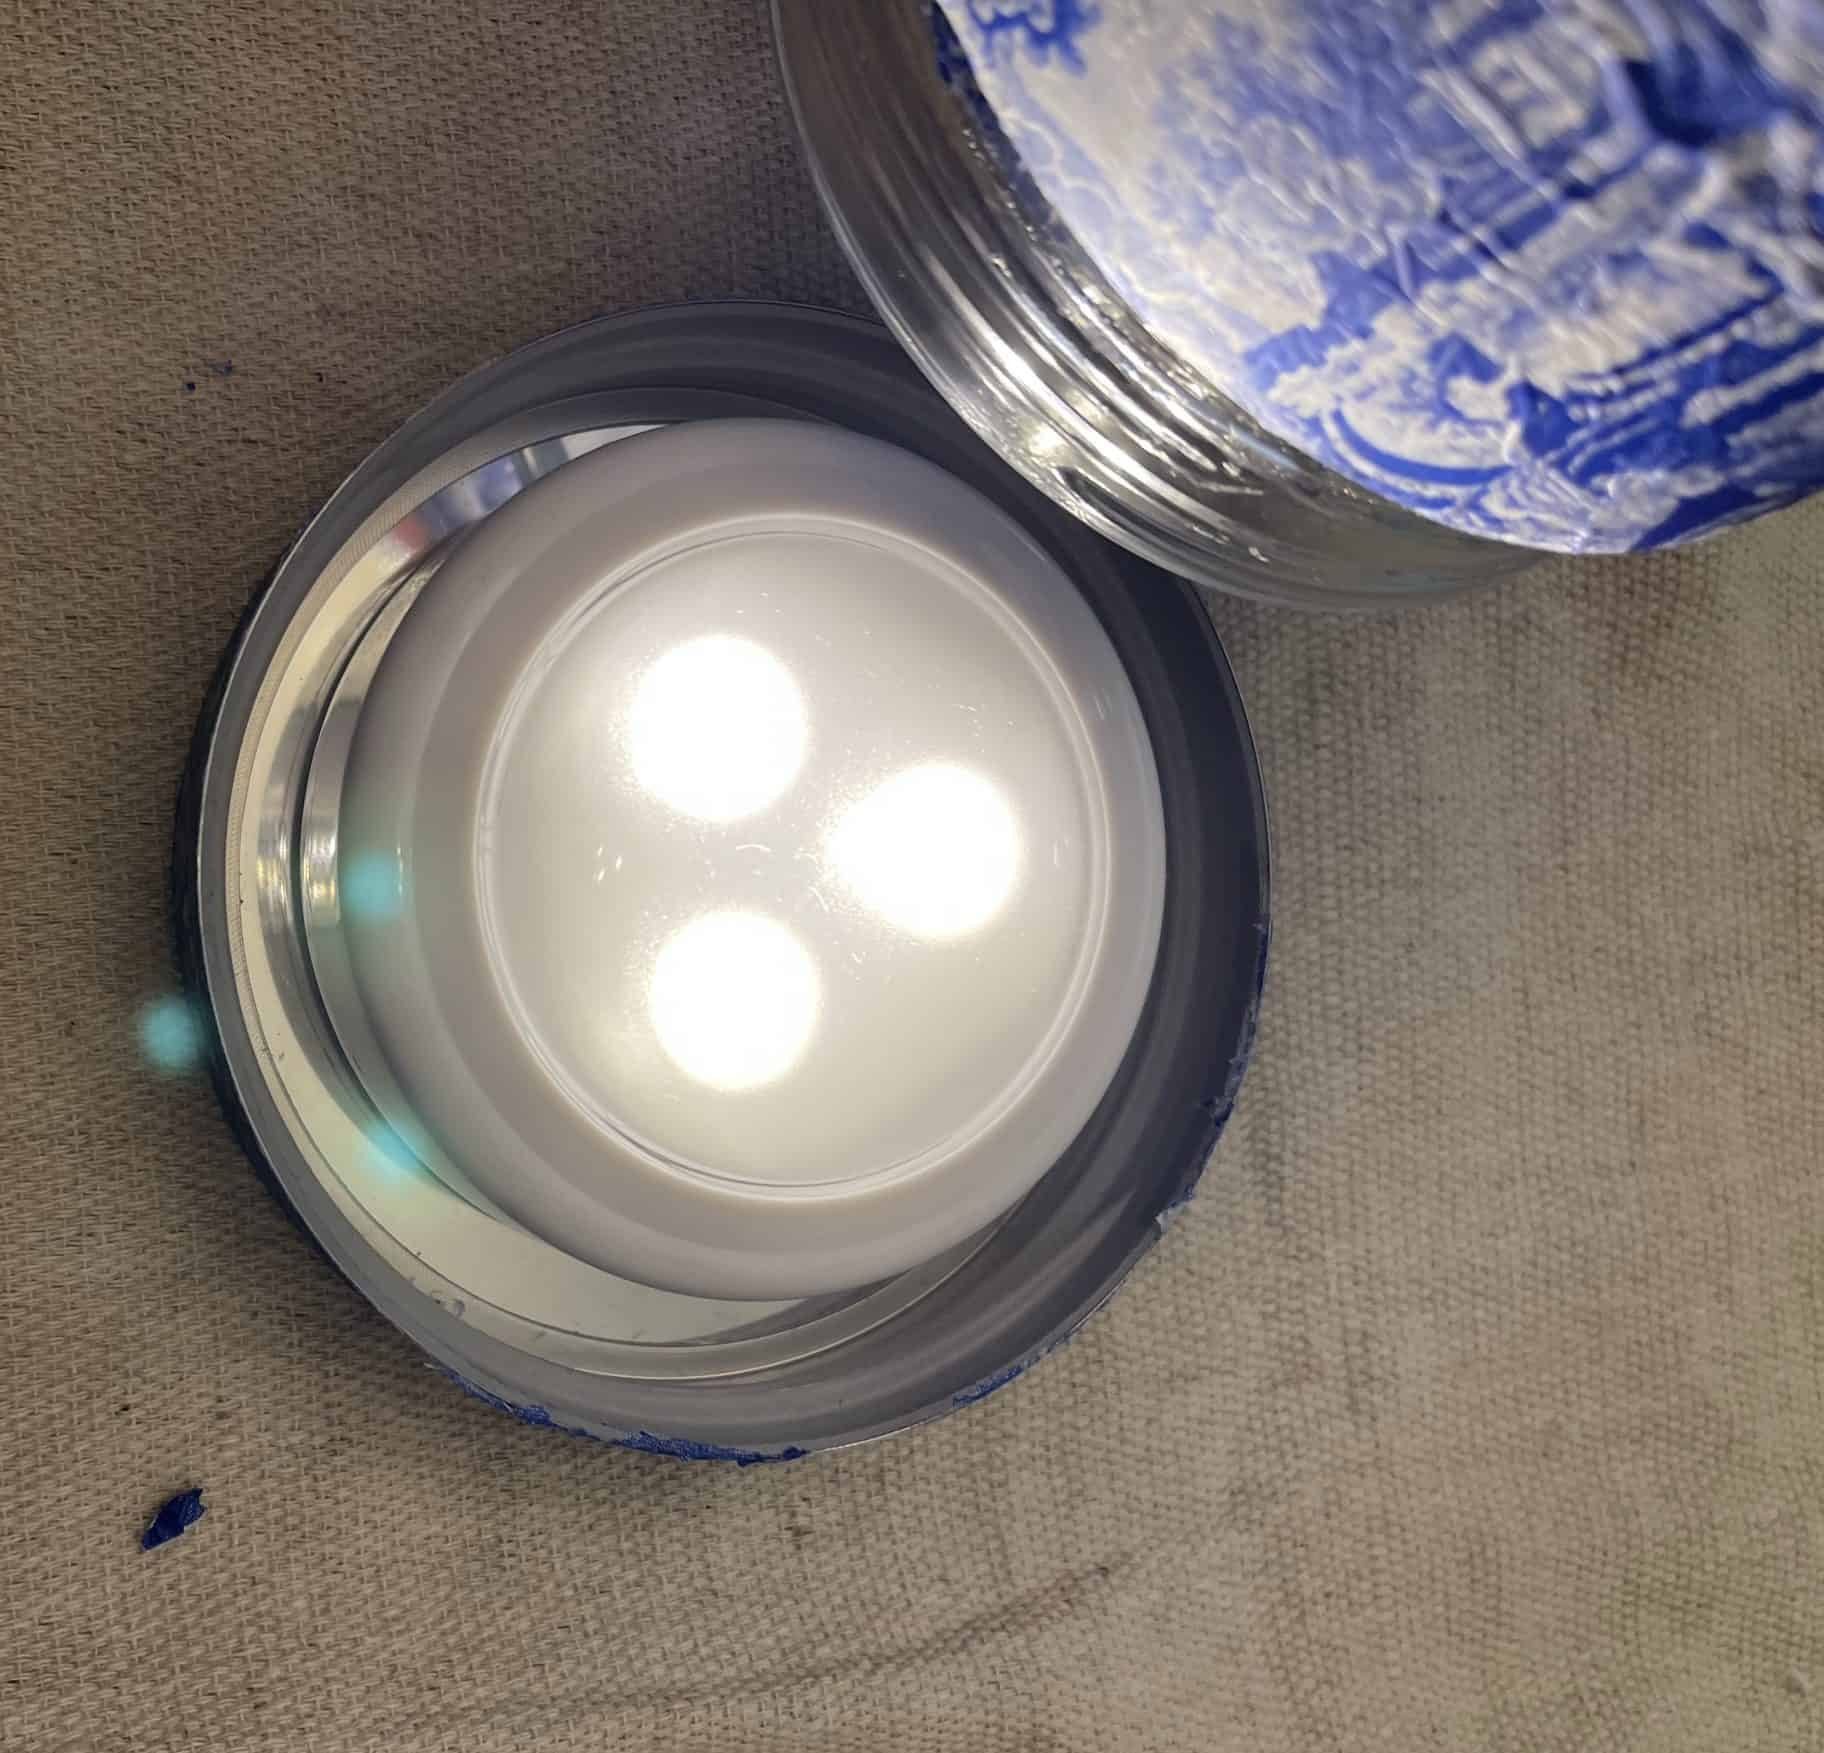
I ordered these remote control puck lights to pull off some faux sconces in my kitchen, and they come 6 in a package so I had extra and I find all kinds of uses for them!
I have linked them here.
I used some adhesive velcro to adhere the light to the inside of the lid.
It is better in the lid rather than the base because it is hidden and it looks more like a “real” light!
Also, I use velcro because I may need to remove it to change the batteries someday.
PS – I centered it better than this LOL!
- Put the lid on and enjoy!

How easy was that? It made such an impact at a budget friendly price!
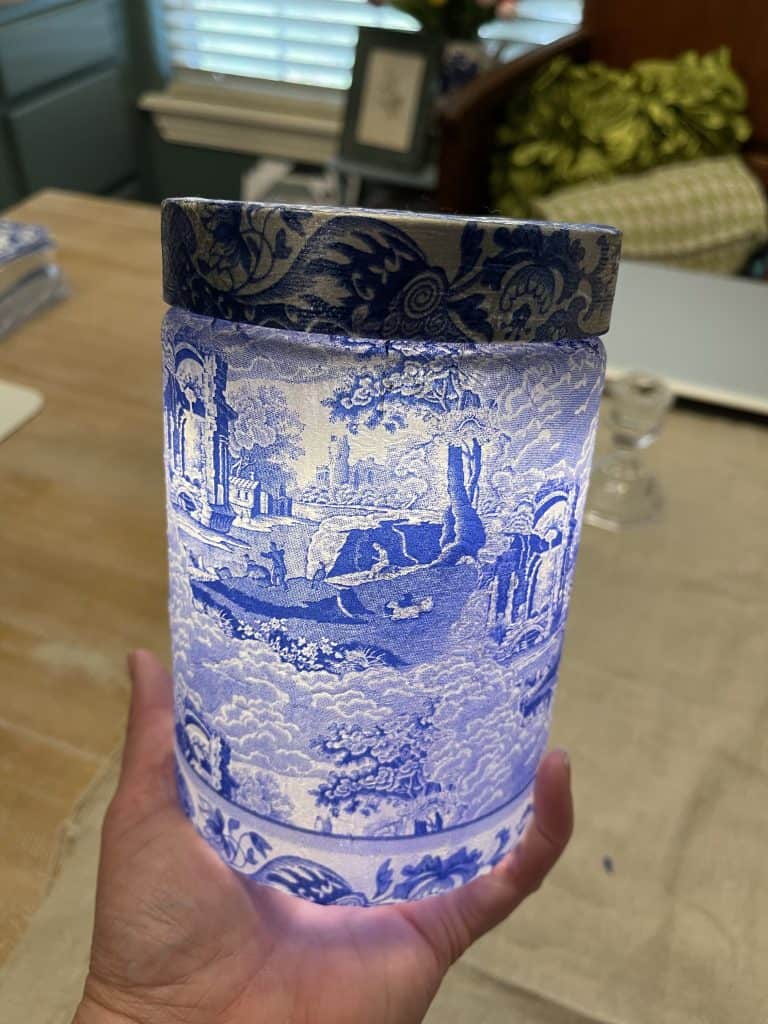
I think I am going to make about 5 or 6 more of these, because they are so inexpensive, and line my porch with them! Won’t that be adorable!
If you love the blue and white decor like myself, I think you will love my Chateau Chic Spring Home Tour specifically my dining room! Take a look here!
Click over to my friends Jenn and Vicki at 2 Bees in a Pod and see her sweet wicker bottle centerpiece! I am on the hunt for one now!

You can find all of the Thrifty Style ideas in the photo below at the bottom of this post as well! It looks like a lot of us are going with a blue and white theme! I see bunnies and milk glass too!
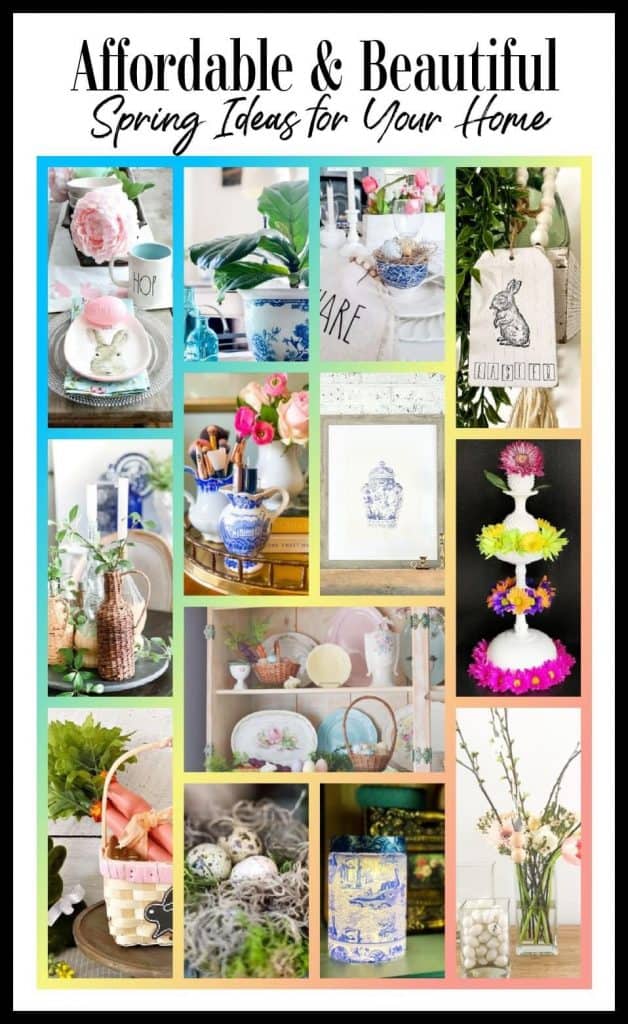
- Redhead Can Decorate – Thrift Store Milk Glass Flower Tower
- Our Crafty Mom – DIY Wooden Carrots
- DIY Beautify – 5 Must Make Spring and Easter DIYs
- 2 Bees In A Pod – Wicker Bottle Centerpiece
- The How To Home – Bead Garland Tag DIY
- Postcards From The Ridge – Free Antique Ginger Jar Printable Art
- Lora B. Create & Ponder – DIY Hutch Makeover Tips (with Vintage Style)
- The Tattered Pew – Scripture Eggs
- I Should Be Mopping the Floor – 11 Uses for a Vintage Creamer Pitcher
- Cottage On Bunker Hill –7 Pretty Cottage Style Easter Decorating Ideas
- Amy Sadler Designs – Chinoiserie Lantern
- Songbird – Easy DIY Wood Bead Bunnies Easter Decor
- My Family Thyme – How to Decoupage a Pretty Planter
This turned out beautifully, Amy, and I love the remote control aspect of it….convenient and pretty! xo
Yes! I have used these little puck lights in so many things! Even under the counters!
Ok I am in love with this! You know I love blue and white and the napkins you chose are beautiful! and the luck light? So smart! So thankful to have Jesus as our light!!!
It would look great in your house too!!! I’m so thankful to know and trust Him!
I love this project Amy and those verses are just spot on!
What a cute and clever idea! The remote control puck lights are genius and I always love anything blue and white. Pinned!
Amy, this is such a beautiful project! I love the pretty napkin you chose and using those remote control puck lights is so clever! Happy Spring, my friend!
I think I need a set of those puck lights in my life; why did I not know they existed? And with a remote even; so slick! These will be so pretty on your porch. Loved that you brought the Light of the World into your post; perfect for Easter!
Nice work Amy!!! Great tutorial too. Keep on rockin’
This lantern is so pretty, Amy! I would love one for my kitchen window 💙💙💙
What a fun and unique chinoiserie piece, Amy! Love it. xoxo, kristi
Amy – we love chinoiserie and decoupage projects – so this is a win-win for us! Love how it turned out!
Thank you!!!