Paper Mache Centerpiece Bowl | Pottery Barn Dupe
I love shopping at Pottery Barn and West Elm, but today I wanted to see if I could make some of my favorite Pottery Barn looks for less! Here is my attempt at the Paper Mache Centerpiece Bowl from Pottery Barn.
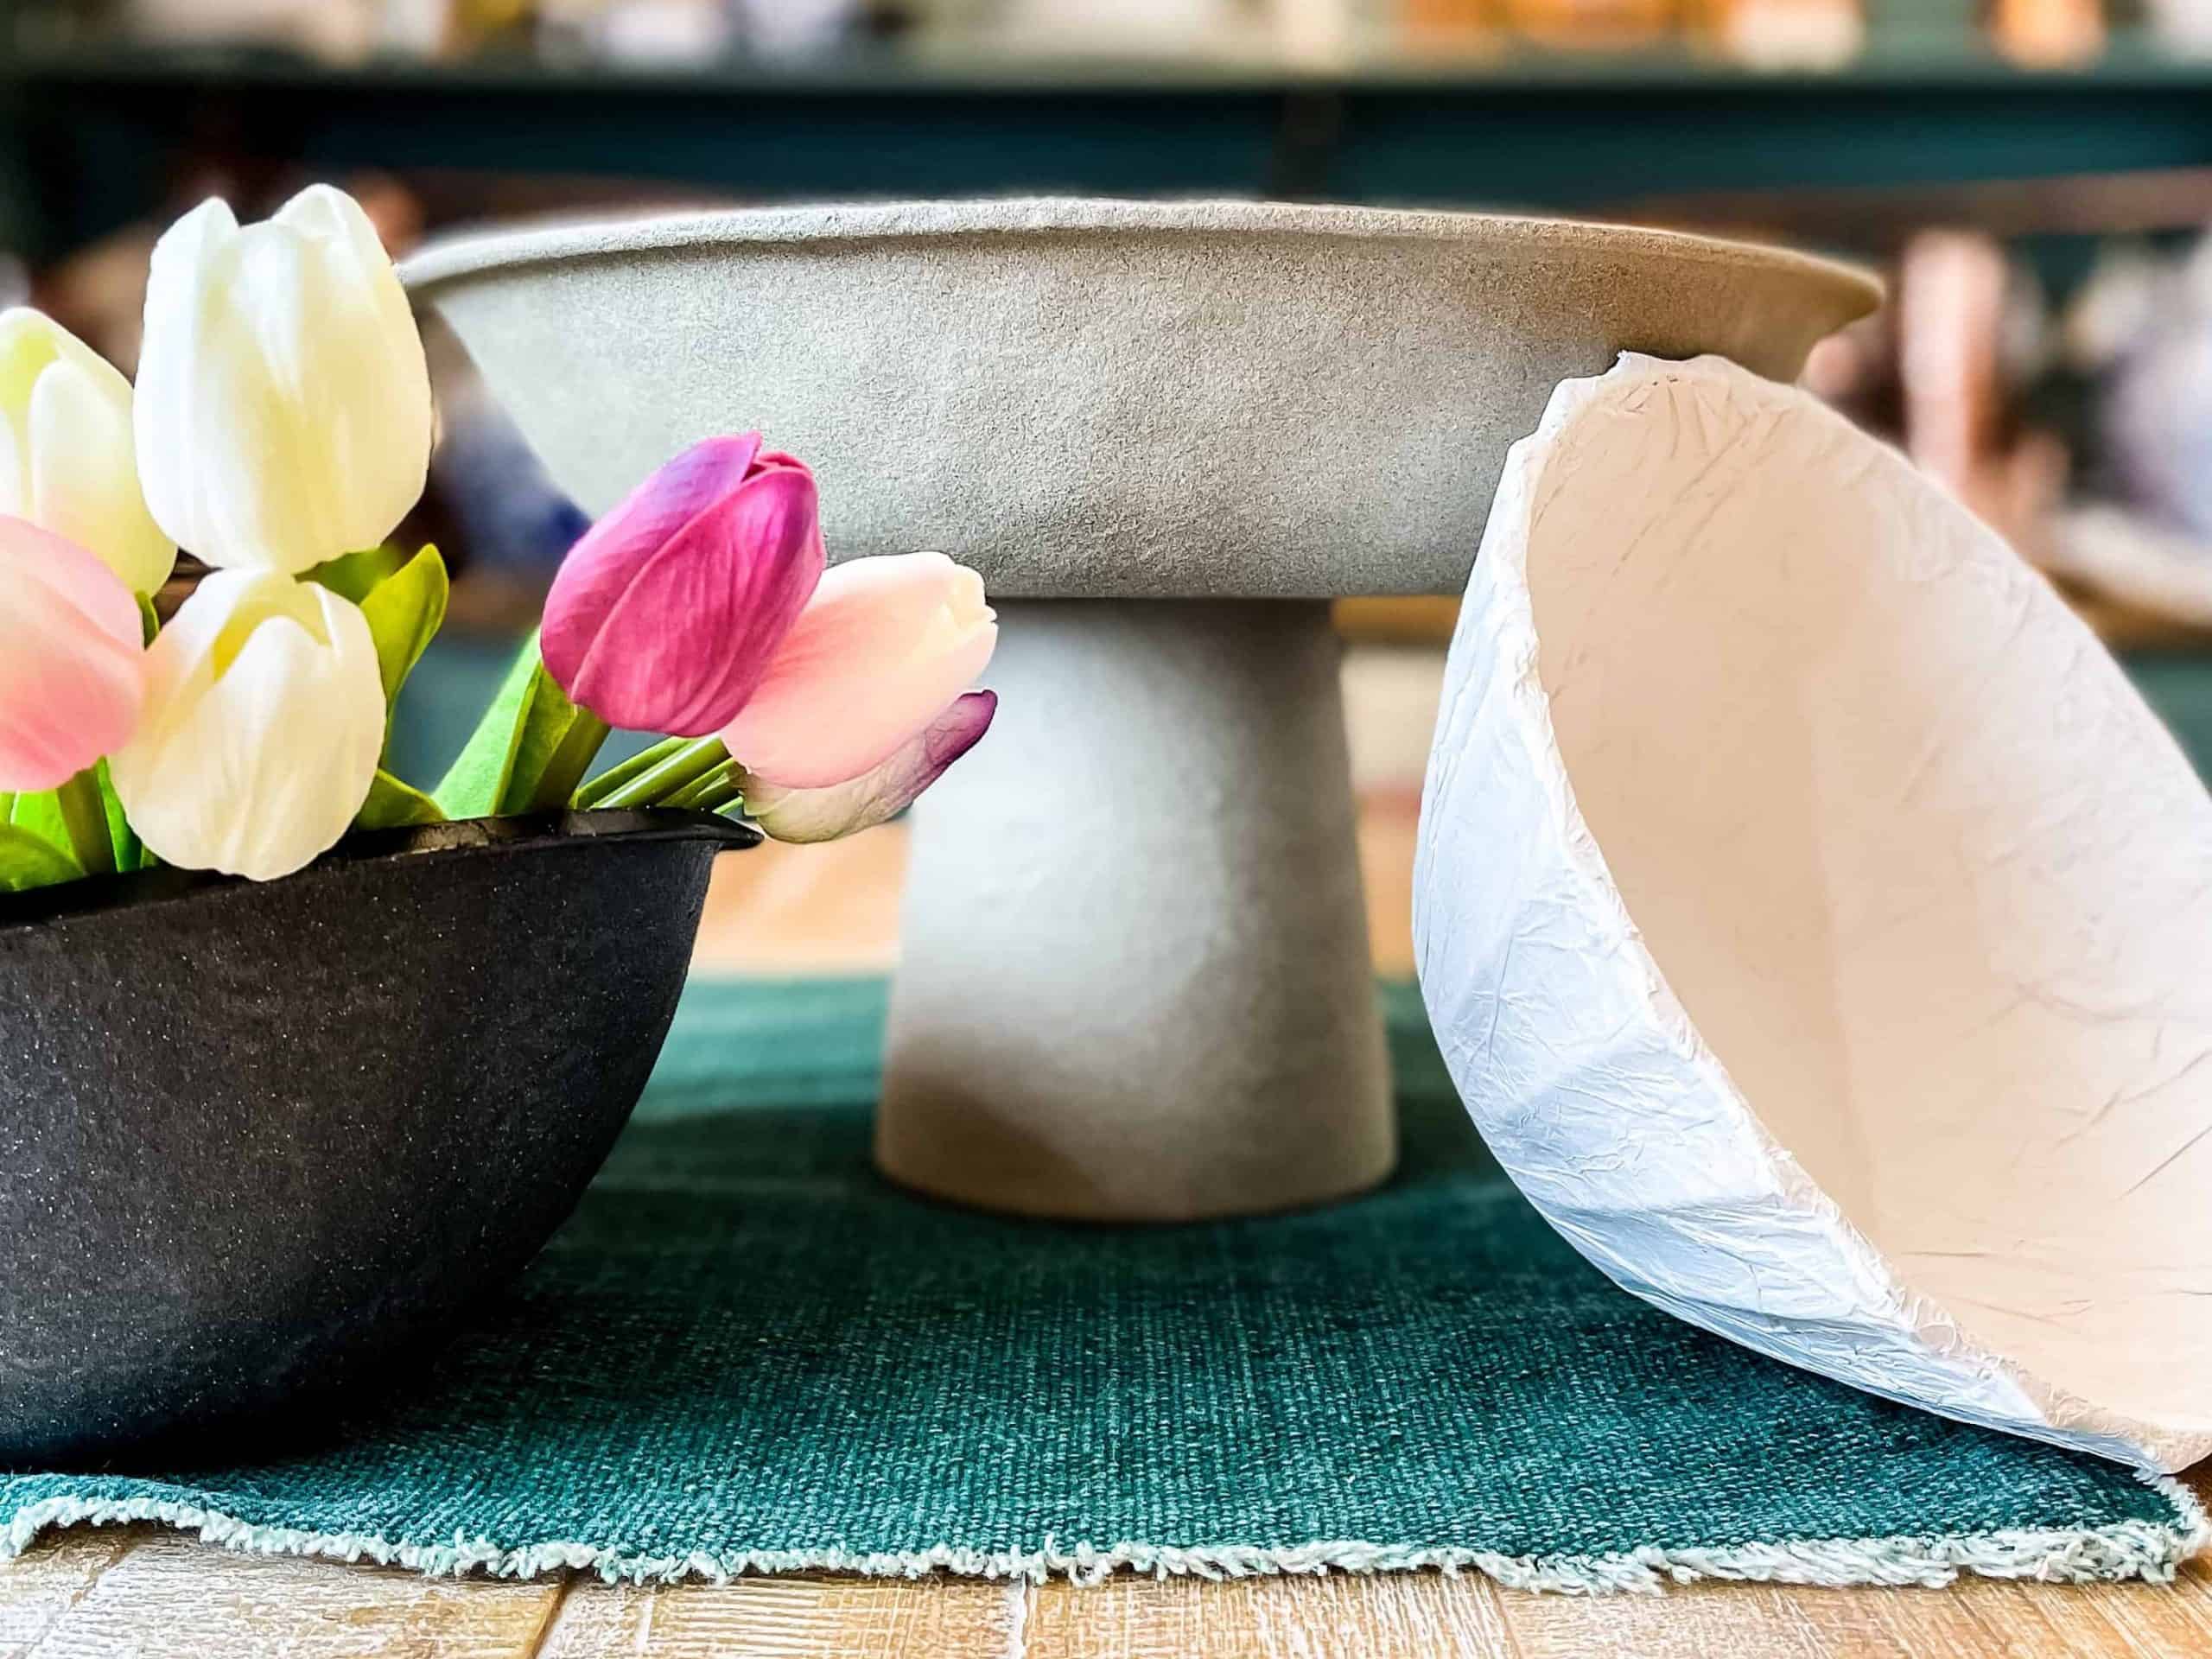
I have a YouTube video with this project and two other Pottery Barn and West Elm Dupes.
The latest on Youtube:
If you don’t want to make one, you can buy the real thing here!
Paper Mache Centerpiece | Pottery Barn dupe
Supplies
- Favorite Bowl Shape and Size:
- I picked up several plastic bowls at the Dollar Tree in many shapes and sizes and decided to make this paper mache bowl Pottery Barn Dupe from a fluted bowl that is smaller than the Pottery Barn one but it has a great shape.
- White Tissue Paper:
- I used three sheets of white tissue paper on the top and on the bottom of this bowl, six in total. You may choose to use more, but I wouldn’t use less than three.
- White Chalk Paint:
How to Create a Paper Mache Centerpiece Bowl
- Paint a layer of chalk paint
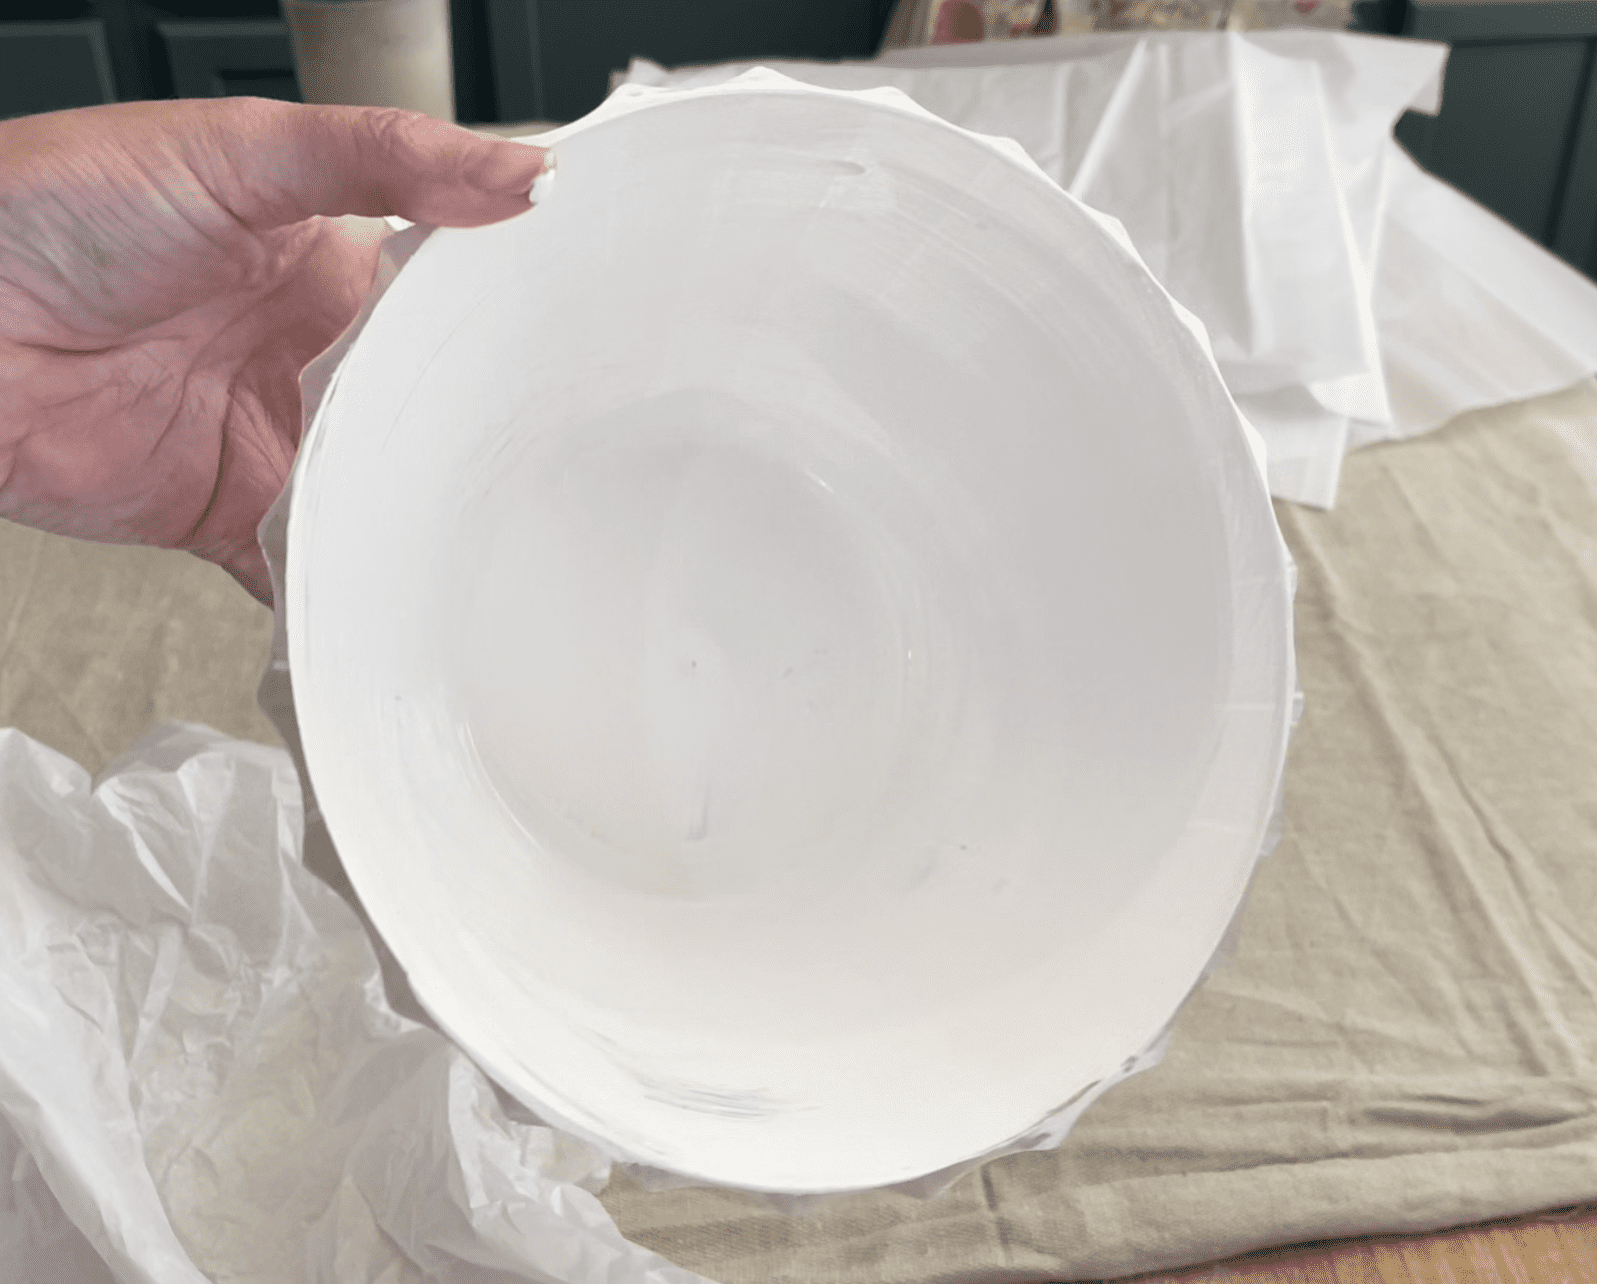
Start on the inside of your bowl and put down one layer of chalk paint.

- Place one layer of tissue paper
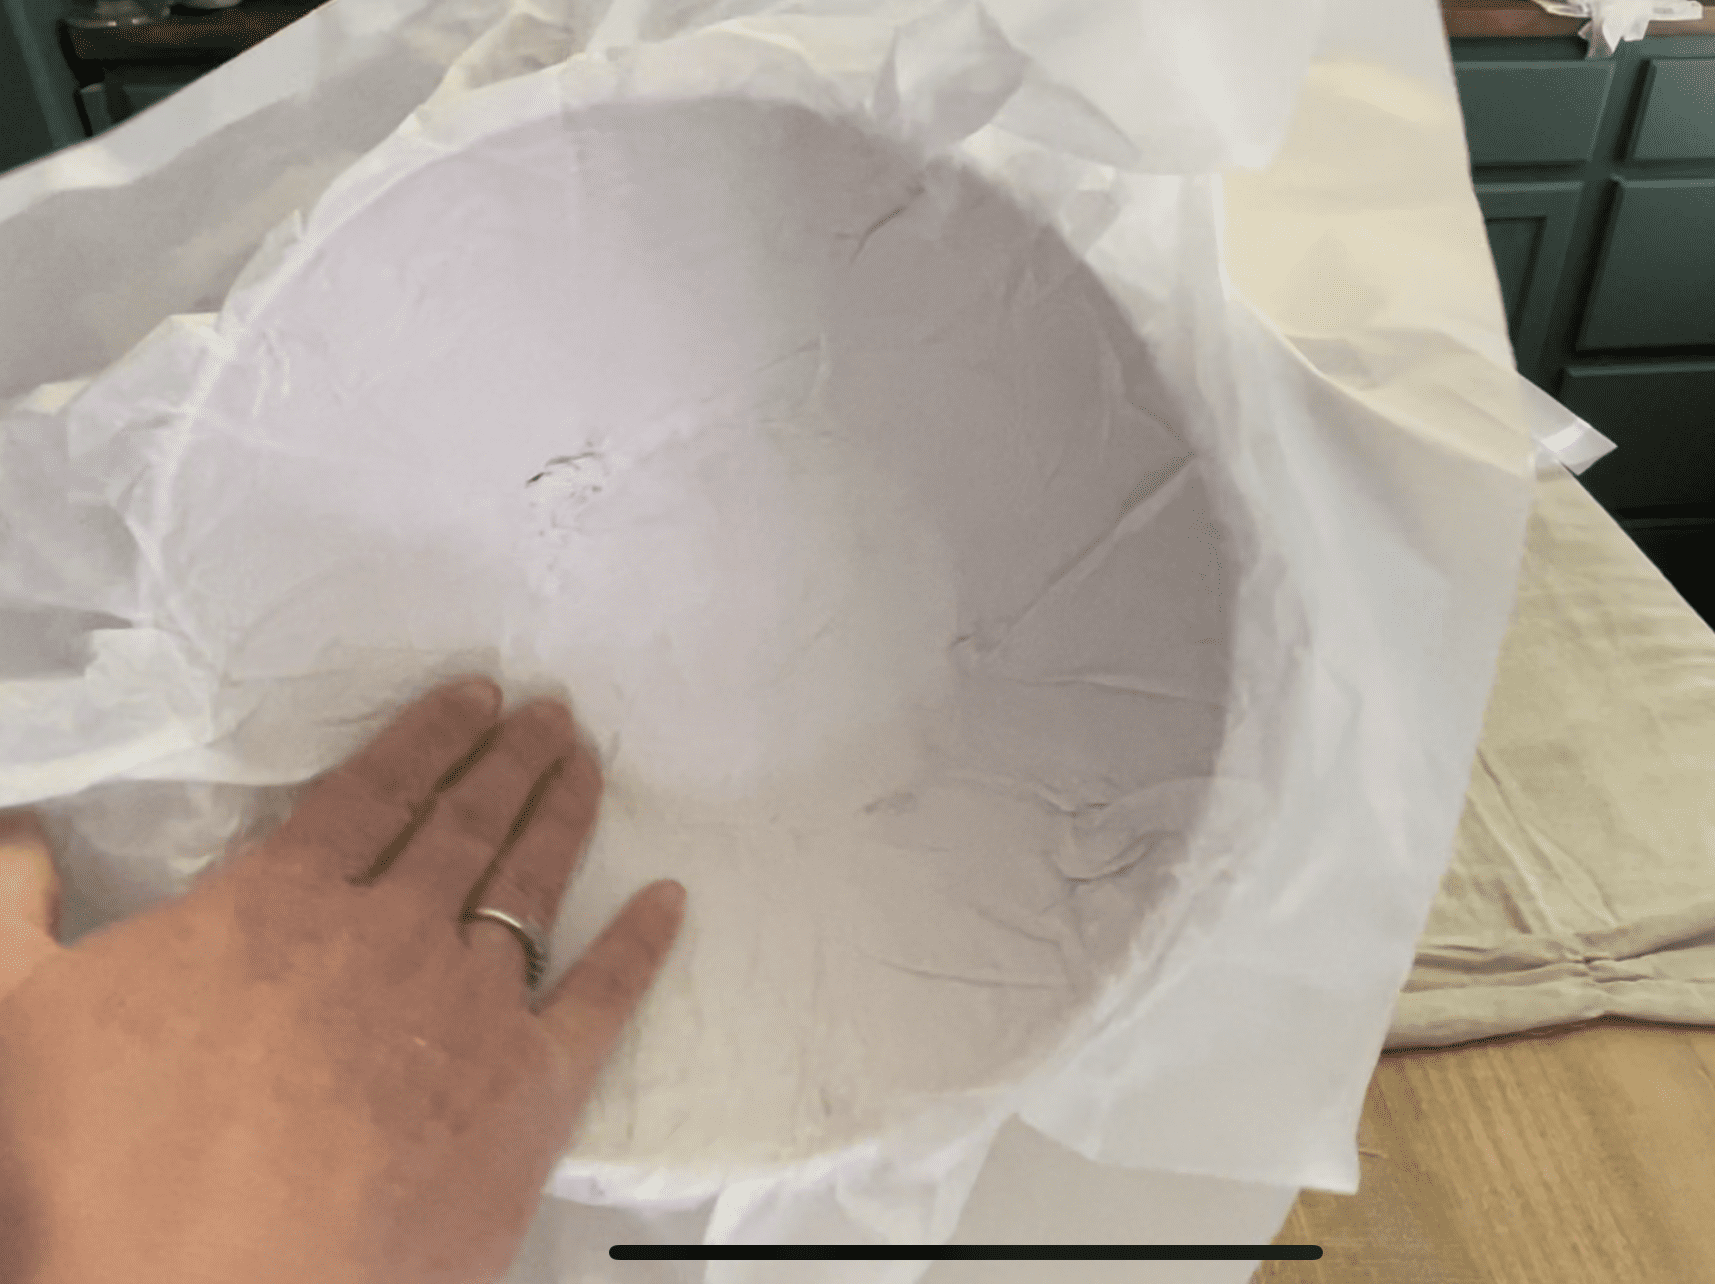
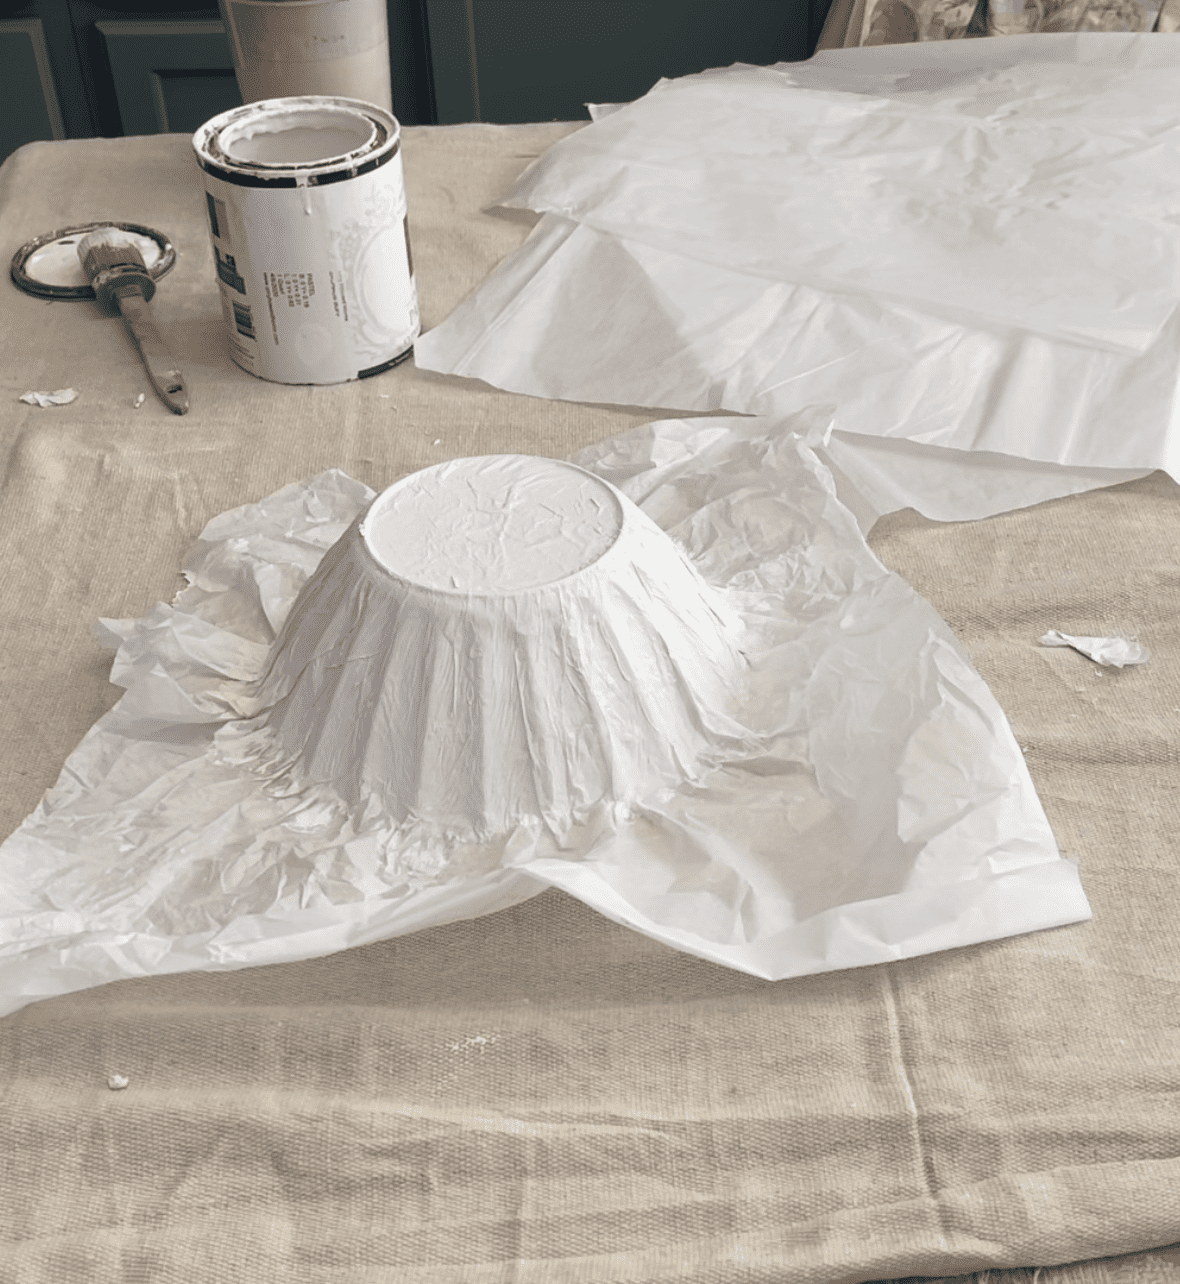
Crumple your tissue paper and then straighten it out with your hands. Lay the center of your tissue paper down onto the center of your bowl and press it into the wet paint, then work it neatly up the sides of the bowl pressing it with your hands into the wet paint.

- Tear the excess
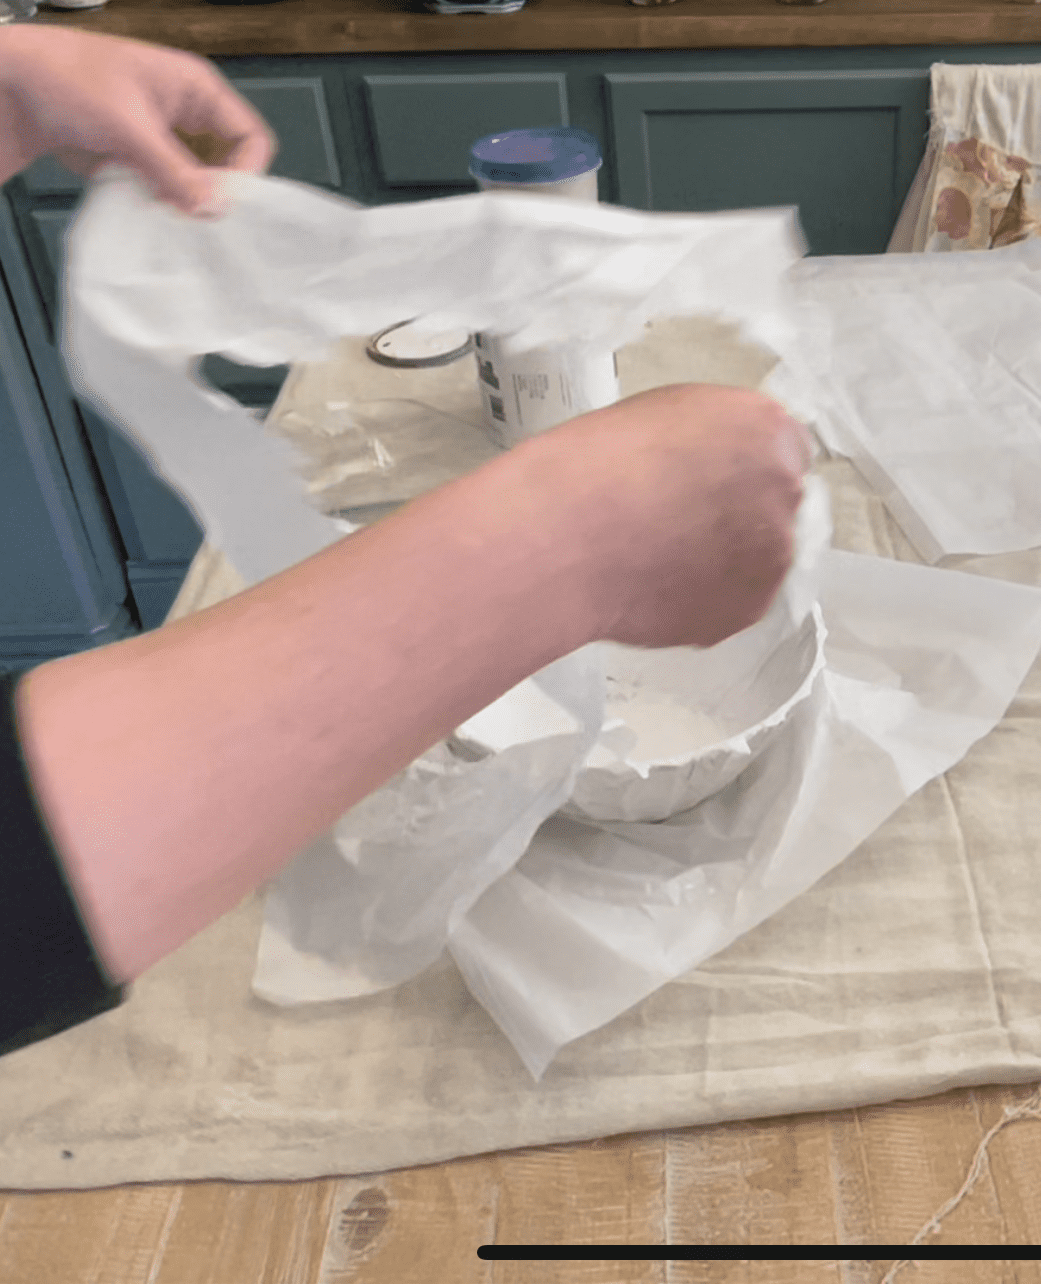
Pull the excess tissue paper from the bowl. It is wet and will tear away easily if you pull away from the bowl at a 90 degree angle

- Do the other side
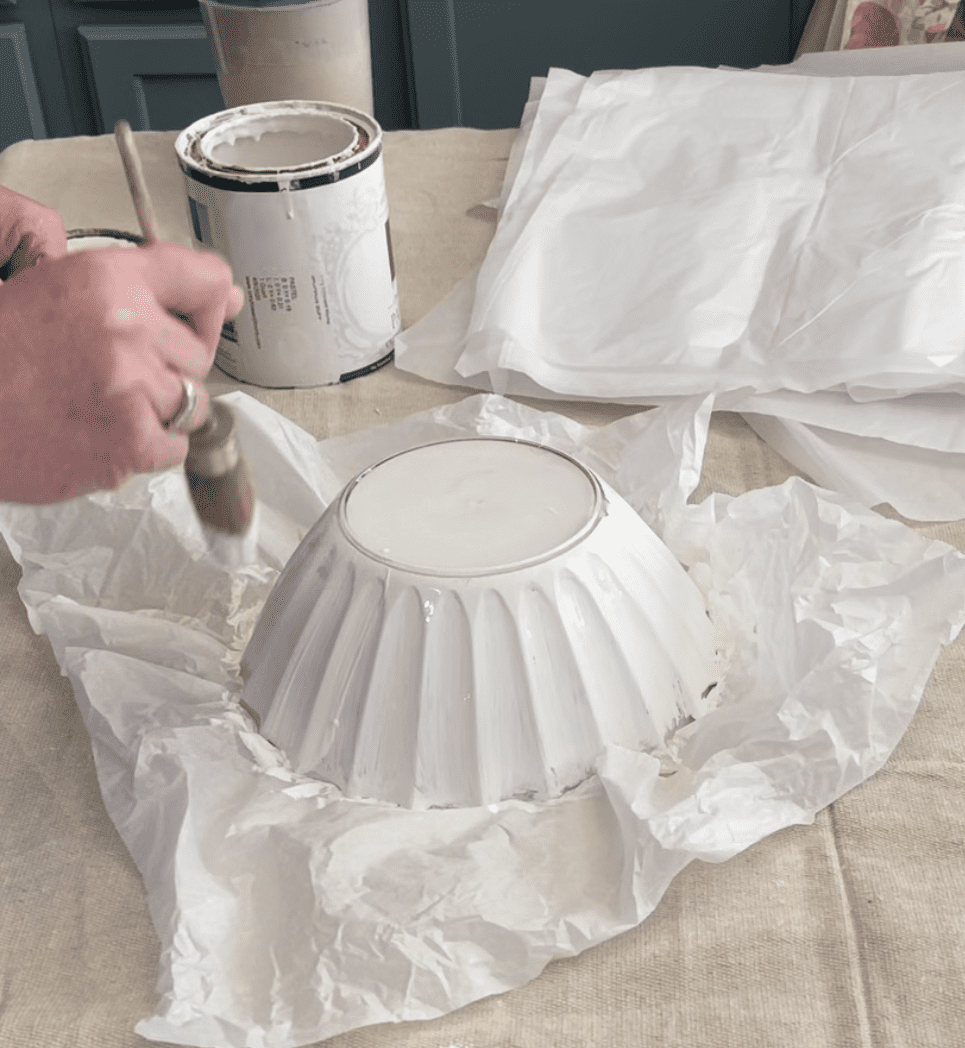
Turn the bowl upside down and repeat by laying a layer of chalk paint and then carefully laying crumpled and straightened tissue paper on the center of the bowl and carefully pressing the tissue paper into the wet paint.

- Tear the excess
Repeat the tearing process the same as the other side. Be sure to pull at a 90-degree angle toward the bowl.
- Paint over the tissue paper
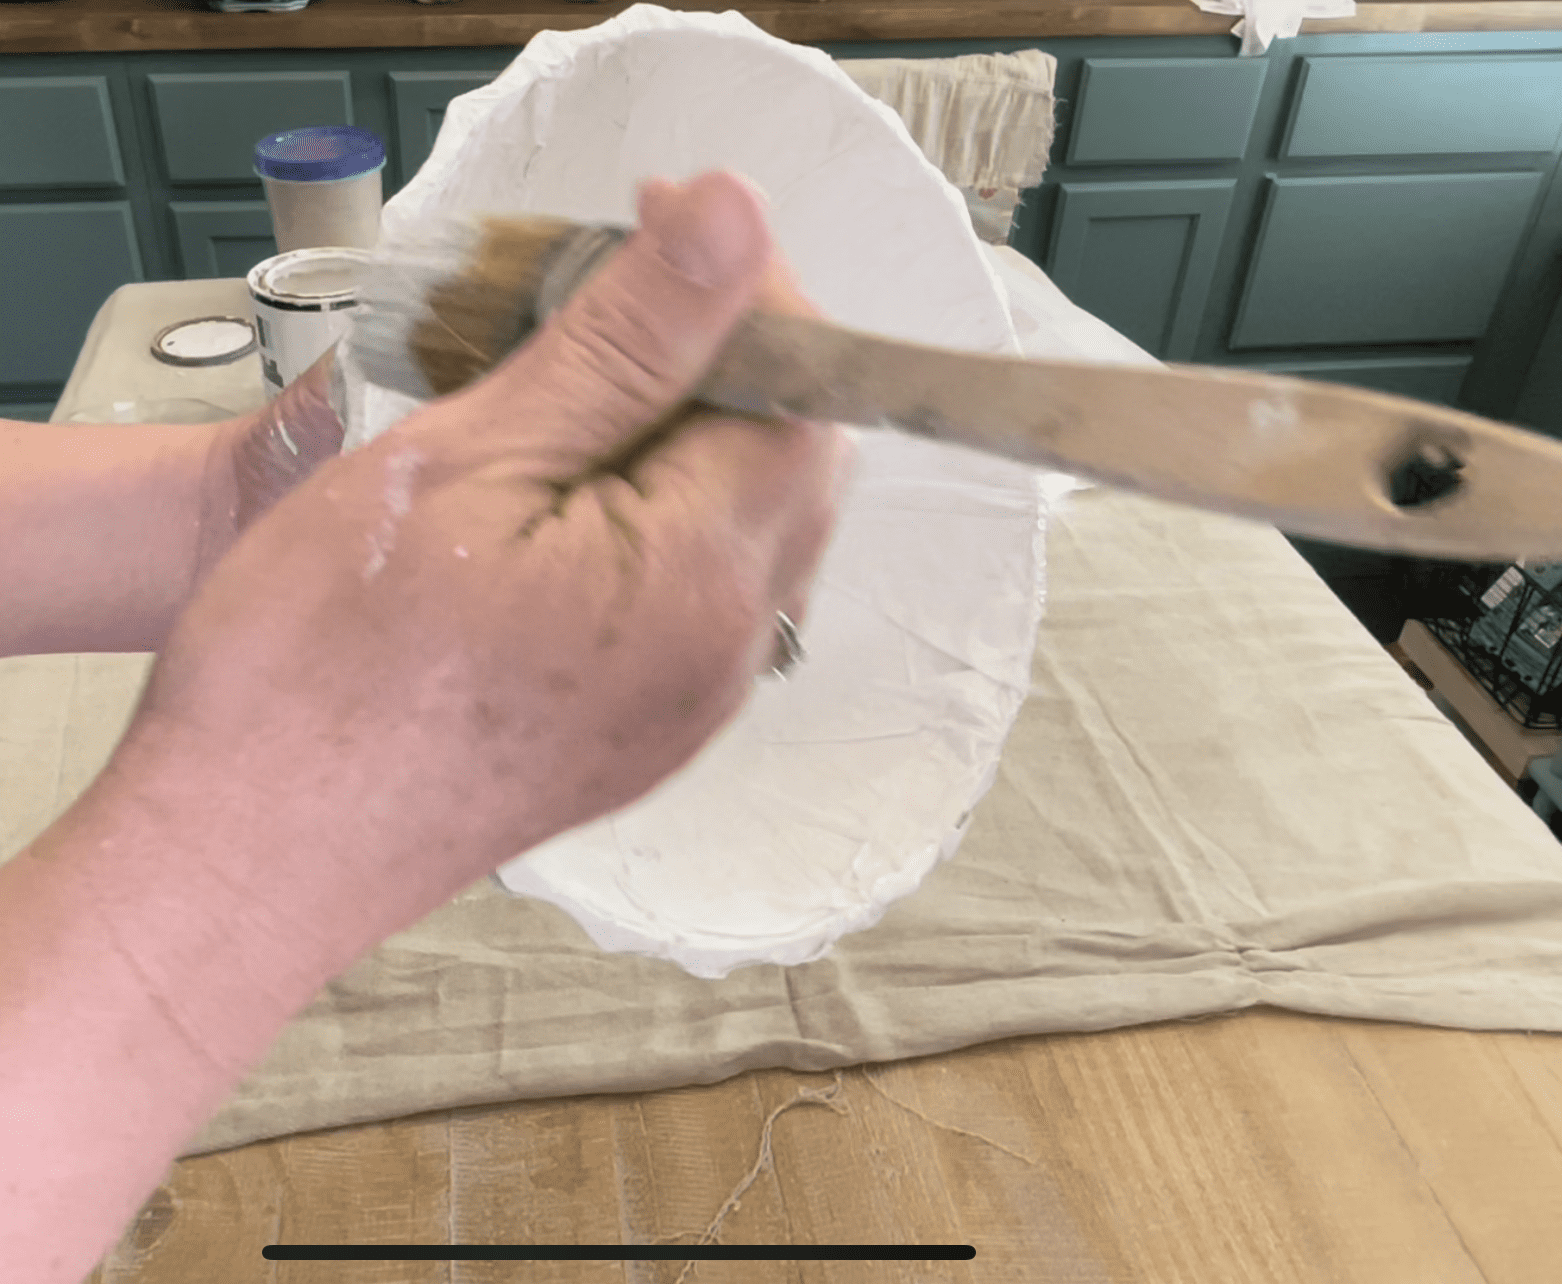
Paint a layer of chalk paint over the tissue paper and press any raised areas down with wet paint. Go over both sides.

- Repeat
Repeat this process at least three times on each side. I waited and let the paint dry a little between the second and third coats because my tissue paper was to soaked and was tearing with my brush strokes. Just let it dry a little and go again if that happens.
- Tack down the top
Tack down any loose or fly-away tissue paper at the top of the bowl where it was torn away with wet paint and your brush and or fingers.

- Let Dry
Let it sit for 24 hours to dry completely

- Seal
If you plan to use this for decor you may want to seal it with a clear matte spray sealer or a matte finish mod podge.
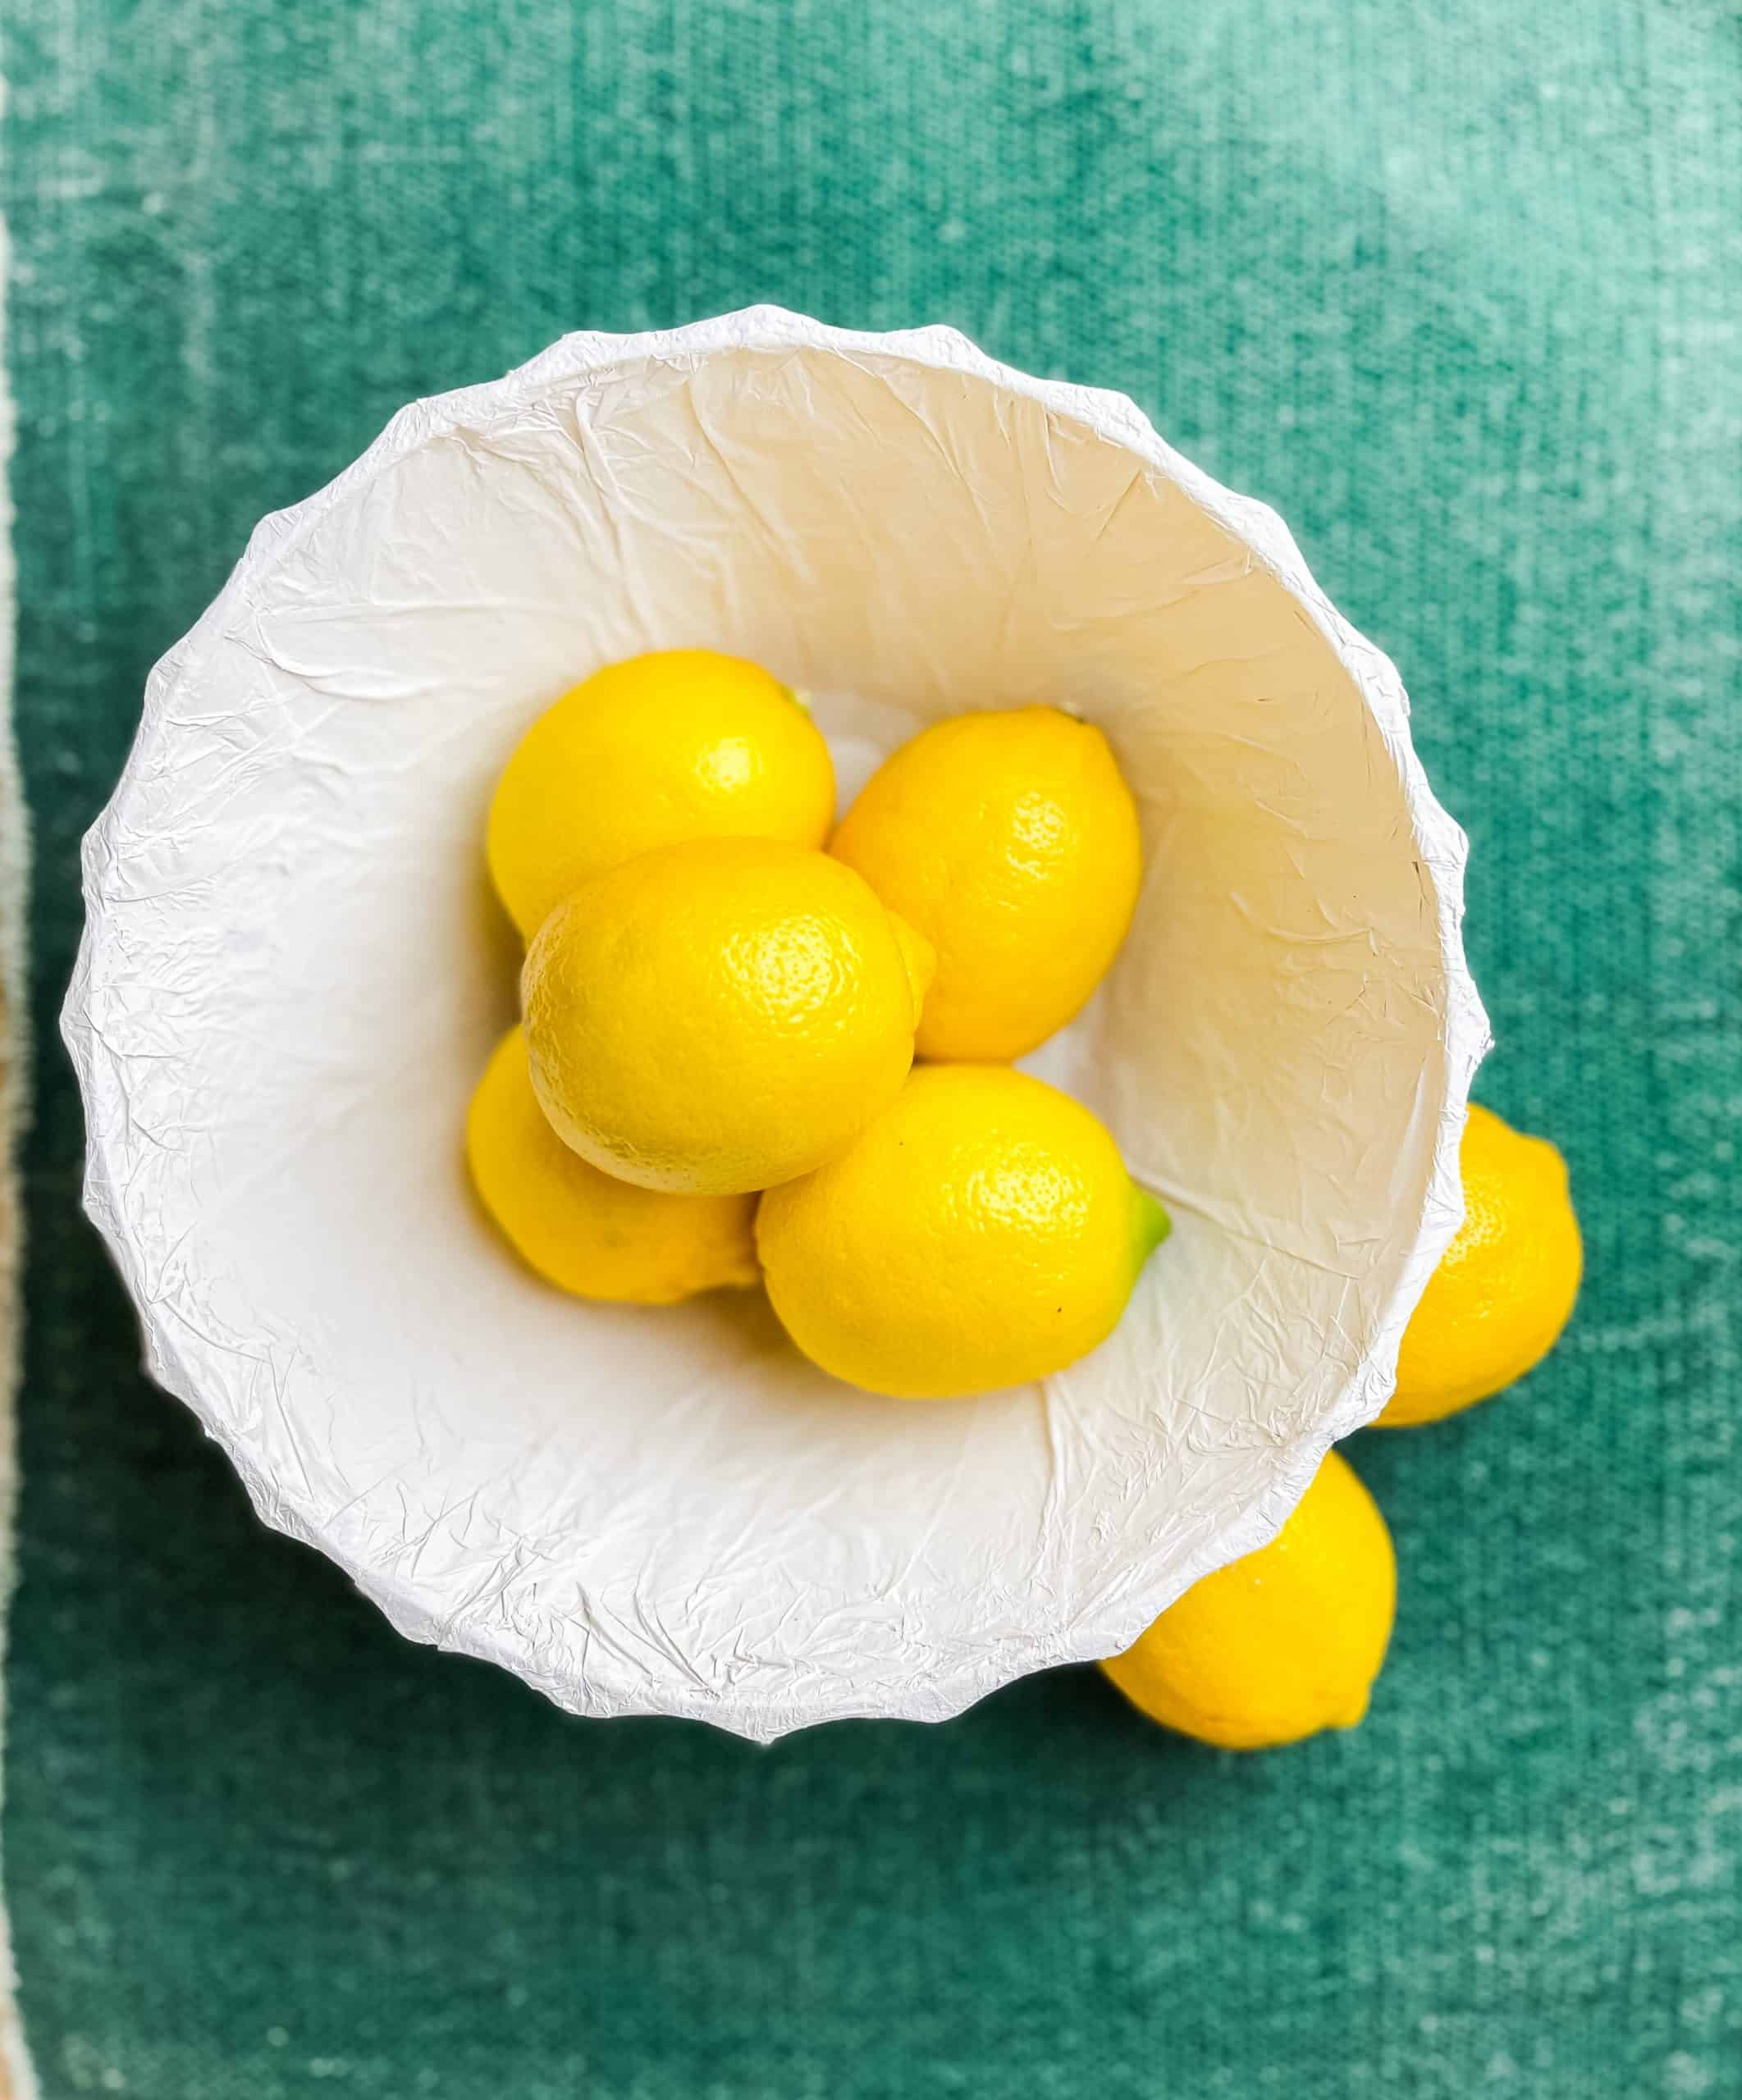
Dress it up with some bright fruit or just sit it out as a decorative piece. Simple elegance.
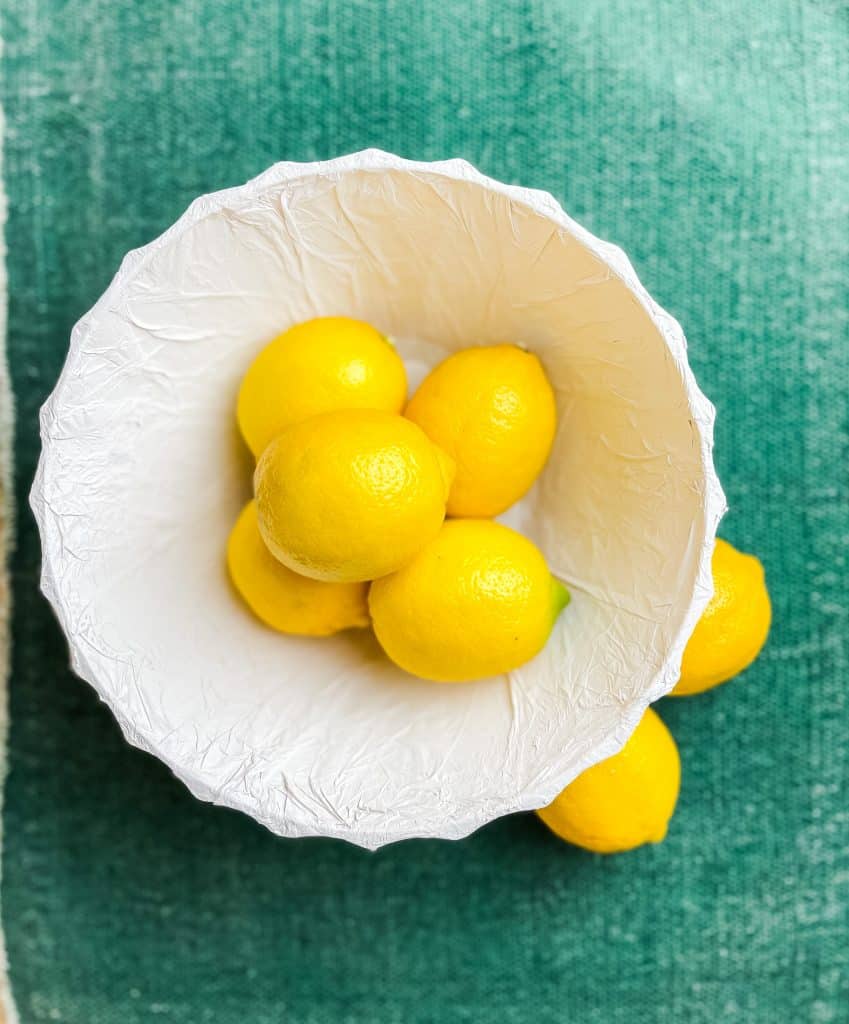
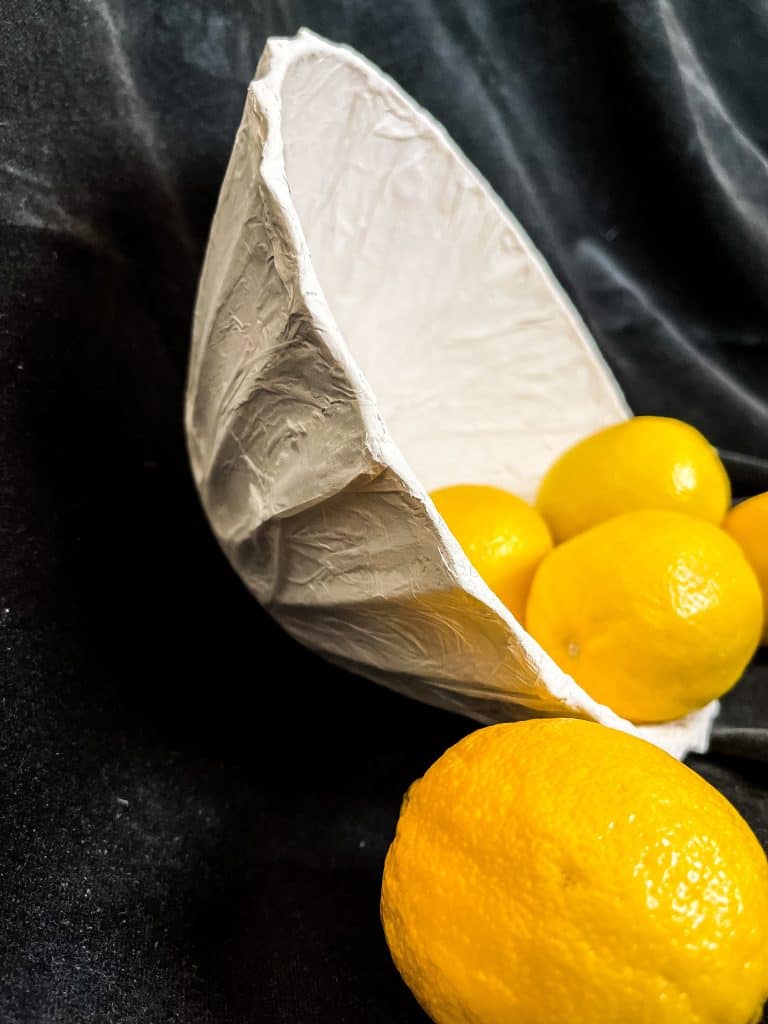
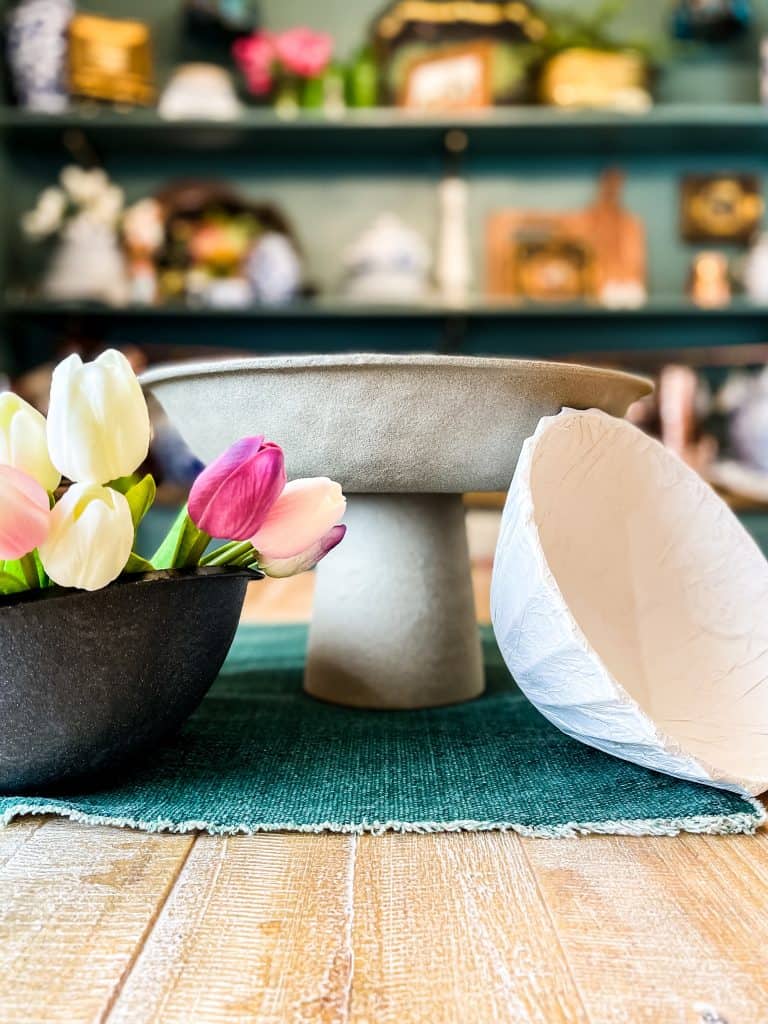
I’m so excited about how this turned out! It’s a beautiful piece for a budget DIY! You can display it as a centerpiece on your table or even on a bookshelf. This also pairs perfectly with my European Farmhouse Tablescape. Be sure to check that out. I think you’ll love it too!

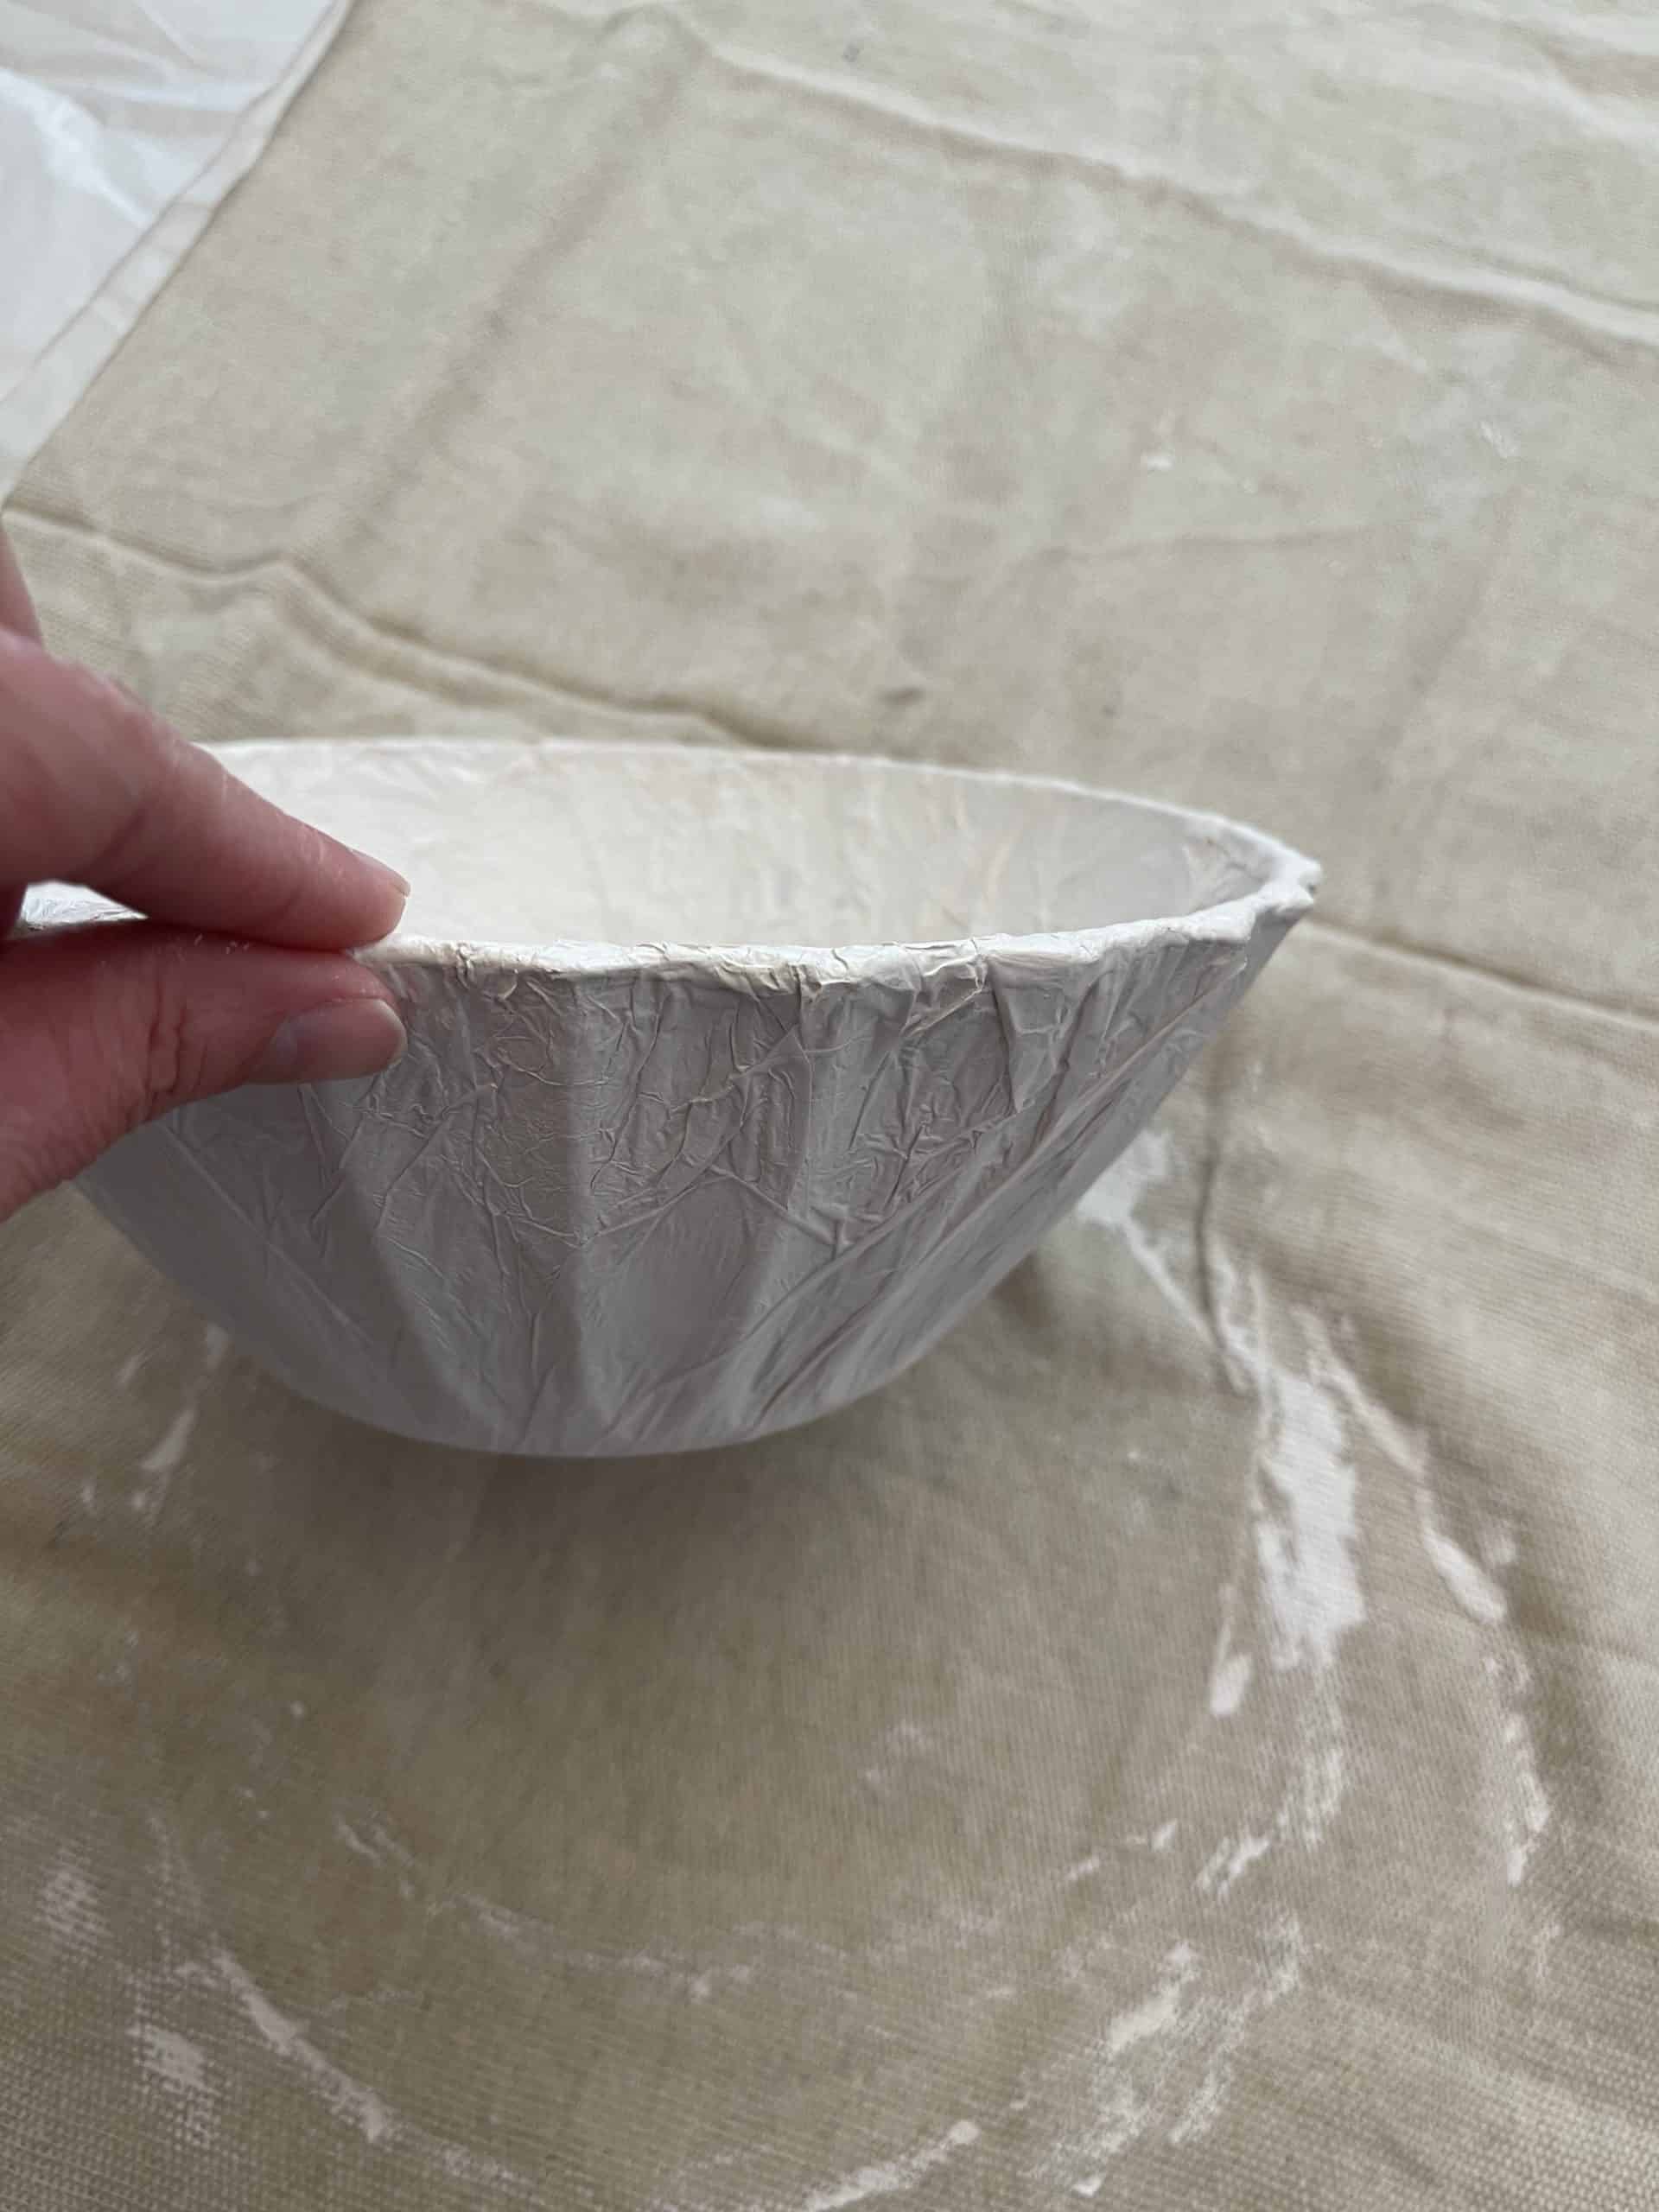
Such a cool texture. It reminds me of a kale leaf, or those vintage leaf bowls. Great knock-off!
Amy,
I love this project and it sounds so easy. Can’t wait to share tomorrow.
Such a great project, Amy! You are so creative!
This was a good one! You know I love a good dupe!
This is so cool! It came out so good too! Thanks for sharing!!
I love the texture you were able to get on this bowl, so fun. I will have to give this one a try.
What a fun project! I love paper mache!
Happy day friend!
KariAnne
So cute and boho!