How to Make a Citronella Candle for Summer
Welcome to my Back Porch on a Budget Series! We are starting with how to make a citronella candle for summer! I’ll show you not only how to make a citronella candle but also what is the best wax to use to make a citronella candle, and which citronella oil I used to make a great candle.
It’s almost time to start eating outside and having friends and family over for BBQ’s and summer parties, but what to do about those pesky mosquitos? Citronella candles really do work to keep mosquitos away. They say that each candle will work for up to 3 or 4 feet so you need several citronella candles on the porch!
You can see how I made some really beautiful vintage-aged flower pots for my porch Here, and also how I made this sweet European Inspired DIY Outdoor Brick Walkway that goes from my back porch to my She Shed!
This week I’m excited to be the guest host for Welcome Home Saturday with a few of my blogging friends. Later in this post, you can check out all the amazing things they are sharing with all our readers this weekend.
Vintage Vessels for Candle Making
I love to use vintage vessels for pouring DIY candles into. It is such a great repurpose. I have some tips at the bottom of this post for other vessels to repurpose as well.
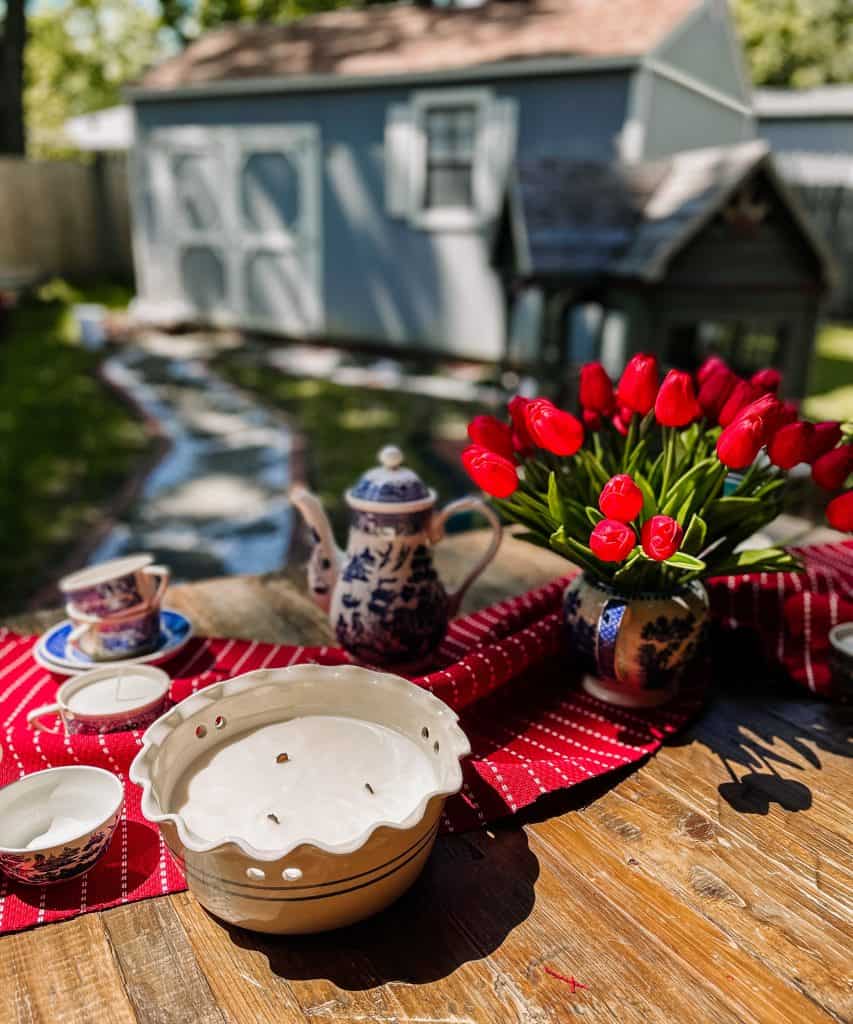
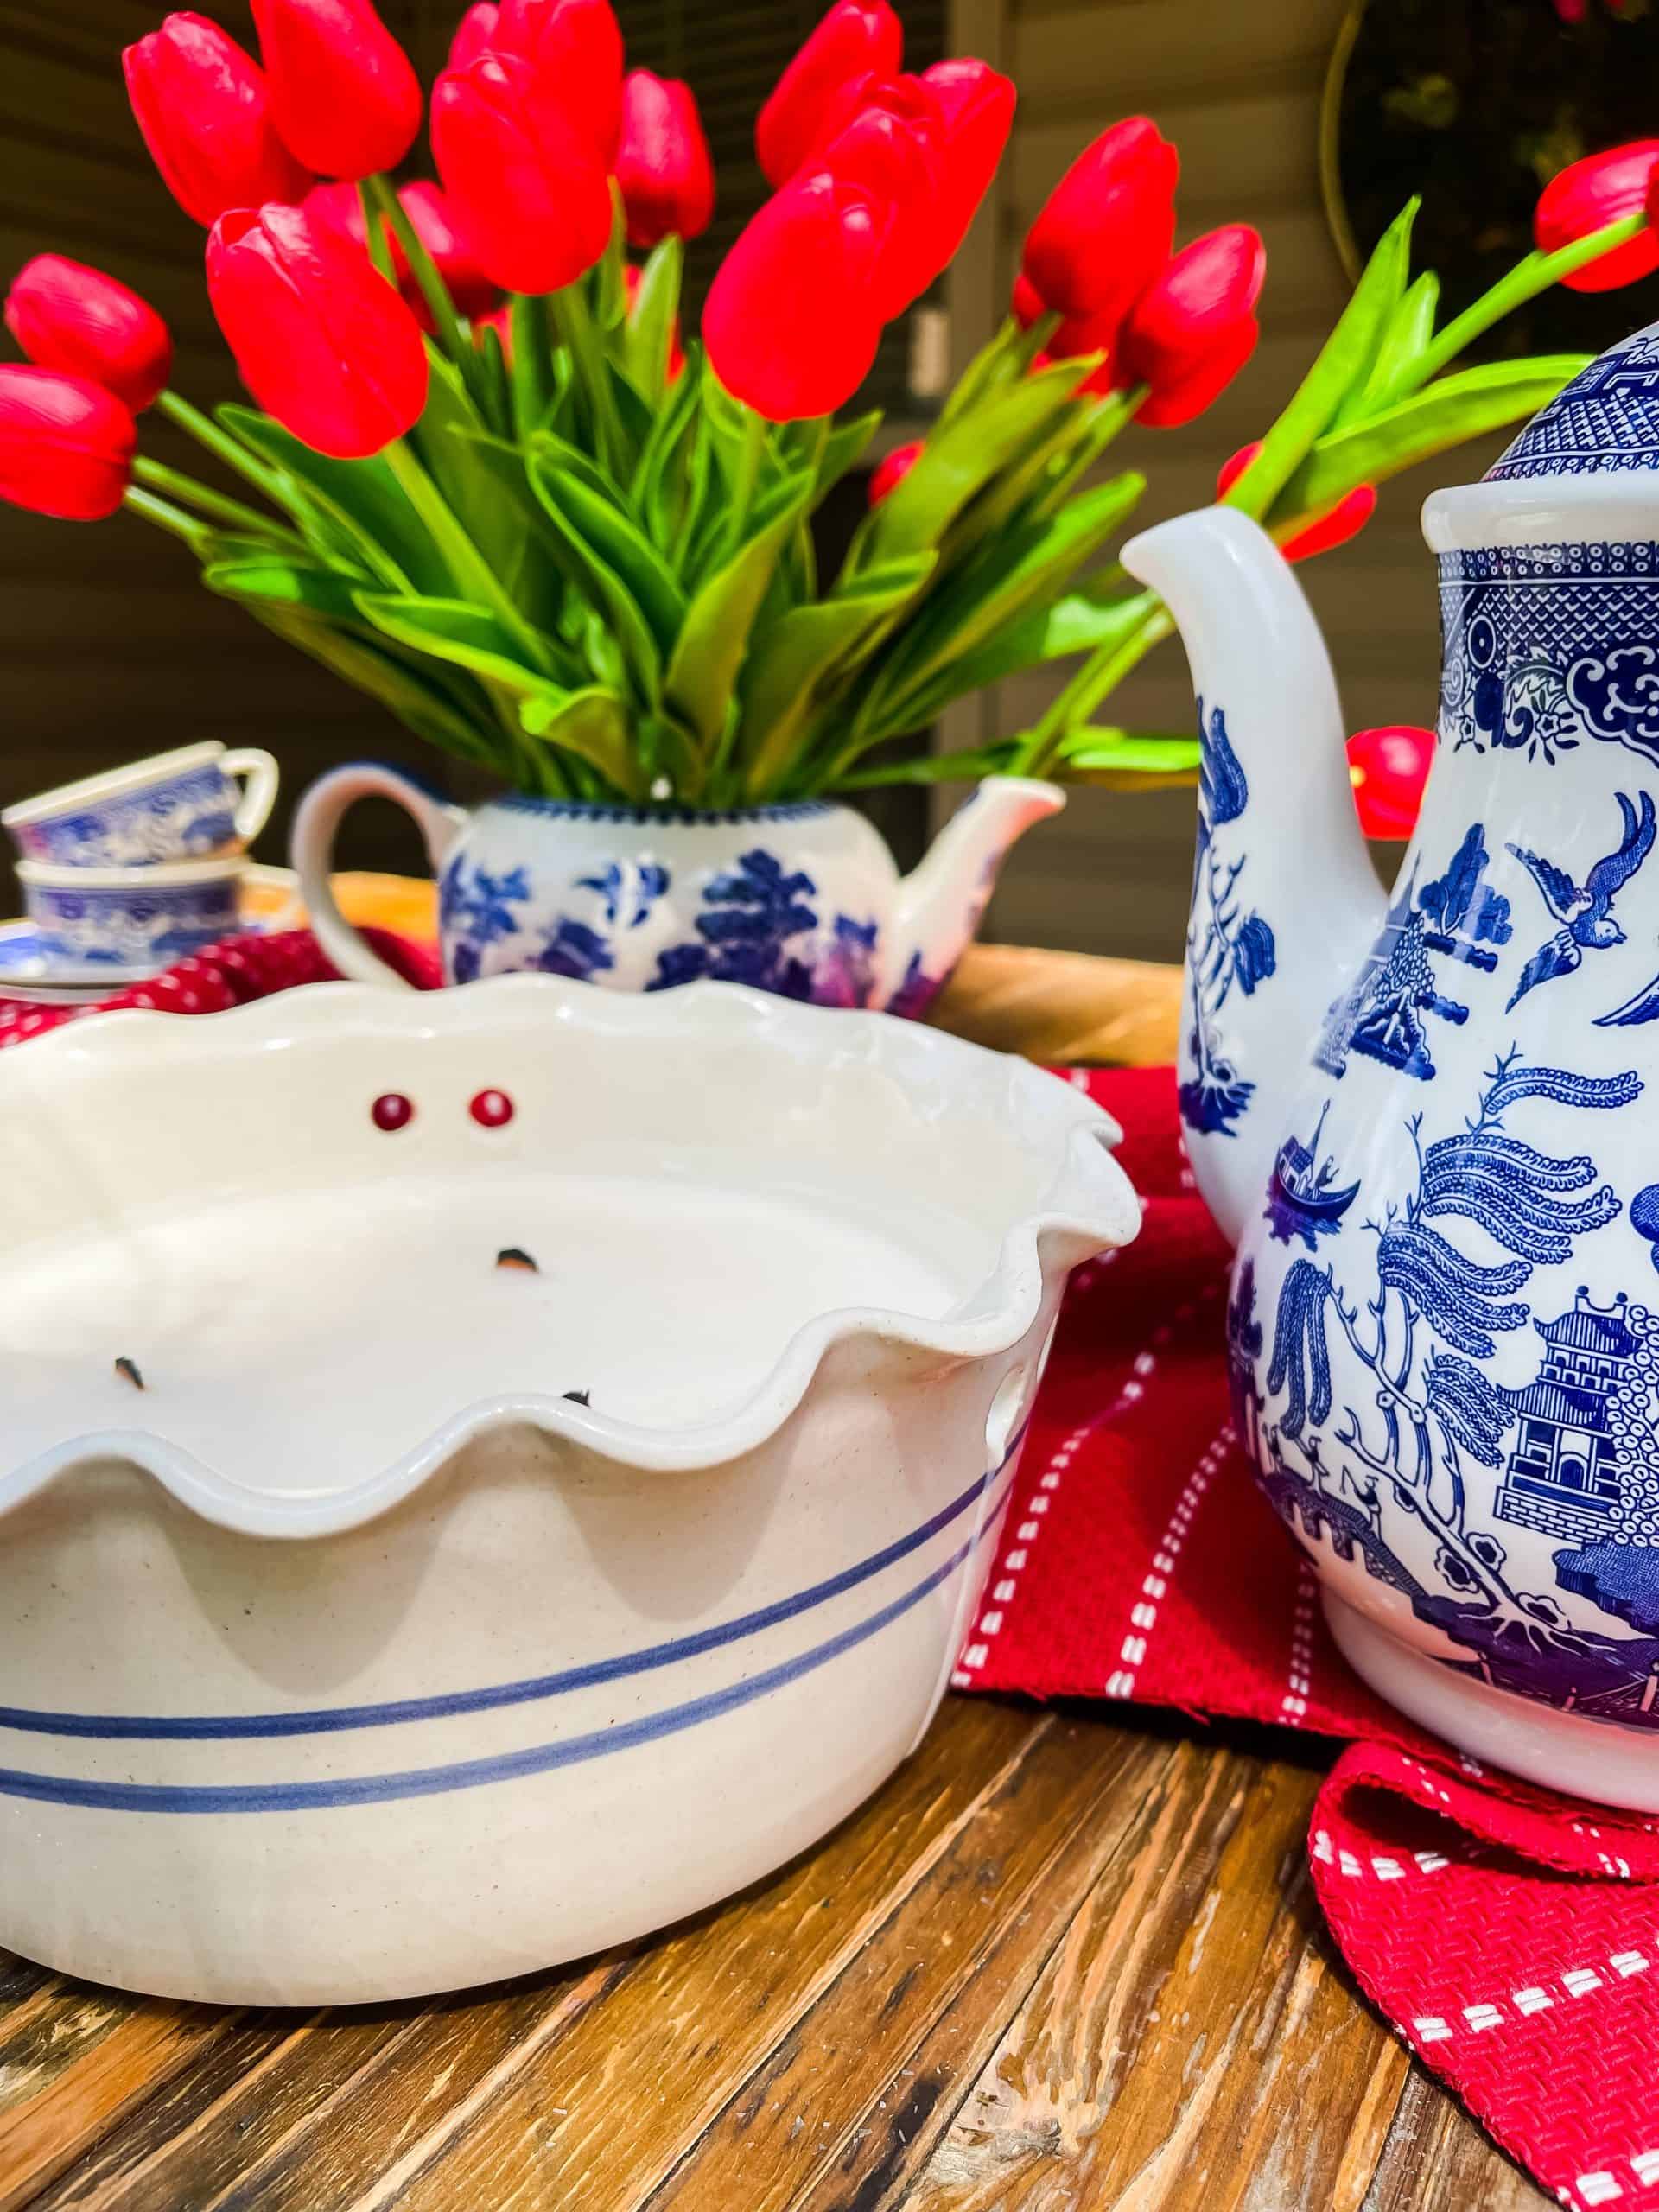
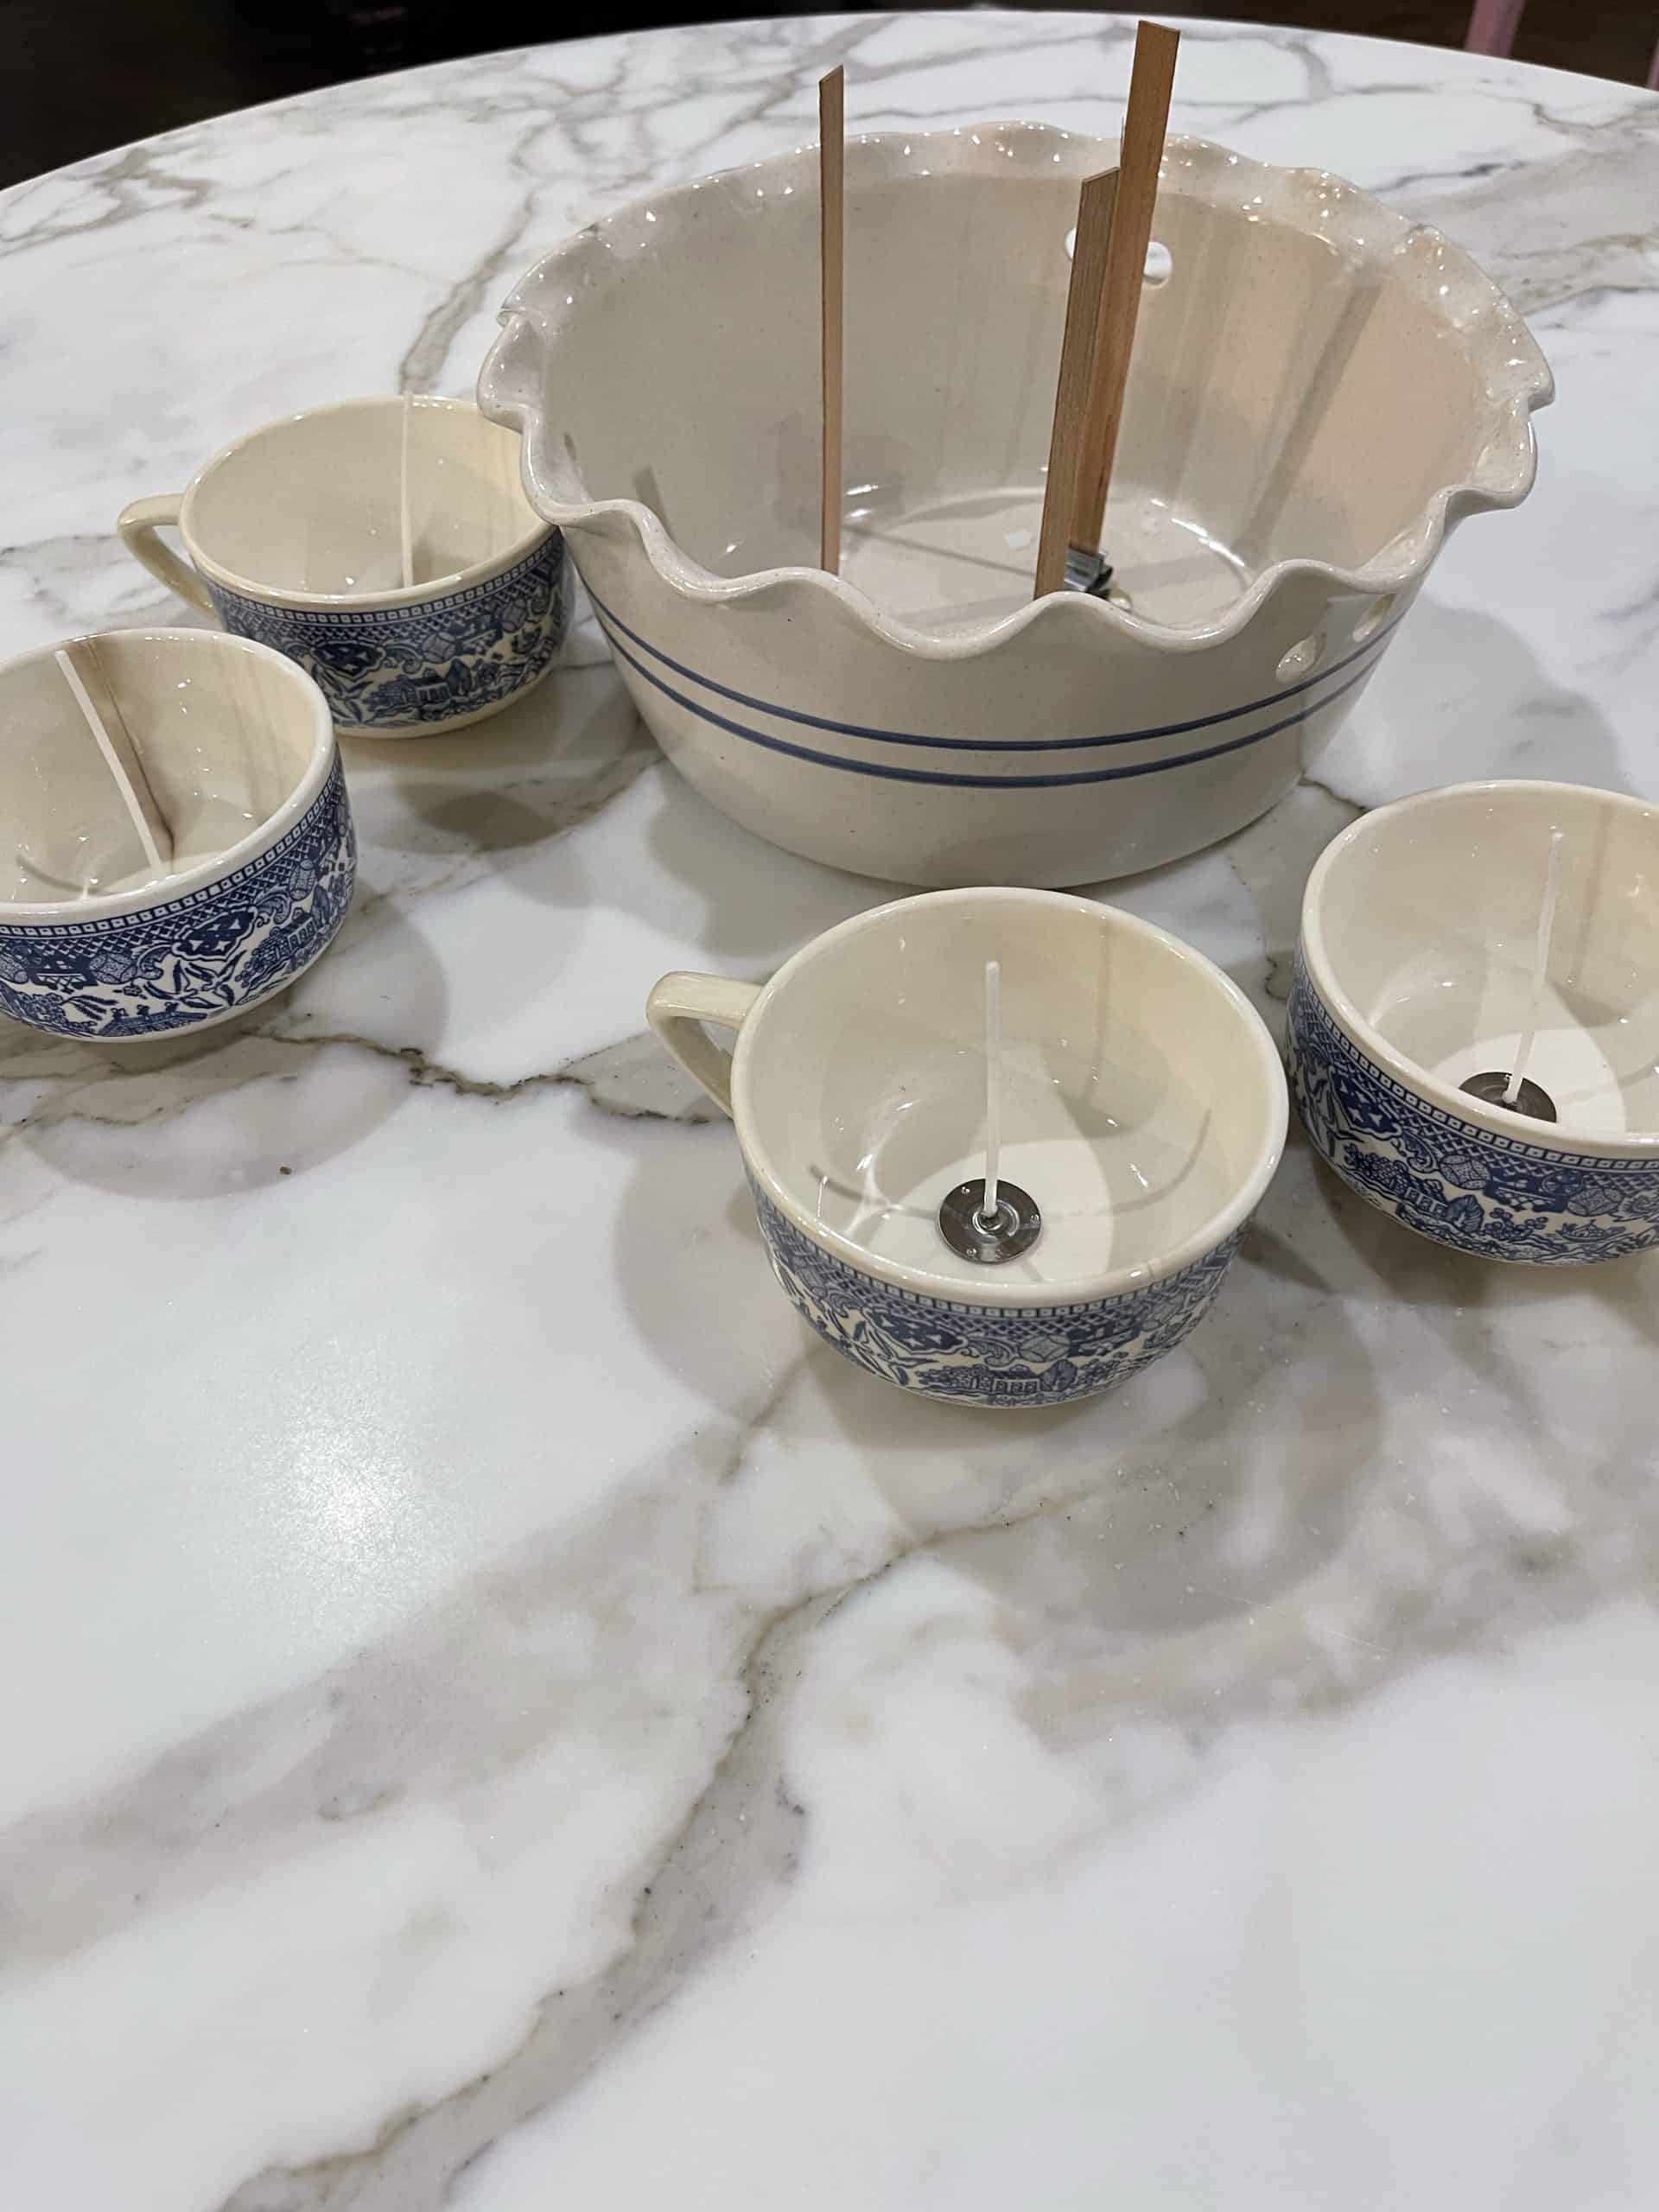
For this project, I wanted to use this really neat bowl that I bought while thrifting. It is a big bowl and it has a perfect blue stripe and wave around the rim.
Supplies For Diy Citronella Candles
- 100% Natural Soy Wax
- Natural Candle wicks with a beeswax coating
- Citronella Essential Oil
- Vintage vessels for pouring into
- Hot Glue (to tack down the wicks)
How to Make a Citronella Candle
DIY Citronella Candle
- The wax I used
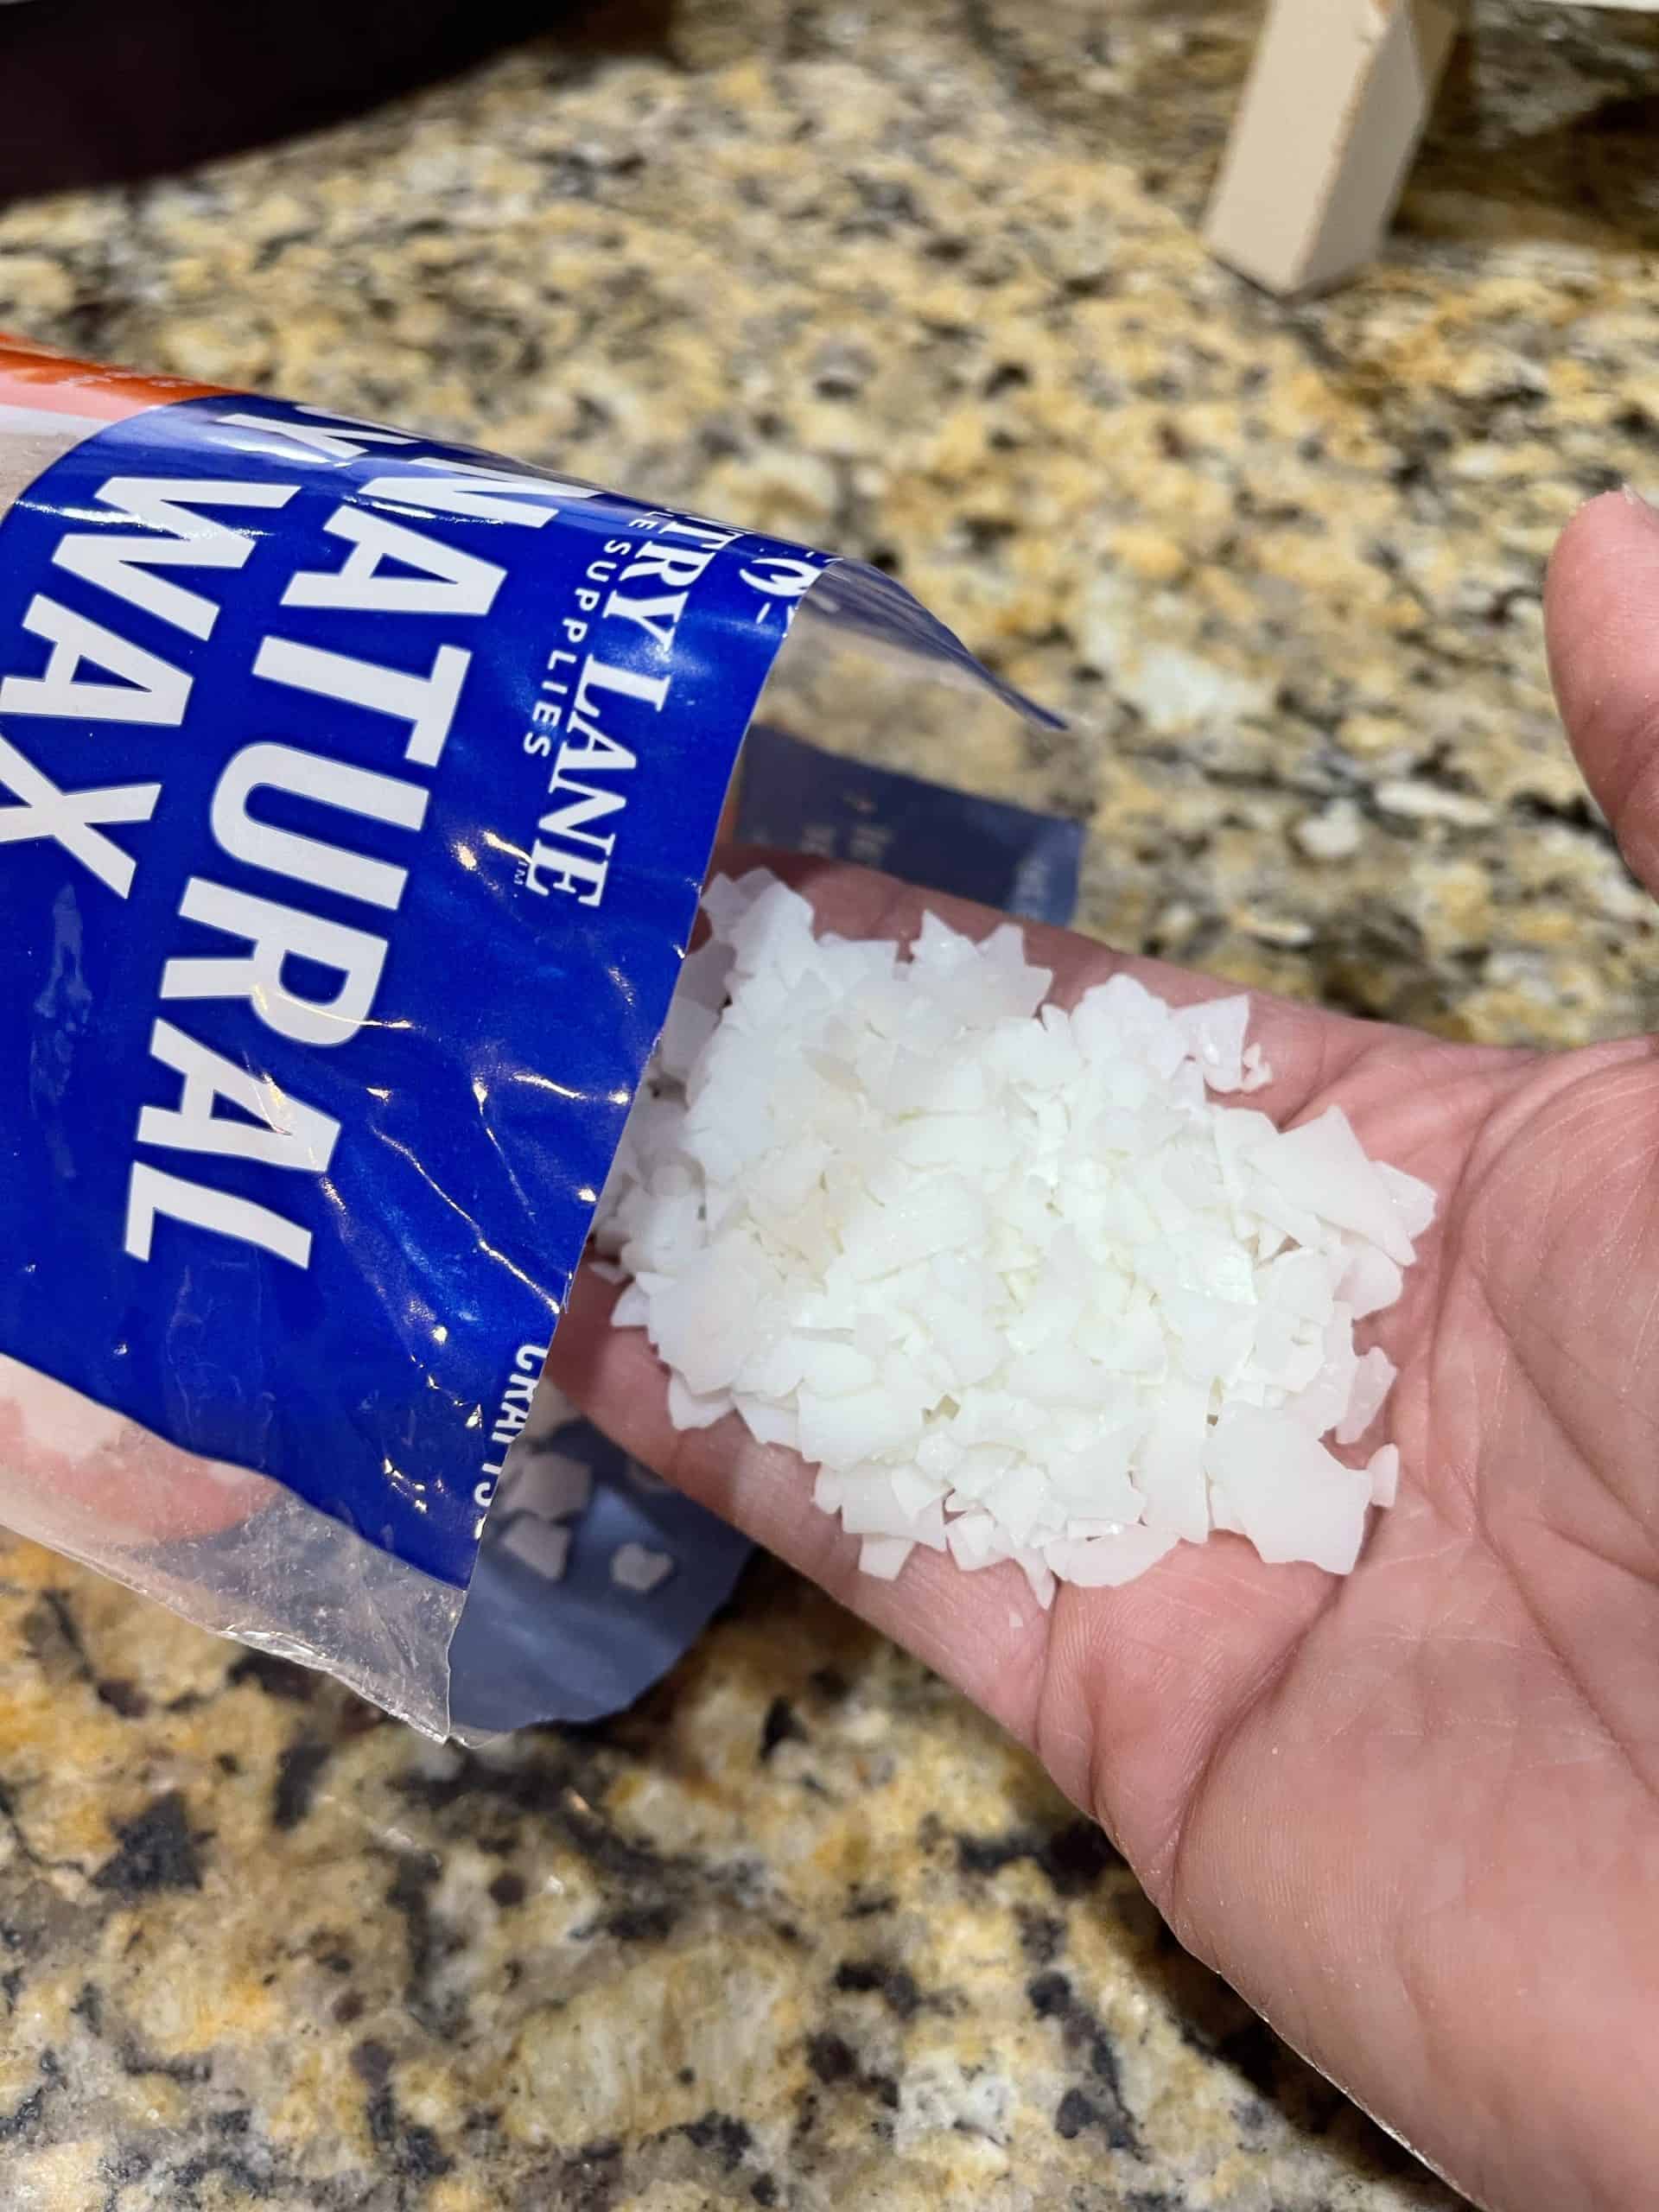
I used 100% Natural Soy Wax Flakes. I had researched and I found that soy seemed to be the best and safest option for candle making. AKA all the cool kids use soy!

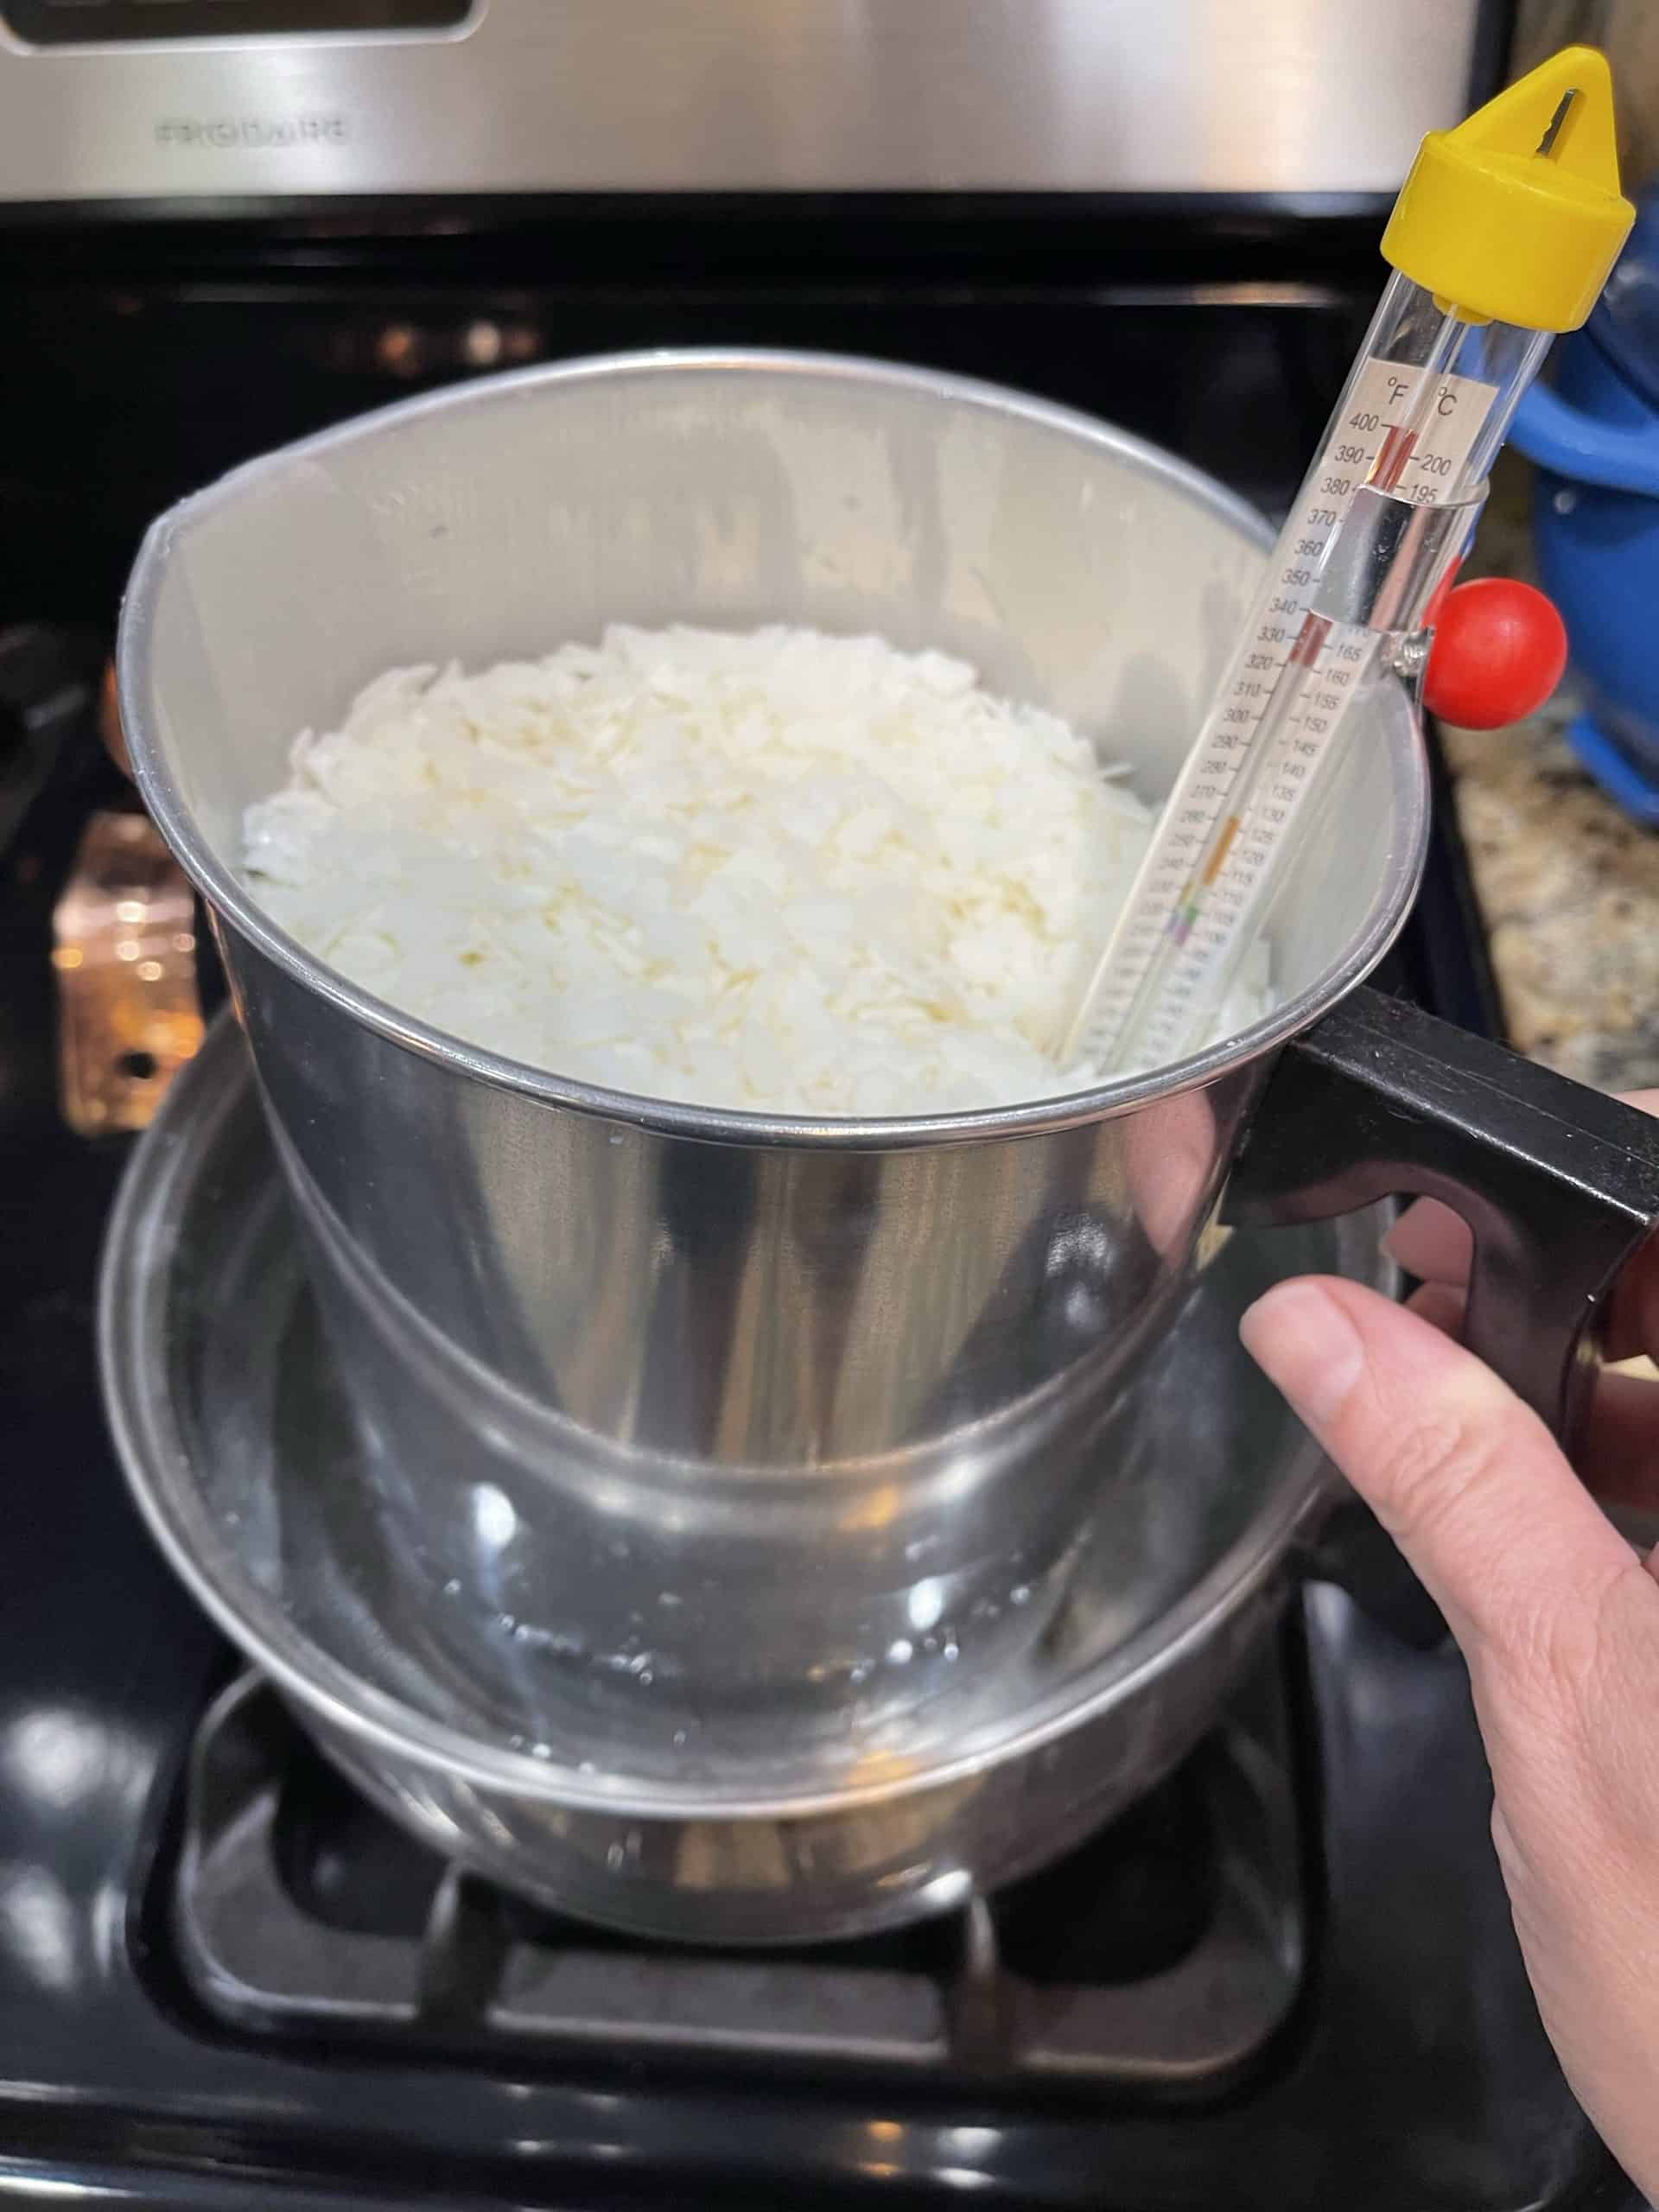
- Place your 100% Natural Soy Candle Wax in the wax melting pot and place it in a pot of water to use as a double boiler.
Putting your wax in a pot to boil directly over heat would be too much heat and possibly burn or overheat the wax too quickly and ruin it so you’ll want to use the double boiler method and also only use these pots for candles and never again for food. These are my candle making supplies and I keep them together and labeled as such.
- Stirring your Soy wax
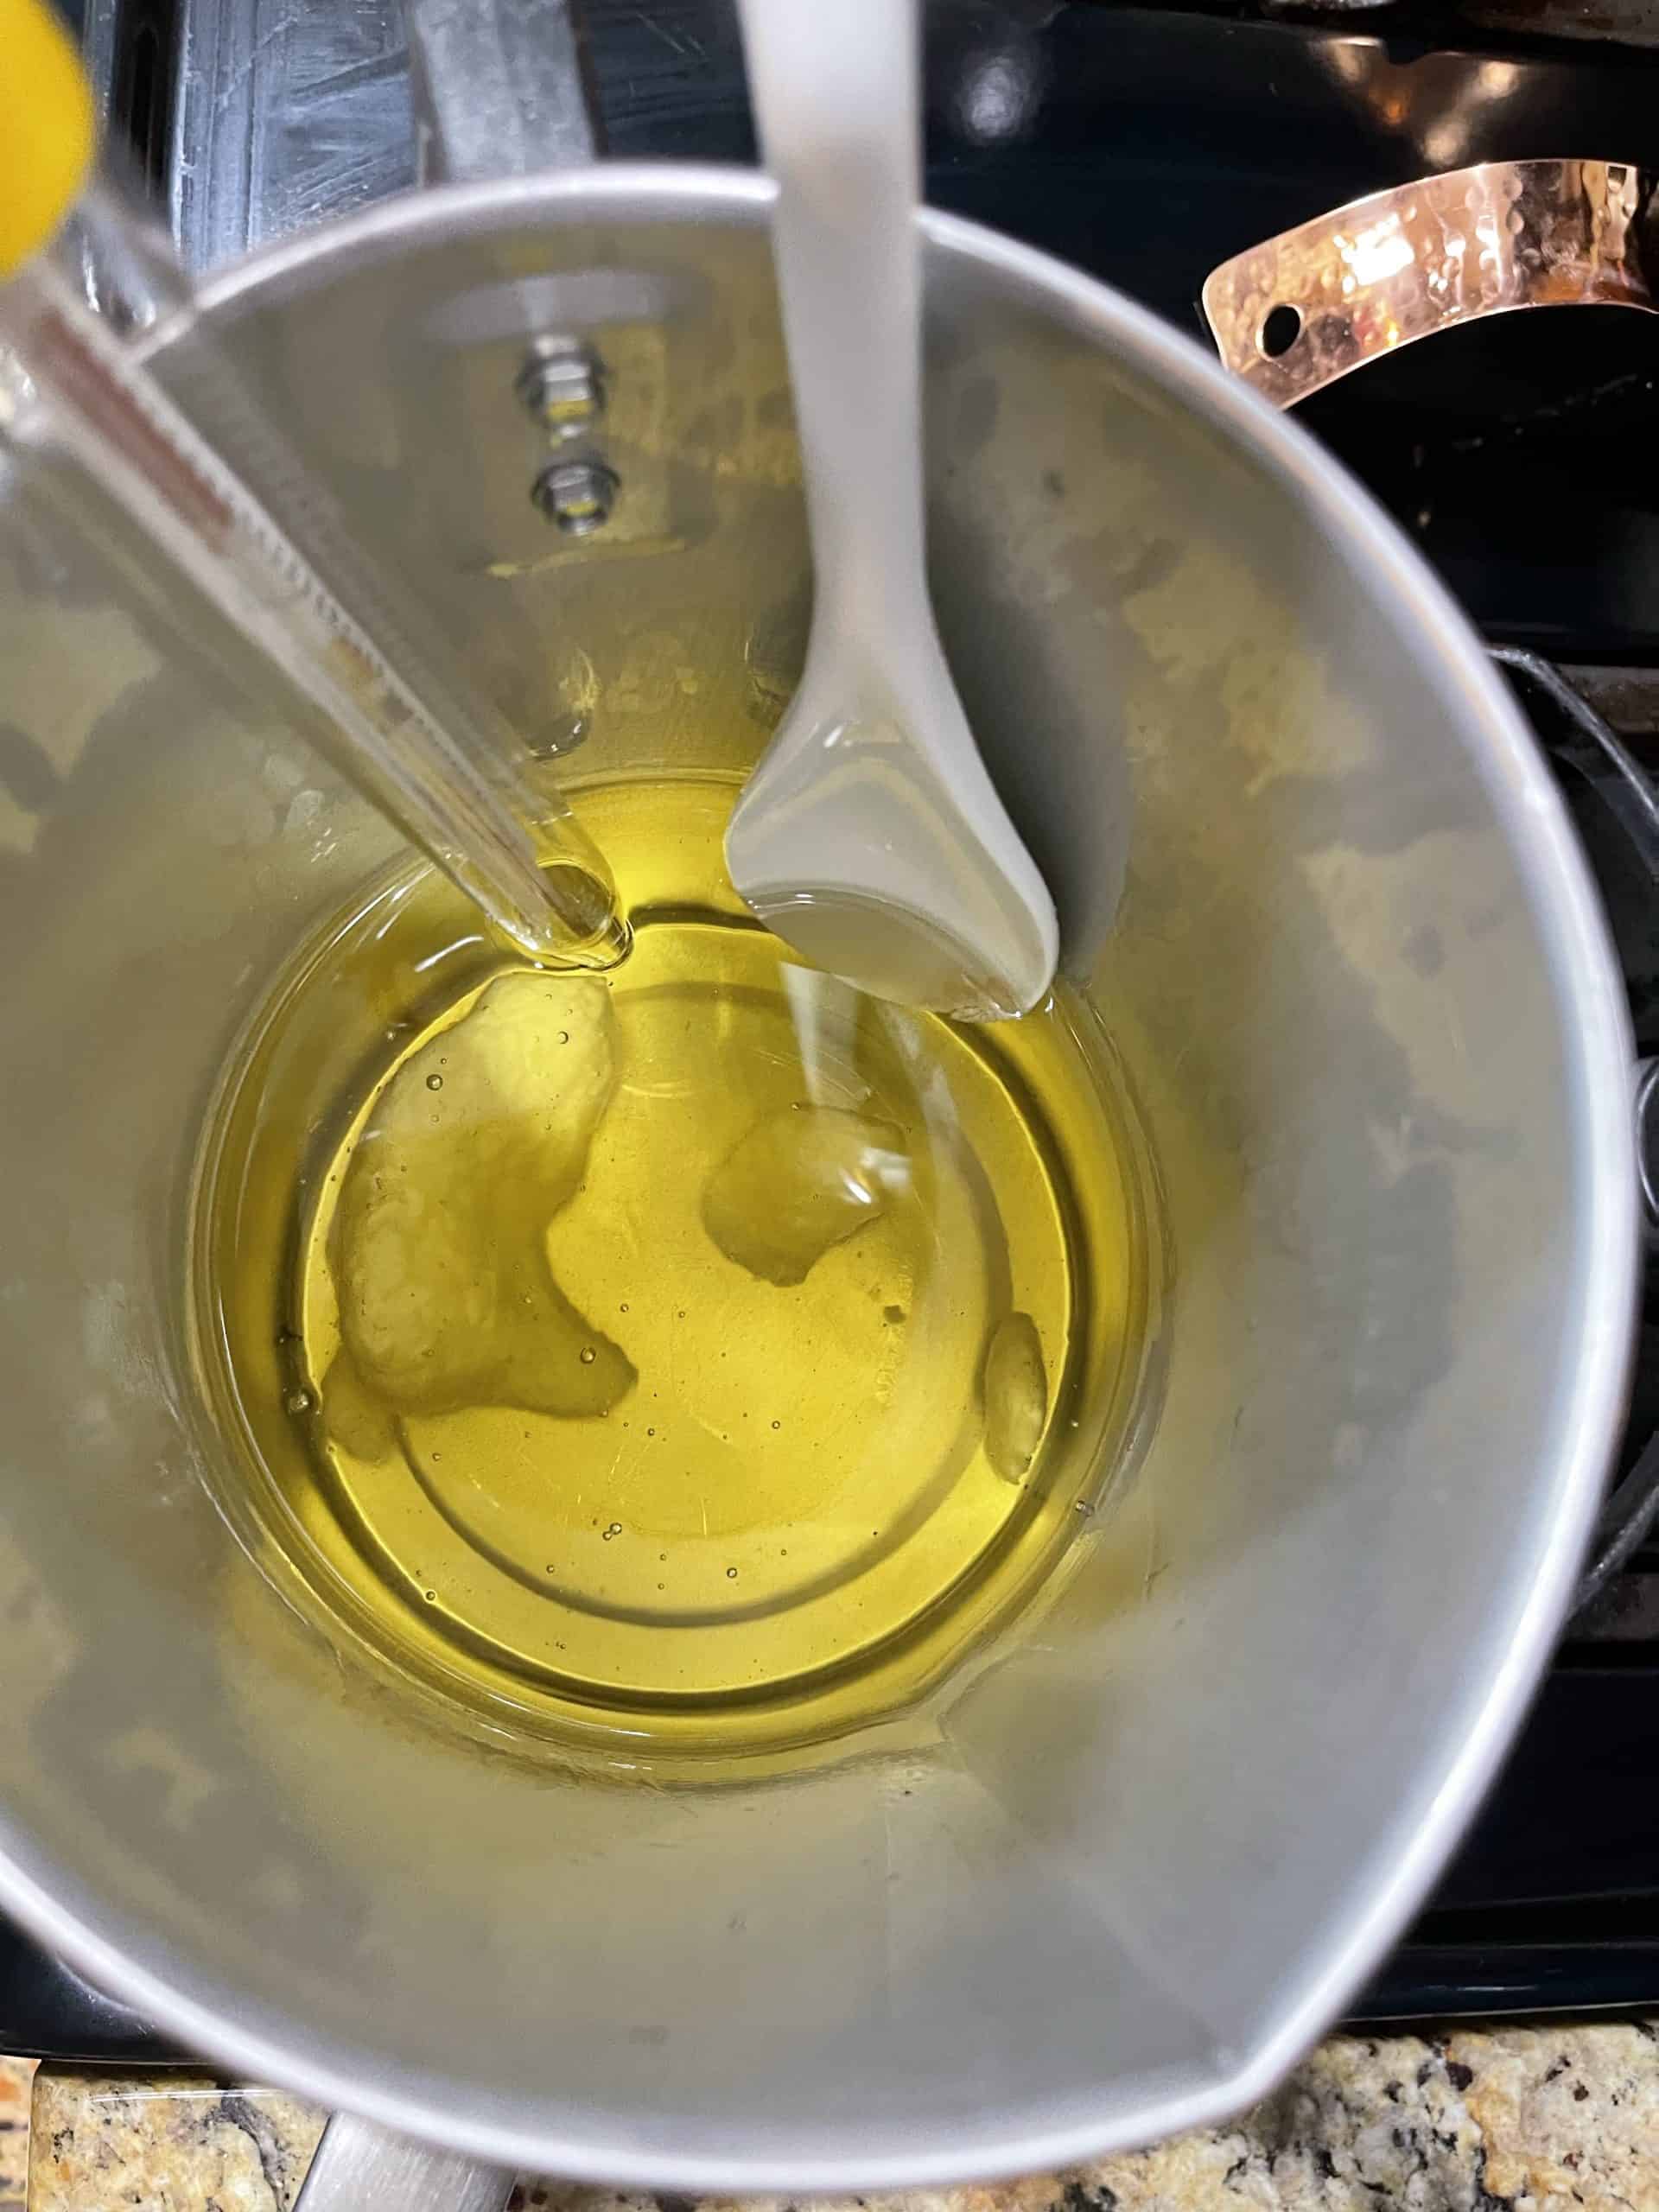
I use my candle making plastic spoon to constantly stir my 100% natural soy wax until it is completely melted.

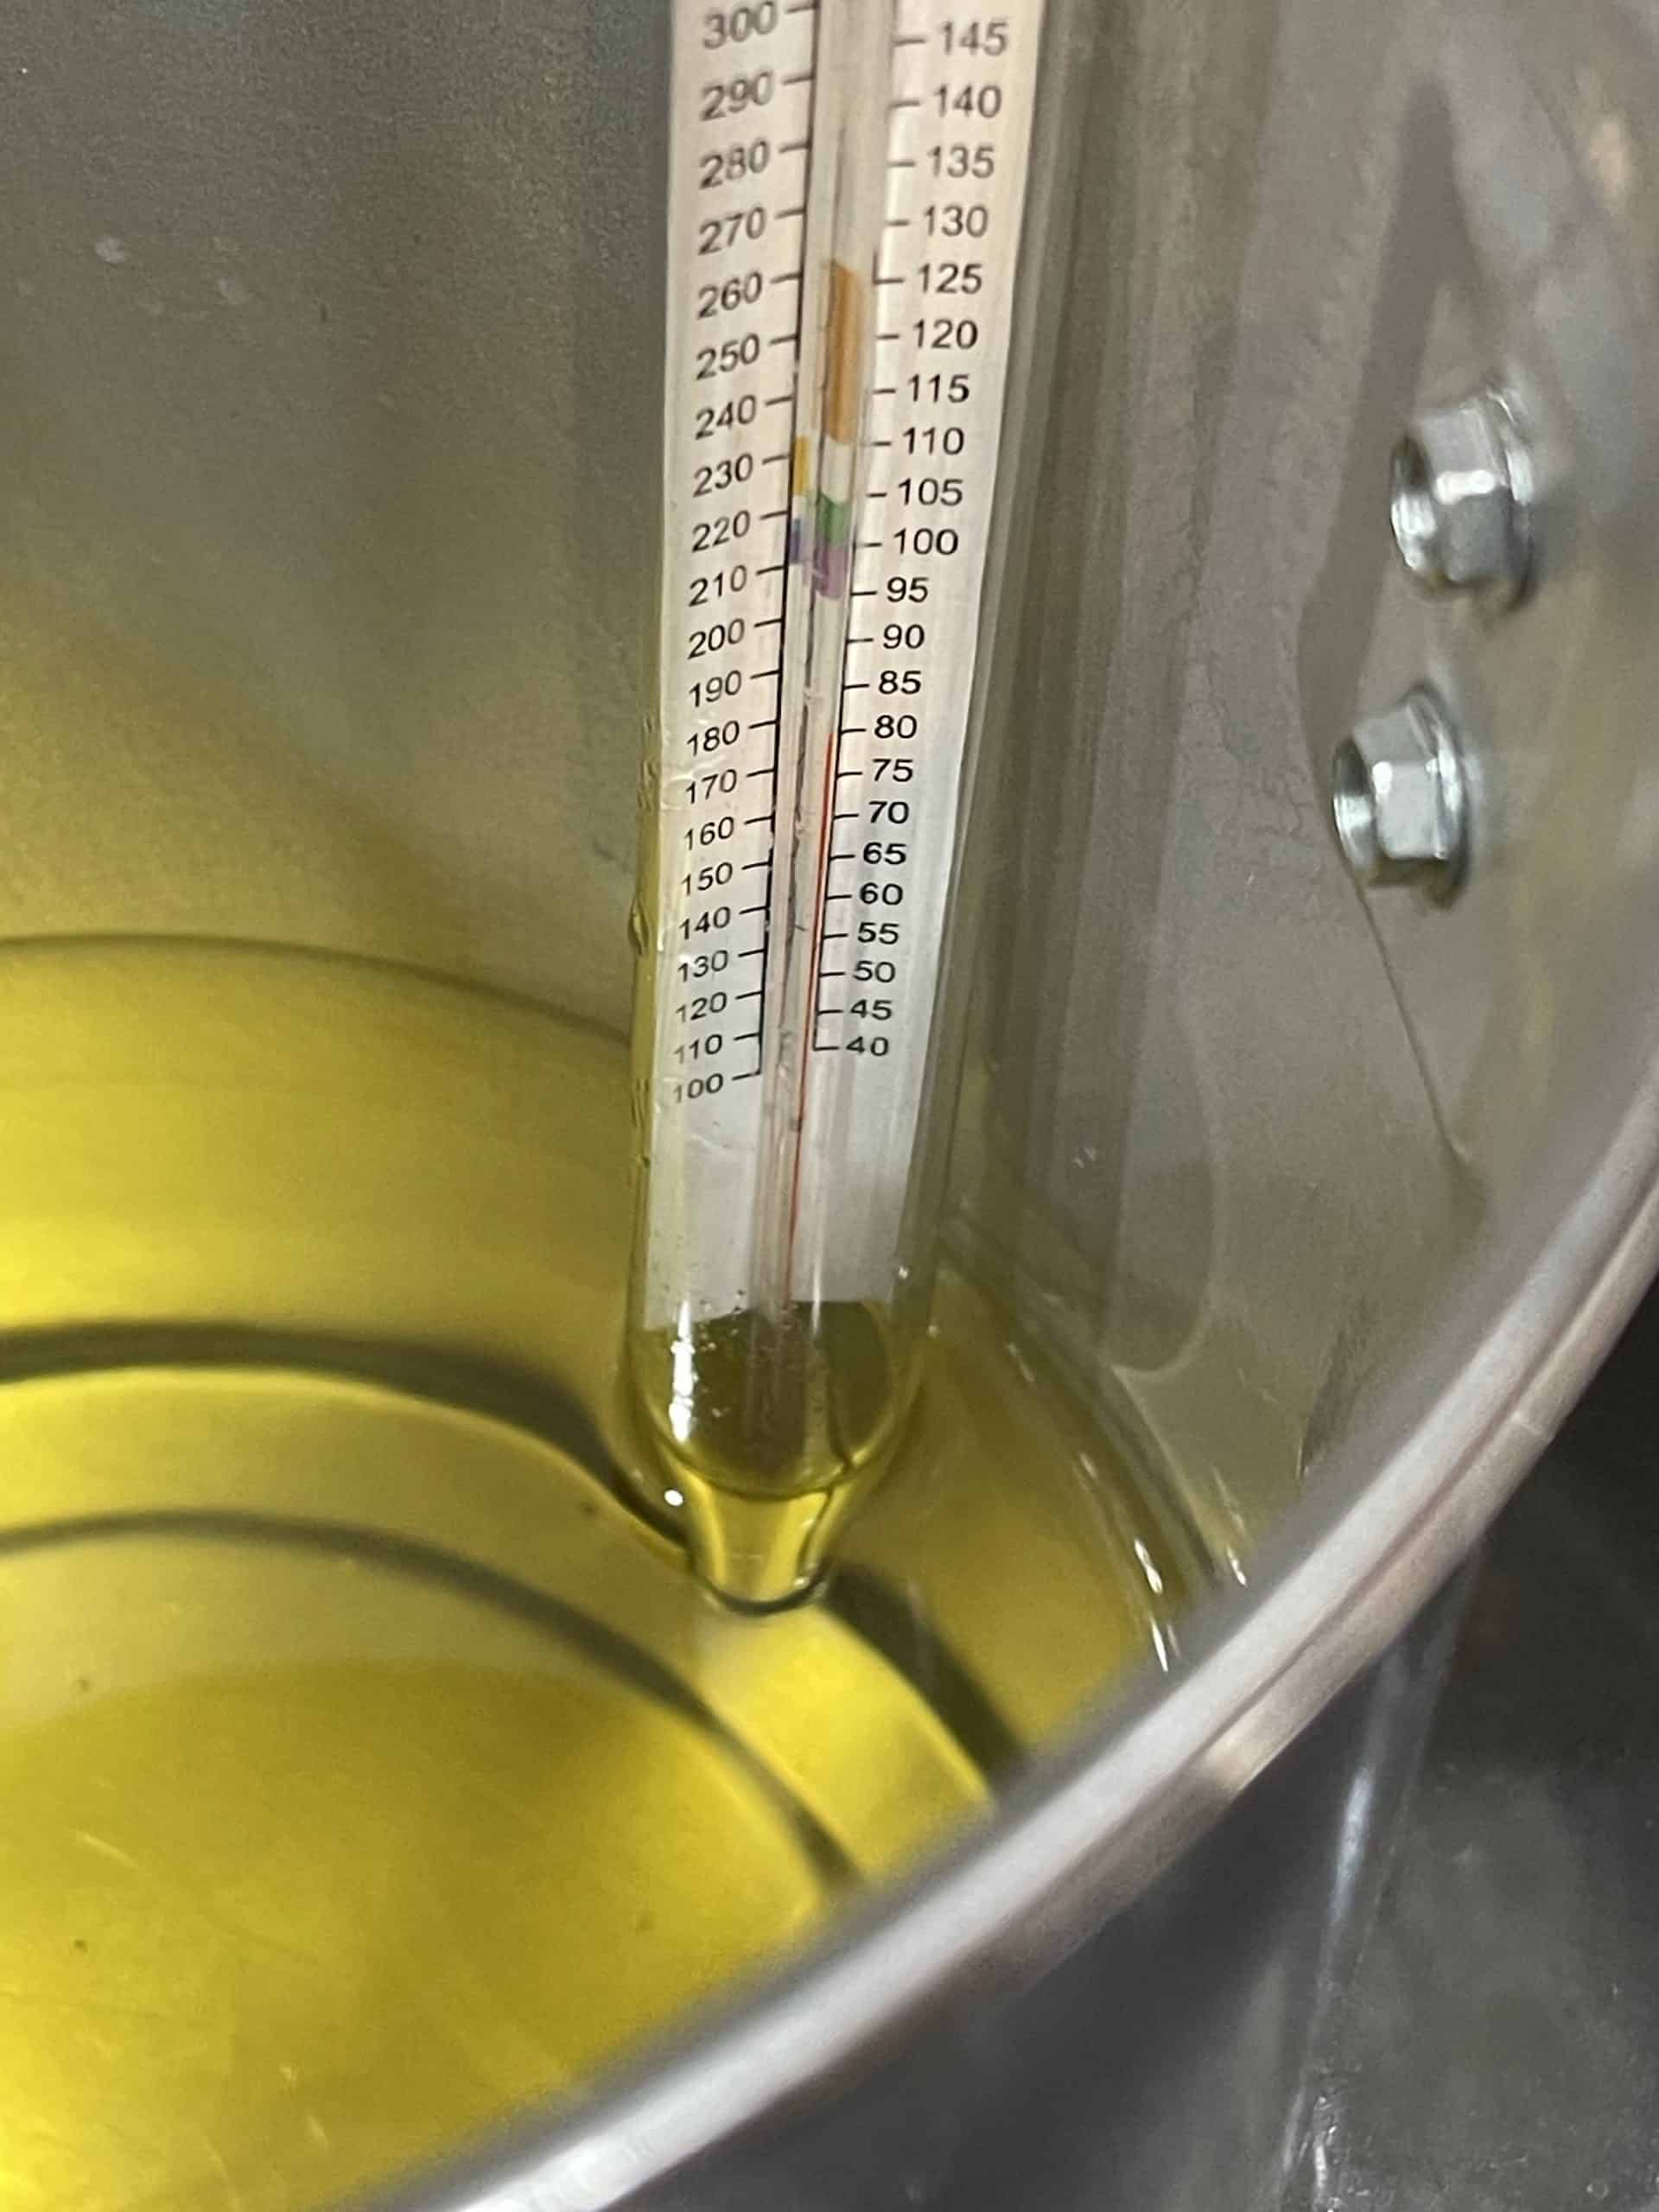
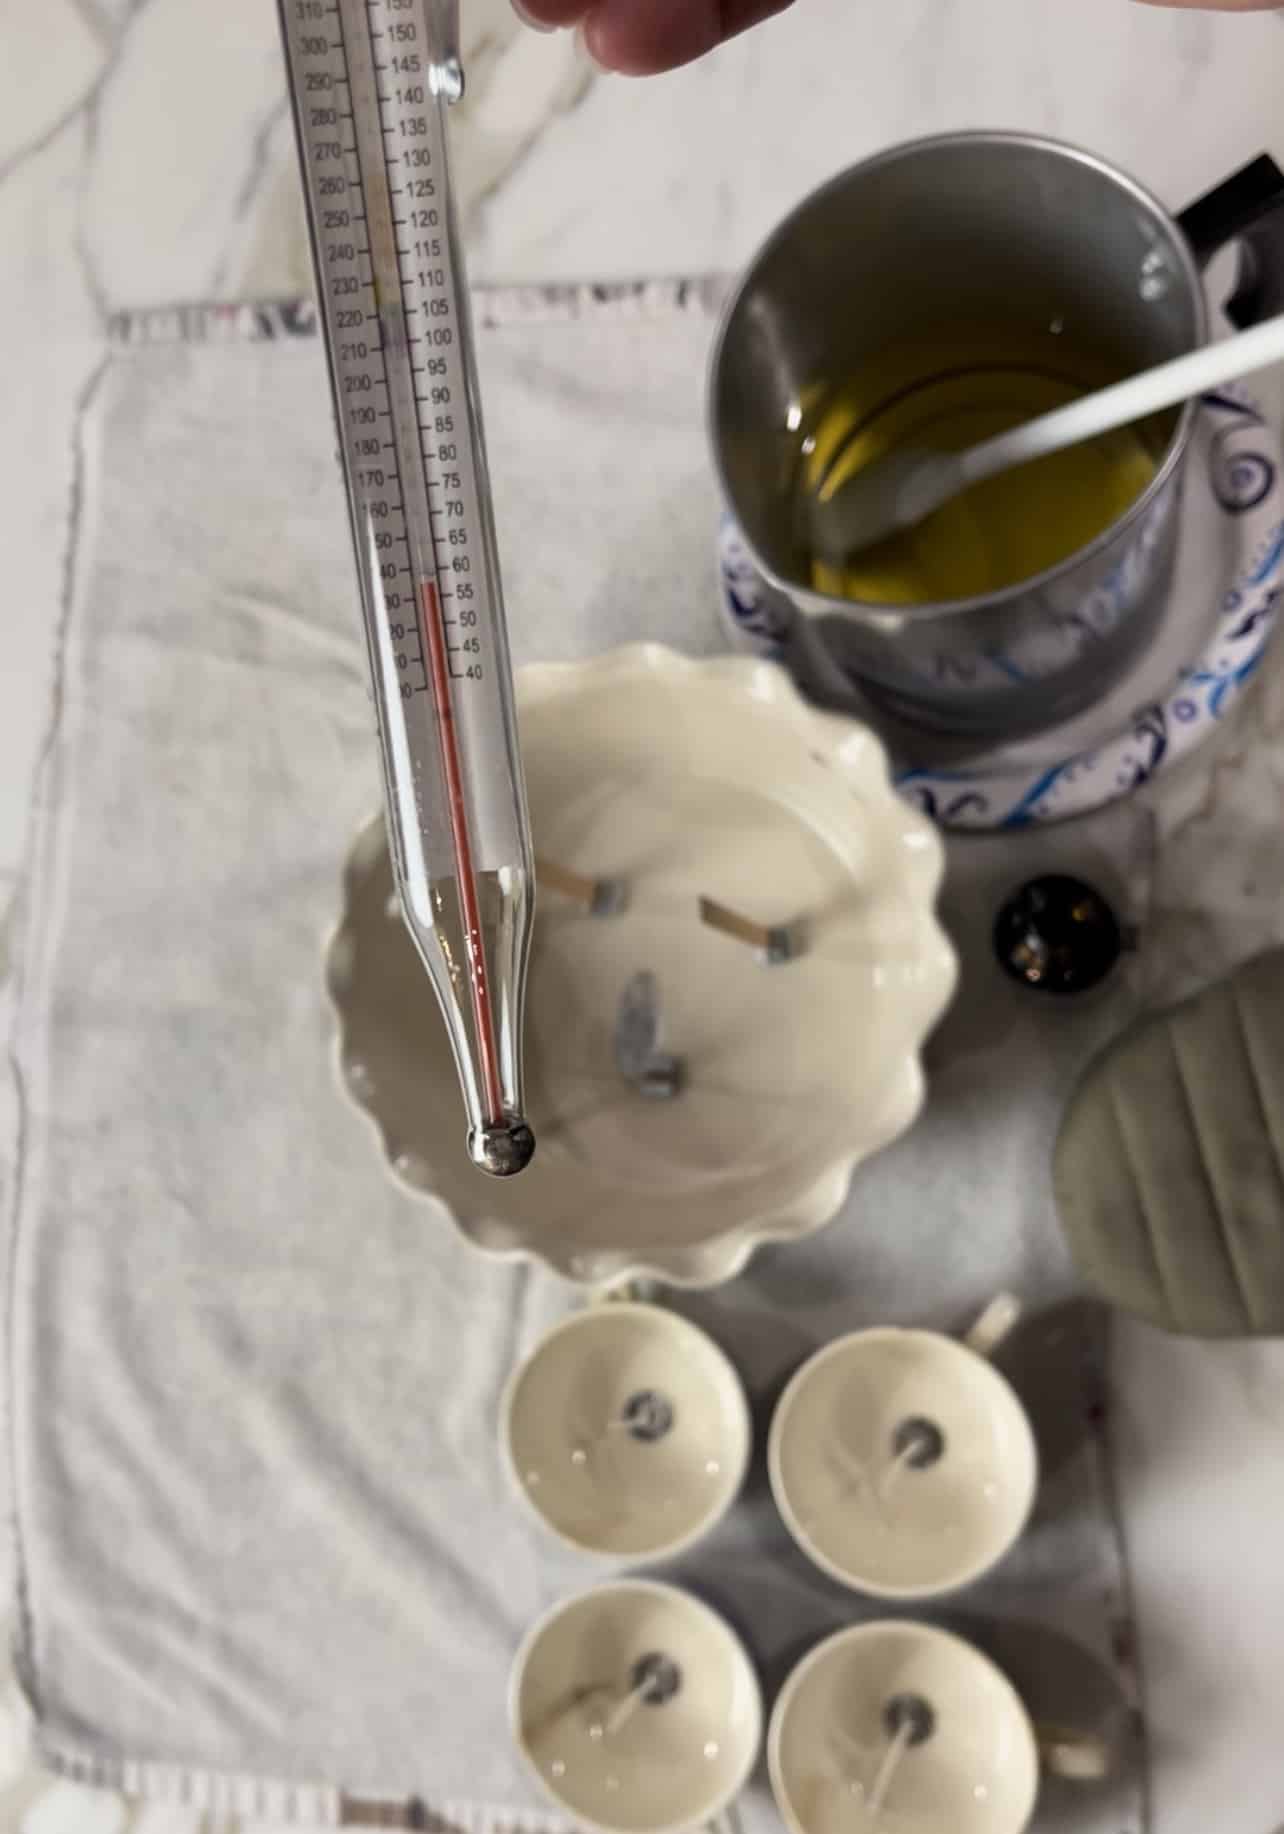
- Heat to 130*-150* F
I have the tip of the candle thermometer in the candle wax as it is melting, The temperature on the thermometer was at 170* F when it was completely melted so I turned off the burner and removed the wax from the water and I placed it to the side to allow it to cool to 140*

- Let your melted wax cool to between 130* to 150* F before adding scented oil

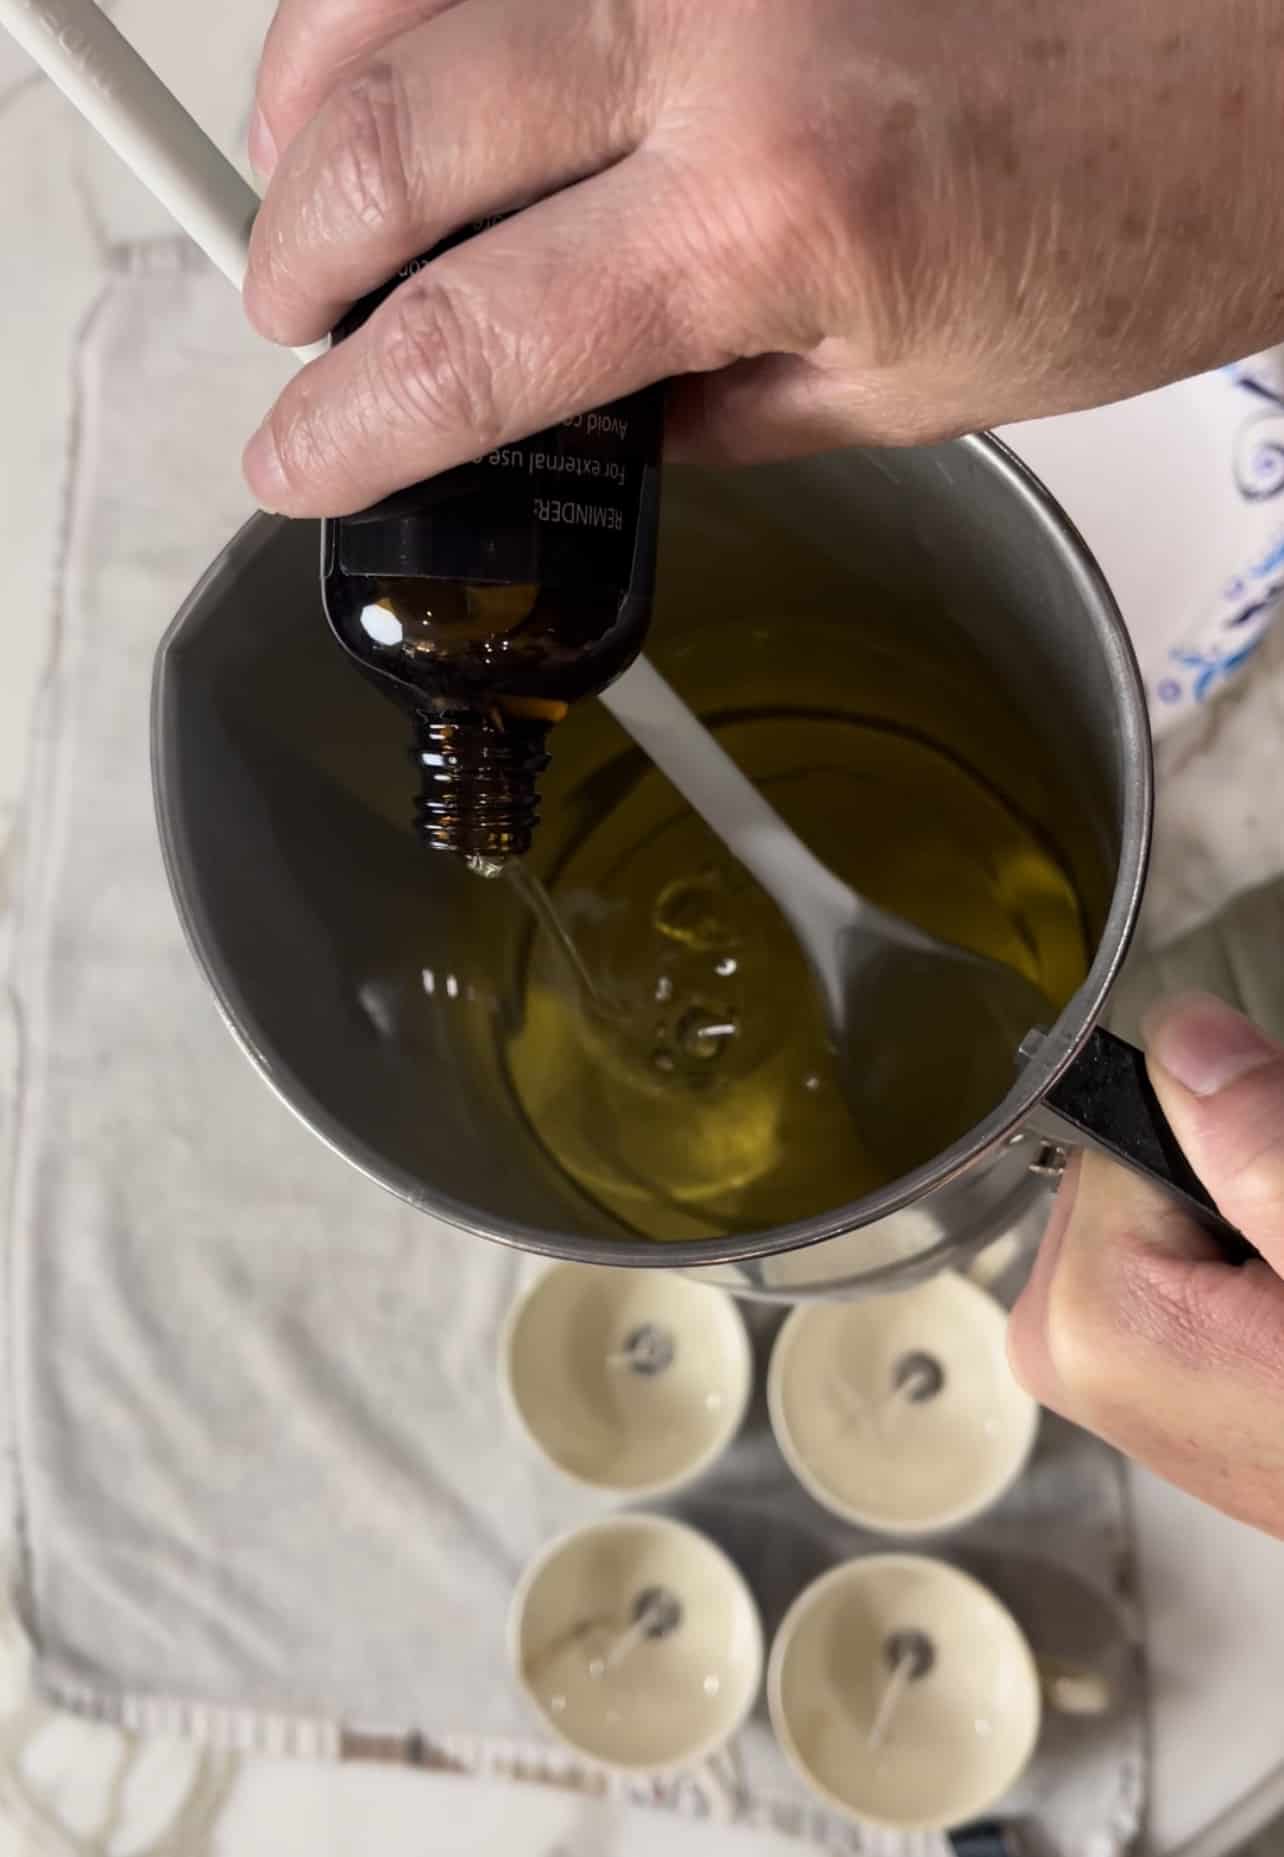
- Add Citronella to Your melted wax
It is important that your melted wax is between 130* to 150* before you add your citronella oil to it. Any hotter and the oil will lose it’s effectiveness I believe.
I used 2 ounces of citronella oil for 2 pounds of wax.
I poured about half of my almost 4 ounce bottle of citronella oil by eyeballing it but you can certainly measure if you prefer that method.
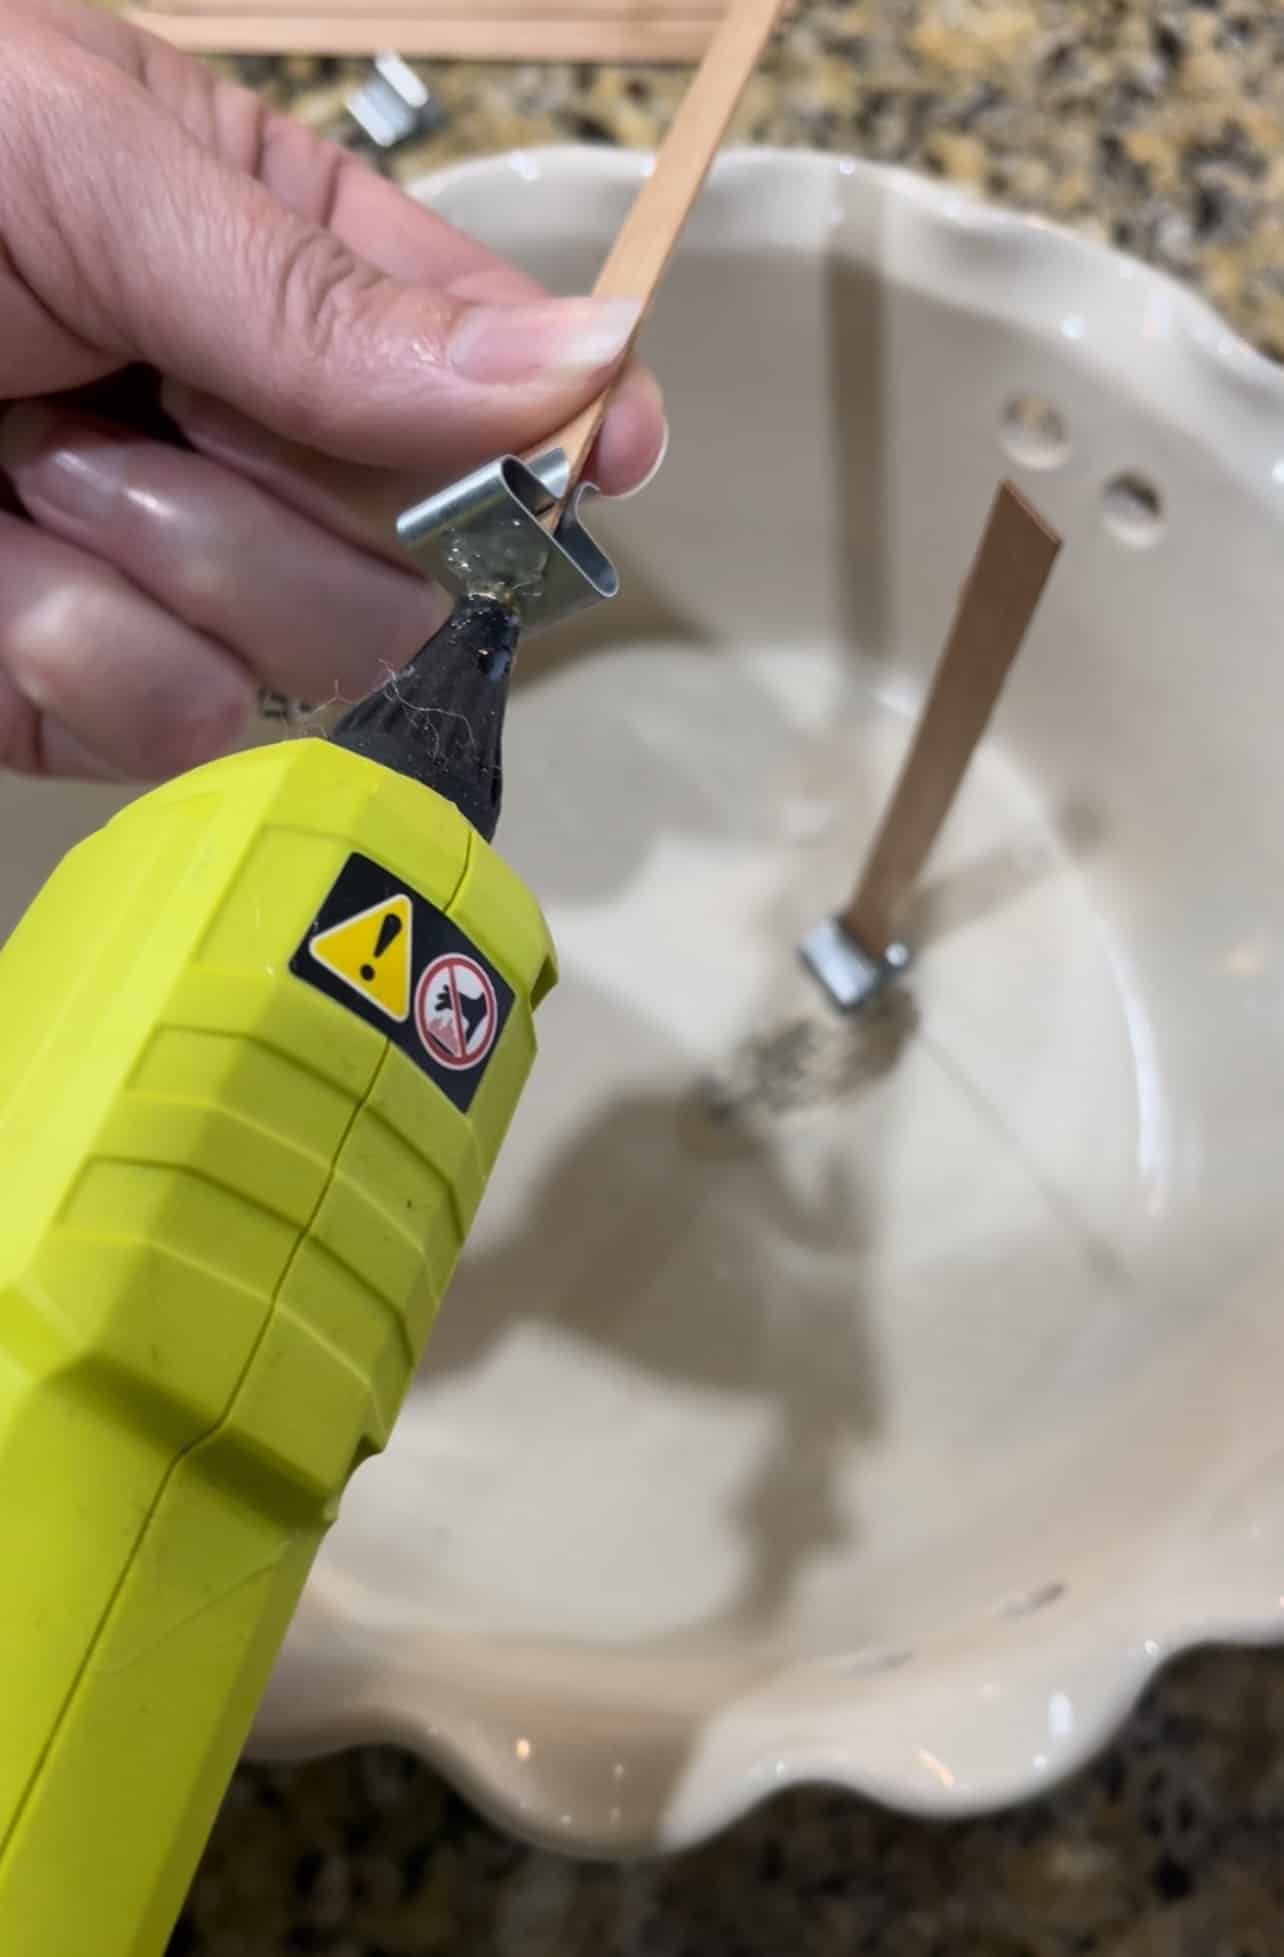
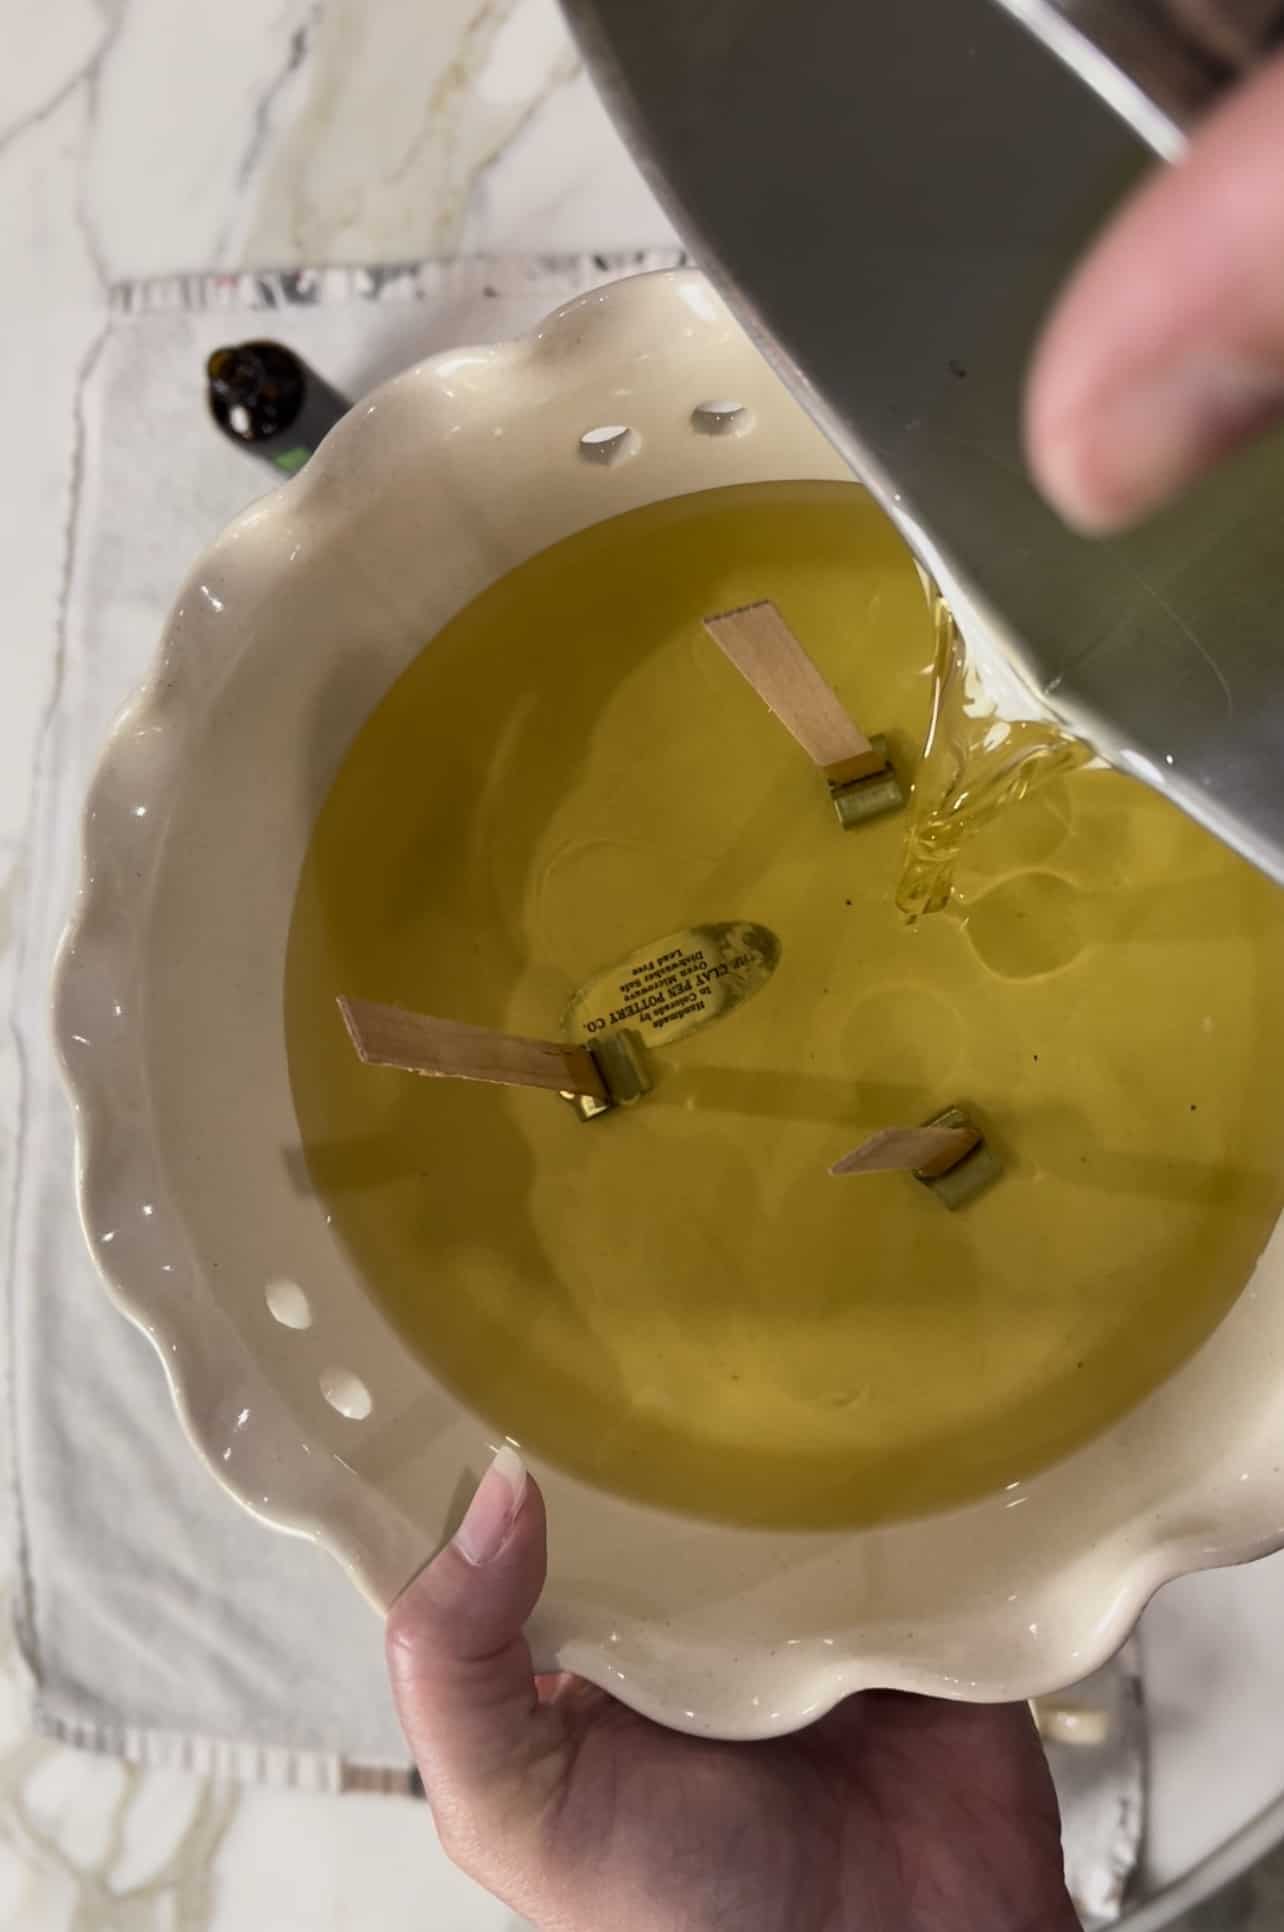
- Adding Wicks to your candle vessels
I have two types of wicks to use for making candles and one is traditional natural hemp I also bought wood wicks at Hobby Lobby to try and I used them in my larger candle in this project. I regretted it and I have a warning at the end of this post!
For both types, I use hot glue to hold them in place and then pour my melted wax over them and they stay put.
- The other type of wick

- Pouring melted wax into your vintage vessel
This vintage bowl is really cool and I think it’s perfect for the summer tablescapes I am planning.
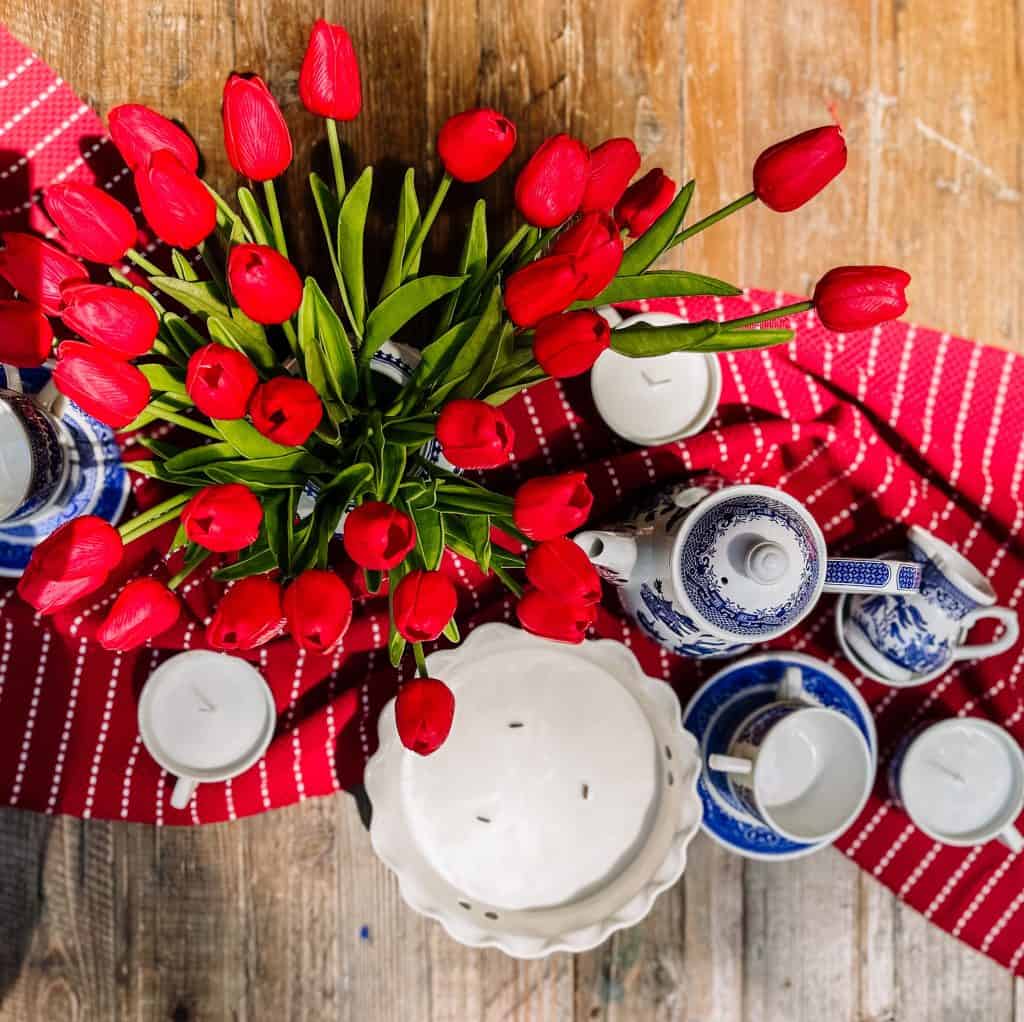
I also prepped a few extra broken tea cups for candles just in case I had extra wax, but I didn’t end up using them this time with the citronella so I will make a new candle scent to add to them soon. I am thinking citrus-y!
- Letting your candle set up
After you pour your melted wax into your vintage vessel, sit it on a level surface and leave it alone to set up properly. Give it plenty of time.
- Trim wicks
Trim your wicks with sharp scissors to about 1/4 of an inch above the top of the setup candle wax for the best even burn time.
- Light your candle
Light and enjoy your bug-free porch!
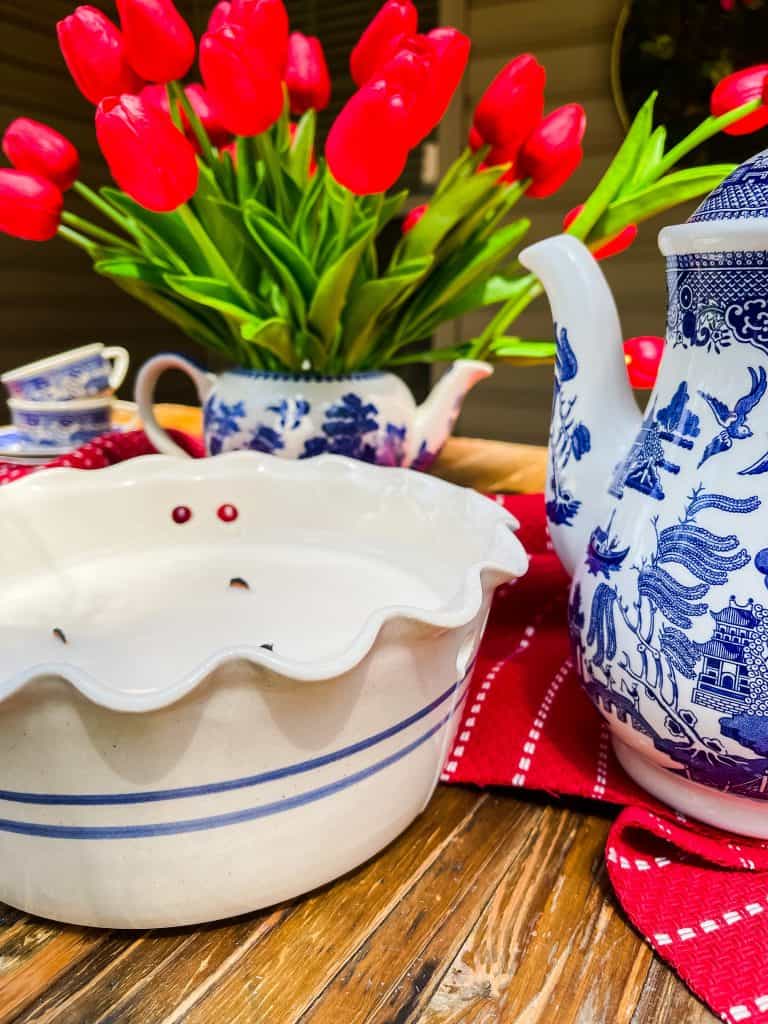
I made a mistake Using these wooden wicks
Uaing these wooden wicks was a mistake and I do not recommend them. They are not lighting and I am going to have to melt the wax and repour this candle with traditional wicks!!!! I am not happy but such is life. Live and learn!
Candle Vessel Idea’s
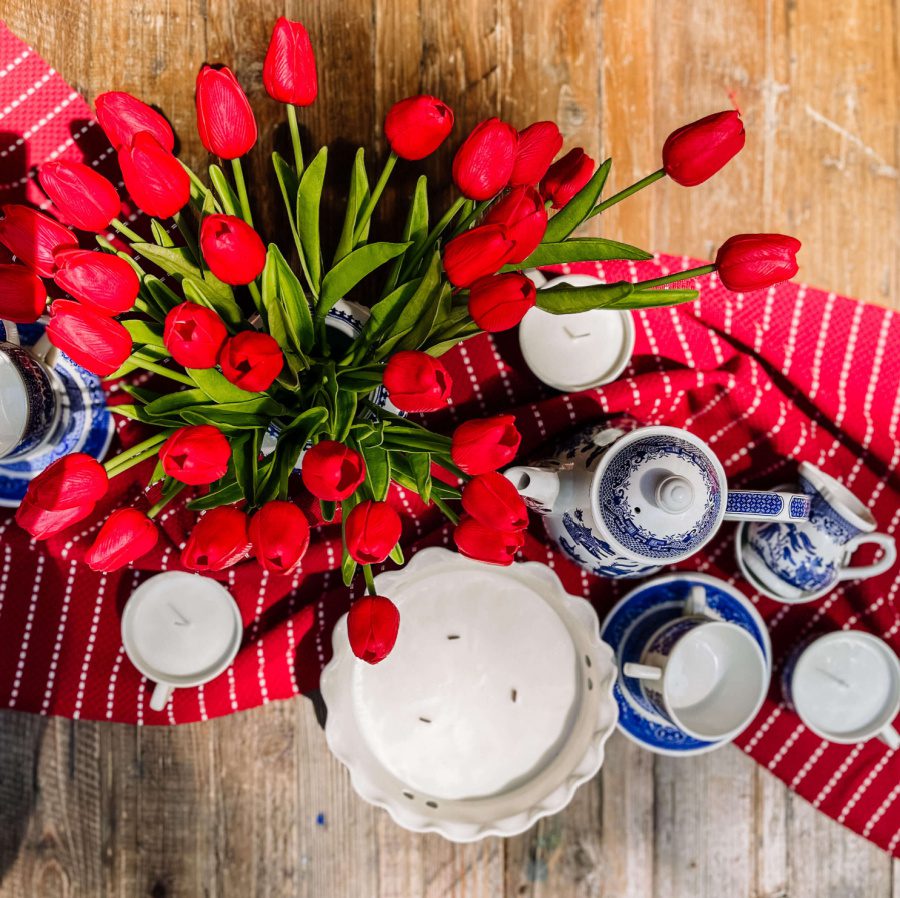
I was able to score two full boxes of my favorite Blue and White china from Facebook Marketplace a few weeks ago and I was so excited! There were some pieces I hadn’t seen before so that was a major bonus!
Some of the teacups were broken, chipped, or cracked a little and so I thought they would be perfect to use on my outdoor tablescapes for summer! The good news is that I can burn the citronella outside and then clean the teacups or whatever vessel I am using and repour a new candle scent or refill the citronella forever. They are so sustainable! I love the idea of having so many candles in my favorite pattern too!
I also save my Oui glass yogurt containers for crafting and repurposing. This little glass container works great because it will fit into so many vessels that I don’t want to actually pour a candle into but want to place a small candle into. They are also clean and small and neat!
On a side note. My favorite Oui Yogurt is the key lime and I eat it with graham crackers. Trust me on this. I haven’t been able to find it in a few months though so I get lemon and vanilla.
Ready to go Citronella Candles
If you don’t want to make your own citronella candle I have found some ready to go for you!
The Tattered Pew / The Best Tips for Limelight Hydrangea Trees
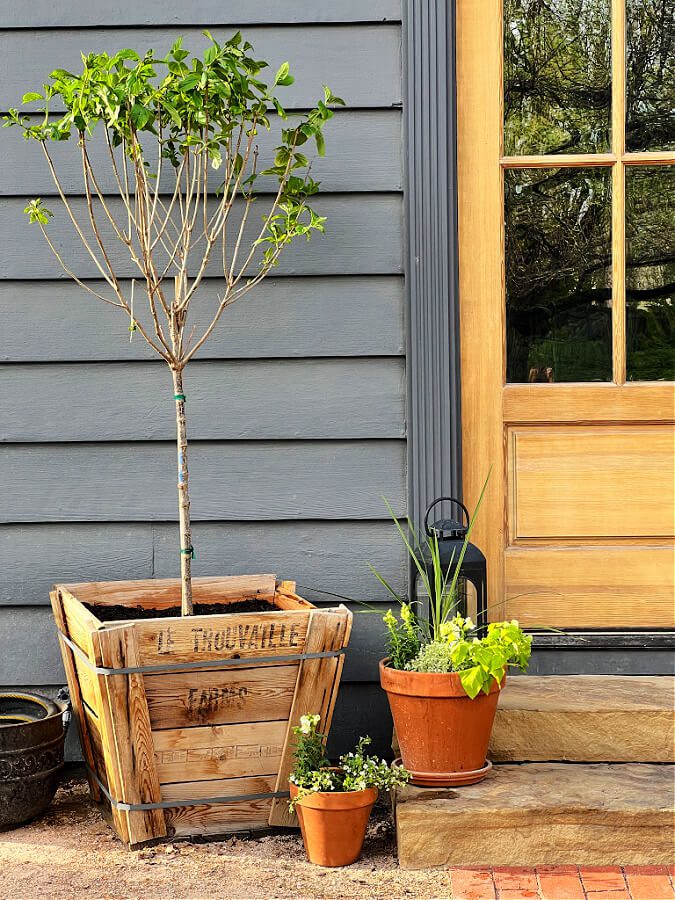
She Gave It A Go / DIY Patriotic Door Basket

Noting Grace / My 5 Walmart Finds and How I Styled Them
Amy Sadler Designs / How to Make a Citronella Candle for Summer
white arrows home

Oh, who knew you could make these? I love your container choices! Thanks for the inspiration…on my list to do now!
Amy this is a fantastic tutorial. I have so many vintage vessels! I’ll be making these for our beautiful new deck!
Amy such a great idea! I had no idea you could make your own. Perfect for a summer porch!
Amy such a great tutorial. This is perfect and love the vessels you chose to put the candles in. Thanks for hopping with me!
Hey Amy! I love this post! Every year I buy citronella candles in ugly pots I don’t like! It never crossed my mind to make my own! I love the idea of putting them in vintage cups! I’m pinning this right now! Thanks for the inspiration! Here’s to a happy summer! Donna
Amy thank you for giving such thorough and easy to understand instructions! I have always wanted to make citronella candles. I love that you pour them into unique vessels as that will elevate a tablescape in such a beautiful way!
Love this idea! It is so great!!!!
I just bought a citronella candle and paid $24.99 for it! I have so many great pots around here to use to make some. These would make great gift ideas too!
OUI Yogurt…wait to you see what I made with them. Save them people so many great things you can do with them.
You have to make a candle ! It is so nice to use my vintage bowls that otherwise sit in the cupboard!