Easy Wooden Pumpkin DIY
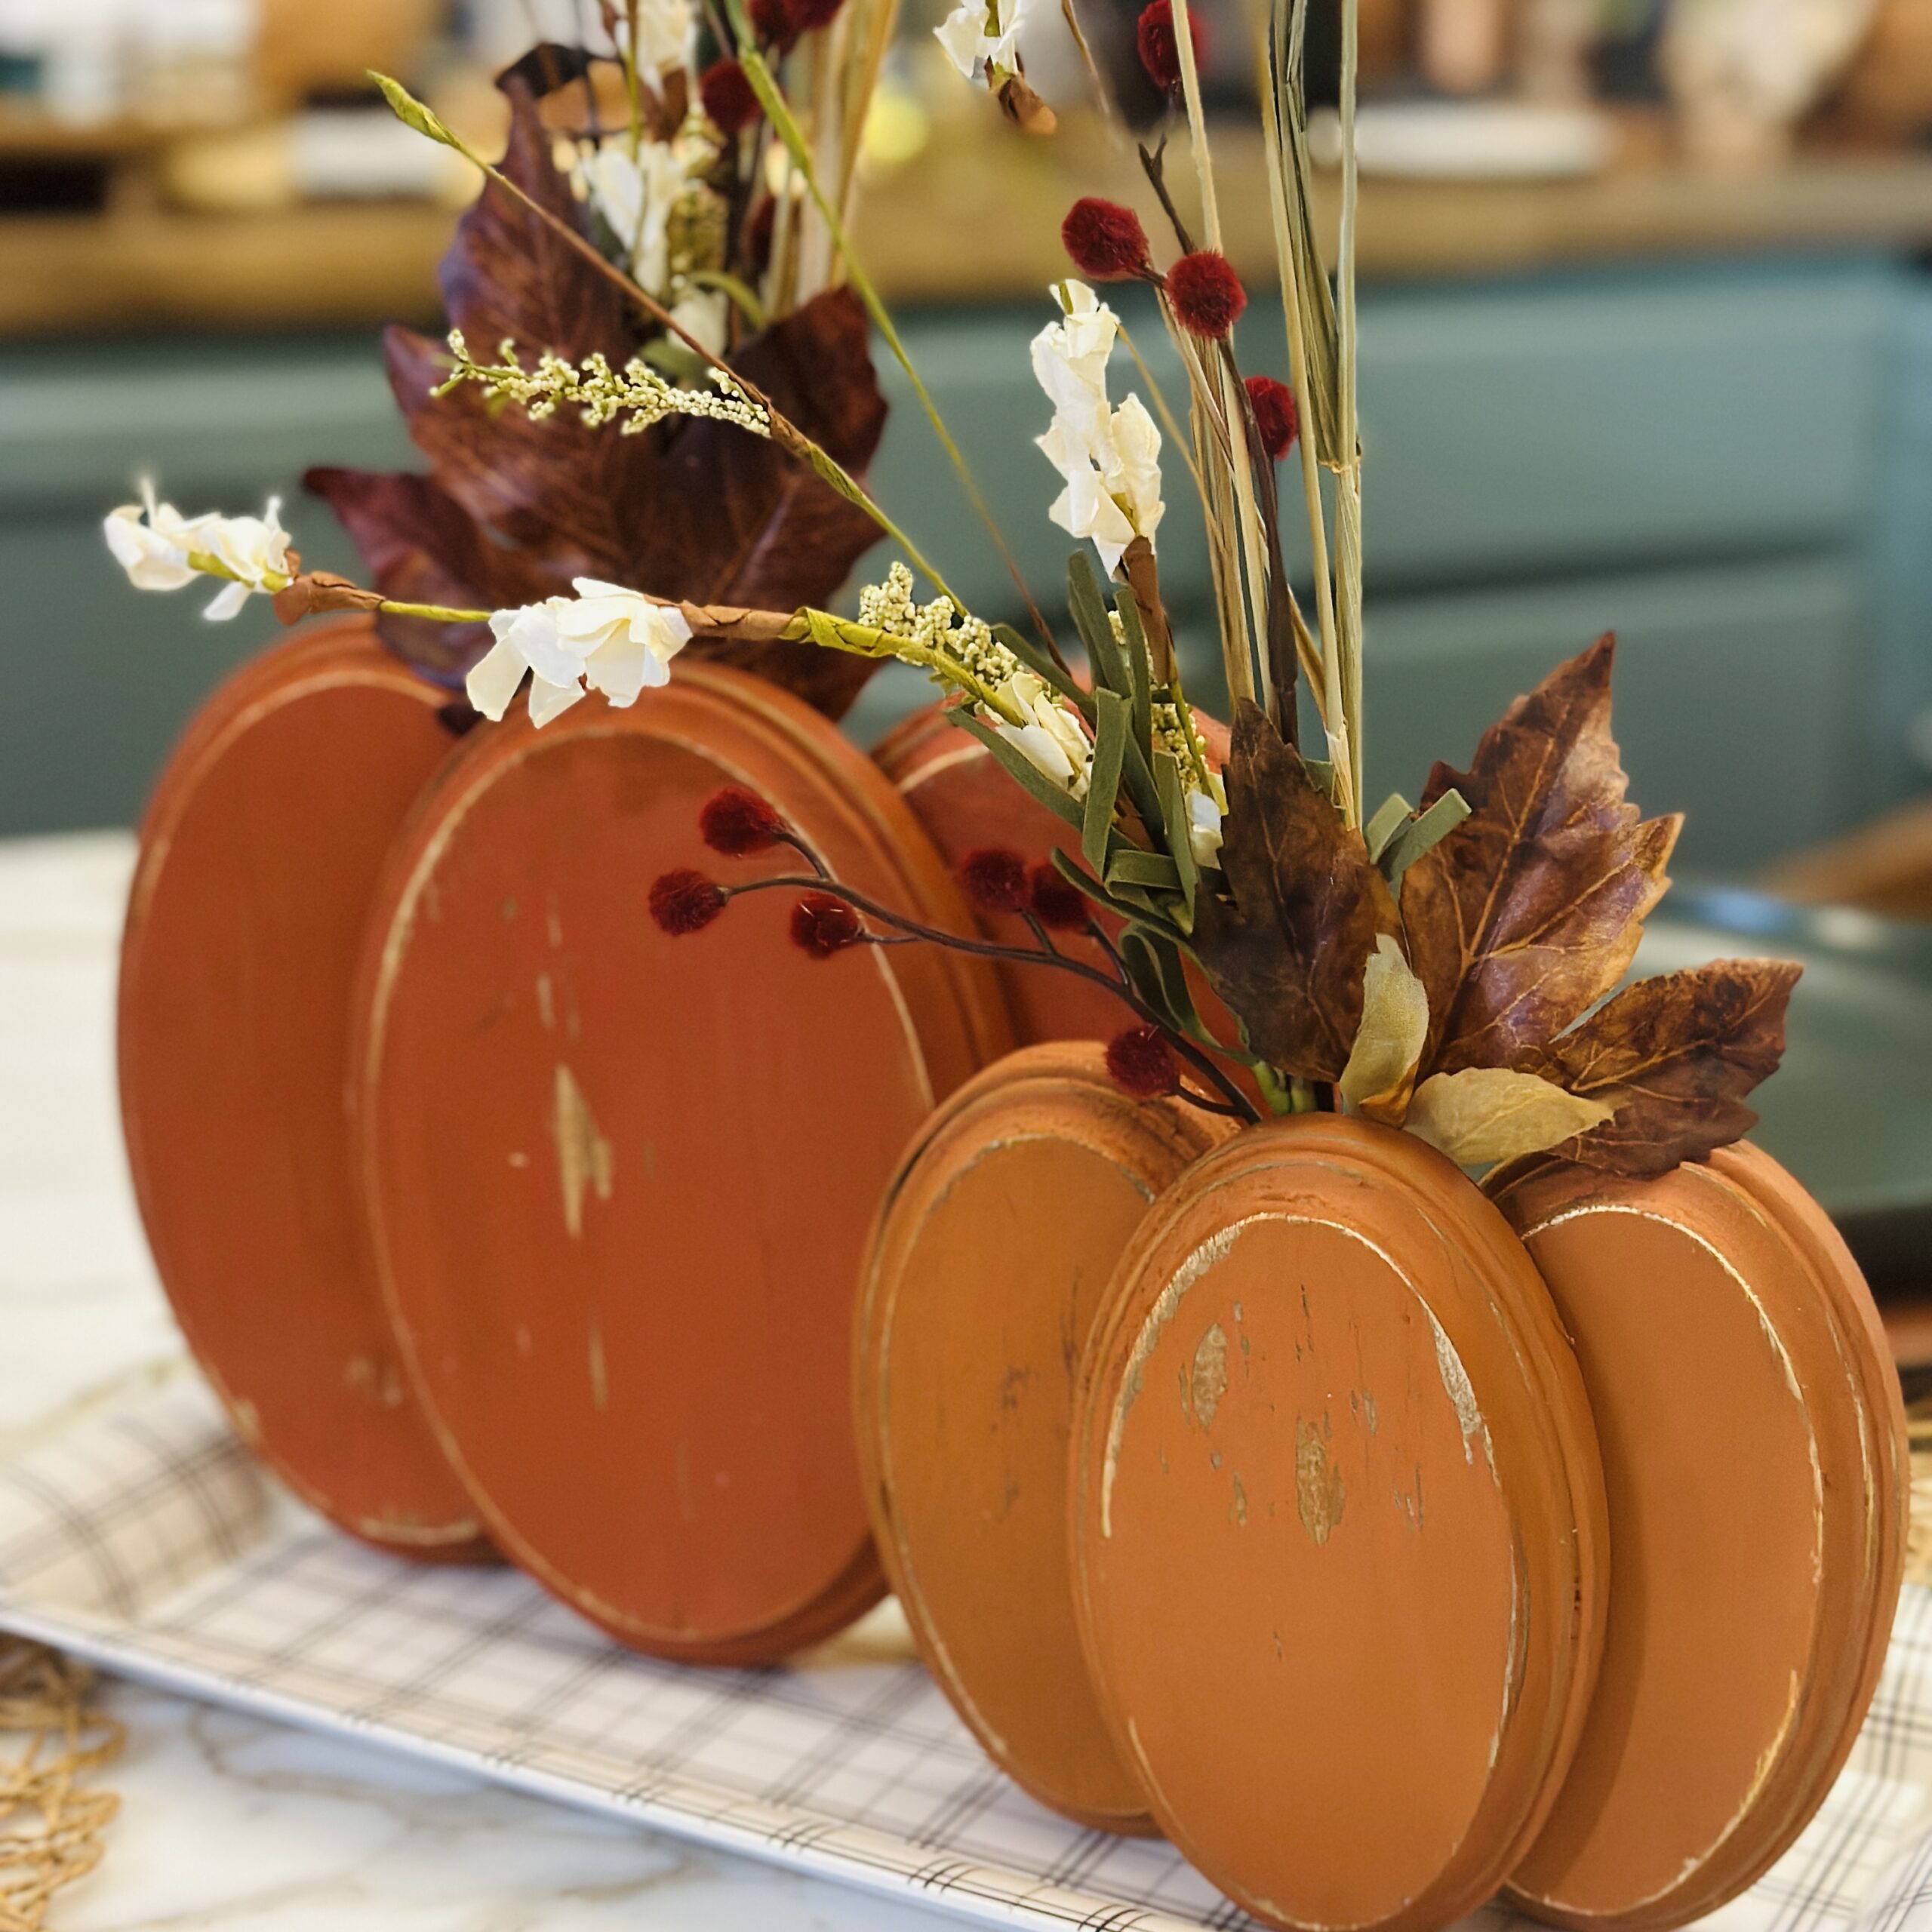
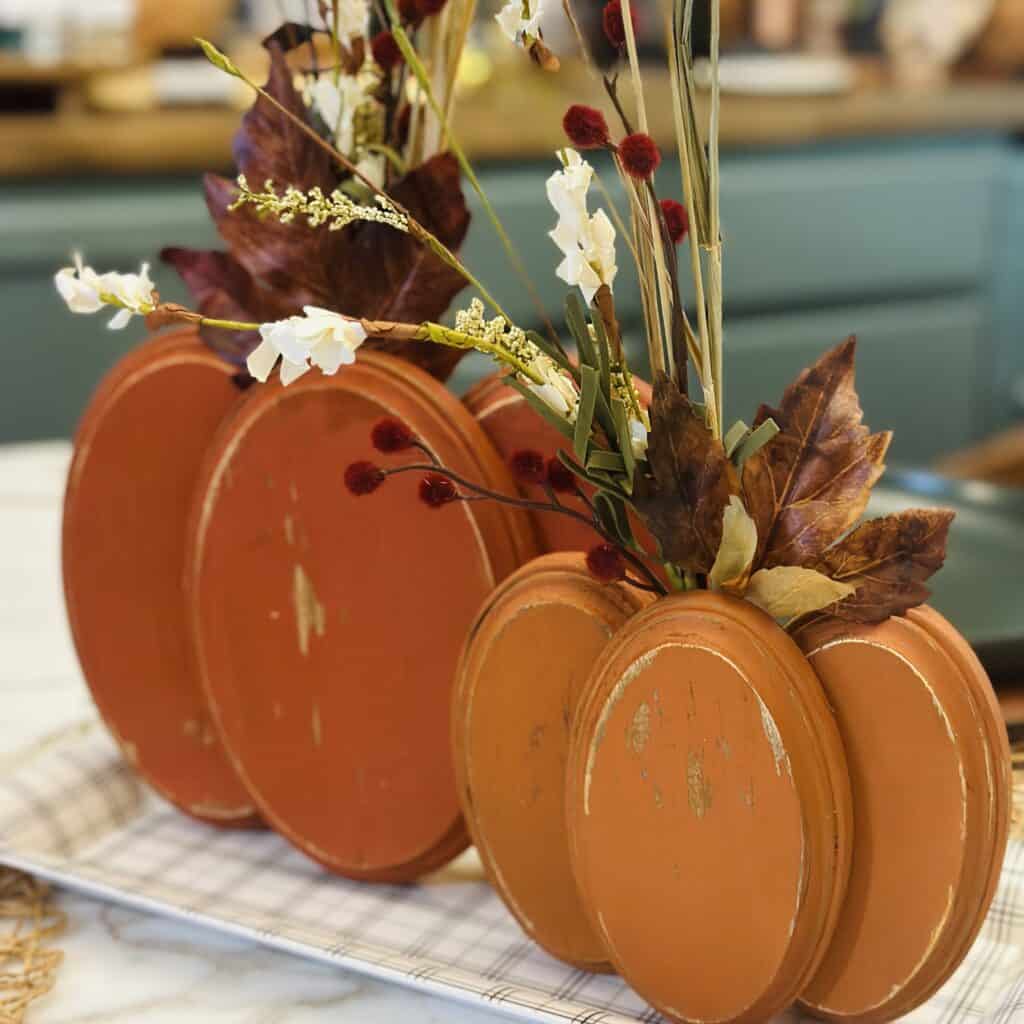
This easy wooden pumpkin DIY is exactly that, EASY! If you can use a glue gun, you can make this wooden pumpkin!
Create a Rustic Autumn Vibe in Your Home
Looking for an easy and affordable way to decorate your home for fall? You have come to the right place because this wooden pumpkin DIY tutorial is perfect! In just a few simple steps, you can create your own charming pumpkin decorations that will add a touch of rustic charm to any room.
Handcrafted Society
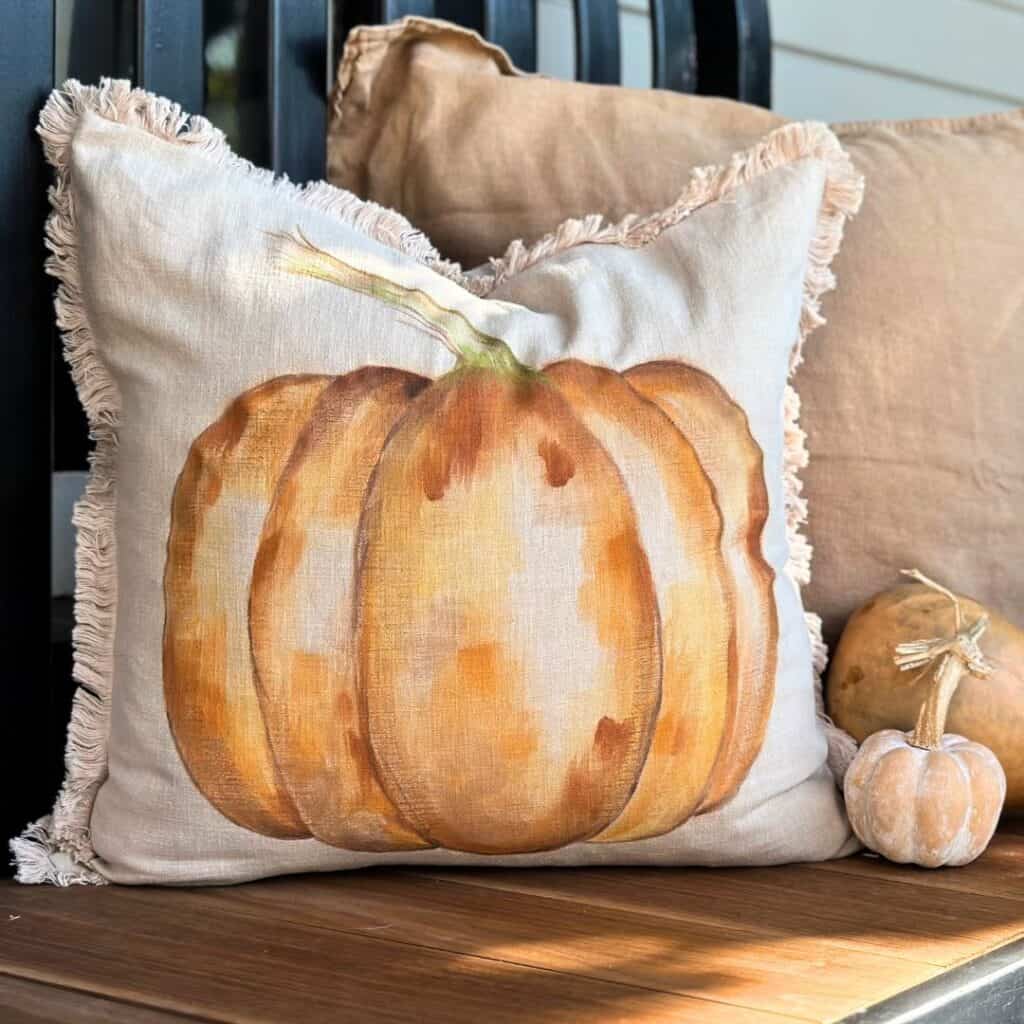
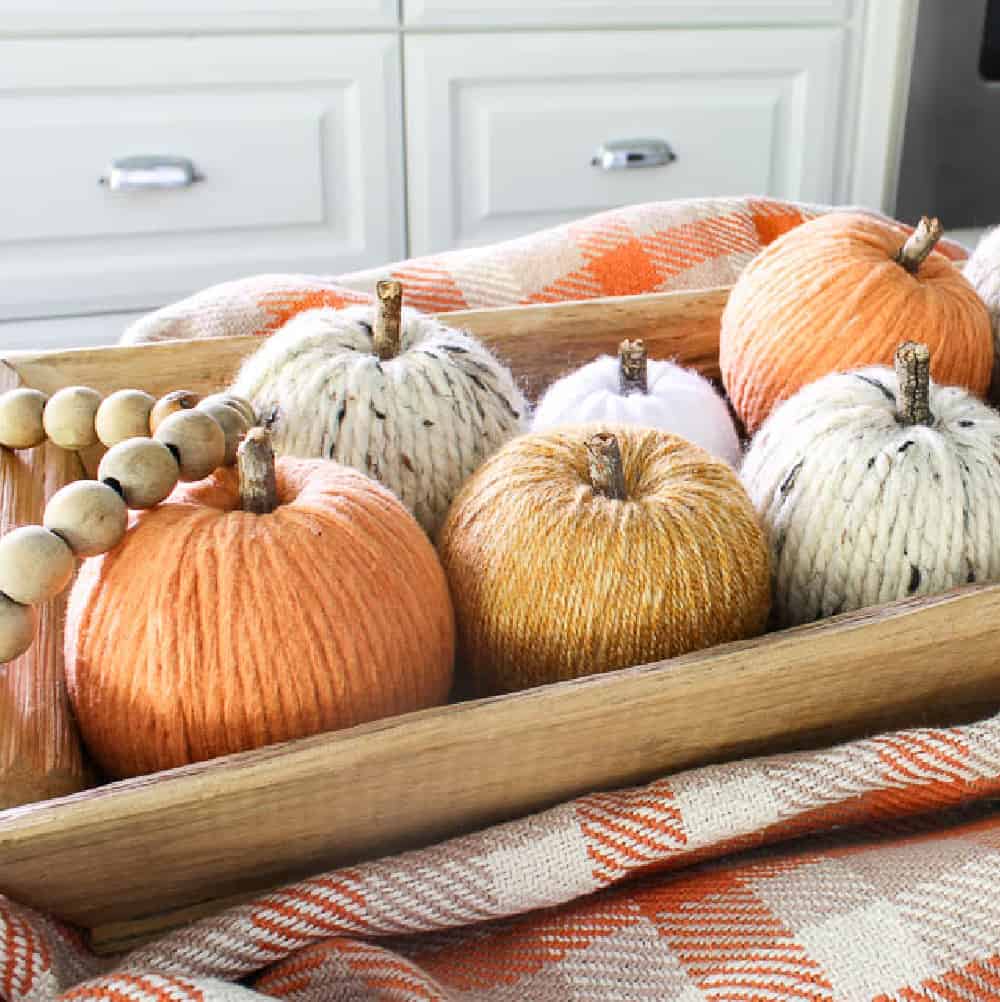
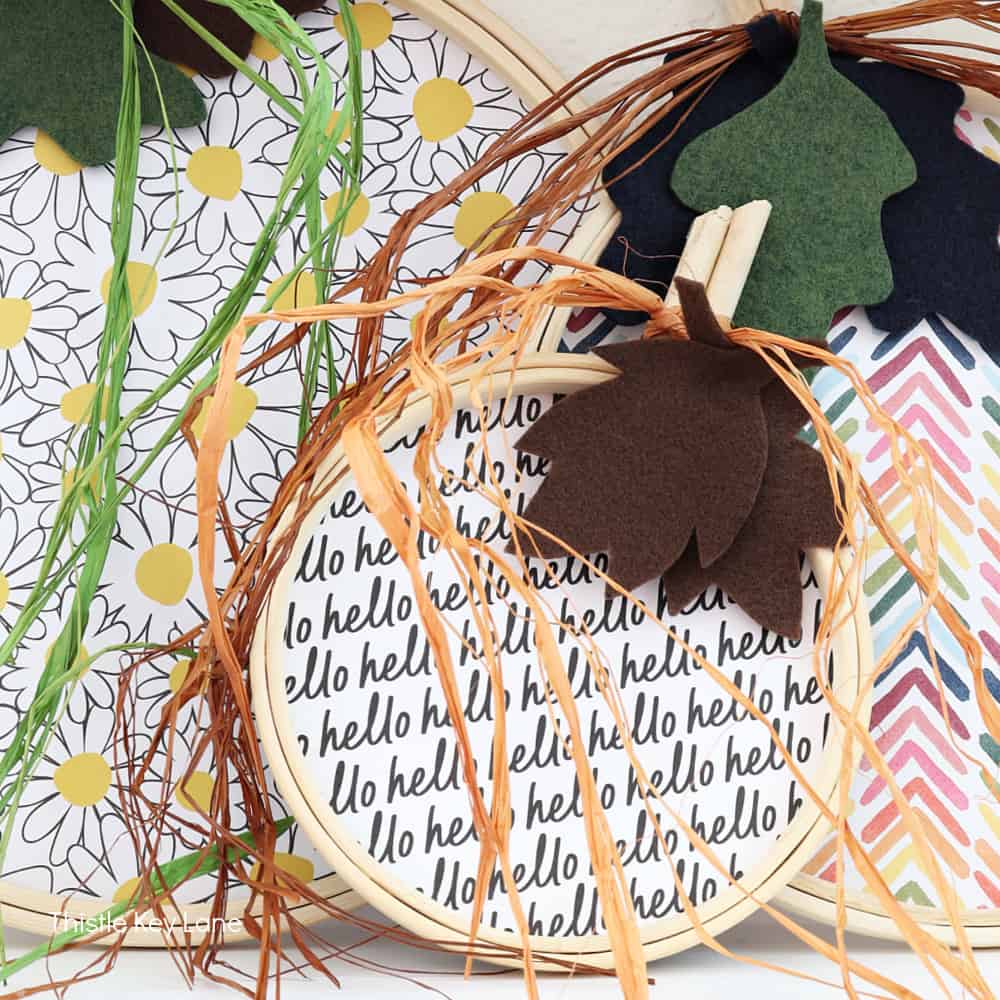
It’s pumpkin month in our Handcrafted Society craft group, and the ladies came through with some adorable pumpkin DIYs to share with you! All of them are linked at the bottom of this post and you don’t want to miss Wendy’s Painted Pumpkin Pillow for fall: Pottery Barn Inspired DIY tutorial. I am making one ASAP! We love to inspire you with affordable and adorable ideas on the first Tuesday of each month with a fun theme!

Supplies Needed
- Dollar Tree wooden ovals (Hobby Lobby has them too)
- Folk Art craft paint in toasted terra cotta and pueblo
- Americana craft gel stain in walnut
- Paintbrushes
- Sandpaper
- Hot glue gun and glue sticks
- Faux fall floral picks
- Twine or ribbon (optional)

I found the wooden ovals at my local Dollar Tree, but you can also find similar ones at Hobby Lobby or online. The terra cotta and pueblo colors from Folk Art craft paint give the pumpkins a warm, rustic look, but feel free to use any colors you like.
Before painting, lightly sand the wooden ovals to smooth out any rough spots. Then, use a paintbrush to apply a base coat of the Americana Gel Stain in walnut.
Next, after the gel stain dries paint on the terra cotta paint to the front and sides of three ovals and then the pueblo on the three ovals the smaller size. Let the paint dry completely.

It’s important to let each layer of paint dry completely before adding the next. I usually wait about 10 minutes between coats. Depending on the thickness of the paint and the desired level of coverage, you may need to apply two or three coats of each color.

Once the paint is dry, use a sanding block or zippy sander to lightly sand the edges and scuff up the paint all over the ovals.


To attach the ovals, use a hot glue gun to attach the ovals together. You have to make sure that they are even or “level” so they will stand up properly. Add hot glue to the inside of an oval and attach the other on top and then attach the other side to the oval on the opposite side.


That’s it! With just a few simple materials, you can create these charming wooden pumpkins to add to your fall decor.

Adding the Final Touches
Now that our wooden pumpkins are painted and dried, it’s time to add the final touches. This is where we can get creative and make each pumpkin unique. Here are some ideas:
Using Faux Flowers as Stems
One way to add a unique to you touch to your pumpkins is by using faux flowers as stems. I like to choose flowers that match the colors of the pumpkin or the surrounding decor. To attach the flowers, I first remove the stem from the flower and then use hot glue to attach it to the top of the pumpkin. This gives the pumpkin a whimsical and playful look. I wrapped my stems in painters tape to help me hold them exactly where I wanted them as I glued them down.


Adding Ribbon or Twine
Another way to add a touch of charm to our pumpkins is by adding ribbon or twine. I like to wrap a piece of ribbon or twine around the stem of the pumpkin and tie it in a bow. This gives the pumpkin a rustic and cozy feel.
Applying a Sealant
If we plan on using our pumpkins outside or want them to last for a long time, we can apply a sealant to protect the paint. I like to use a clear spray sealant and apply it in thin, even coats. This will help the pumpkin withstand the elements (somewhat) and keep it looking fresh for the season.
Decorating with Other Fall Elements
Finally, we can add other fall elements to our pumpkins to make them stand out. This can include things like leaves, acorns, or even small scarecrows. I like to use hot glue to attach these elements to the pumpkin in a way that looks natural and organic.

With these final touches, our wooden pumpkins are ready to be displayed and admired. They are the perfect addition to any fall decor and can be customized to fit any style or theme.
Why Easy DIYs are the Cutest
As someone who loves DIY projects, I have found that the easiest projects are often the cutest. Here are a few reasons why I think easy DIYs are the best:
1. They’re Quick and Simple
Easy DIYs don’t require a lot of time or effort, which means you can create something cute and festive without spending hours on the project. This is especially important during busy seasons like fall when there are so many other things to do.
2. They’re Budget-Friendly
Another great thing about easy DIYs is that they’re often budget-friendly. You don’t need to spend a lot of money on supplies, and you can often use items you already have around the house. This makes it easy to create cute decorations without breaking the bank.
3. They’re Perfect for Beginners
If you’re new to DIY projects, easy DIYs are the perfect place to start. These projects often require basic skills and simple tools, making them accessible to anyone. Plus, when you see how cute the finished project is, it can be a great confidence booster for future projects.
4. They’re Adaptable
Easy DIYs are often adaptable, which means you can customize them to fit your style and preferences. For example, if you’re creating wooden pumpkins for fall decorating, you can paint them any color you like or add different embellishments to make them unique.
It’s easy to save this post to your Pinterest board right here from the image below by either hovering over it on your computer or touch the red Pinterest Logo on the image with your phone and it will automatically open your Pinterest app to save! That way you’ll have it when you are ready for it!

Remember, you don’t have to be a master crafter to create beautiful and unique decorations for your home. With a little creativity and some basic supplies, you can create something truly special that you’ll be proud to display all season long.
So gather up your supplies and start crafting! I can’t wait to see what you come up with. Happy fall, y’all!
You can see Missy’s How to Make Easy DIY Pumpkin Floral Arrangements HERE!
What a great project and it looks so easy to do so that makes it even better! It would make a great table centerpiece in my dining room!
Your wooden pumpkin are just adorable! I never would of though of using the oval plaques. So clever Amy!
Too stinkin’ cute!!! And that is just brilliant to gel stain under the paint. LOVE these! Pinning!
This is a perfect example of a creative mind…turning individual shapes into a completely new form! I love your stain/paint treatment! Beautiful!
Amy, this pumpkin project is so cute. Another easy DIY idea using wood and a little paint. Easy to follow tutorial. Love the idea of using faux flowers as a stem. You are so right about the best DIY projects being the easiest.
Awesome project, Amy! You are so creative!!
Amy,
These are just the cutest and such a clever idea. On my list for next year. I’m sharing a link on tomorrows DRA.