Elegant DIY Copper Pot Hanger
One of my favorite accounts to follow on Instagram is a kitchen design company based in the UK, Devol Kitchens. They have the most beautiful and timeless kitchen designs in their feed that inspire me daily. Devol Kitchens also has a metal shop, Devol Metal Studio, where they create beautiful hand made metalware for kitchens. One of the pieces they create is a pot hanger and I absolutely love it!
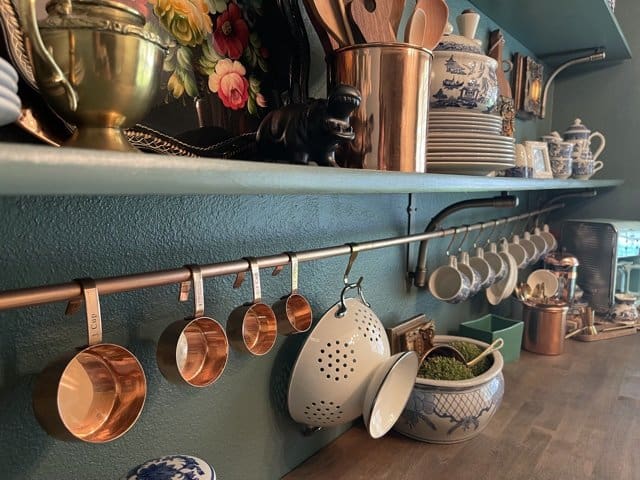
It is a clever way of hanging your favorite kitchen pieces (like my new copper pots) that would normally be put away in the cupboard.
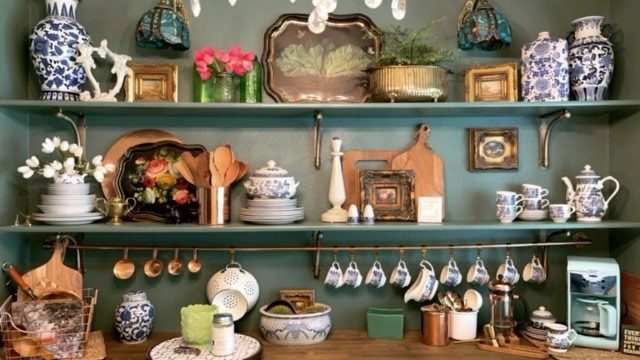
So, I decided I would try to DIY my own pot hanger. Wow, I hate to brag but I knocked it out of the park with this one!
Total side note, but kind of fitting. I hate to cook. Actually, I don’t think I hate to do the cooking, it’s the shopping, prepping, cooking food to cook in food and then cleaning up. I thought maybe having these beautiful copper pots might make me want to go through that process more often. I will let you know how that works out!
How to make a DIY Copper Pot Rack
DIY Copper Pot Hanger

Supply List
- 1/2 inch Copper Tubing from the Plumbing Section
- 1/2 inch Elbow (galvanized iron)
- 1/2 inch Floor Flange (galvanized iron)
- 1/2 inch x 4 inch Brass Nipple
- Rustoleum Metallic Spray Paint ( I used antique bronze to match my shelf brackets)
- Cabinet Screws with a wider head for mounting
- Barkeepers Friend Powder (for cleaning the copper pipes)
- Simple Pipe Cutter Tool (less than $5)
Shop the supplies
How To Create your own pot hanger
- Cut your copper tubing to the size you need.
Do this by twisting your pipe cutter with some slight pressure around the tube several times until it comes apart.
- Put the 4 inch nipple into the floor flange then screw in the elbow.
Make 2 of these.
- Spray paint this section to match whatever metallic color you prefer.
I painted mine in the Rustoleum antique bronze to match my existing shelf brackets, but you can paint them to match your hardware.

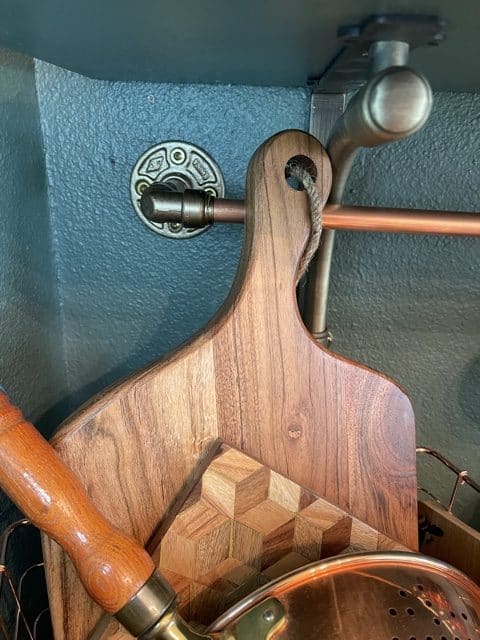
- Attach your copper tubing by pressing it into the elbows on both sides.
- Attach the floor flange to the wall using the cabinet screws.
You can use the rustoleum paint to make the screws match by spraying it onto a paper plate or cup and using an artist brush to paint it onto the screws.

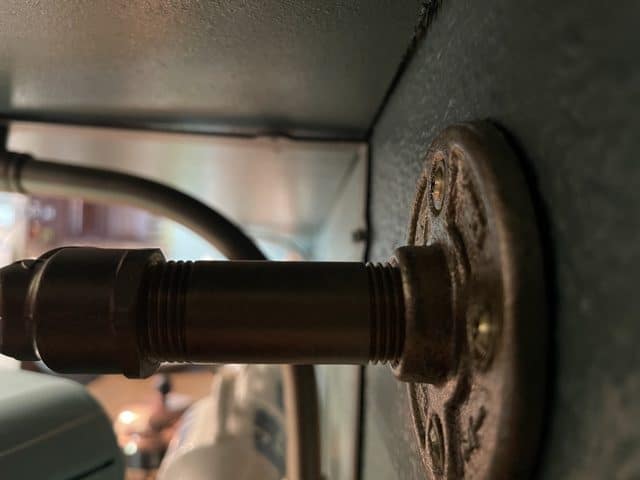
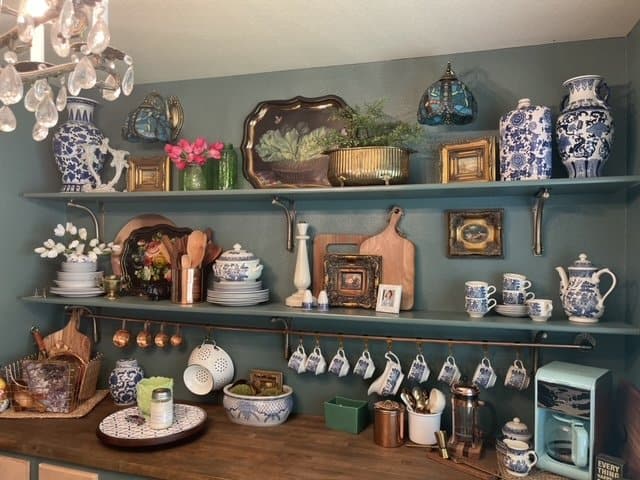
I used a level on my copper tubing to make sure my Pot hanger was even and screw in the other side. - Voila! How fun is that!
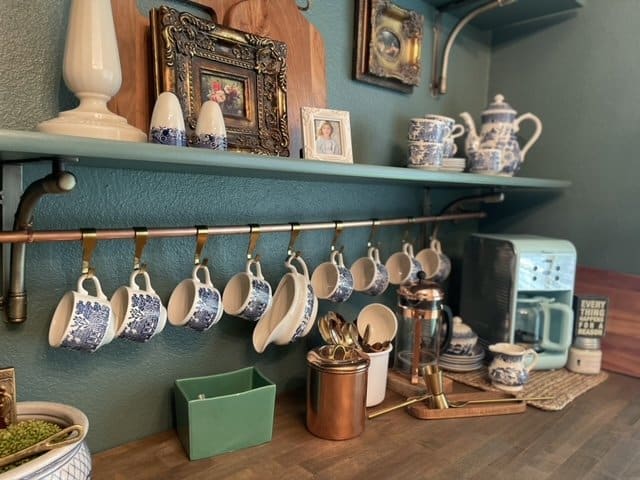
Hang anything you’d like on it! I chose my blue and white tea cups and my copper measuring spoons. I found my hangers from Ikea.

If you would like to age your copper or brass pipes I have included the recipe for that below. I did not do this process but seriously considered it, as I love a good patina!
Share your DIY Pot Hangers with me in the comments!
Instructions for aging brass pipes
- Pour a little vinegar in the bottom of your container. …
- Add a few pinches of salt. …
- Next, dip your paintbrush in the salt and vinegar solution and paint it all over the bronze or brass that you’d like to tarnish. You can also submerge it into the solution if it fits. Easy as that!

What a gorgeous idea!!! I love it!
Thank you Melanie! It was so much fun and made a huge statement for very little money! I love it too!
This looks amazing, Amy! What a great job and you made it look easy. I love all things tea so I think those tea cups are beautiful. Hope those copper pots get some use now! Lol Thanks for sharing!
Thank you Kim! So far it’s a no go on those copper pots! LOL Maybe in the fall!
Love the idea of using copper. Industrial beauty! Thanks for sharing. 🙂
Thanks Do!! I like functional industrial looks! Im trying to incorporate it in my European farmhouse designs these days!
Oh, I love the green and copper together!!
You are so sweet! Those two colors make me so happy!
Oh my goodness! This is the prettiest wall ever. Between the green paint on the walls and the copper pot rack, it’s just stunning.