
The Easiest Spring Wreath You’ll Make This Year
You know when you walk into Michaels for one thing and leave with an armful of “I’ll figure it out later”? That was me a few weeks ago. I spotted these beautiful Ashland fern garlands — they looked so real and full — and grabbed two. Then a cane-wrapped twig wreath form jumped in my cart. Next thing I know, I’m standing in my kitchen with $60 worth of supplies and zero plan.
Turns out, I didn’t need a plan. This came together in under 20 minutes, no glue, no cutting, and I can change the whole look just by swapping out the bow. Let me show you how.
This post may include affiliate links; you can read my disclosure policy here.
What You’ll Need
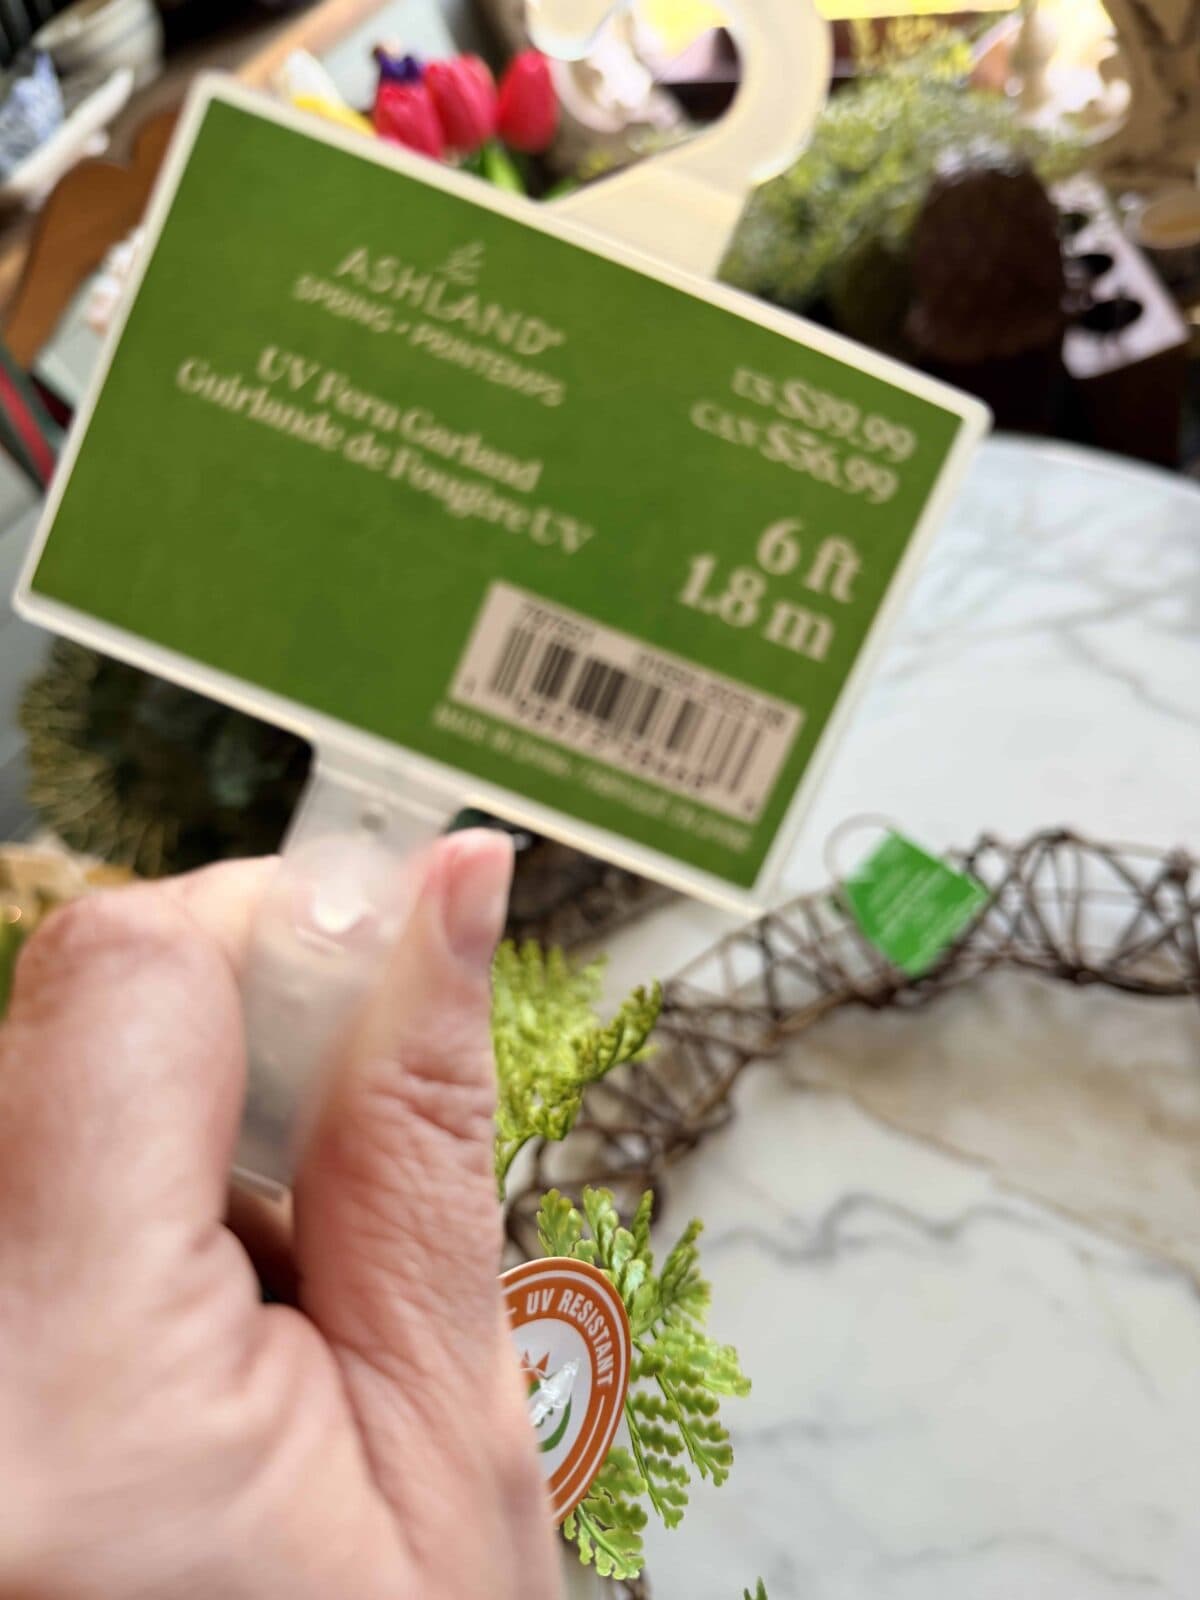
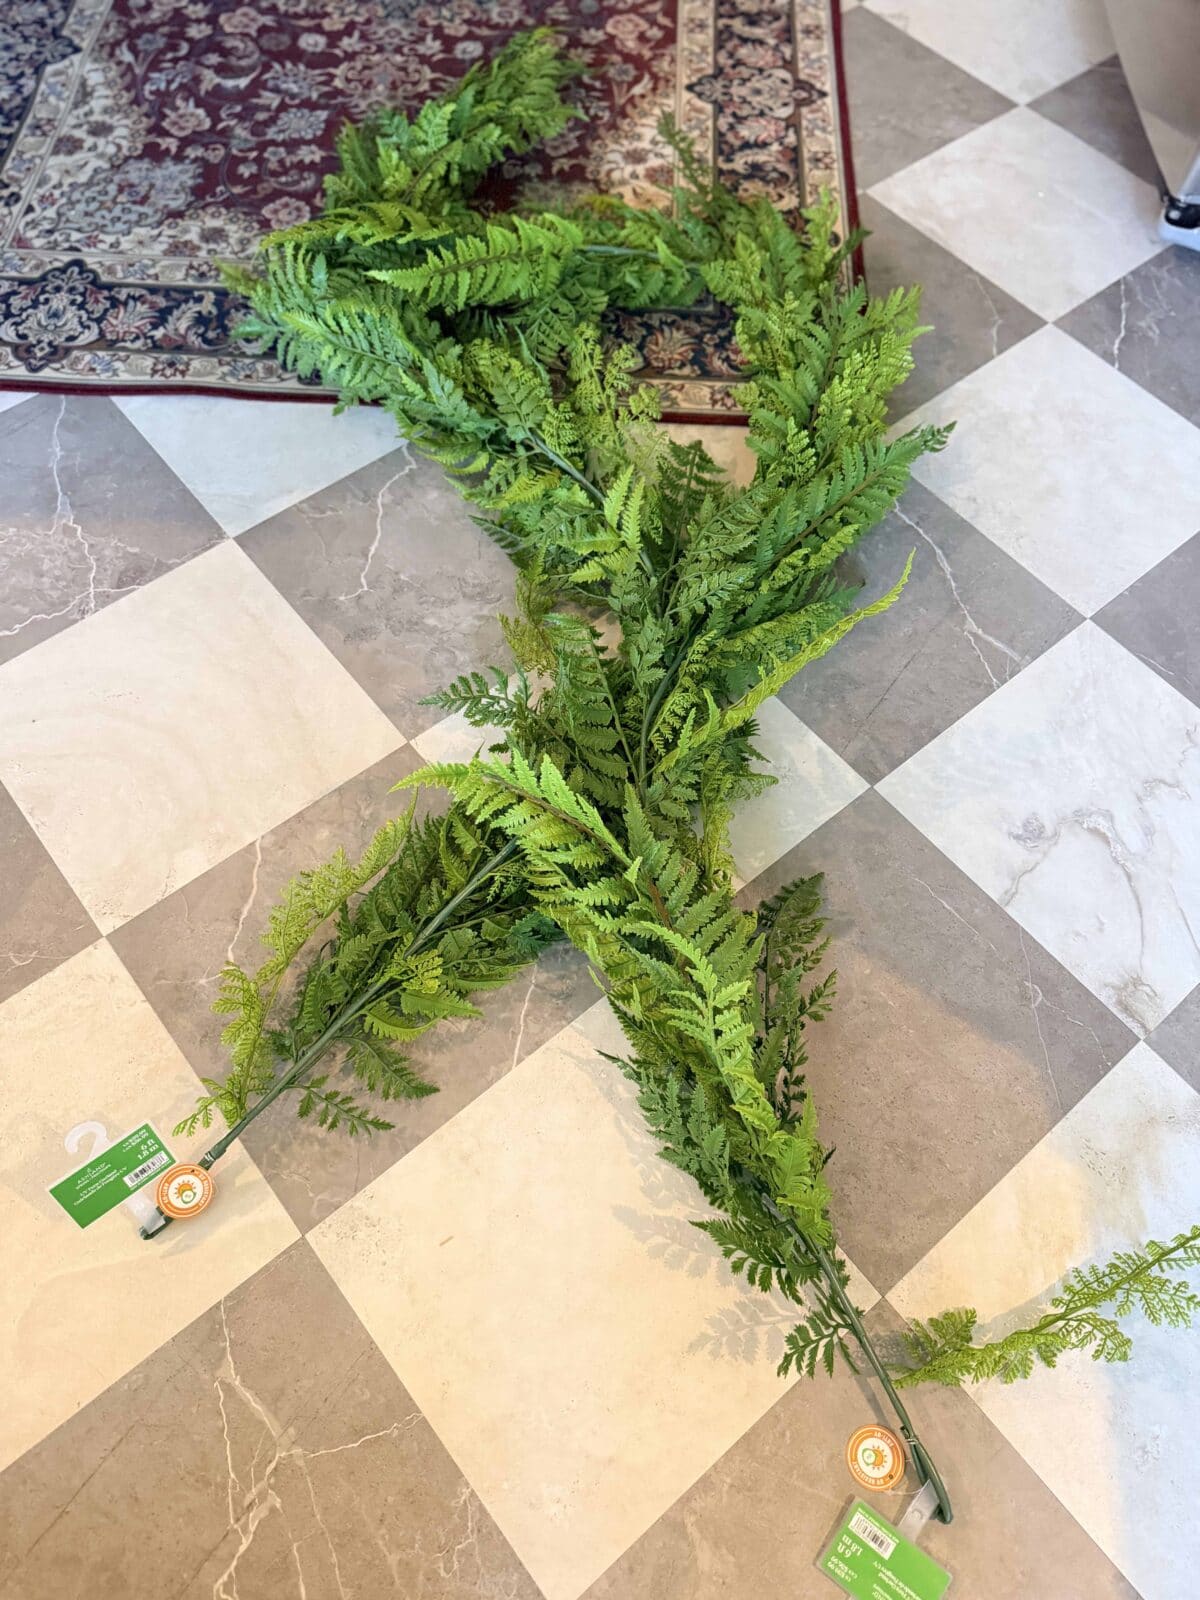
- 2 Ashland mixed fern garlands (Michaels — they’re the realistic-looking ones)
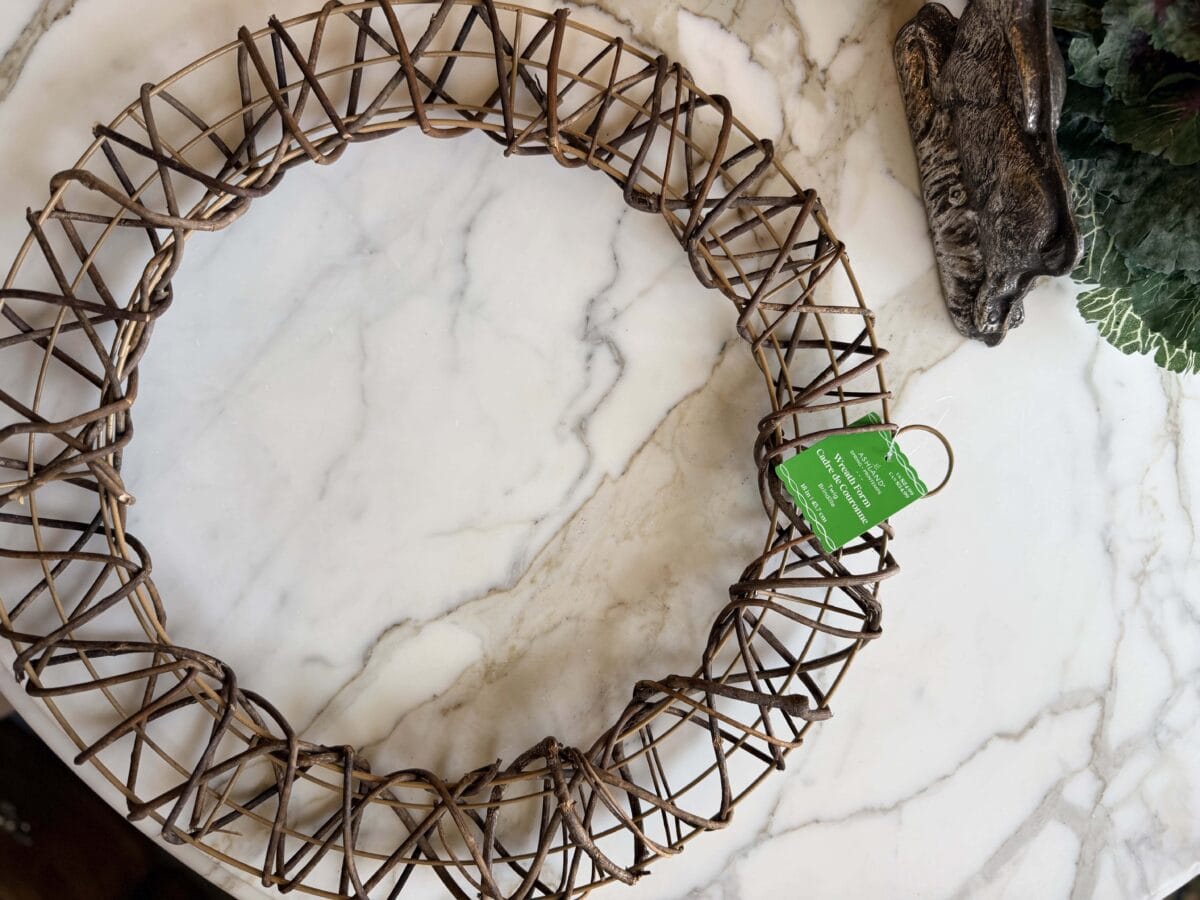
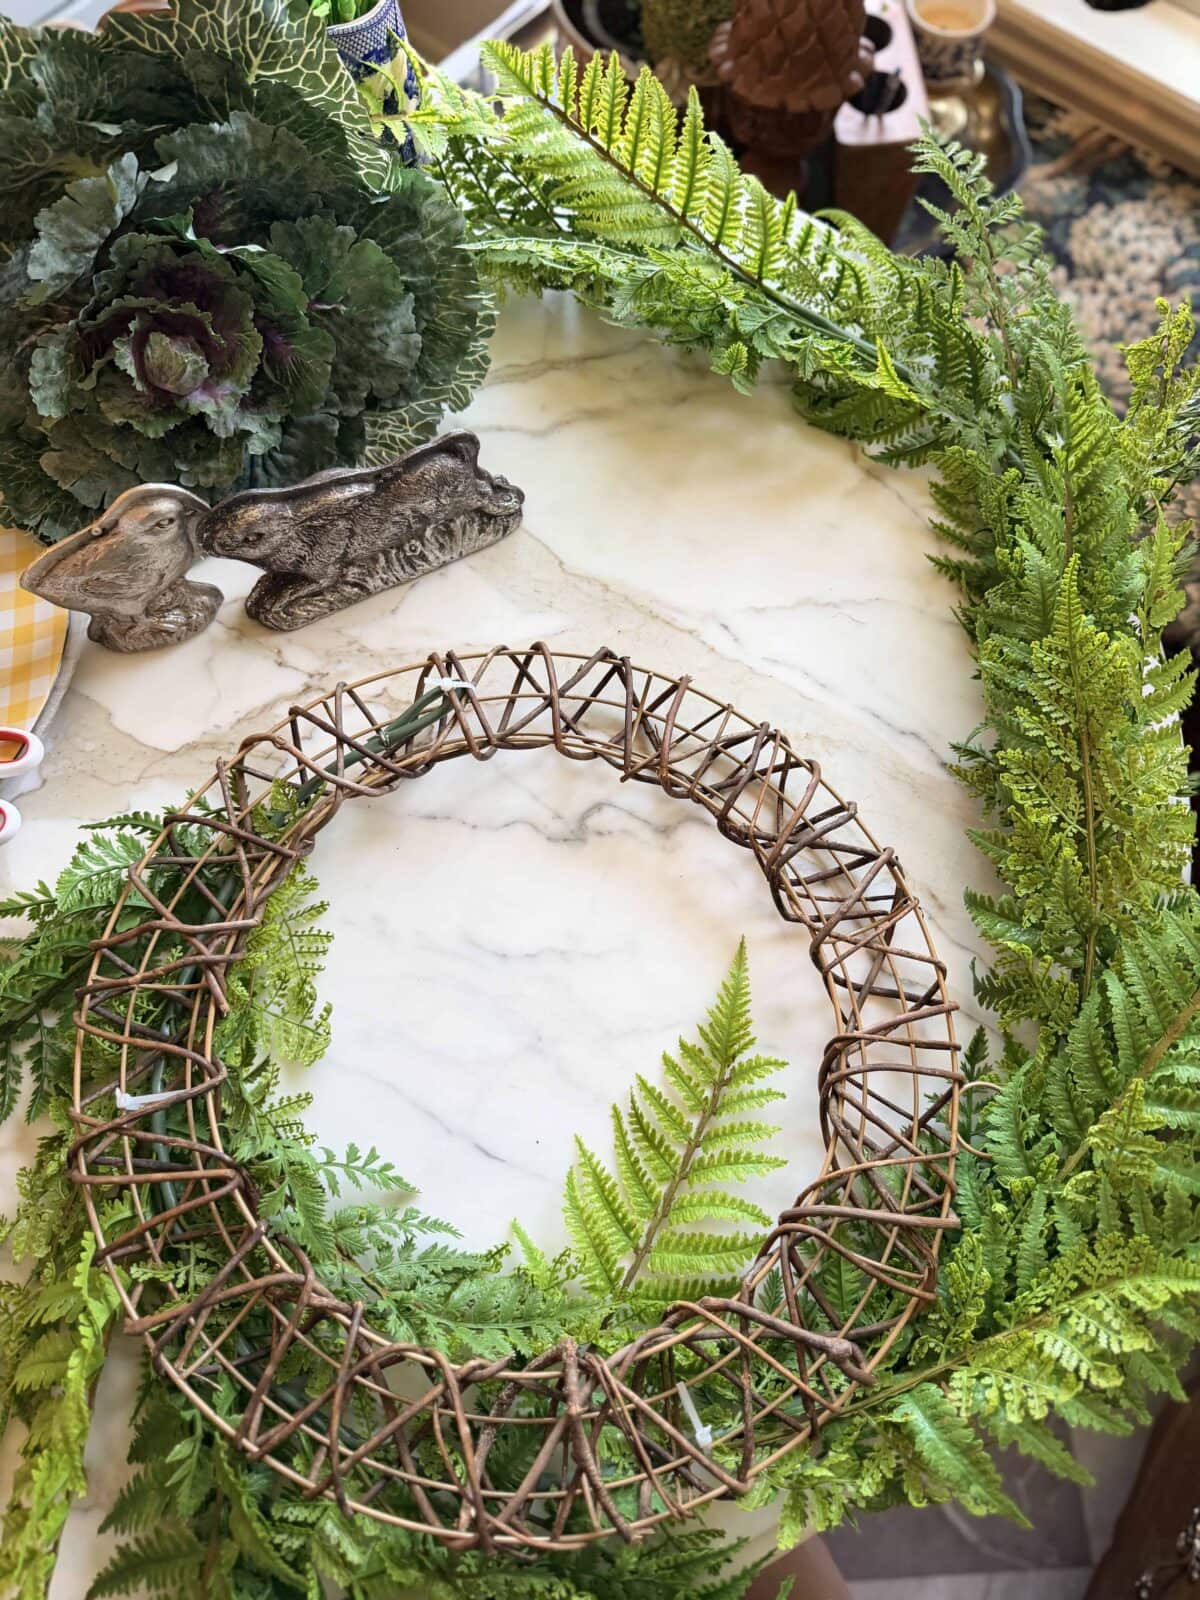
- 1 Ashland cane-wrapped twig and wire wreath form (24 inches or larger — mine is 18 inches and the two garlands filled it perfectly)
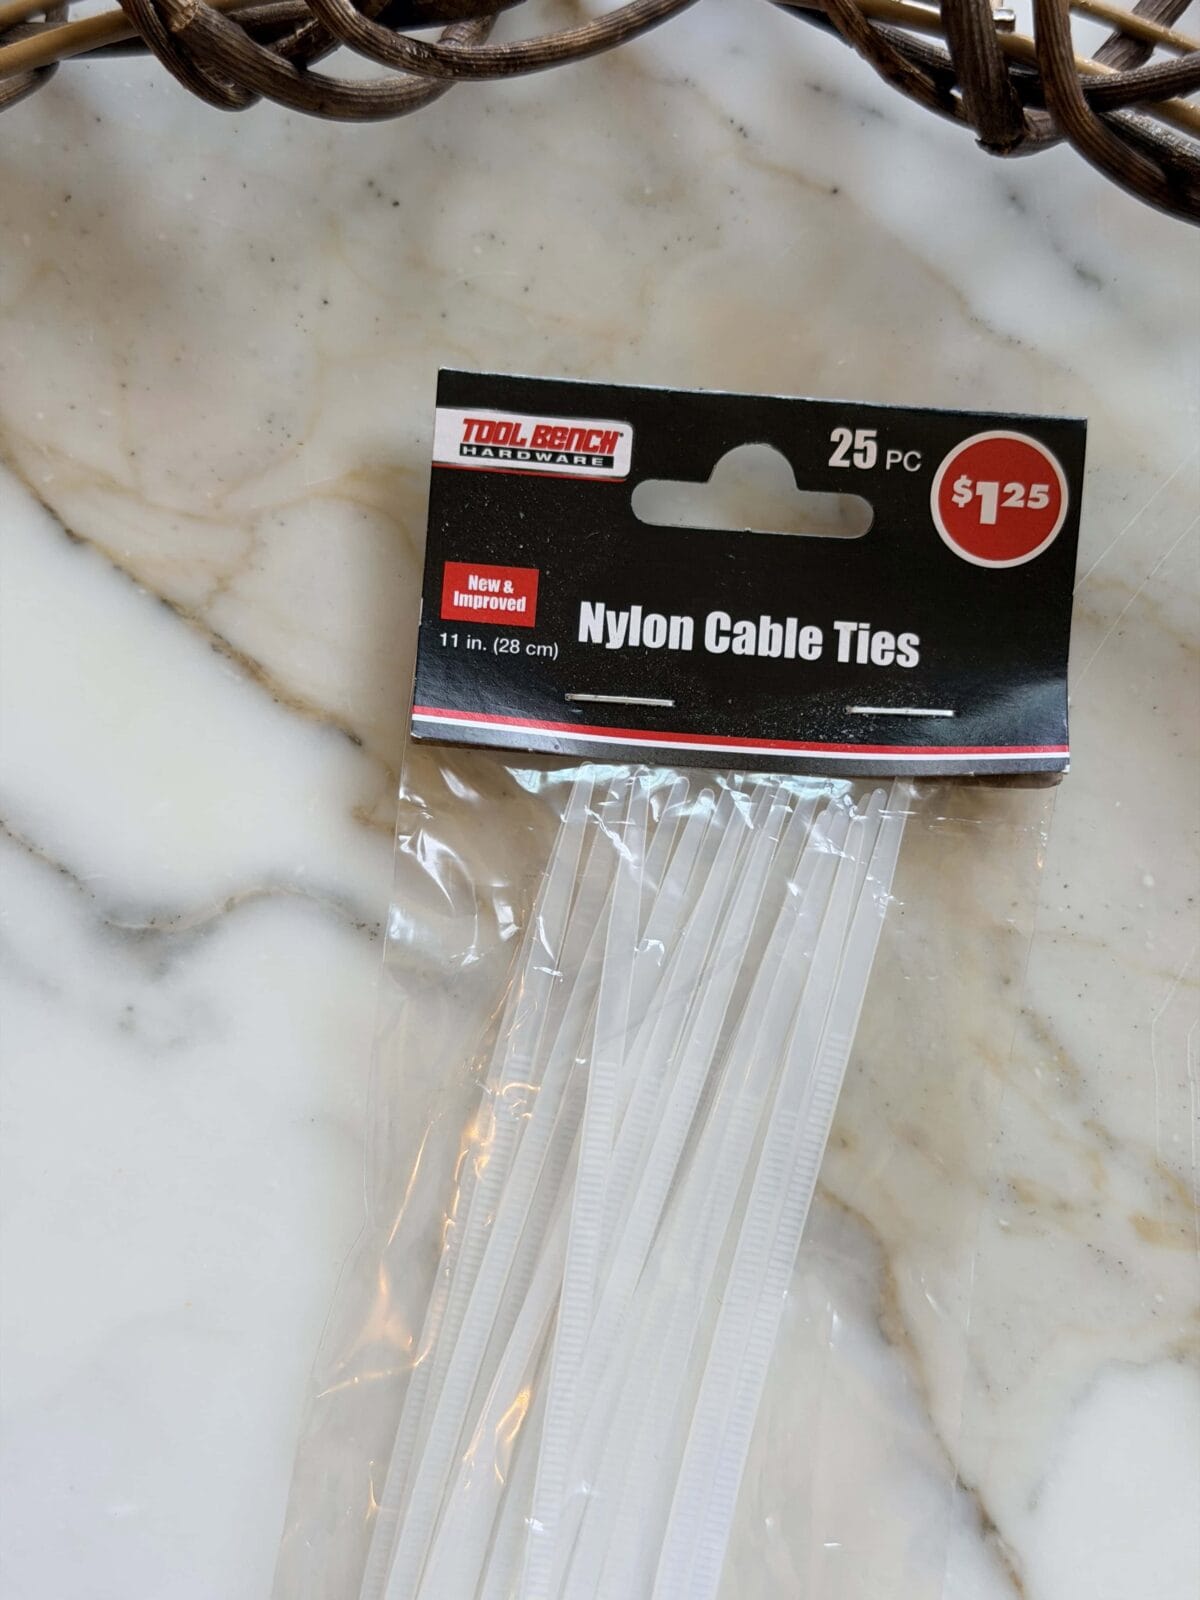
- Zip ties (they’re stronger than floral wire and faster)
- Scissors (to trim the zip tie tails)
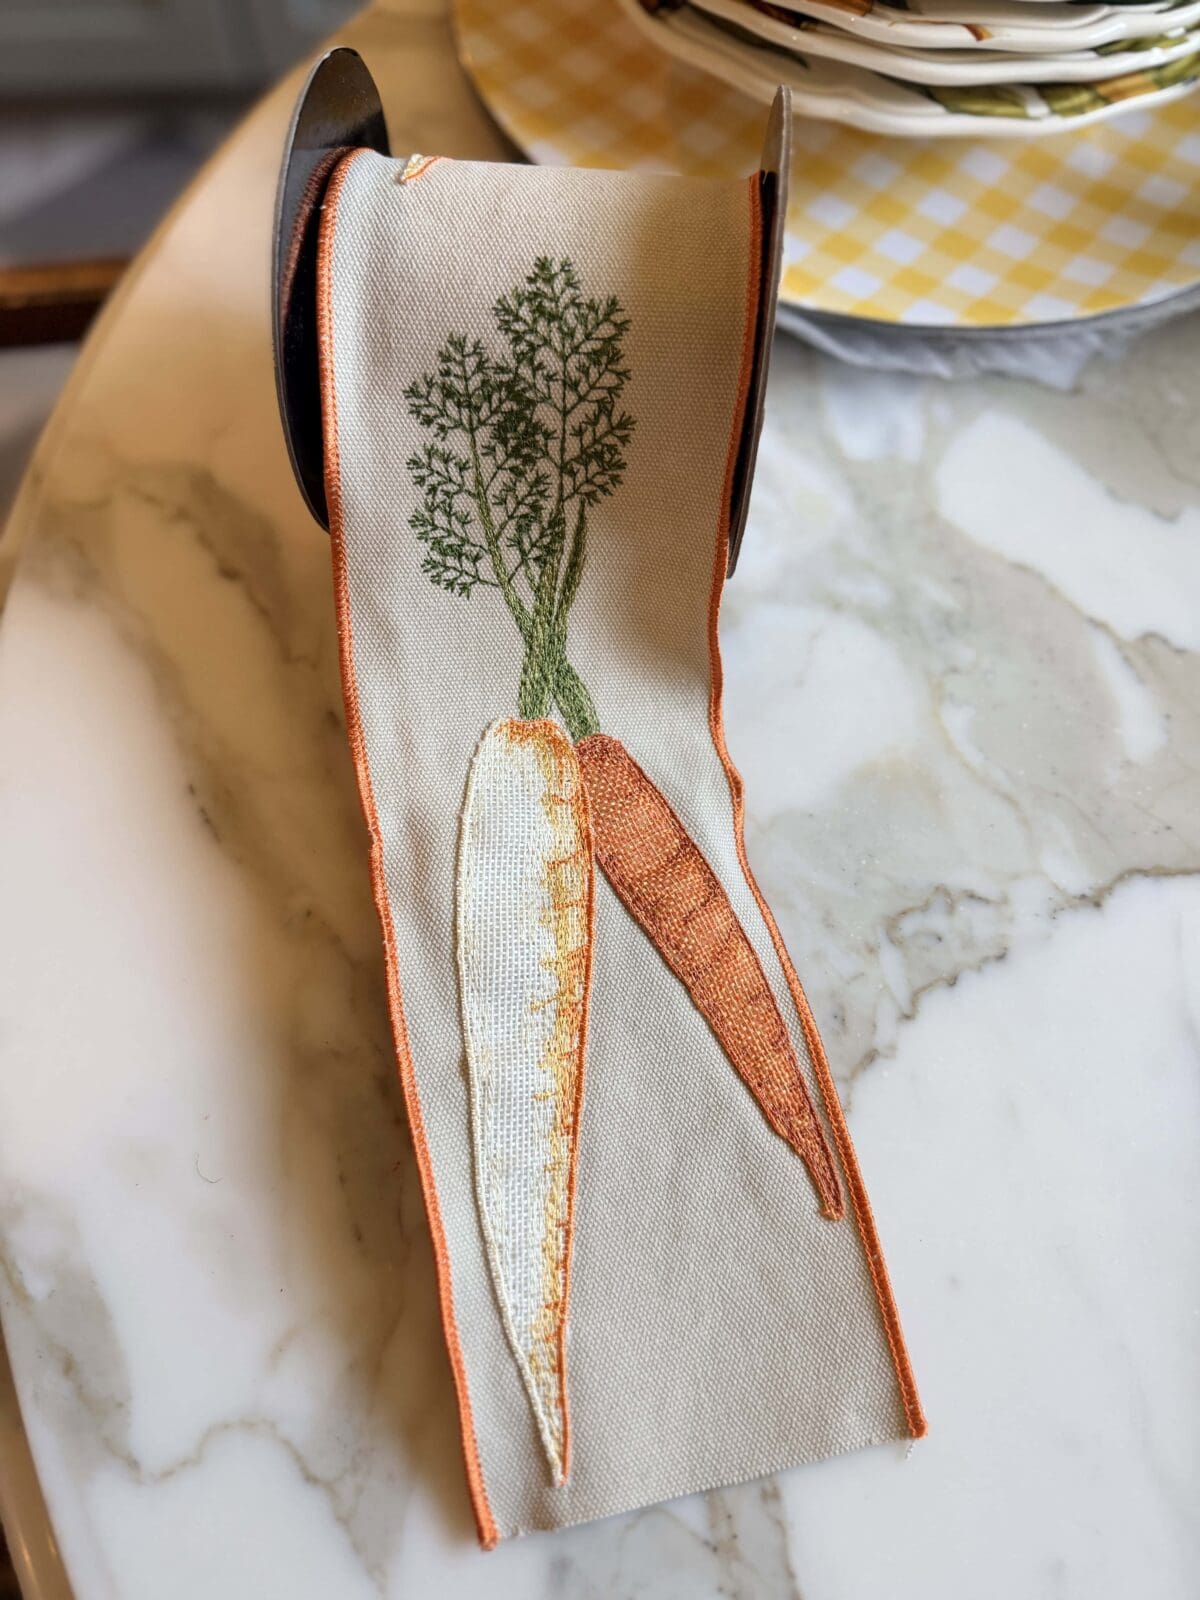
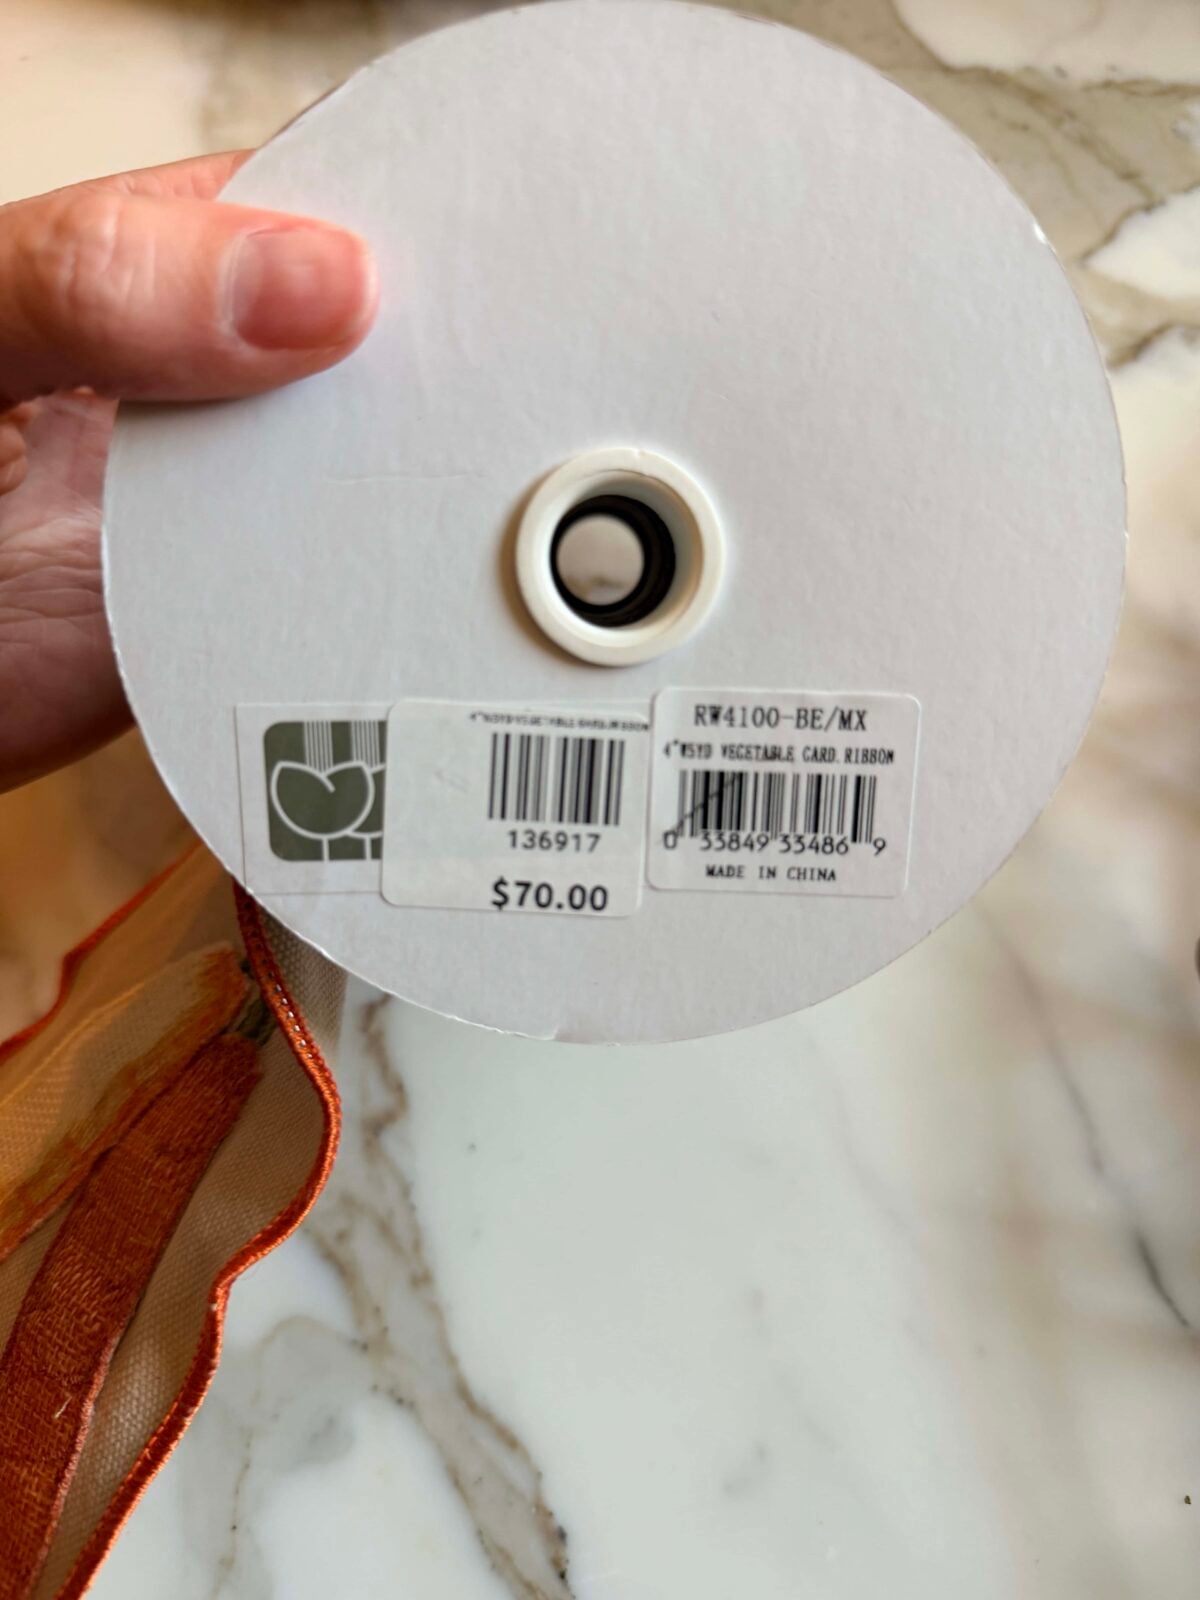
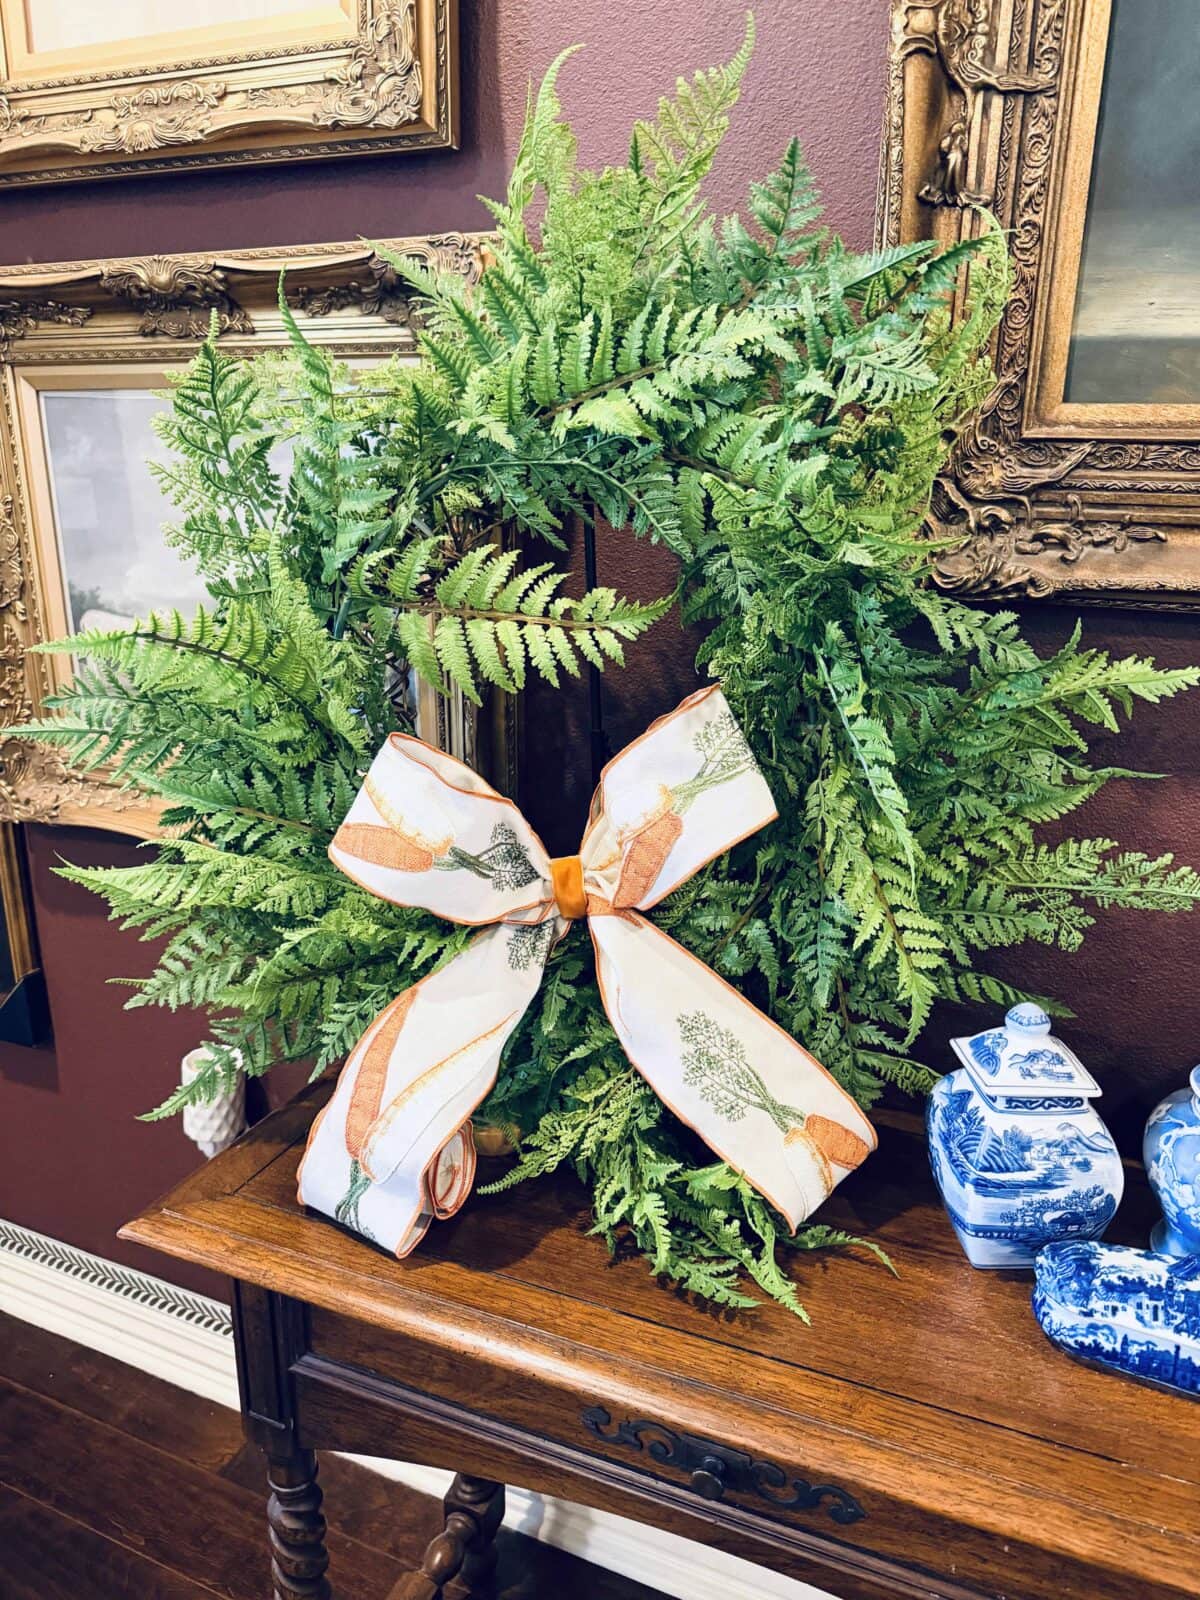
- 5-inch wired ribbon (I used one with embroidered carrots for spring)
- Copper wreath hanger (for that warm, collected look on your door)
Step 1: Attach with Zip Ties (This is the Trick)
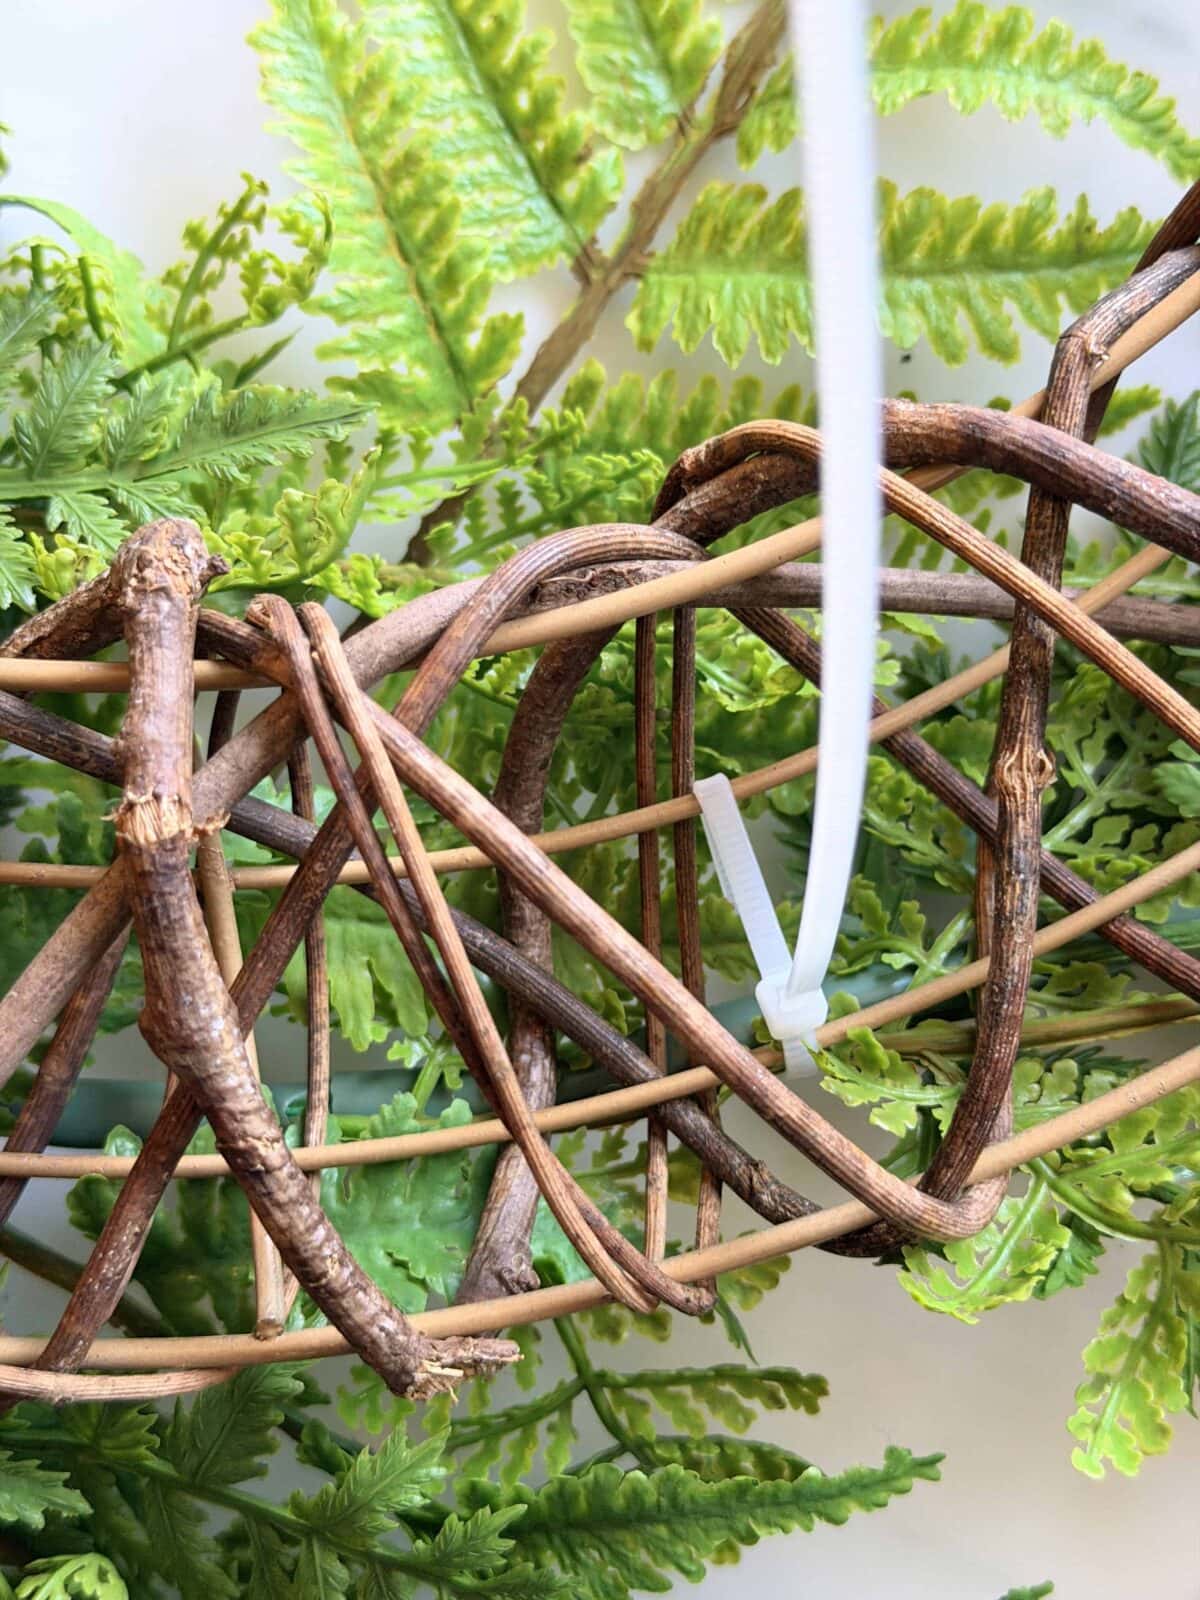
Here’s where this project gets really easy. Instead of wrestling with floral wire that pokes your fingers and never stays put, I used zip ties.
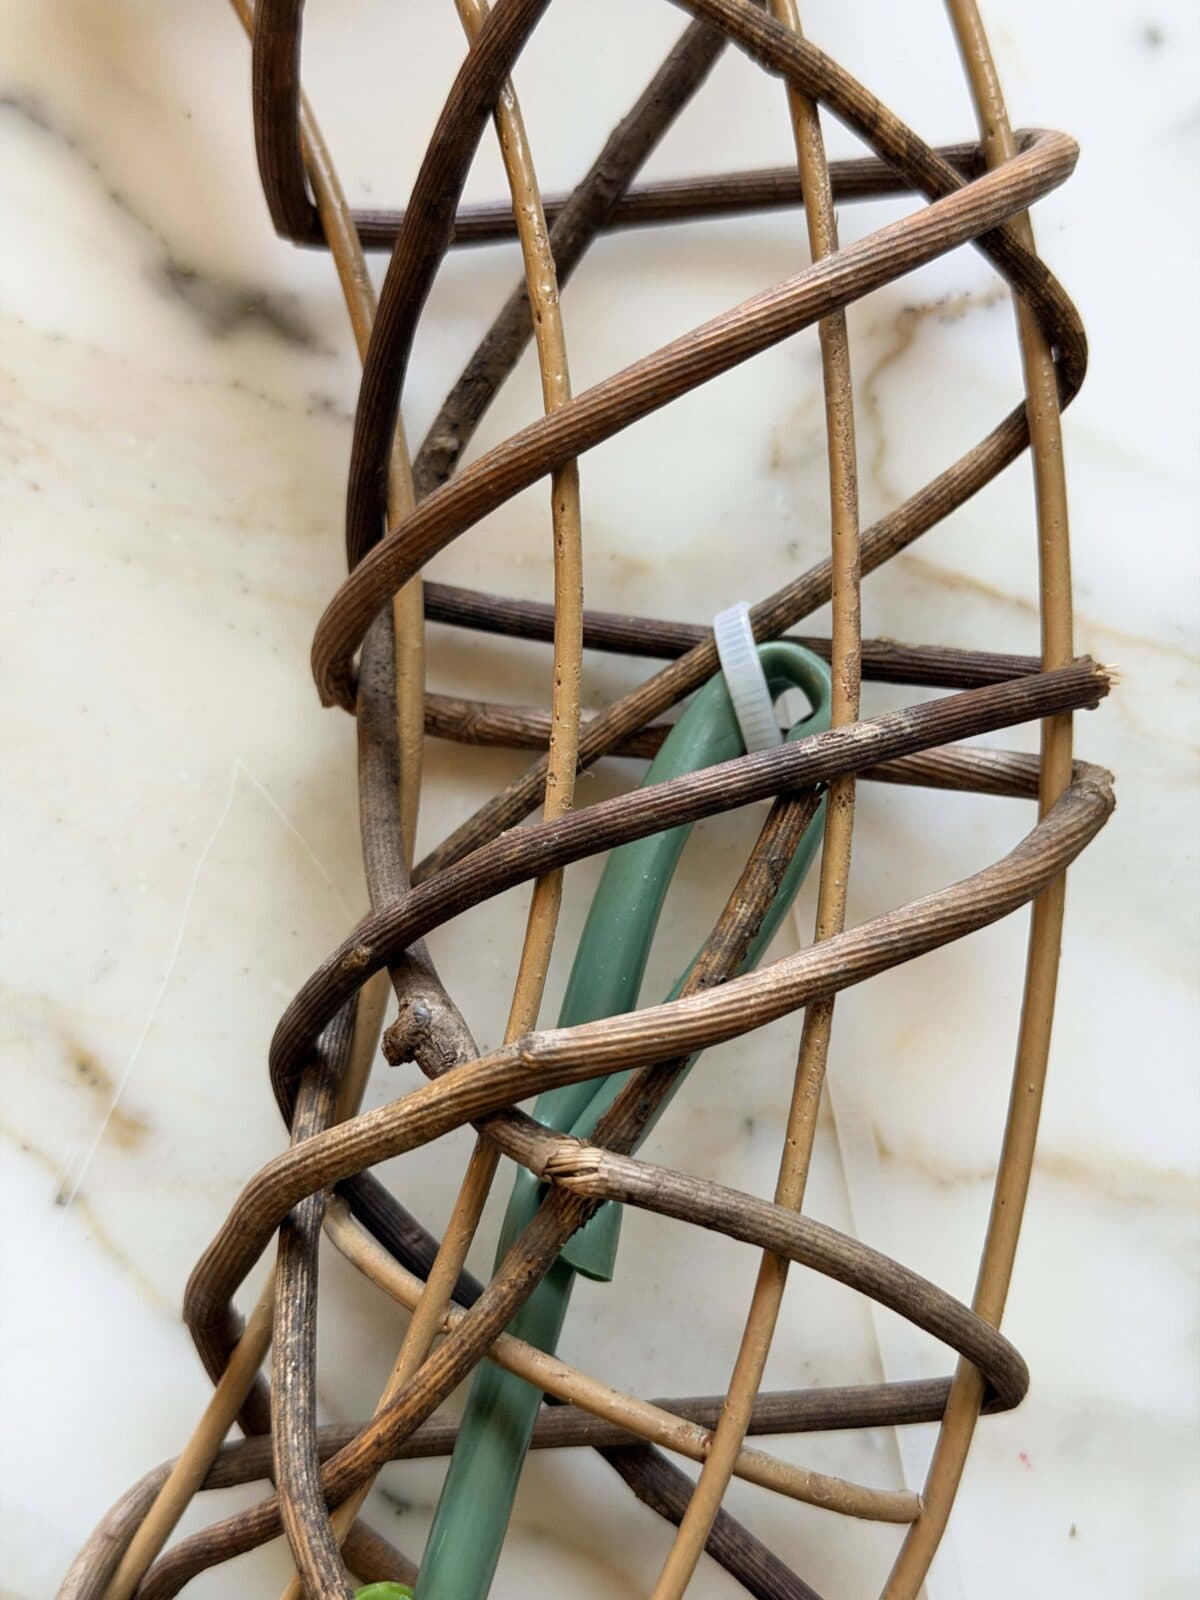
- I positioned the first garland on the wreath form, starting at the top.
- Every few inches, I looped a small zip tie around the garland and the frame and pulled it tight. Not so tight that it crushed the stems, but firm enough that nothing would shift.
- Once the first garland was completely secured, I layered the second one on top, offsetting it a few inches so it would cover any gaps.
The whole attaching process took maybe five minutes. Zip ties hold firmly, they don’t slip, and you don’t need three hands to manage them.
Step 2: Hide the Zip Ties (The Secret to a Professional Look)
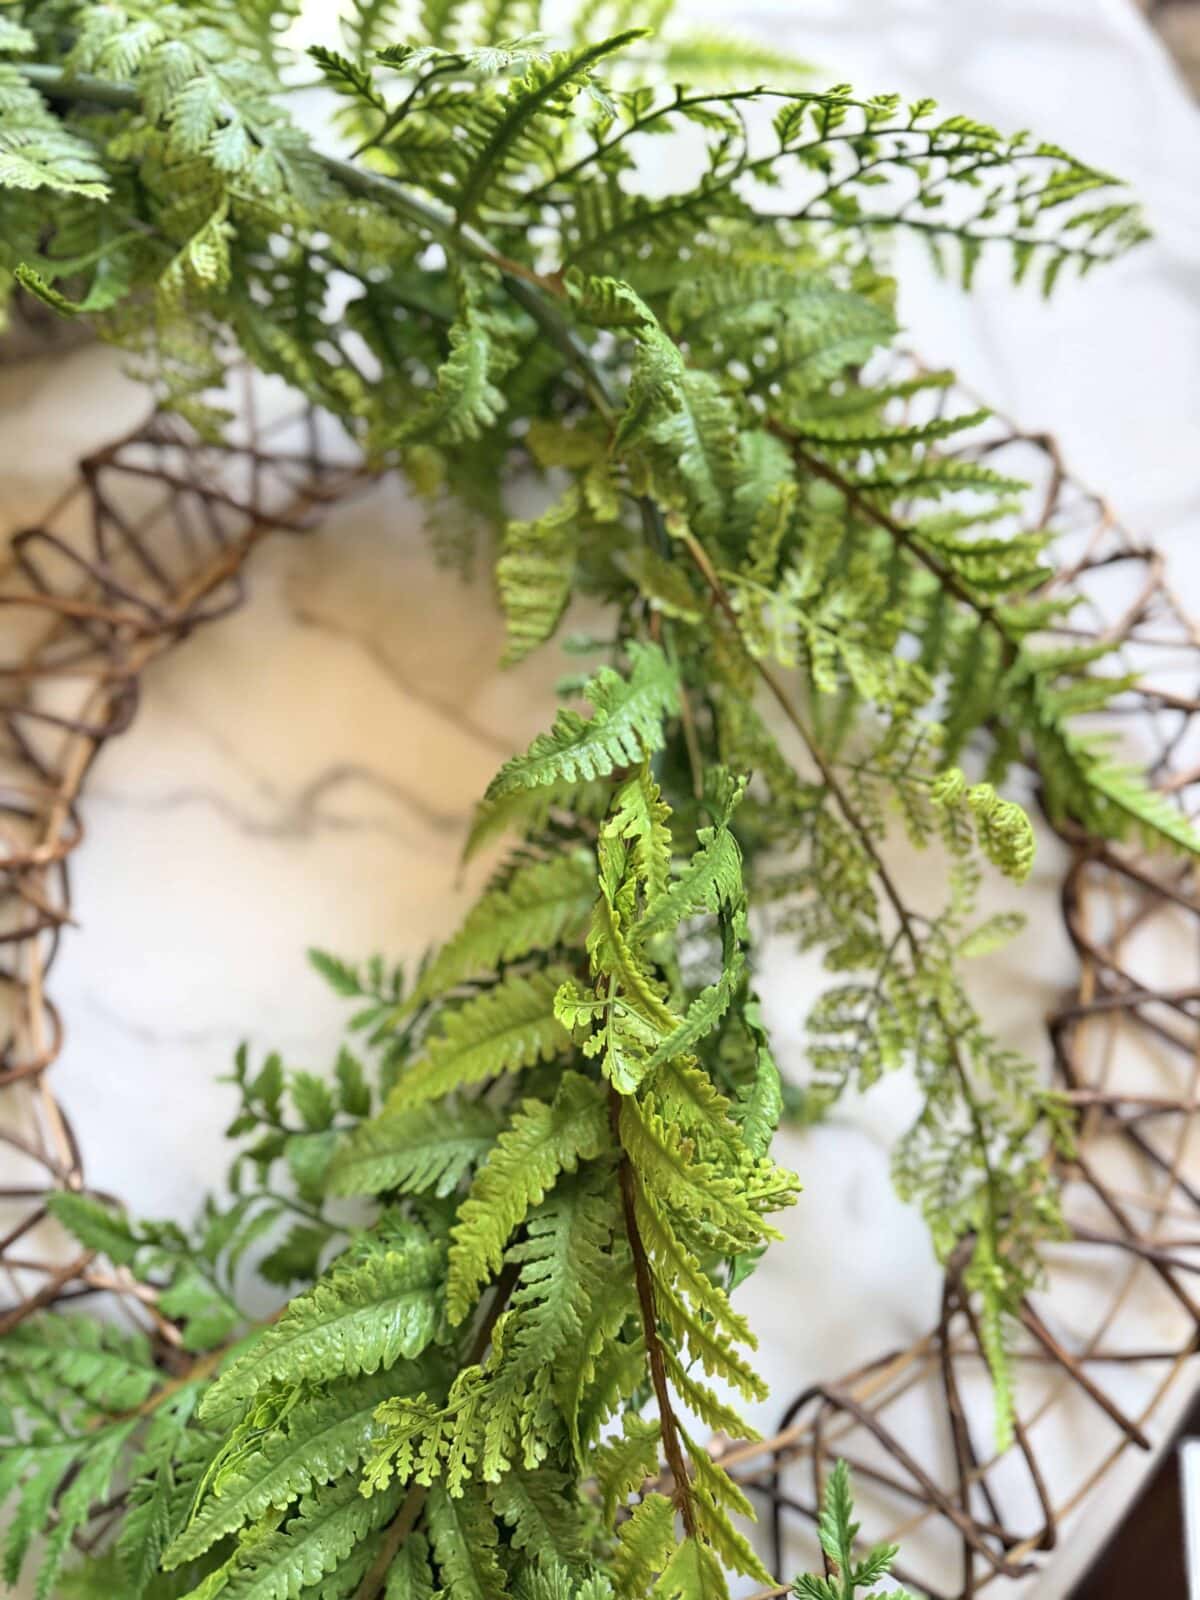
This is the step that makes all the difference. Once both garlands were attached, I went through and fluffed all the stems toward the front, pulling them forward to cover the zip ties and the twig frame.
I worked my way around the whole wreath, pulling each little frond forward and arranging them so they overlapped naturally. By the time I was done, you honestly cannot see a single zip tie or any of the wire frame — just lush, full fern.
My best advice: Spend a few extra minutes here. It’s satisfying work, like fluffing a good artificial Christmas tree, and it’s what turns a “project” into something that looks like it came from a high-end boutique.
Painterly Notes
I’m Amy, and I’ve transformed hundreds of thrifted pieces with paint. These rules are the foundation of my system for creating finishes that last and look beautifully worn, not just worn out.
– amy sadler –

Step 3: Add the Bow (And Change It Whenever You Want)
I tied a simple bow with my carrot-embroidered ribbon — nothing fancy, just loops and tails that feel relaxed and welcoming. I attached it with a zip tie and tucked into the front of the wreath so I can swap it out easily.
- Spring: Carrot bow (or anything with bunnies, eggs, soft florals)
- Fourth of July: Red, white, and blue ribbon — maybe ticking stripe or something star-spangled
- Back to School: A plaid bow, or something with apples or pencils if I can find it
- Fall: I’ll swap the whole wreath for something autumn, but if I wanted to keep the ferns, a burlap or warm plaid bow would carry it right through September
One wreath, multiple looks, minimal effort.
Why I Love This Wreath (No Commitment Required)
Here’s what makes this project different from most: I did not cut a single stem. I did not glue a single leaf. If I decide next year that I want these garlands somewhere else in the house, like draped over a mirror, laid down a table runner — I can cut the zip ties, unwind the garlands, and reuse every single piece.
Plus, I can use it inside the house, like right here on my table or on the back porch as well.
That never happens with hot glue. That never happens with cut stems. This is a no-commitment wreath, and I am here for it.
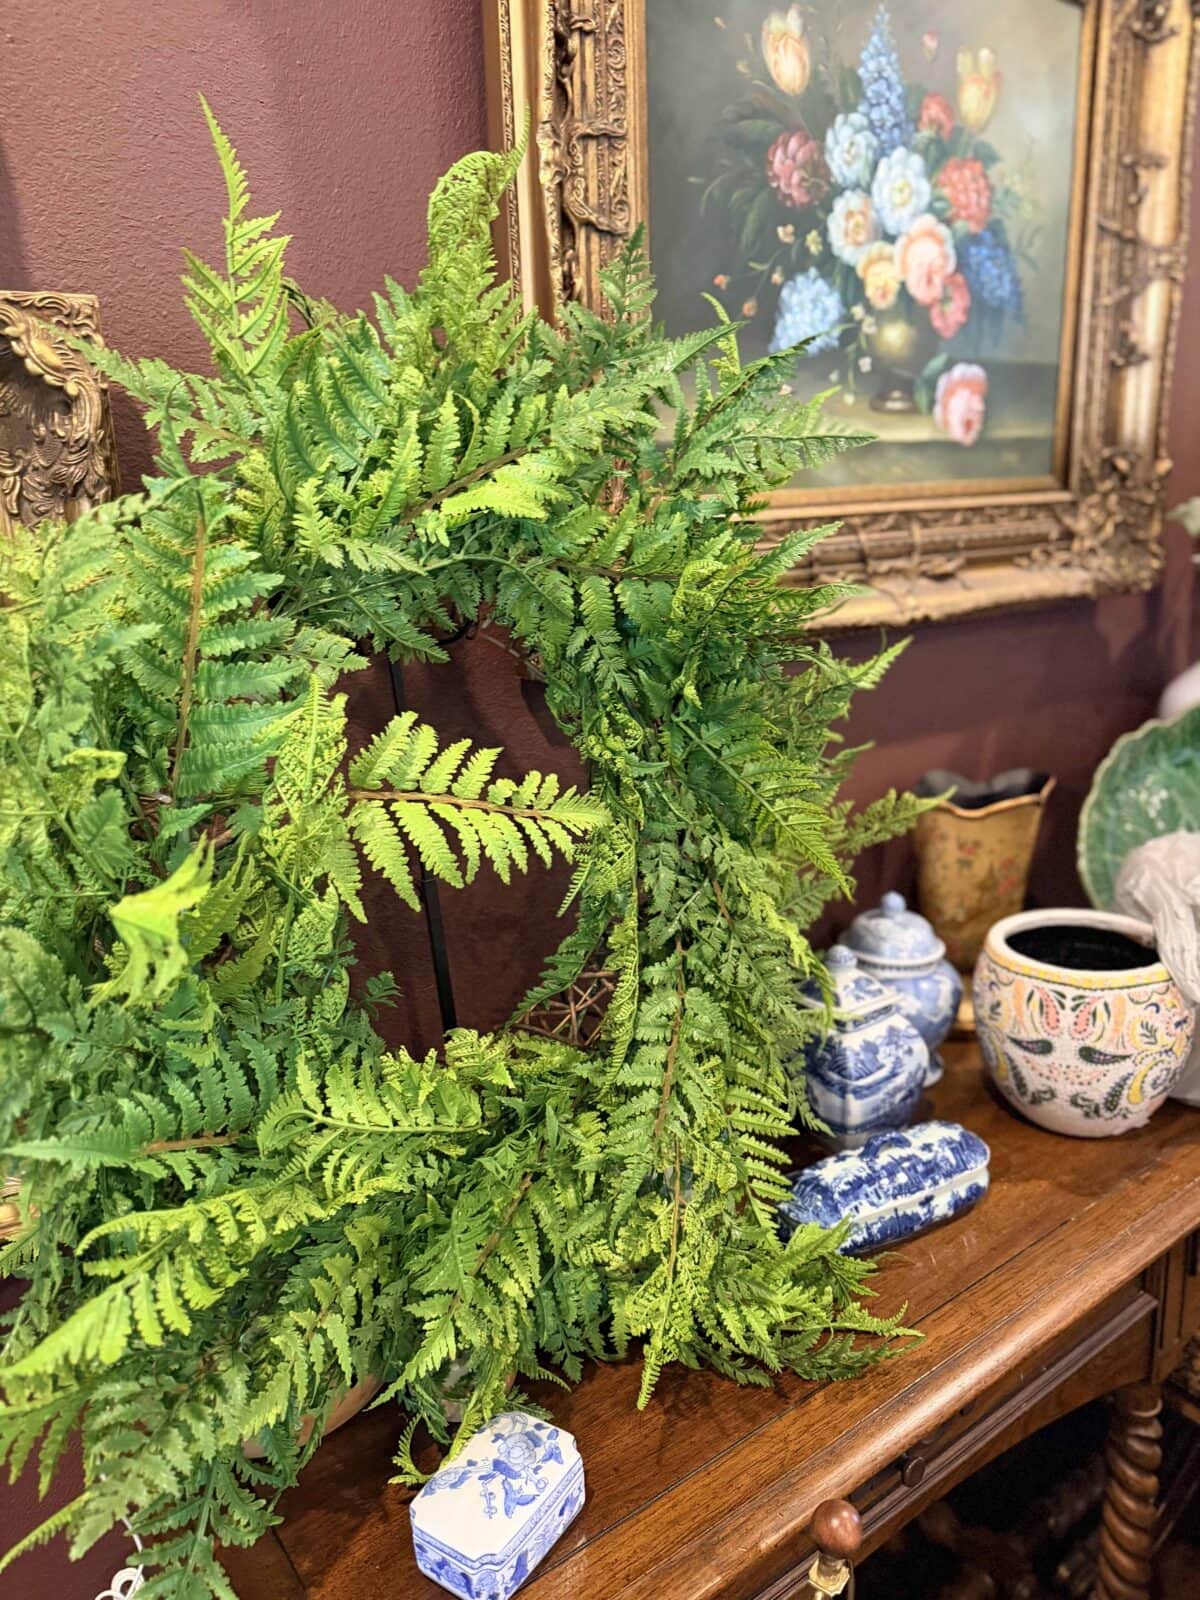
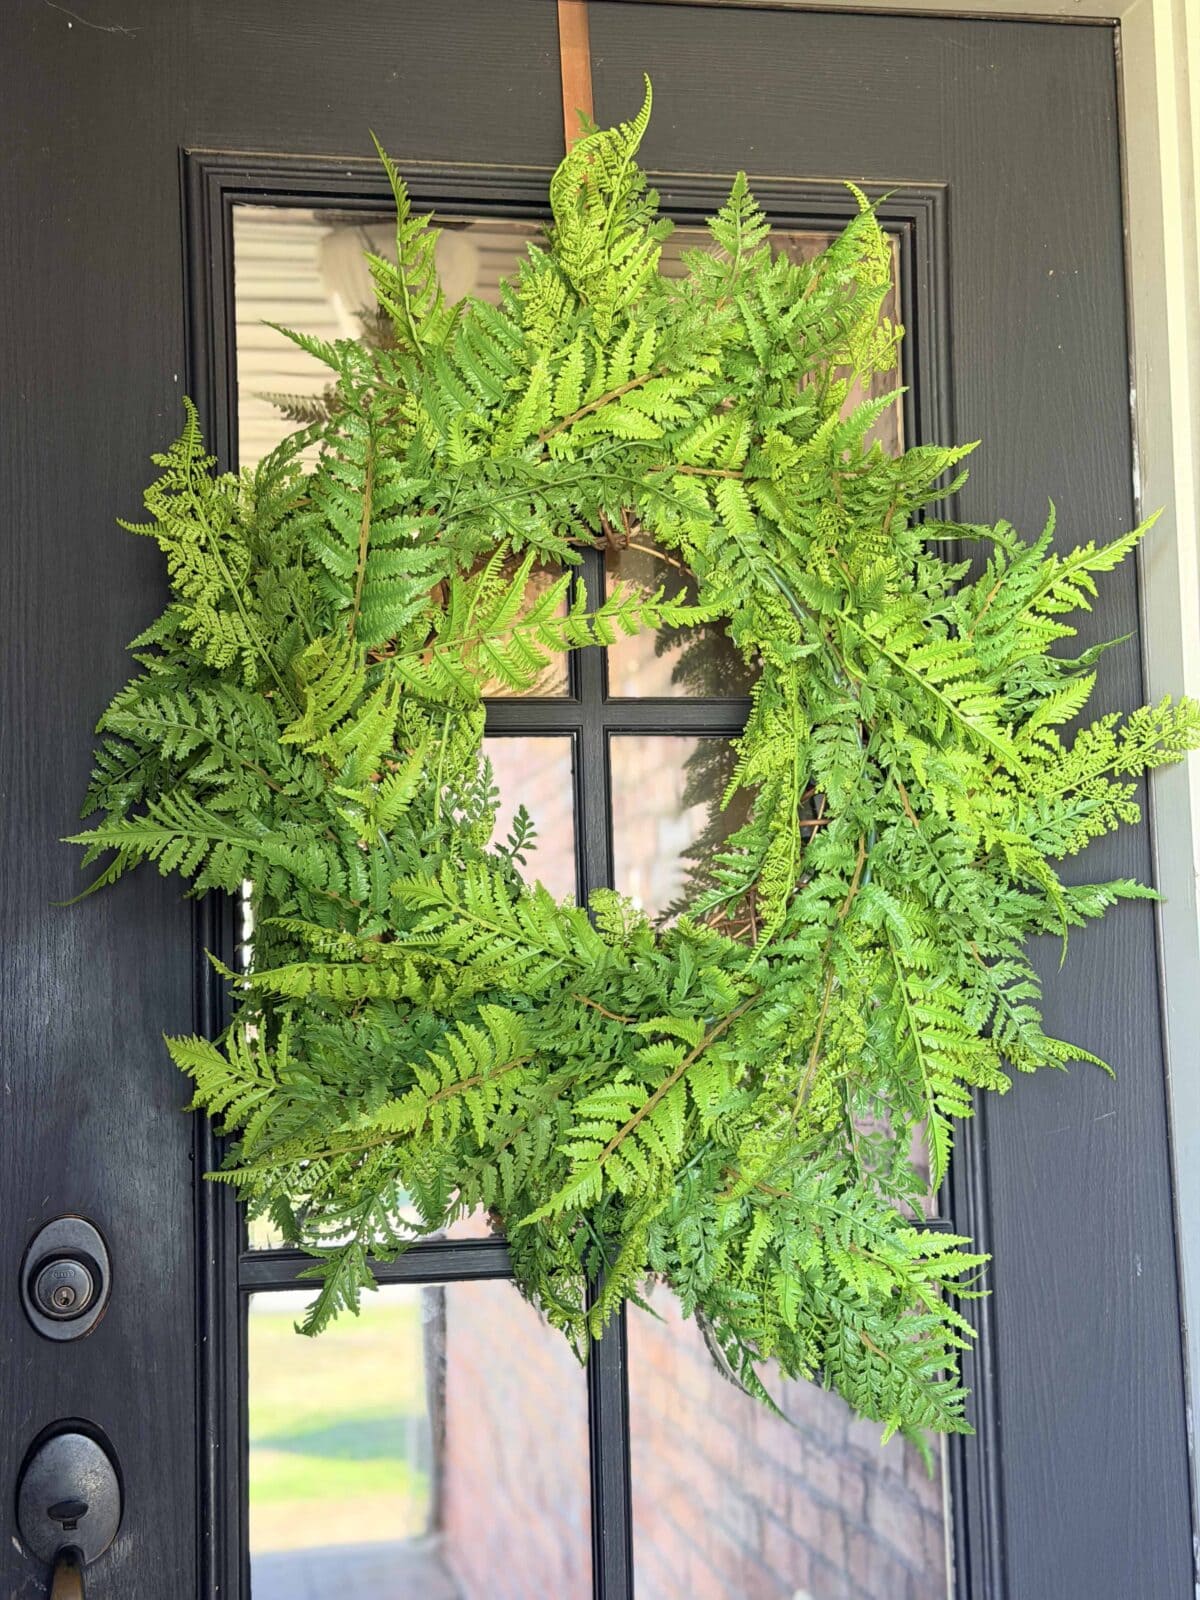
The Final Result
It’s full, it’s fresh, and it costs less than $60. It hangs on my front door on a copper wreath hanger and makes me smile every time I pull in the driveway. The ferns look realistic. and the embroidered carrots? They just make me happy.
Your Turn
If you’ve been eyeing those fern garlands at Michaels, this is your sign. Twenty minutes, a handful of zip ties, and you’ve got a wreath that will carry you from spring through fall. No glue, no regrets, and you can change the whole feel of it with one simple bow swap.
I’d love to see yours —email me when you make it!
With love,
Amy